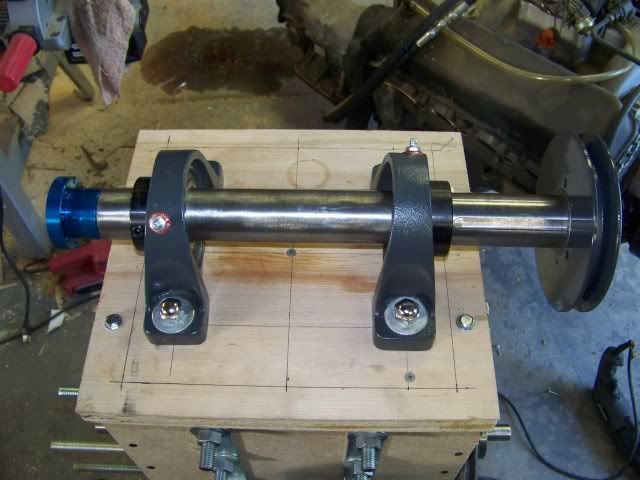
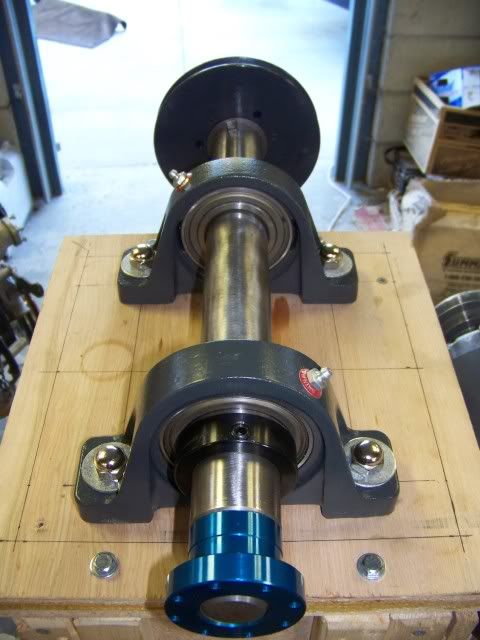
I can now finalise the spindle length and have it machined. Just as I calculated at 18".
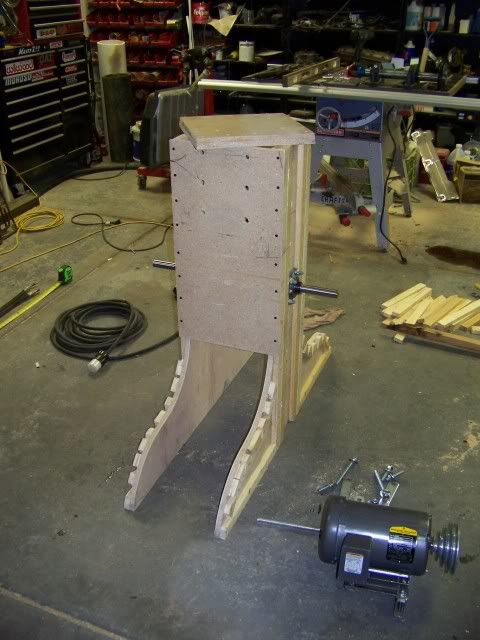
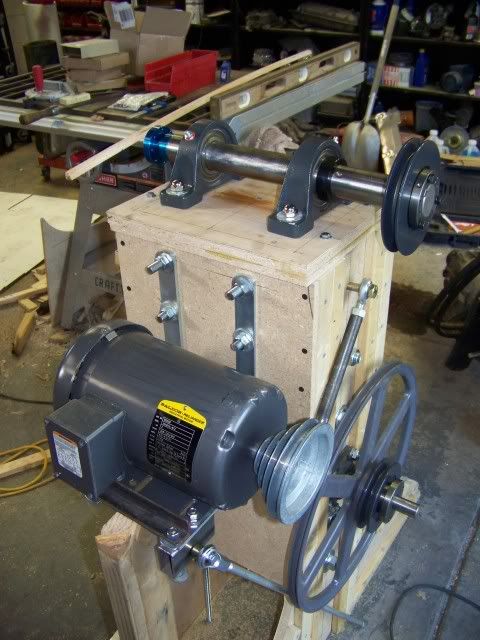
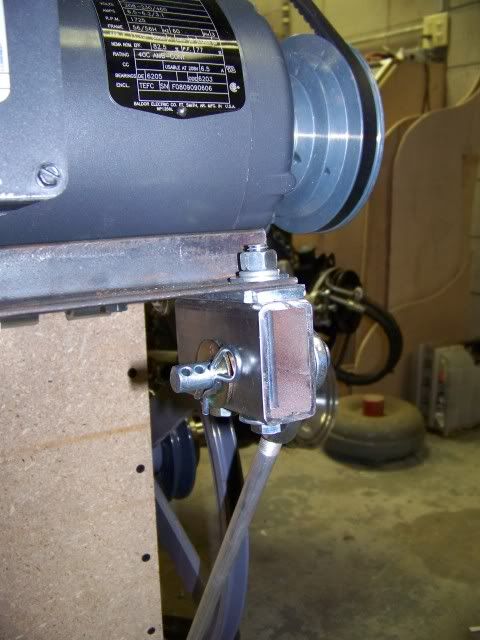
I refined the tensioning mount some tonight, I'm liking it a lot too. With any luck I can spec the spindle tomorrow and pick it up Friday and I will be mixin concrete this weekend. if not,,,next weekend it will happen. A few minor details need to be worked out but for the most part I have it all figgured out...<--famous last words...lol
Not enough progress to justify pics tonight but I have the camera at the ready
Stay tuned!!


 Reply With Quote
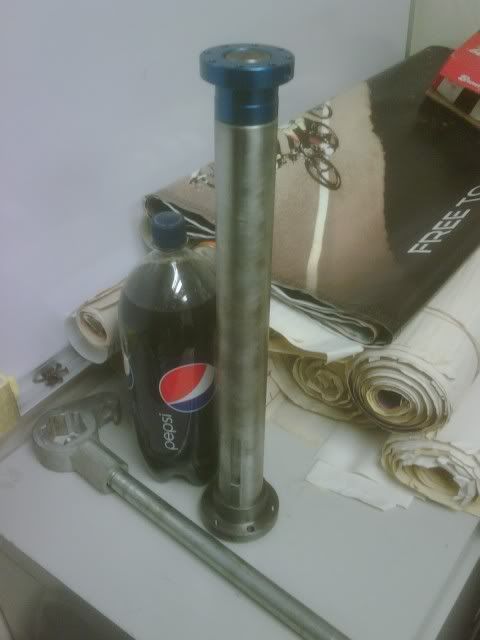


")