Page 1 of 2 12 LastLast
Results 1 to 15 of 17

Thread: How would you perform this cleanup task?

  1. #1
    Join Date
    Dec 2005
    Location
    Keswick, Ontario, Canada
    Posts
    205

    How would you perform this cleanup task?

    Hello,

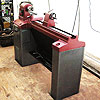
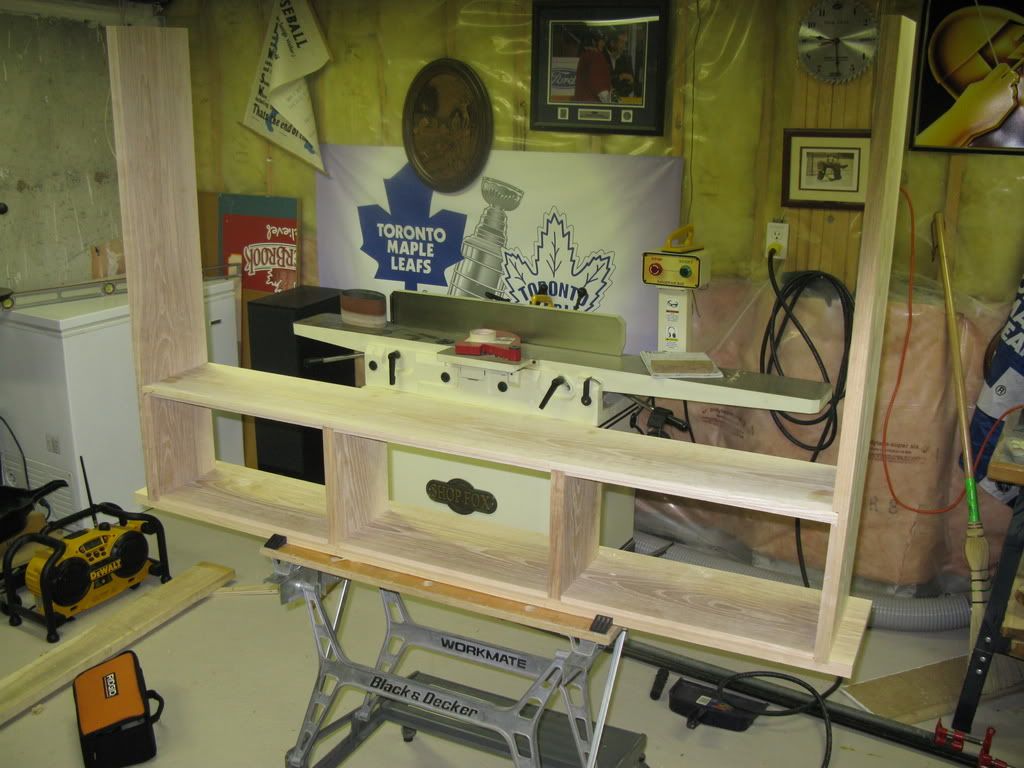
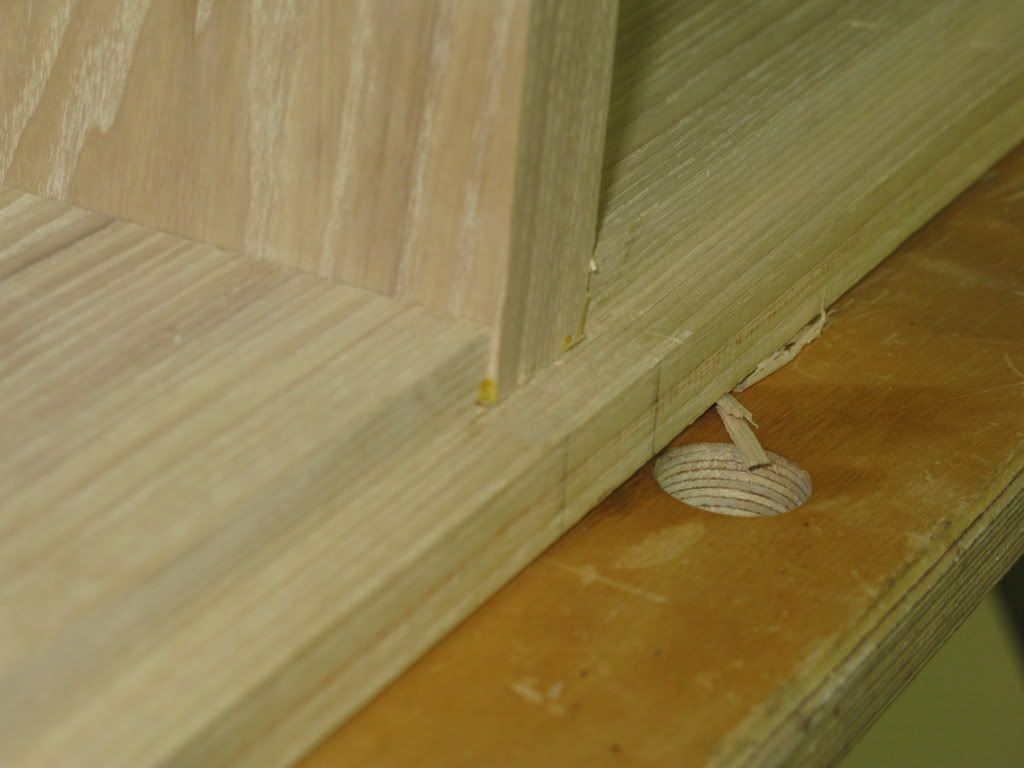
    I am in th eprocess of making a bookcase headboard for my three year old sons bed. I still have lots of work to do but am at a point where I will be installing the backerboard on the headboard to close in the shelves. After the glue up of the dadoes, I am left with two small areas that need to have some material removed in order to allow the backerboard a tight, gap free fit. Basically (as you will see in the photos)I have about 1/16th of material to remove from the two vertical dividers in the centre area of the headboard.

    My question to you folks is, What is the best way to do this and have it all blend together nicely? I realize that I could this with chisels but that is a little harsh and I don't think I would really to be able to do it all that clean this way. I guess the best way would be with a chisel plane or bullnose plane but I own neither.

    So, I am looking for suggestions on how you would clean this material out and blend it nicely to allow the backerboard to fit in and fit well. Hopefully I have explained this well enough and thank you for your help as always.


  2. #2
    Join Date
    Dec 2008
    Location
    Pensacola Florida
    Posts
    2,157
    maybe a plane ???
    Dave

    IN GOD WE TRUST
    USN Retired

  3. #3
    What you need is called a chisel plane. It's like a bullnose plane without the bullnose. Most of the "better" ones have a removable "bullnose" so that they can "convert" to a chisel plane. You only need to use it at the ends. In between, a "standard" block plane will do fine, FWIW, next time, flush off the shelves with the bottoms of the rabbets when you clamp up. It's way easier to "clean up" the faces where you don't have to deal with the rabbets.

    PS If you don't want to mess with the planes, a hard edged, square sanding block will work too...
    Last edited by David DeCristoforo; 03-08-2009 at 10:48 PM.
    David DeCristoforo

  4. #4
    I have taken care of the same problem a few times with a couple of boards and a plunge router with a straight bit. Lay the boards down with set the cut depth and rout away the offending 1/16th inch.
    rod

  5. #5
    Join Date
    Mar 2003
    Location
    San Francisco, CA
    Posts
    10,329
    Me, I've never been able to get the bullnose plane to work the way I want. It mostly digs in. I'd use Ron's router technique, or I'd carefully dado the backer board.

  6. #6
    I've done it with a router also in such situations, same deal, flat boards, set depth, and rout

  7. #7
    Join Date
    Aug 2007
    Location
    east coast of florida
    Posts
    1,482
    I would mark a line across the board at the depth of what i want to remove and use a belt sander to sand down to the line. Then use chisel to finish at the points the belt sander wouldn't fit.

  8. #8
    Or you could rip off a thin piece of veneer on the Table saw and glue in place to level the surface.

  9. #9
    Join Date
    Feb 2003
    Location
    McKean, PA
    Posts
    15,672
    Blog Entries
    1
    If you have a router with a straight bit and collars, then, simply cut two boards that will fit inside the ends and along each side of a shelf. Cut a rabbet in these boards that matches the depth and bit offset of the router collar you plan to use. Put one of these boards on each side of a shelf to be trimmed with the rabbets toward the shelf. Set them level with the back edge of the carcase. Set your router with the collar on these two boards and adjust the depth of cut so the shelf board is trimmed to align with the bookcase rabbet. Using the two boards clamped on as a guide route out as much material as you can. You should be able to get all the way to each edge. Finish off the remaining wood with a small hand plane or sand paper.

    In the future dry fit your components to make sure everything fits and aligns. A dry glue up will show any flaws and get your clamps roughly set for the actual glue up.
    Lee Schierer
    USNA '71
    Go Navy!

    My advice, comments and suggestions are free, but it costs money to run the site. If you found something of value here please give a little something back by becoming a contributor! Please Contribute

  10. #10
    Join Date
    Oct 2007
    Location
    Cincinnati
    Posts
    78
    I vote for building up with a thin strip. It'll be easier to build the one area out than make the other smaller in a clean neat way. It'd be easier for me anyways.

  11. I'd plane it and take a nice sharp chisel to finish it off - absent, of course, that chisel plane David mentioned.

  12. #12
    Join Date
    Mar 2005
    Location
    Raleigh, NC
    Posts
    888
    Quote Originally Posted by Rod Goodin View Post
    I have taken care of the same problem a few times with a couple of boards and a plunge router with a straight bit. Lay the boards down with set the cut depth and rout away the offending 1/16th inch.
    rod
    Yup,
    you'd been done quicker than taking the pix!
    Bearing mounted mortise bit works well also.
    Last edited by Joe Scharle; 03-09-2009 at 8:53 AM.

  13. #13
    Join Date
    Apr 2006
    Location
    Escondido, CA
    Posts
    6,224
    What Cliff said!
    Veni Vidi Vendi Vente! I came, I saw, I bought a large coffee!

  14. #14
    Join Date
    Dec 2005
    Location
    Keswick, Ontario, Canada
    Posts
    205
    I thank you for all of your suggestions this last few days. I should have mentioned that I would like to do this with hand tools. I just had another good thought (I think) that seems to me would be the cats a#^ for this cleanup task. What about a router plane (veritas specifically) setup with the cutter outside the body. This would allow complete cleanup right to the edge. Or am I missing something?

    JEEEEEZ! I hummed and hawed at the CHW show about buying one of these after taking it for a test drive, and sure as heck I didn't, and now I need one. Sigh!
    Attached Images

  15. #15
    Quote Originally Posted by Scott Rollins View Post
    Or you could rip off a thin piece of veneer on the Table saw and glue in place to level the surface.
    That's what I would do. Once the back board is installed you won't see the filler.
    If sawdust were gold, I'd be rich!

    Byron Trantham
    Fredericksburg, VA
    WUD WKR1

Posting Permissions

  • You may not post new threads
  • You may not post replies
  • You may not post attachments
  • You may not edit your posts
  •