Page 5 of 6 FirstFirst 123456 LastLast
Results 61 to 75 of 79

Thread: Walnut Desk

  1. #61
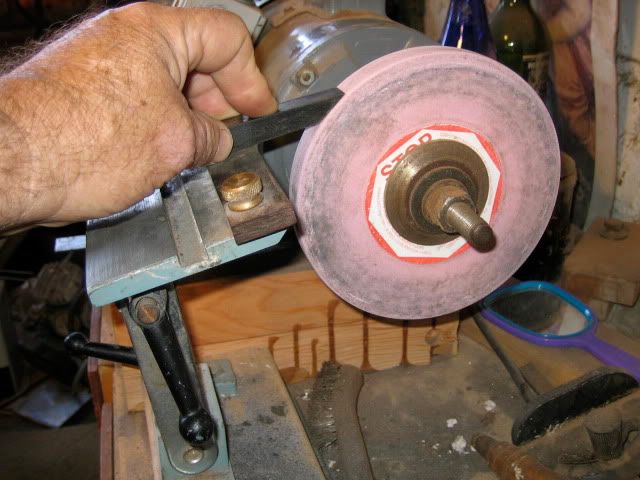
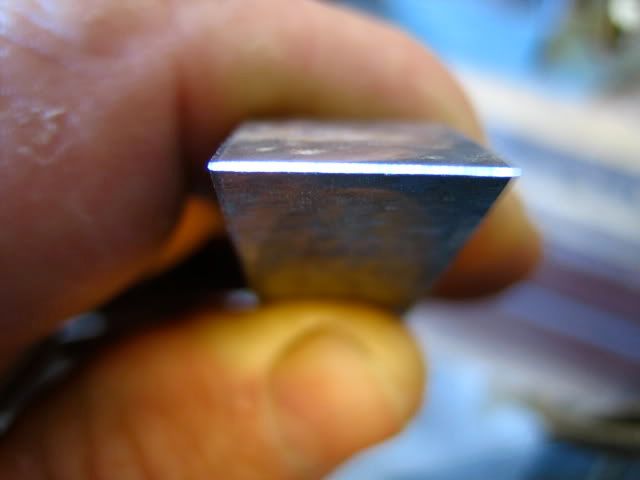
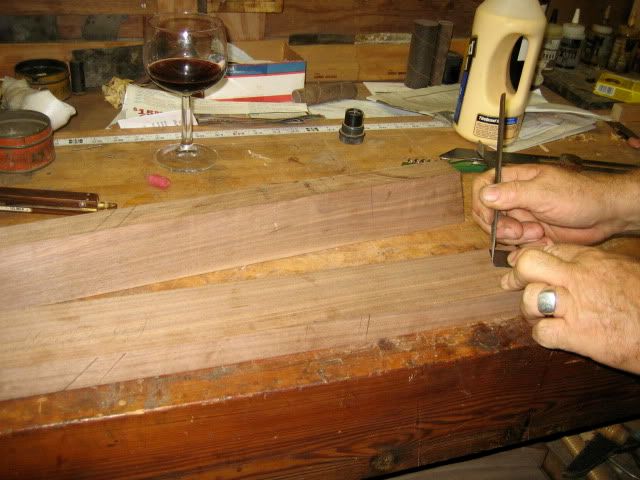
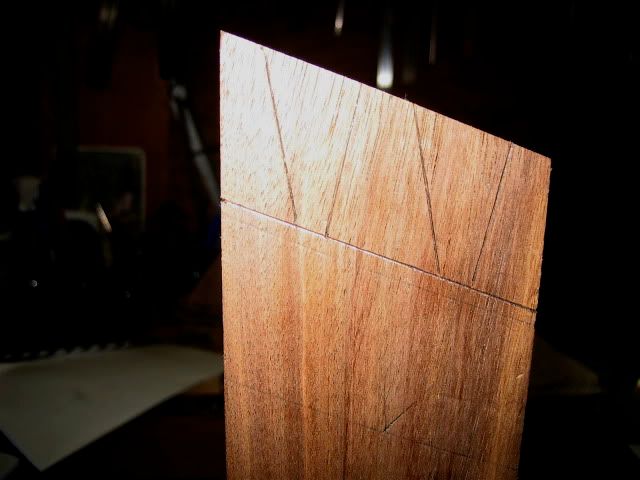
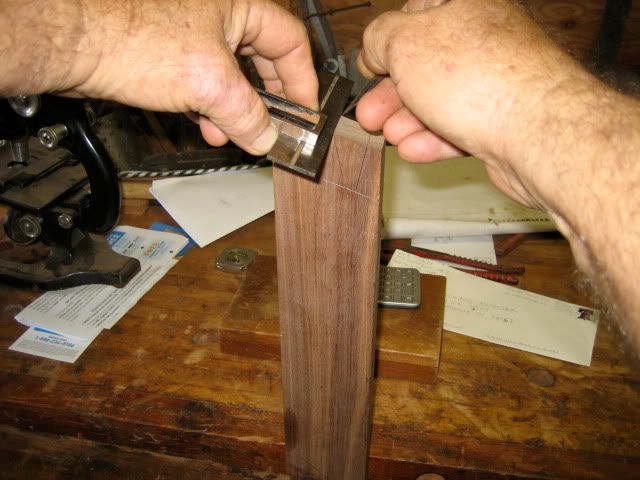
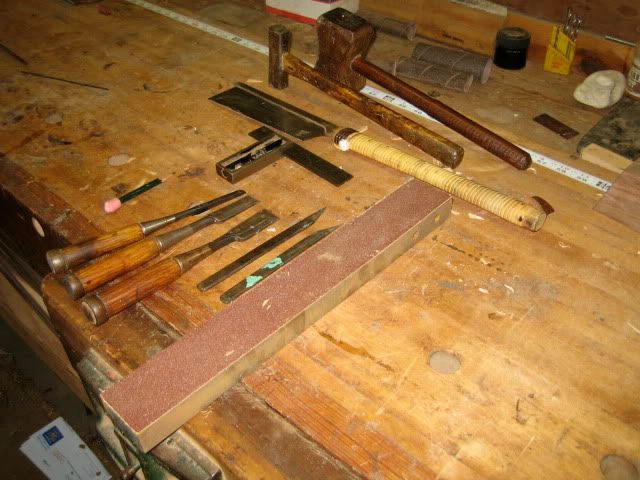
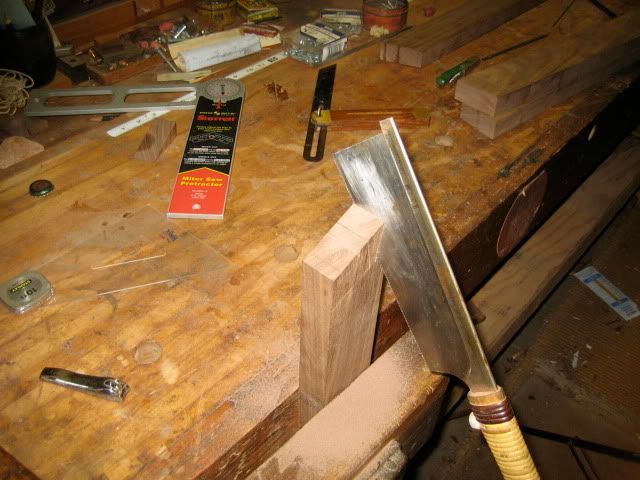
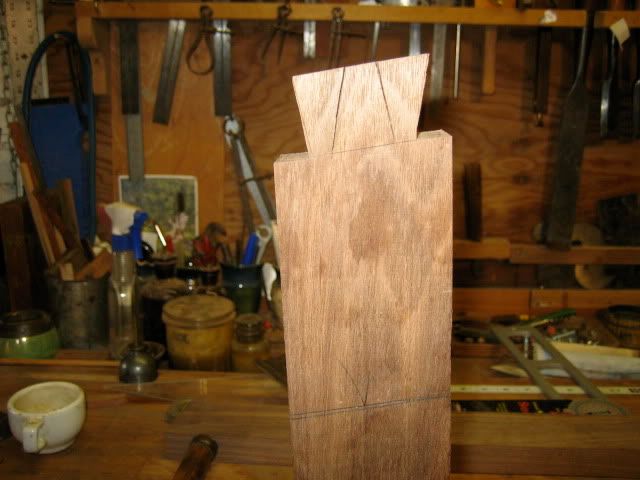
    To lay out the angled dovetails I first set this square the thickness of the stock-I make it just a little proud,just a little-then mark the shoulders of the tails-


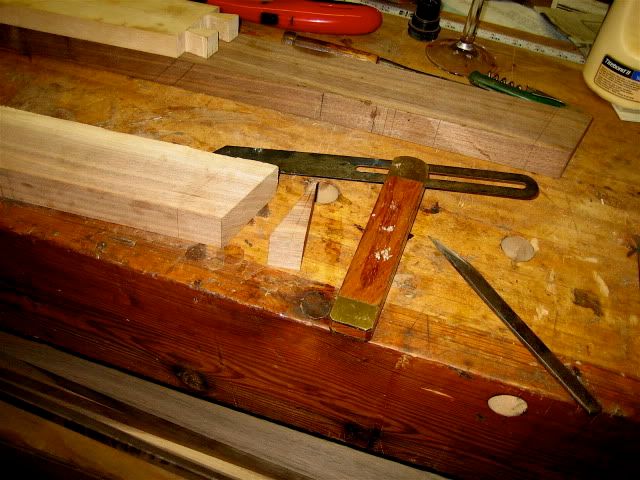
    I set a sliding bevel at about 12 degrees ,the angled cut off will go between the bevel and the piece being marked-

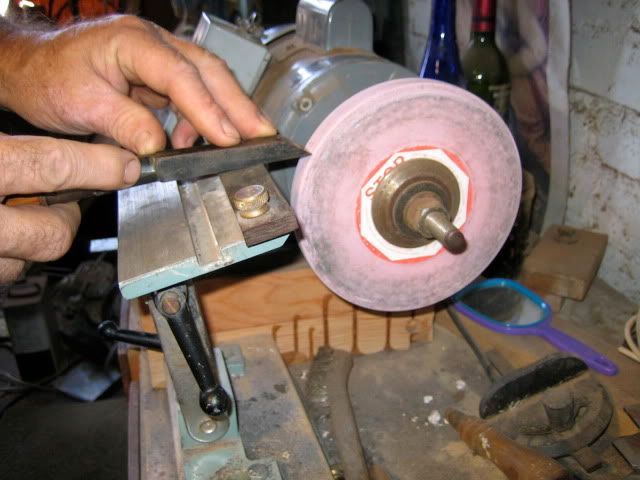
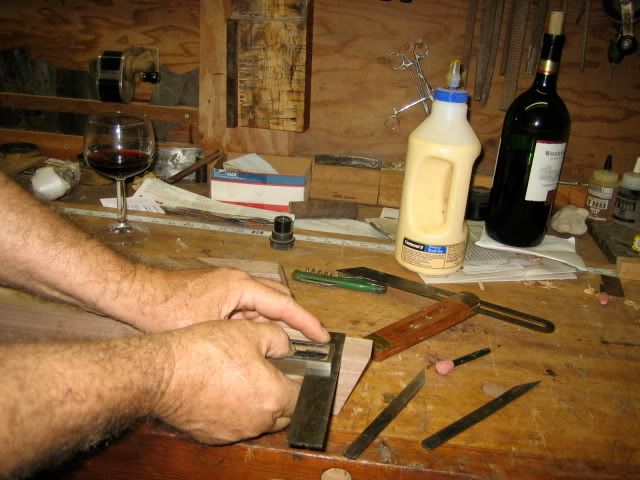
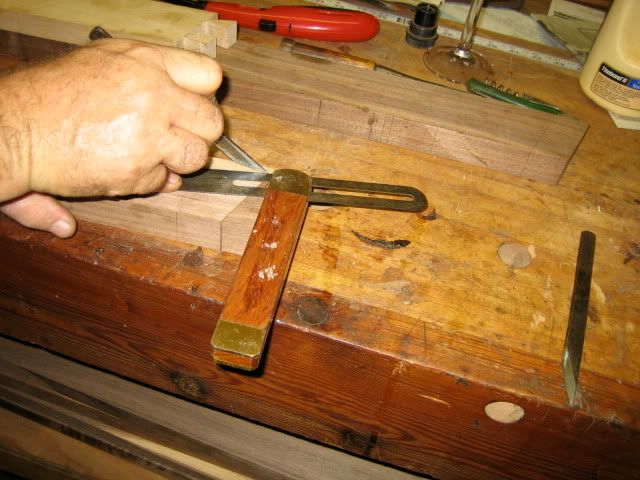
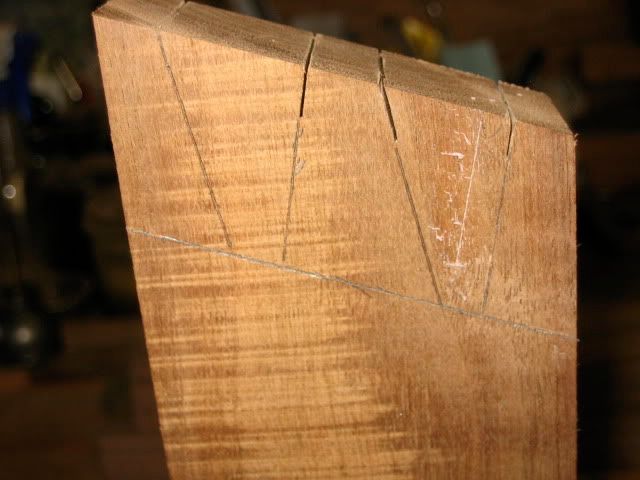
    when you flip the bevel to mark the other side of the tail the block stays the same-


    next I continue the mark across the end grain,then put the piece back on the bench and with the sliding bevel and cut off mark the other side

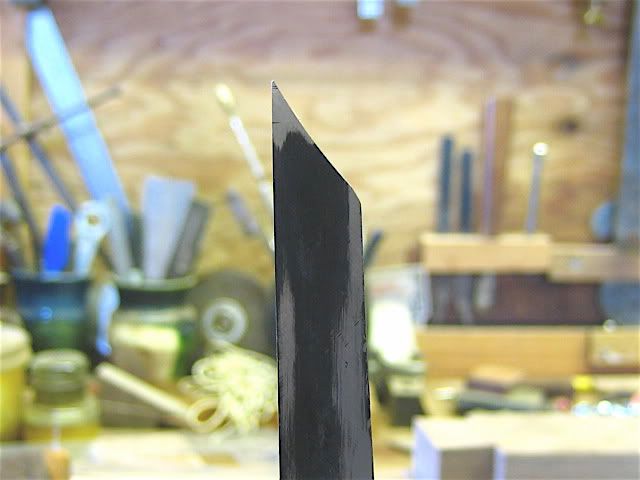
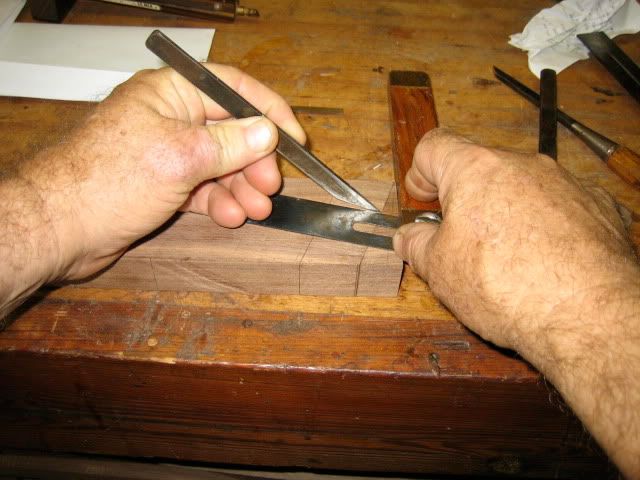
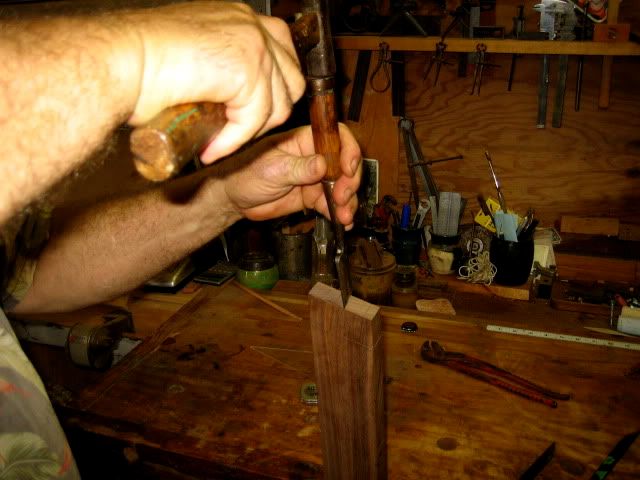
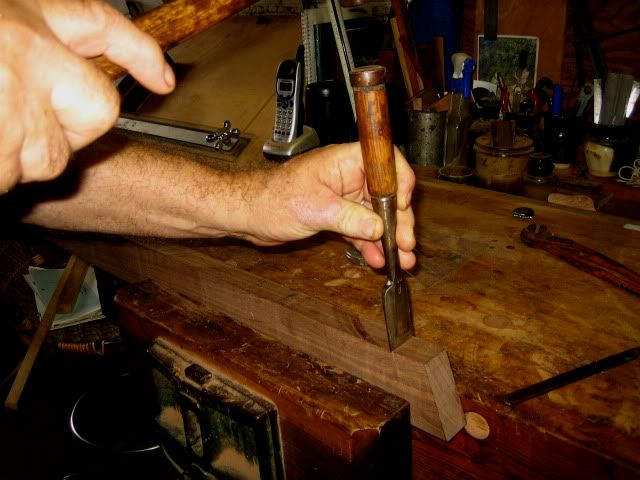
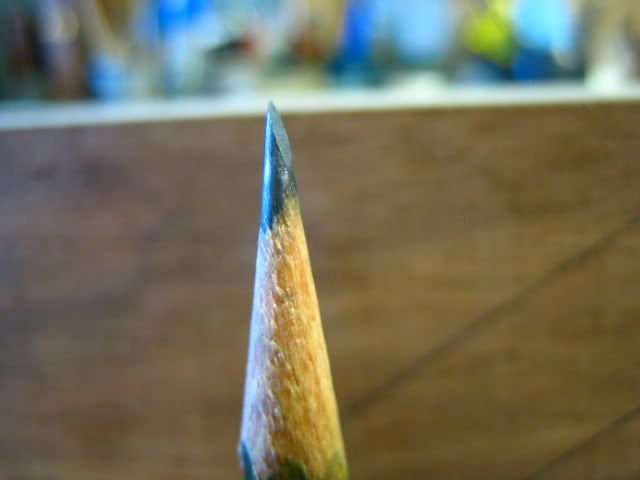
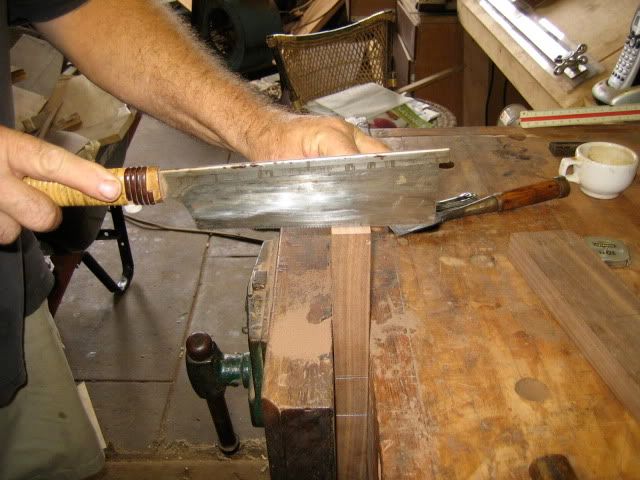
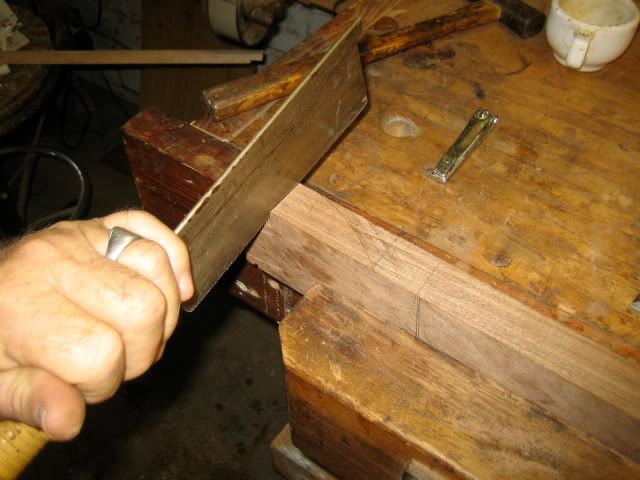
    before I saw down the line I take a chisel and tap each marked line-just a tap-the saw will find and follow this groove-I do the same on the shoulder marks-
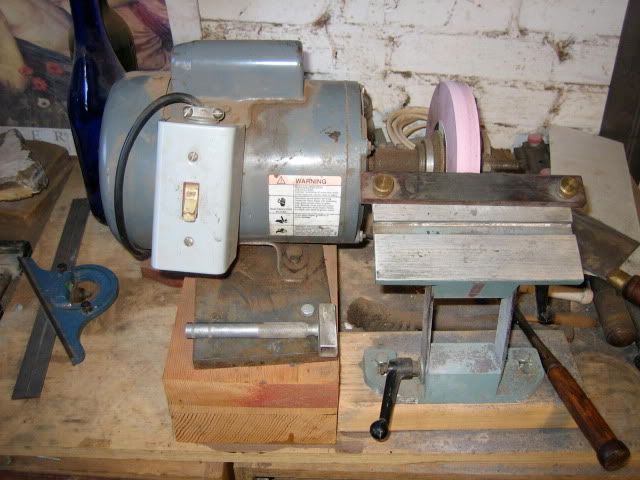
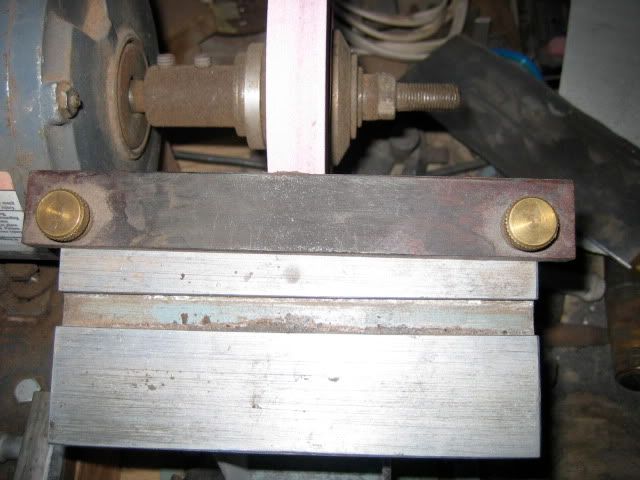
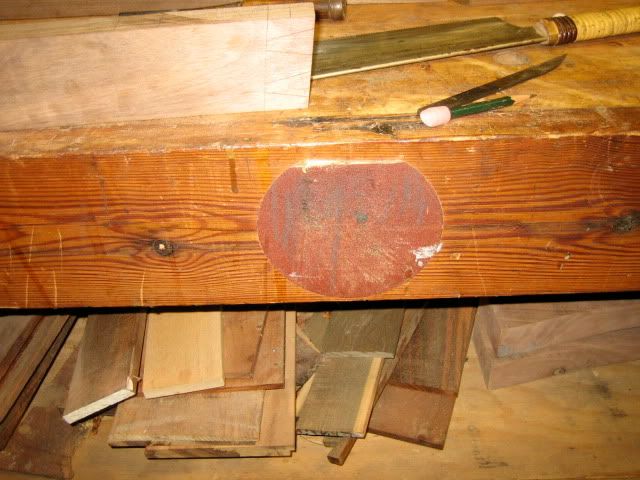

    my dovetail jig-

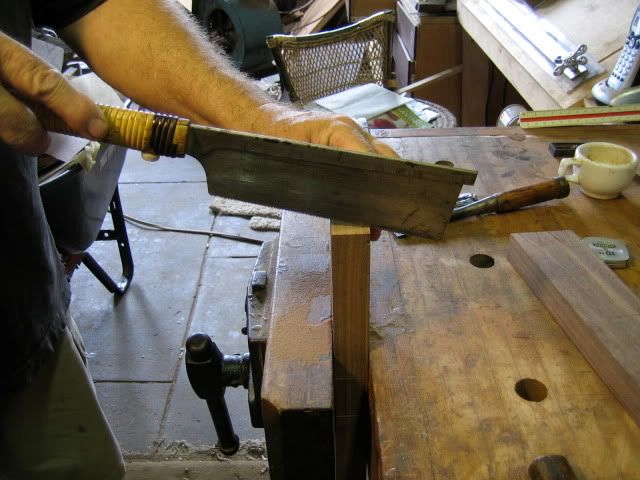
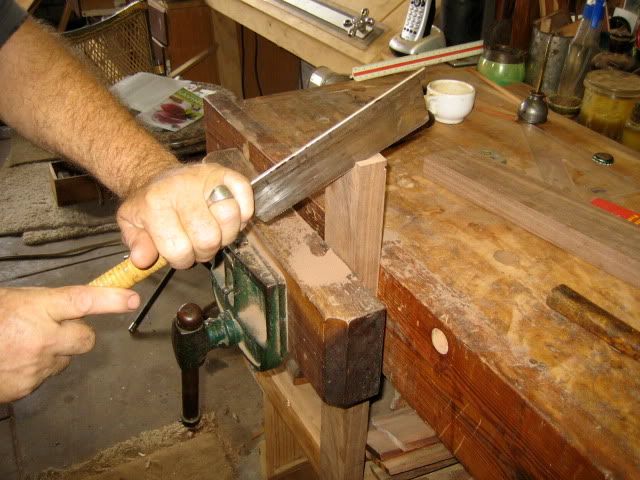
    next cutting the dovetails
    alex

  2. #62
    Great progress post Alex! Some really efficient shortcut layout tips, and saving the angled waste is a super idea. I have done that on building stairs before, and it is a lot simpler than trying to duplicate an angle again.

    I particularly like the exotic glue bottle on the bench with the cork - kind of holds together the woodworker????

  3. #63
    Join Date
    Jan 2007
    Location
    Salado, Texas
    Posts
    103
    One word. Wow

  4. #64
    Sawing the tails-


    next chiseling out the waste.
    alex

  5. #65
    Join Date
    Dec 2003
    Location
    SF Bay Area, CA
    Posts
    15,332
    OOooooohhhh, handcut off-angle dovetails!!! Good stuff!
    Wood: a fickle medium....

    Did you know SMC is user supported? Please help.

  6. #66
    Join Date
    Apr 2008
    Location
    Edmonton, Canada
    Posts
    2,479
    Great series Ed, thanks for showing the masterpiece and all the steps.
    I, like others, have been enjoying the step by step photos.

  7. #67
    Join Date
    May 2007
    Location
    Whittier, CA
    Posts
    15
    Beautiful design, gorgeous wood and best of all a play by play. Thanks for sharing. It really helps those of us who are trying to get to that level to see how others work. Love the large crisp photos!!!!

  8. #68
    Join Date
    Apr 2004
    Location
    Geneva, Swisscheeseland
    Posts
    1,501
    LOML wants to thank you for the beautiful wood porn. I sure hope you use a very good waterproof top for this desk to protect it from all of the drool.

    Dan
    A flute without holes, is not a flute. A donut without a hole, is a Danish.

  9. #69
    Before I start chiseling away the waste I sharpen a few chisels-one of the chisels I'm going to use has a little chip off the corner of the edge,I've been planning on grinding it for awhile - also nearly all my chisel have been honed to where the hollow grind is about gone,so I grind a few chisels ,(six) the ones I'll be using today-first my grinder-I took a 1/3 hp 1725 rpm motor made an extension that screws to the shaft,the wheel is a 6" 60 grit pink wheel,I dress it so the center is a little higher than the edges,the tool rest is from a Delta wet dry grinder,I taped threads in the top corners so I can screw the 1" wide piece of cocobolo on-


    I set the angle of the tool rest with the chisel I'm going to grind-first I grind the edge down blunt,if there is a chip out on the edge grind down until it's gone,I just eye-ball it to keep it square-next I grind down to where the blunt edge is sharp again-I keep a jar of water for dunking the blade after three are four passes,also I keep my fingers close enough that if it starts getting to hot I'll know in time,if I should burn the metal it will be at one of the corners,the I grind it back blunt again and start over--but that never happens-
    setting the angle-

    grinding the edge blunt-


    grind down to the edge-

    the hollow grind from the 6" wheel-

    alex

  10. #70
    I just found this thread. I sure am looking forward to the continuation of it. Incredible work, and much appreciated documentation.

  11. #71
    Join Date
    Aug 2008
    Location
    Milwaukee, WI
    Posts
    142

    Bump!

    Edward! This is very cruel!
    I have this thread bookmarked and checking every week for progress for almost a year now.
    I hope you are just lazy and nothing bad happened to stop you posting here.

  12. #72
    Join Date
    Jan 2010
    Location
    Lafayette, Indiana
    Posts
    1,379

    Smile

    Quote Originally Posted by John Keeton View Post
    Alex, the desk is a phenomenal piece of work! Great design, and nothing works together as well as walnut and curly maple in my book. Just great! Can't wait to see what you do with the "leftovers."
    What John Keeton said.

  13. #73
    Quote Originally Posted by Igor Petrenko View Post
    Edward! This is very cruel!
    I have this thread bookmarked and checking every week for progress for almost a year now.
    I hope you are just lazy and nothing bad happened to stop you posting here.
    Alex was posting the same desk project on familywoodworking.org. He last logged onto that site 30 Oct 2009. He posted his phone number on that site (512 360 3083) if you want to check up on him.

  14. #74
    Woo, what a masterpiece!

  15. #75
    Join Date
    Mar 2005
    Location
    New Lenox, Illinois
    Posts
    709
    Edward,

    As someone else said. Your "design sense" is outstanding. Very nice work.
    If you can't fix it with a hammer, you have an electrical problem.

Posting Permissions

  • You may not post new threads
  • You may not post replies
  • You may not post attachments
  • You may not edit your posts
  •