
Originally Posted by
Charles Shenk

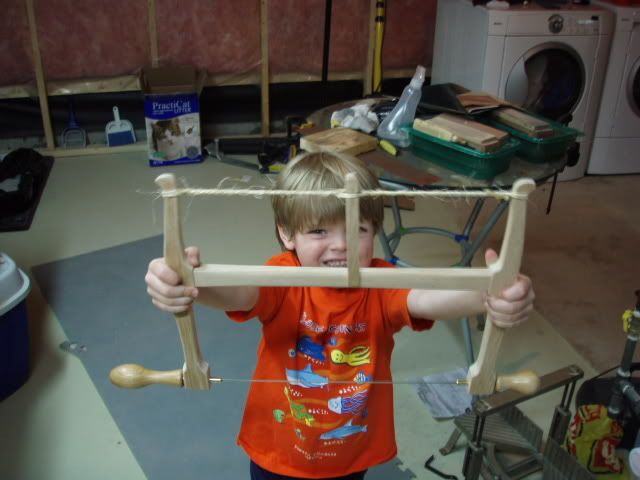
Nice saw! I too recently made a few 12" bowsaws and used the blades and pins from TFWW. I made 8. Kept the best two, gave one to my Dad, sold two and have three saved for gifts. Along the way I learned a lot. Most importantly that they cut incredibly well. I used hickory and beech for all of them. Some have english walnut stretchers to reduce weight.
A few random thoughts in addition to the good advice already shared:
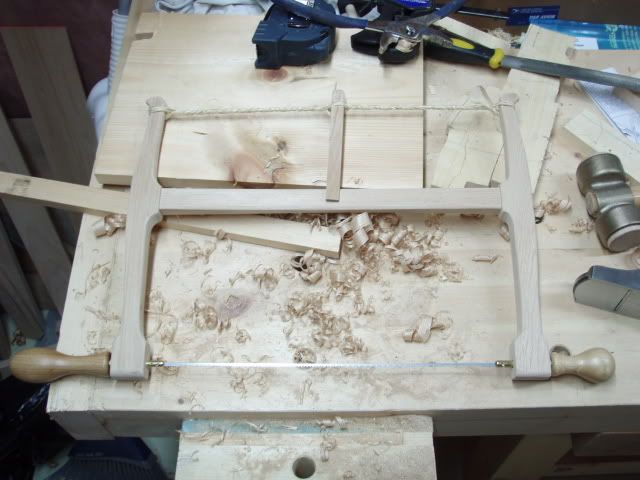
I think the most important design consideration is to get hard and somewhat flexible, straight and tight grained wood. I used hickory and beech for all of mine. Some have english walnut stretchers to reduce weight. Ideally you want an 8/4 board that is either flatsawn or quartersawn the whole length. The 8/4 stock gives you more options in terms of getting the flat grain orientation you want. Before you cut a board look at the end grain first and break the pieces down by saving the straightest/most flatsawn pieces for the sides and the more riftsawn pieces for the stretchers (which is good since it is more laterally stable).
Be sure to keep the holes for the handle pins snug. If the pins are a 1/4" in diameter, drill the holes through the side arms (wrong term?) a "smidge" smaller on your drill press (ie: 60/64"). Then with a non battery powered hand drill, gradually and slowly ream out the holes until the pins fit just right with just a small amount of friction. Creap up on the final size. Not too tight and not too loose. Nothing worse than a saw with sloppy fitting handles that you constantly have to support with a finger. Also, the handles should loosen up a bit in time after use and continued drying of the wood.
Make templates
I like square cheeks on my bowsaws. Try and set up your saw so that when it is under the tension, the cheeks and stretcher get pulled into square. What I mean is that you want the stretcher to be touching the bottom portion of the cheeks a little bit when the saw is not under operating tension. This takes a bit of trial and error, but results in a more rigid saw. I never got that good of rigidity with the rounded/scooped cheeks. The saws rocked/racked too much.


 Reply With Quote

 that you mentioned you made yours from Hickory, that's it's design is from TFWW, and that its worked great for the amount of time you've had it.


