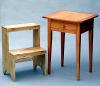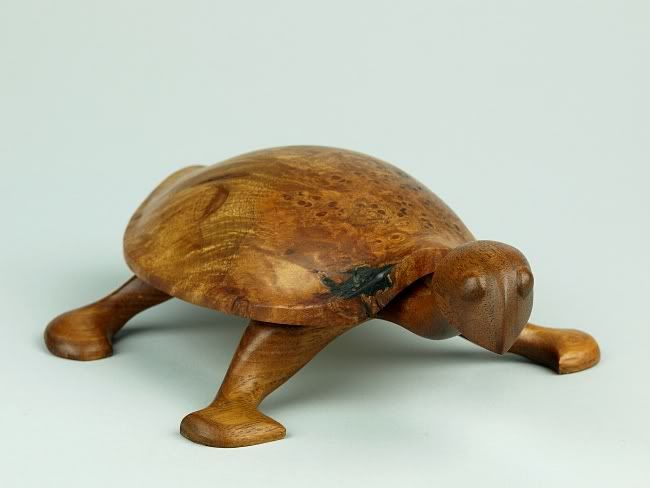

What makes a great photograph of a woodworking project?
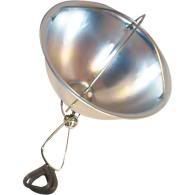
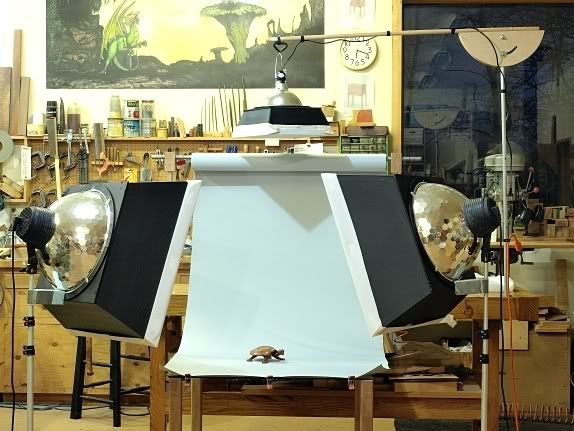
What kind of lighting?
What setting?
No background or complimentary background?
How does an amateur with a digital camera get "good enough" lighting?
I would appreciate professional or hobbiest ideas (and yes, I know this is a whole course of study and a lifetime of knowledge, experience and equipment).
Brian
Examples very welcome!

 Reply With Quote