Page 1 of 2 12 LastLast
Results 1 to 15 of 19

Thread: A slew of bottle stoppers

  1. #1

    Cool A slew of bottle stoppers

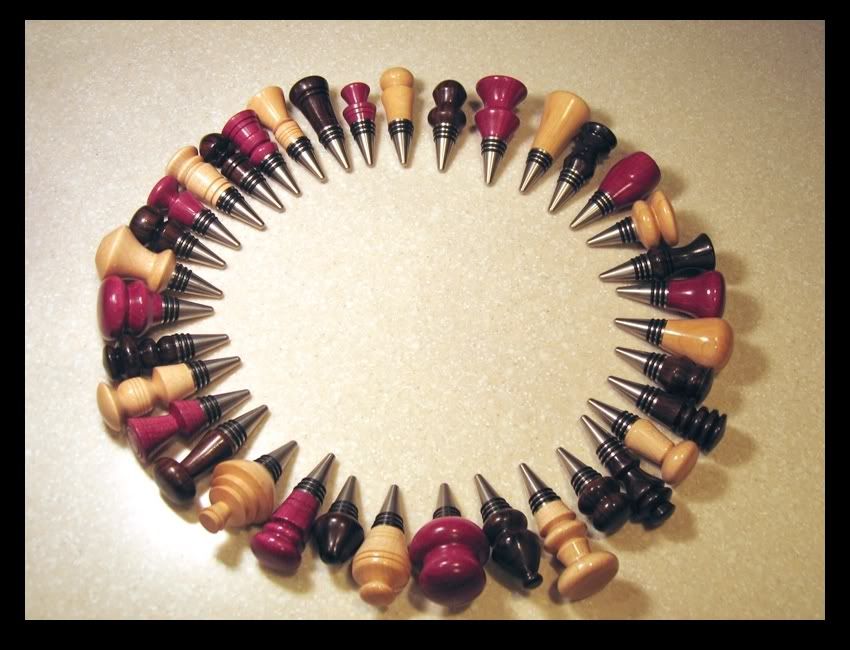
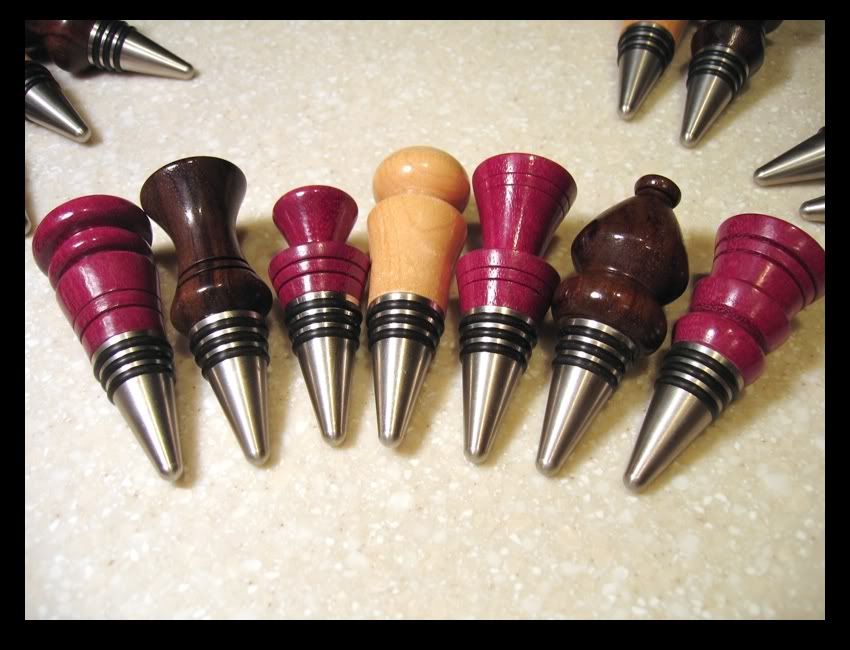
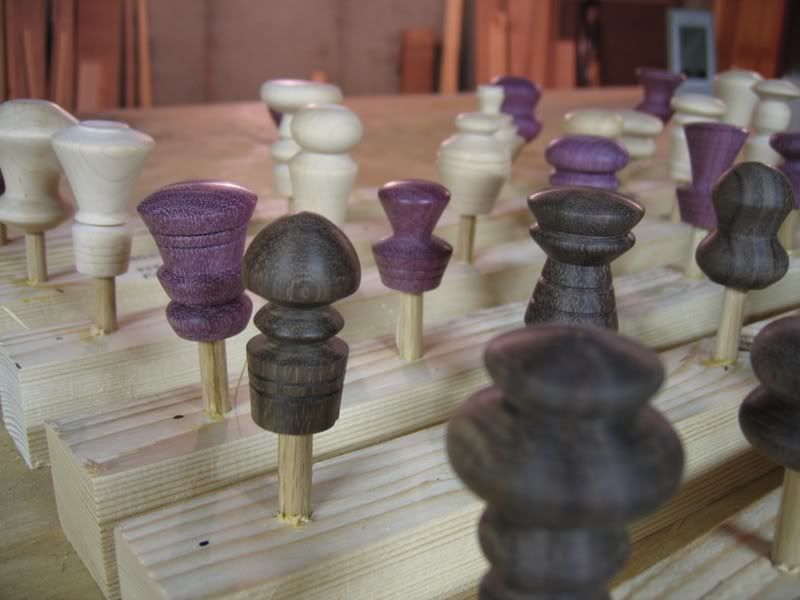
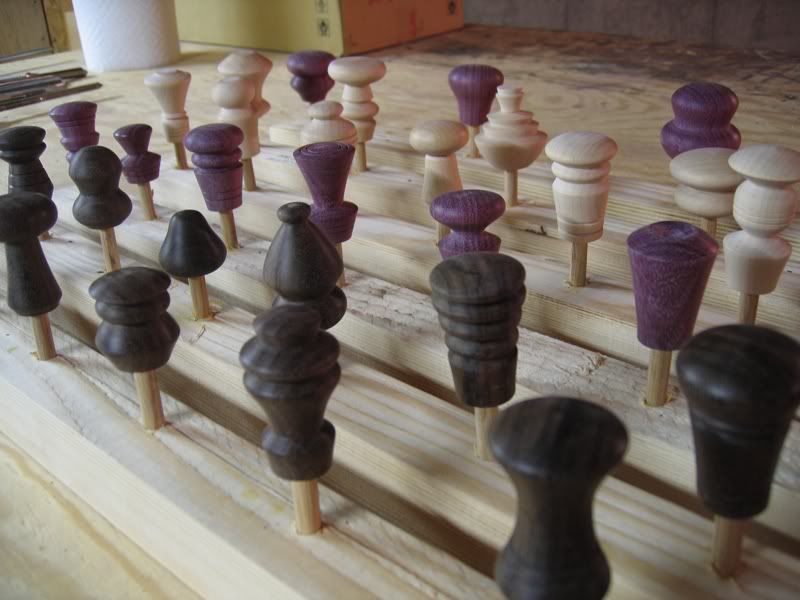
    My future SWMBO decided to put my new hobby to good use. 37 bottle stoppers to give out as wedding favors.

    It was a good opportunity to learn to use the skew chisel and try out a few new techniques. Nothing too fancy - I spent about 30 minutes on each one. They are made from maple, purpleheart, and East Indian rosewood.

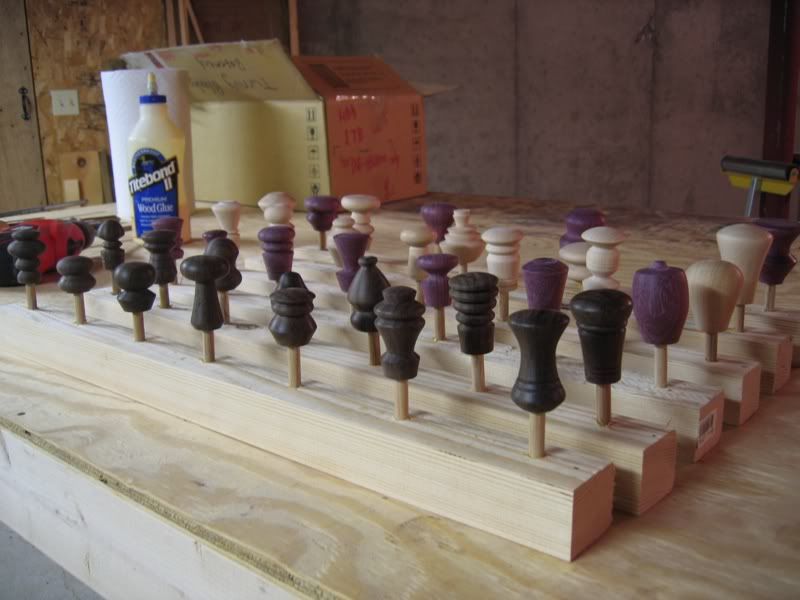
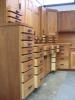
    Here they are, ready to be finished with Deft clear gloss spray lacquer (many thanks to Bernie Weishapl for the advise on how to finish them in batches).


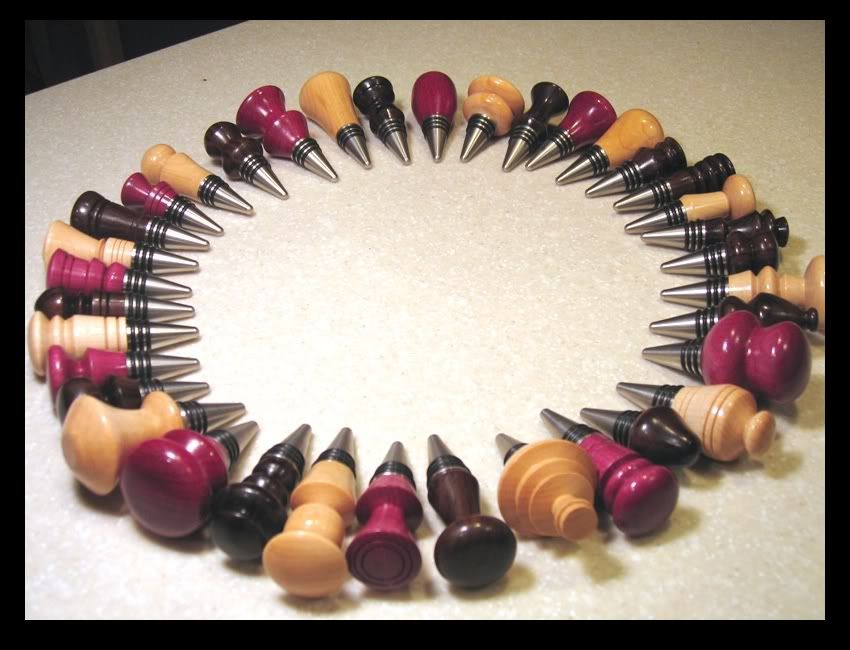
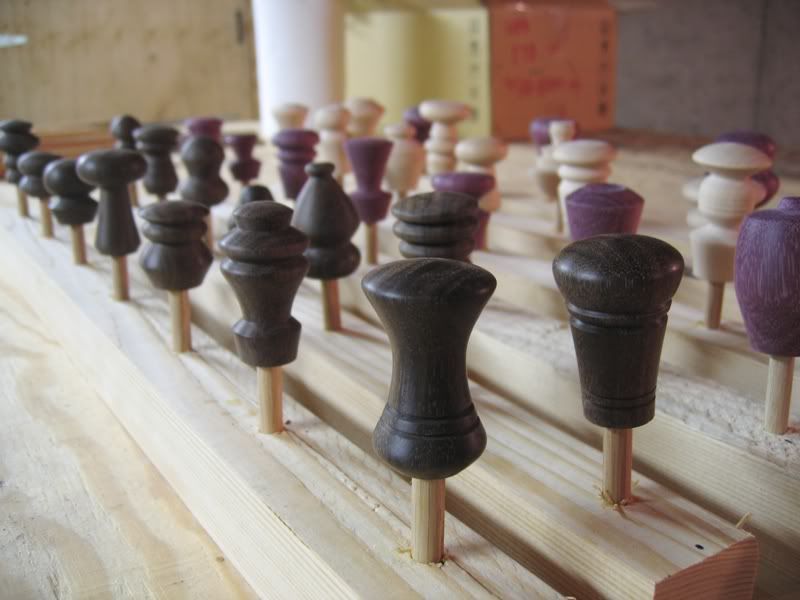
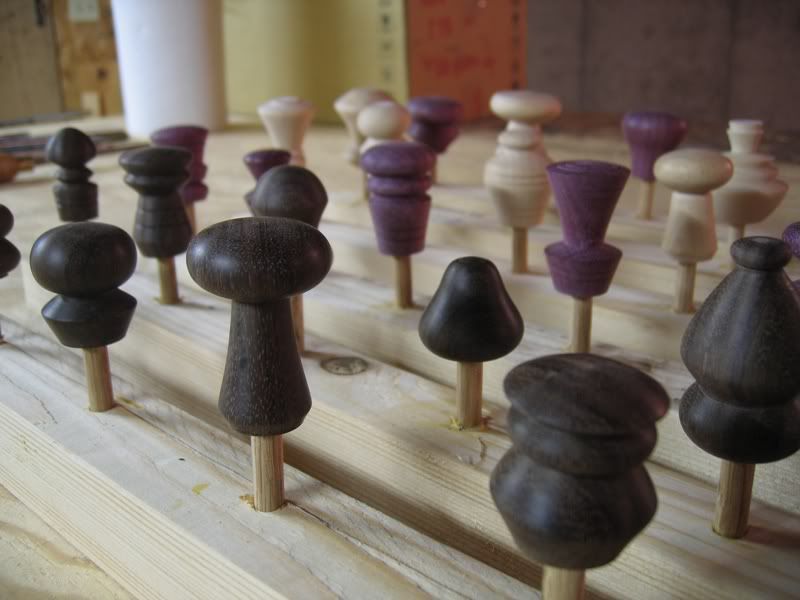
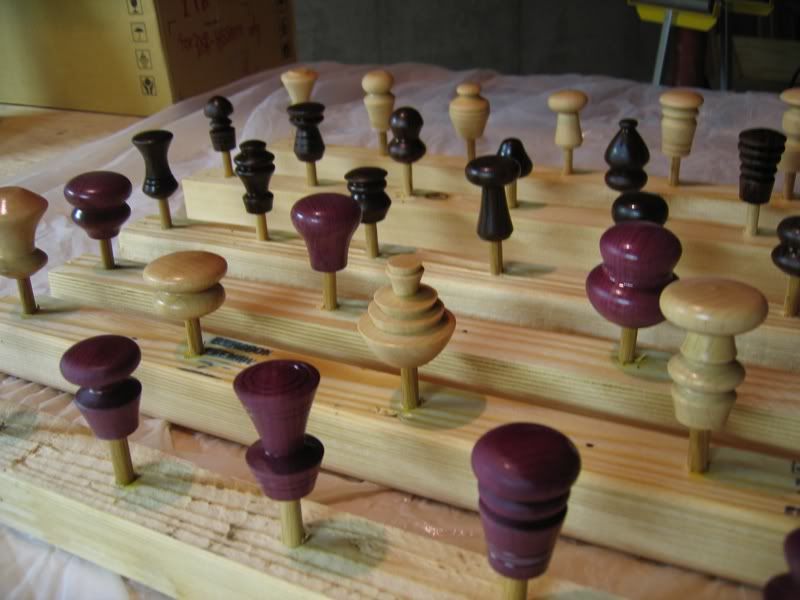
    I just finished the fifth light coat of lacquer here:


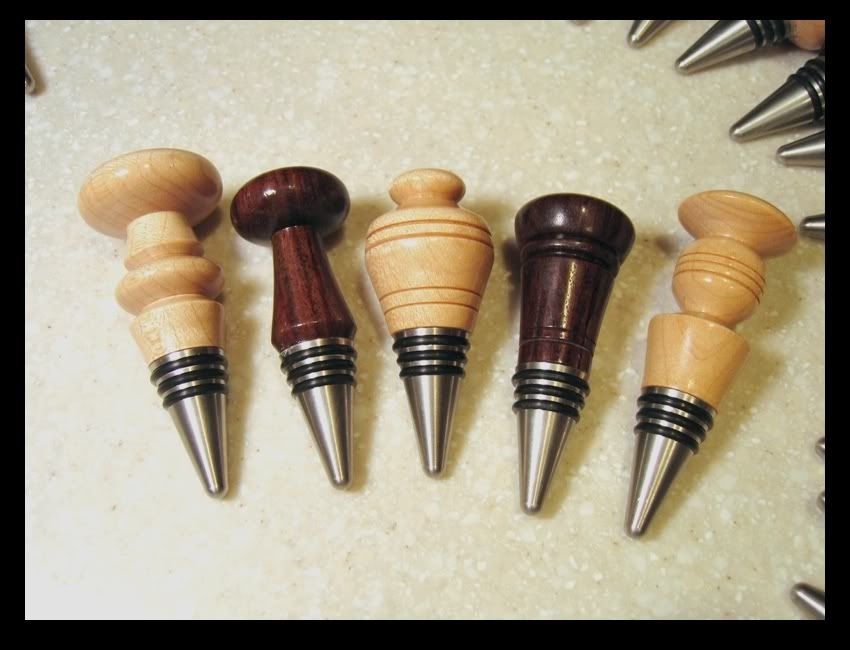
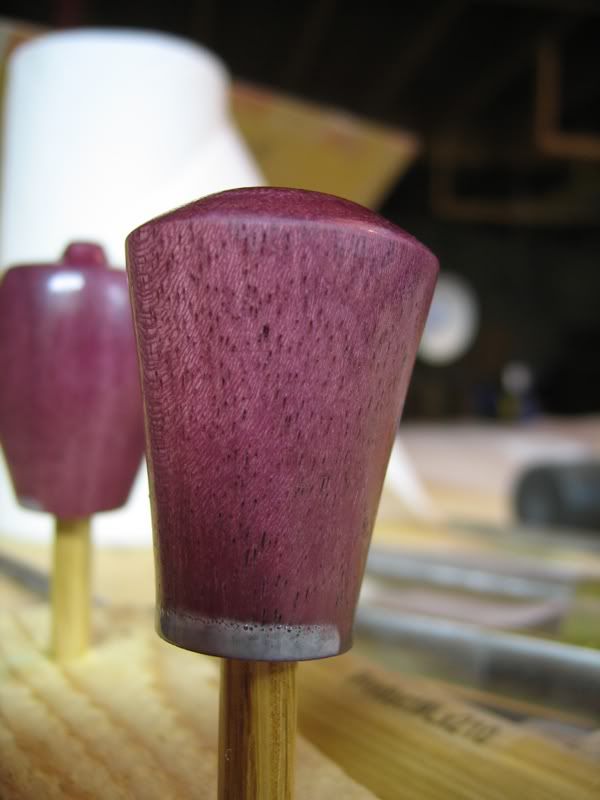
    On a few of the purpleheart pieces, there's a milky residue that has accumulated near the base. I assume I went too heavy with the lacquer on these ones? Will this buff out? I plan to Beall buff them in about a week after the finish has cured. Or is there something I can do preemptively to remedy the problem? This is my first time using Deft spray lacquer. Thanks for any advice or suggestions!


    I will post pictures once they are buffed and the hardware is installed.

    Thanks for looking!
    Last edited by Joe Aliperti; 07-28-2009 at 11:35 PM.

  2. #2
    Joe, this is a fantastic idea. Well done.

    Steve

  3. #3
    Join Date
    Jan 2005
    Location
    Goodland, Kansas
    Posts
    22,605
    Glad to see the idea worked for you Joe. Great looking bunch of stoppers. When it dry just sand it off with say 320 grit or maybe 220 grit. It should come out ok. With the rattle can deft I spray about 5 to 8 light coats. I do mean light. Sometimes it looks like you haven't sprayed anything but is just the wood soaking it up. They are looking fine. I mix my own shellac from flakes and DNA. Sometimes I will give them a coat of shellac before they come off the lathe especially on porous wood. You can buy it already mixed but make sure you get dewaxed shellac.
    Last edited by Bernie Weishapl; 07-28-2009 at 10:27 PM.
    Bernie

    Never put off until tomorrow what you can do the day after tomorrow.

    To succeed in life, you need three things: a wishbone, a backbone and a funnybone.


  4. #4
    Join Date
    Oct 2006
    Location
    Harvey, Michigan
    Posts
    20,804
    Joe - my first thought was 'Oh No! Ruth is retiring?'

    Looks like you have been really busy and must be somewhat of an expert after all those stoppers! I am sure the wedding guests will love the unique gifts!
    Steve

    “You never know what you got til it's gone!”
    Please don’t let that happen!
    Become a financial Contributor today!

  5. #5
    Thanks for the comments and the advice, Bernie. I sanded away the sludge and the next coat seemed to dissolve away the remaining dust.

    Steve, I changed the thread title -- I didn't want to give the wrong idea, just making a joke. I actually first heard of Ruth Niles from your "old dog, new tricks" thread, and purchased the kits from her based on your favorable review.

  6. #6
    Join Date
    Aug 2006
    Location
    Wimberley, Texas
    Posts
    2,828
    Nice work Joe. Those will look great with Ruth's stoppers, especially the rosewood. Maybe will have to make some from a piece of EIR I bought about 25 years ago (if I can find it).
    Richard in Wimberley

  7. #7
    Join Date
    Mar 2007
    Location
    Stony Plain, Alberta
    Posts
    2,702
    Great herd of bottle stoppers Joe....

    I'm sure the wedding guests will love the gifts.

  8. #8
    Great idea and great job. And it's good to see you're getting to know what "MBO" really means. Congrats on the upcoming wedding.

  9. #9
    Join Date
    Feb 2008
    Location
    torrance, Ca
    Posts
    2,072
    Looking good, can't imagine anyone will be disappointed.

  10. #10
    Join Date
    Dec 2008
    Location
    Willamette Valley in Oregon
    Posts
    375
    Great looking batch of stoppers! Nice job!
    Chris

    What! There's no coffee!!?

  11. #11
    Join Date
    Nov 2008
    Location
    central illinois
    Posts
    434
    Joe, that is a great looking bunch of stoppers. I have two questions for ya if you don't mind.

    First, do you sand at all between the coats of laquer spray or because they are so light you don't have to?

    Second, did you let the purple heart set for awhile after turning to allow it to get the purple color back? If so, how long did you let it set before proceeding with a finish? I turned a purpleheart pen the other day but I finished it right after turning and it barely resembles the purple color of the wood that I started with. Thank you and again great looking stoppers.

    John

  12. #12
    Thanks for your comments, everyone!

    Quote Originally Posted by John W Dixon View Post
    Joe, that is a great looking bunch of stoppers. I have two questions for ya if you don't mind.

    First, do you sand at all between the coats of laquer spray or because they are so light you don't have to?

    Second, did you let the purple heart set for awhile after turning to allow it to get the purple color back? If so, how long did you let it set before proceeding with a finish? I turned a purpleheart pen the other day but I finished it right after turning and it barely resembles the purple color of the wood that I started with. Thank you and again great looking stoppers.

    John
    John,

    I did not sand between coats (except to help remove the excess as seen in the purpleheart closeup). As I understand it, subsequent coats of lacquer "dissolve" into each other, and sanding in between is not necessary. I think I went a little heavy with a few of the first coats, concerned that I wasn't getting full coverage. But in retrospect, I think it is more important to keep the coats light, and many coats will ensure full coverage.

    As for the purpleheart, it had a nice purple color right off the lathe. I started the lacquer coats 2 days after I finished turning, and the color still looks good to me. Hopefully it will stay. I've only worked with purpleheart once before, and I used an oil finish, which darkened the wood so much that I think I prefer the clear coat finish. What kind of finish did you use on the pen? Here's the piece that I used the oil finish on for reference:


  13. #13
    Purpleheart will eventually turn into a brown color sooner or later regardless of the finish as far as I've experienced. and for the Deft, I use it a lot on my flatwork and I'd say you should sand lightly between coats because it leaves for better adhesion between coats so you get a better finished product. I sand to 220 before the first coat then progress between coats from 320 on up to 600 and sometimes as high as 1000 then you can wax after to a nice sheen with a rag or use 4/0 steel wool with some wax and rub into the surface then later buff off.

    good luck. I hope I explained it clear enough
    well depending on the way I would travel, I'm roughly 2,340 miles to 2,529 miles away from the infamous STEVE SCHLUMPF!!!!

  14. #14
    Join Date
    Aug 2006
    Location
    Wimberley, Texas
    Posts
    2,828
    Purpleheart is said to recover its purple color when expesed to direct sunlight for a couple hours.

    Sanding between coats of lacquer is neither necessary nor desireable. As mentioned, subsequent coats of lacquer do indeed dissolve into the existing material to form what amounts to a single, thicker coat. This is not true of other film forming finishes like polyurethane, which generally do benefit from light sanding between coats to provide "tooth" for the next coat.

    After "building" a lacquer finish with multiple coats to the desired thickness and allowing it to cure from one to several days, it may be sanded level and smooth, to the desired grit, and buffed to a high gloss.
    Richard in Wimberley

  15. #15
    They're finished! After the lacquer had a week to cure, I buffed them with tripoli and white diamond. Then I applied some Renaissance wax and buffed it out with the Beall wax buff.


Posting Permissions

  • You may not post new threads
  • You may not post replies
  • You may not post attachments
  • You may not edit your posts
  •