Page 12 of 17 FirstFirst ... 28910111213141516 ... LastLast
Results 166 to 180 of 253

Thread: Maple Thinline Telecaster

  1. #166

    More Pics...

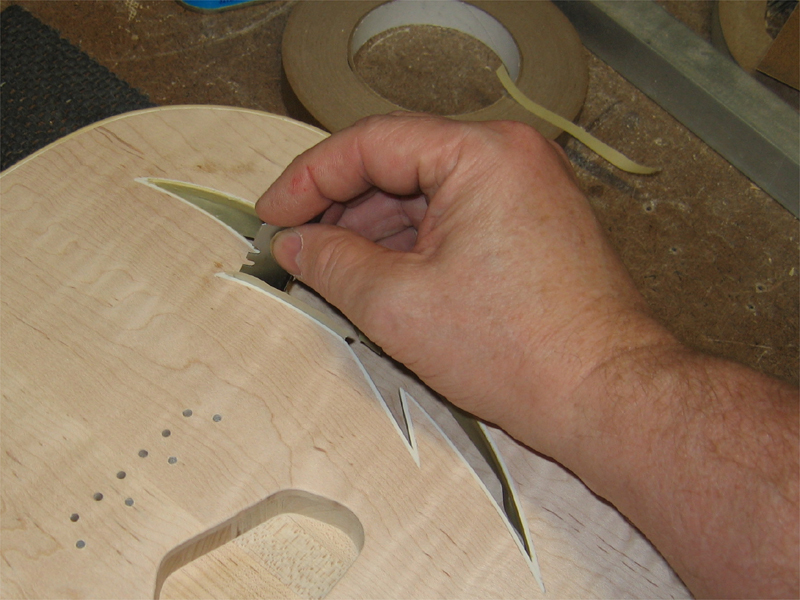
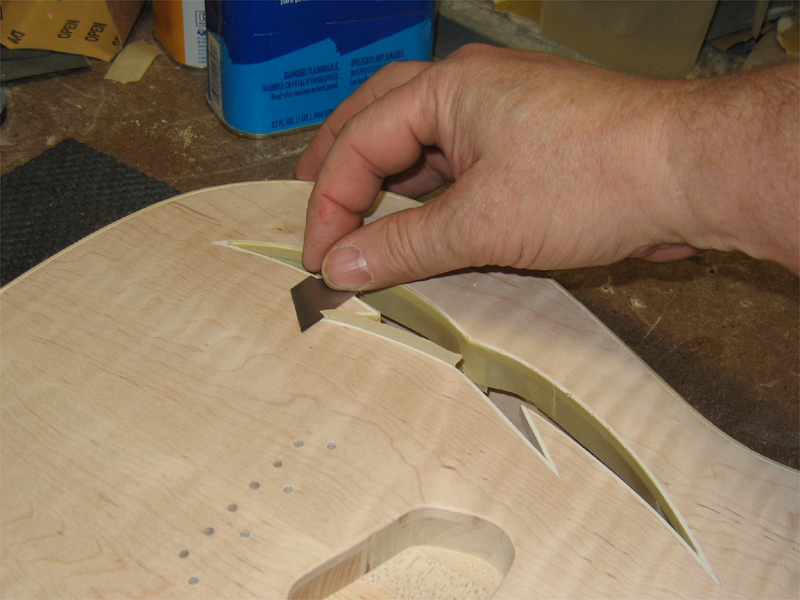
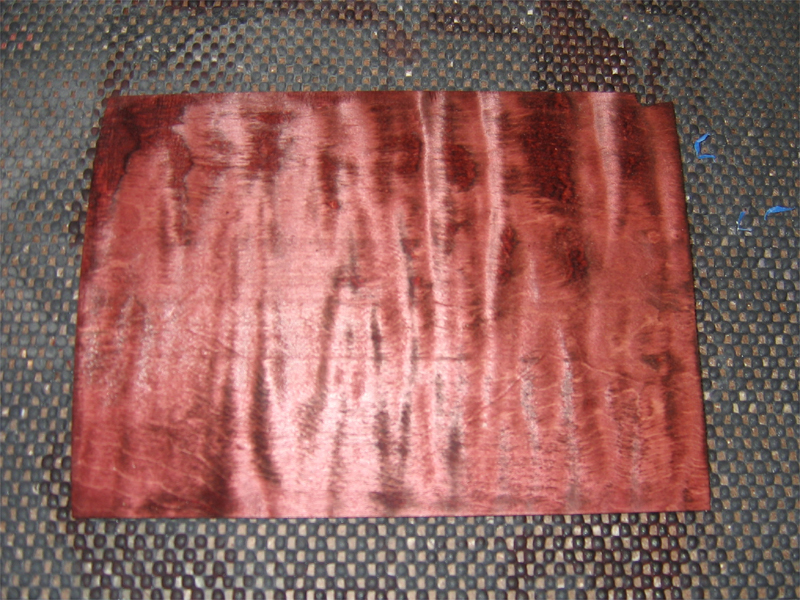
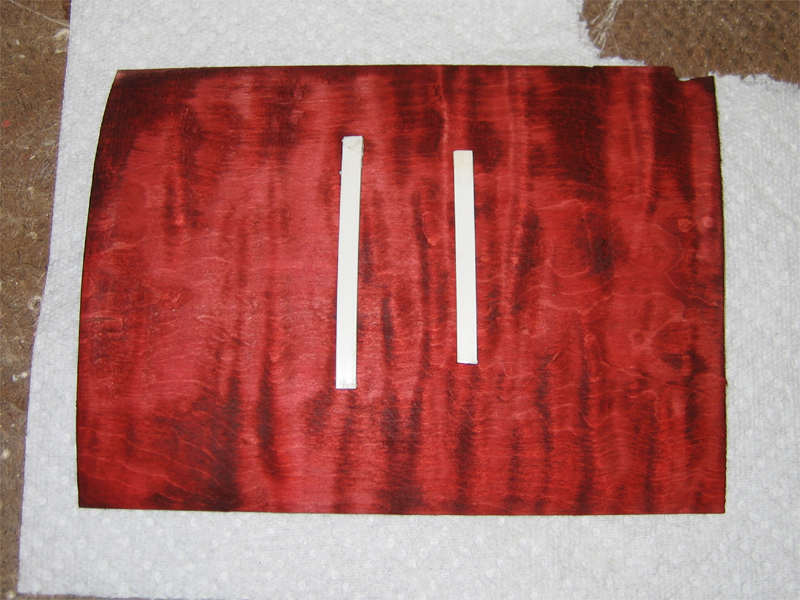
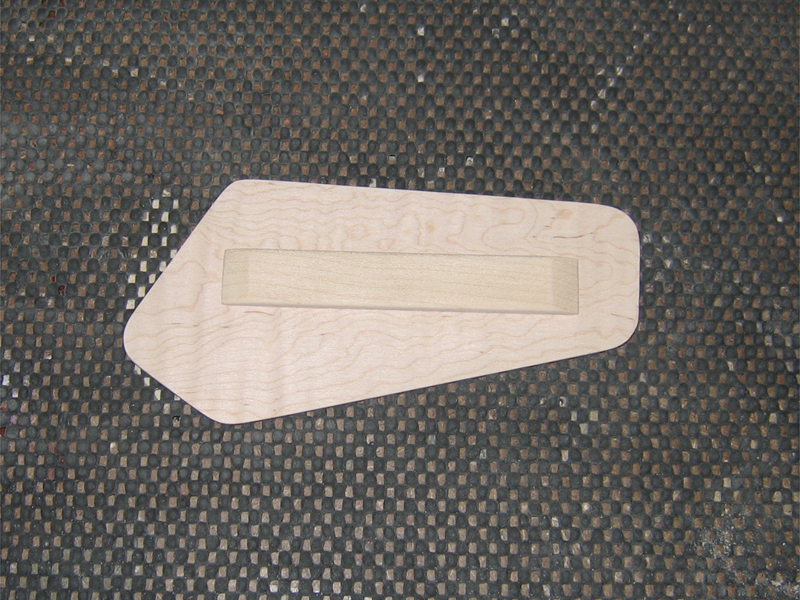
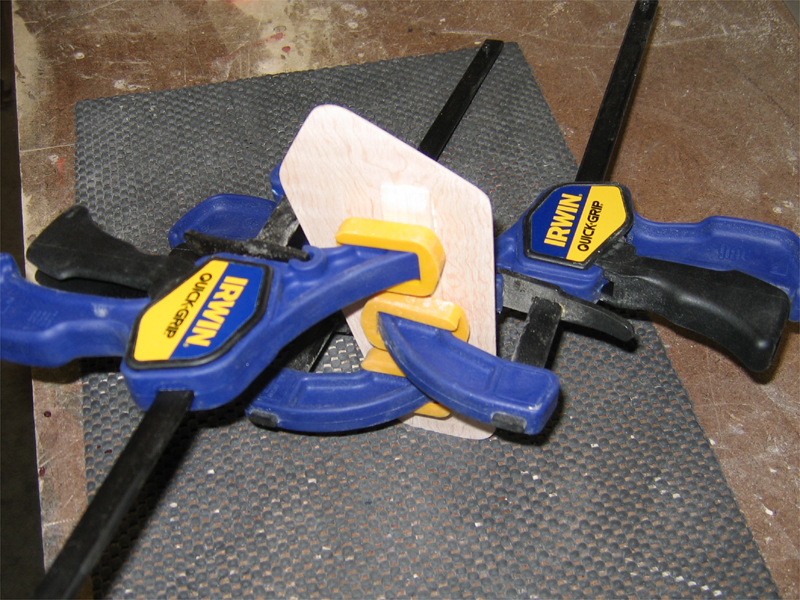
    The tiny bit of water I used during whiskering made the cover warp a bit so I made a brace for it.


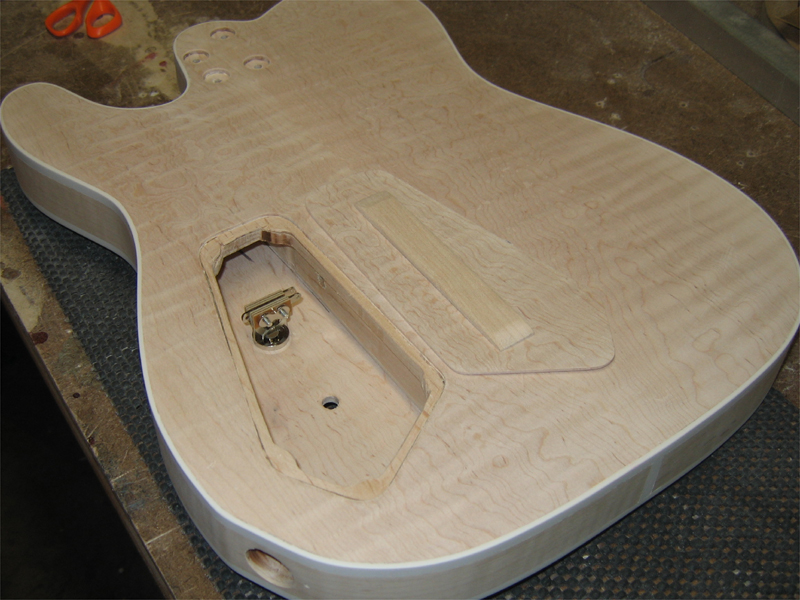
    After installing the switch to make sure there was plenty of clearence...
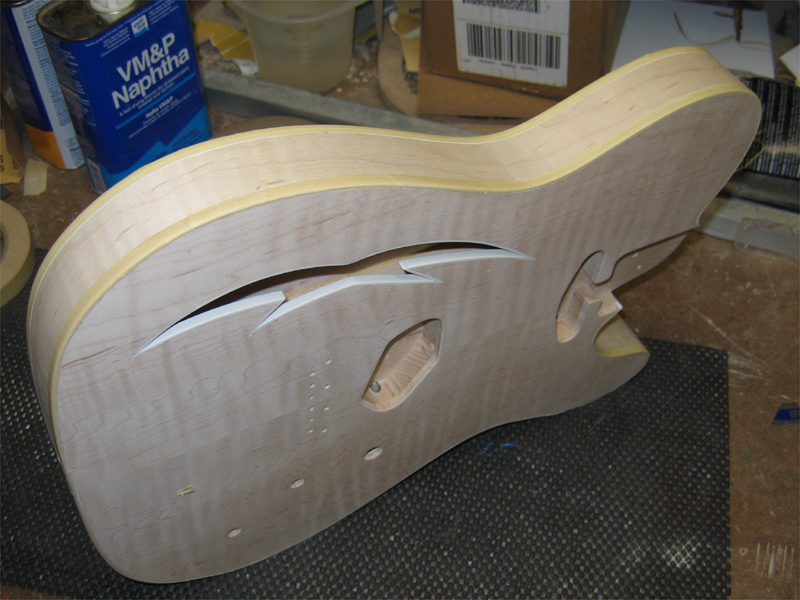


    I glued it up...


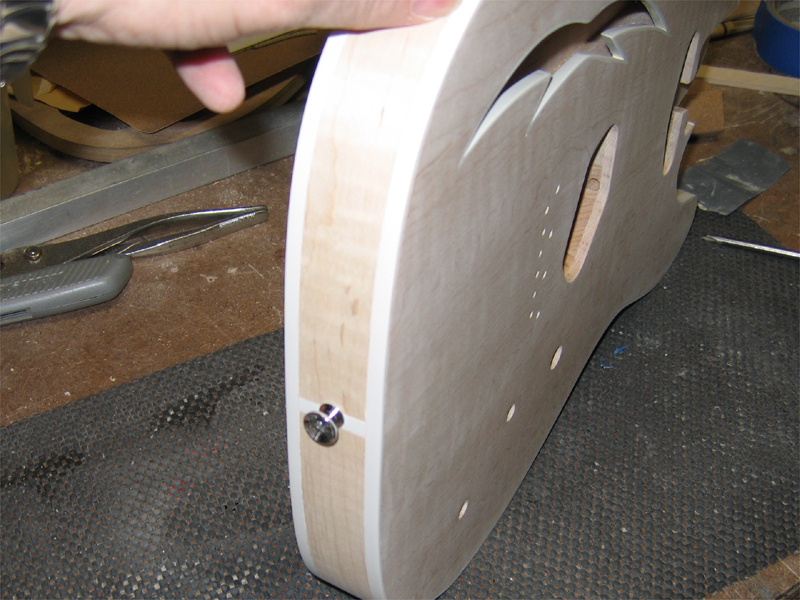
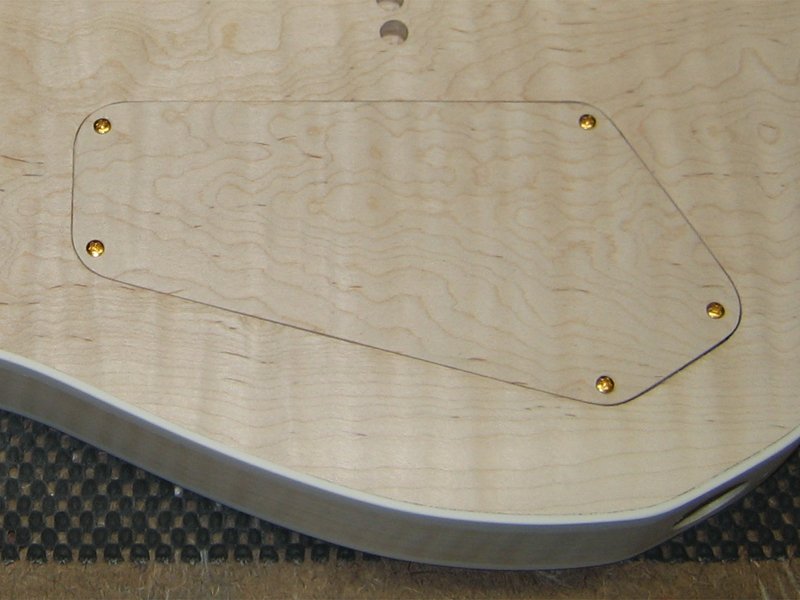
    And drilled and countersunk the holes.


    Looks good. If it proves to be too unstable, I have black and white plastic covers already cut out as alternatives.
    "Thought that is no longer limited brings experience that is no longer limited" Marianne Williamson.

  2. #167

    More Pics...

    I drilled and installed the strap buttons...


    And then masked the bindings.


    The vent took a bit of practice but with a new utility knife blade, I was able to use the back edge to ease the tape into the corners...


    Then by laying it flat, trim the tape flush. I tried to tape off the top, but at .060", it wasn't working. No problem. I'm going to sand back the first application of dye so I'll sand it off the top of the biding as well. Then with more contrast between the wood and binding, I'll be able to do a better job of masking for the final color.

    "Thought that is no longer limited brings experience that is no longer limited" Marianne Williamson.

  3. #168

    More Pics...

    I also layed a piece of heavy card stock down in the vent to catch any dye solution that might drip inside.


    And speaking of dye...I did a test on the trans red!!!

    First, I used TransTint Mahogany Red. Let it dry and then sanded it back. I'm sure it would have shown darker had I photographed it over a lighter background.


    Then I went over it with StewMac Cherry Red with a touch of the Mahogany Red to get the shade I wanted.


    Here's a shot that shows the contrast between the color and the white binding.

    Me likey!!!


    Peace,
    Mark
    "Thought that is no longer limited brings experience that is no longer limited" Marianne Williamson.

  4. #169
    Join Date
    Dec 2008
    Location
    Pensacola Florida
    Posts
    2,157
    Mark, thats going to be beautiful. cant wait to see this beast get some color
    Dave

    IN GOD WE TRUST
    USN Retired

  5. #170
    I spread a thin coat of clear lacquer on this morning. The shot doesn't really show it but even a thin coat deepens the effect quite a bit.

    "Thought that is no longer limited brings experience that is no longer limited" Marianne Williamson.

  6. #171
    That is going to FANTASTIC!!! The excitement is building!!

  7. #172

    More Pics 12-21-09

    I started on the finish tonight. Using the same process I used in my sample above. This time I wiped on a dark coat of dye, sanded it ba...no pics of that...not much to see.


    Then I did a light wash coat...the flash makes it look more red than it is...it's actually a darker, muted brown.


    Then sanded that back...grain's a poppin'!!!


    Tomorrow, I move on to the red...

    Peace,
    Mark
    "Thought that is no longer limited brings experience that is no longer limited" Marianne Williamson.

  8. #173
    Join Date
    Dec 2008
    Location
    Pensacola Florida
    Posts
    2,157
    Mark, that is looking really good, cant wait for the red
    Dave

    IN GOD WE TRUST
    USN Retired

  9. #174
    That grain is gonna jump off that thing!! Can't wait....!!!!!

  10. #175

    More Pics 12-22-09

    Well, I applied the red dye and I have to say it came out better than I expected. I started with the formula I had used during my test but it was just TOO red...tomato red. So I added a couple of drops of black and toned it down a bit. I ended up with a very deep, rich red. I'm very happy with the color and of course, the photos really don't show the figure as it looks in person...or the true color for that matter. In the shots, the areas closest to the flash went a bit magenta while the areas farther away are the deep red I was shooting for. The last shot is the closest to how it looks in person.


    I opted to scrape the bindings instead of masking...I didn't want to risk any undyed wood that might have been overlapped with tape. I've never scraped binding before but it went very smoothly. I figured out that you don't approach the edge with the scraper at an angle flat to the body but rather at an angle slighly less than flat and it works quite well.


    Just a bit of clean up on the binding and clear coats left to go...

    Peace,
    Mark
    "Thought that is no longer limited brings experience that is no longer limited" Marianne Williamson.

  11. #176
    Nice!!!! Very nice!!!! Exceptionally nice!!!

  12. #177
    Join Date
    Dec 2008
    Location
    Pensacola Florida
    Posts
    2,157
    Mark, thats beautiful...WOW
    Dave

    IN GOD WE TRUST
    USN Retired

  13. #178
    Quote Originally Posted by John Keeton View Post
    Nice!!!! Very nice!!!! Exceptionally nice!!!

    Quote Originally Posted by David Christopher View Post
    Mark, thats beautiful...WOW
    Thanks John and David! It's been a long time coming, and I'm glad to be turning the corner on this project...mostly because I want to play it again!

    Peace,
    Mark
    "Thought that is no longer limited brings experience that is no longer limited" Marianne Williamson.

  14. #179
    Mark,
    I’m with you on the deep red. A brighter red would have detracted from the “flame maple”. What color scheme will you be using for the rest of the guitar?


  15. #180
    Quote Originally Posted by Harry Hagan View Post
    Mark,
    I’m with you on the deep red. A brighter red would have detracted from the “flame maple”. What color scheme will you be using for the rest of the guitar?
    Hi Harry. Thanks! The hardware will be chrome except for the bridge pickup which has an exposed bobbin that's black. The neck is maple and will be finished in clear lacquer with just a touch of vintage amber to enhance the flame in the maple.

    I was so much into getting the shade of red that I wanted that I forgot to dye the control cover at each stage. Sadly it no longer matches and will likely be replaced with a white plastic cover. I wasn't confident in it's strength anyway. I might try reversing the process on the wood cover by adding a pass of cherry red dye but I don't think it will work...worth a shot, I guess.

    Peace,
    Mark
    "Thought that is no longer limited brings experience that is no longer limited" Marianne Williamson.

Posting Permissions

  • You may not post new threads
  • You may not post replies
  • You may not post attachments
  • You may not edit your posts
  •