Page 4 of 5 FirstFirst 12345 LastLast
Results 46 to 60 of 73

Thread: New Build: Alder and Maple Tele

  1. #46

    Truss rod

    Mark-

    your builds have inspired me to build my own bass guitar.
    I have always wanted a Wal bass, but am not willing to pay $4500+ for a new or used one... so i think i will make my own "inspired" by their design.
    The one thing that really scares me is the truss rod.
    My first thought is to do a neck through body design which might negate the need for a truss rod...
    On this build did i miss the step where you installed the Truss rod? or did you not use one? If not, why not?

    Thanks

    MATT

  2. #47
    Matt,

    See page two. Make sure you're viewing in "Linear Mode".


  3. #48
    Quote Originally Posted by Matt Slayen View Post
    Mark-

    your builds have inspired me to build my own bass guitar.
    I have always wanted a Wal bass, but am not willing to pay $4500+ for a new or used one... so i think i will make my own "inspired" by their design.
    The one thing that really scares me is the truss rod.
    My first thought is to do a neck through body design which might negate the need for a truss rod...
    On this build did i miss the step where you installed the Truss rod? or did you not use one? If not, why not?

    Thanks

    MATT
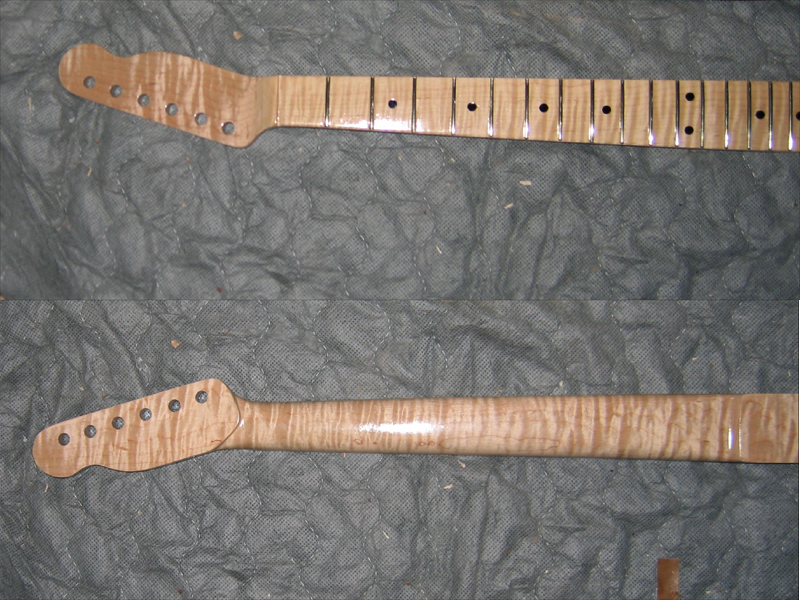
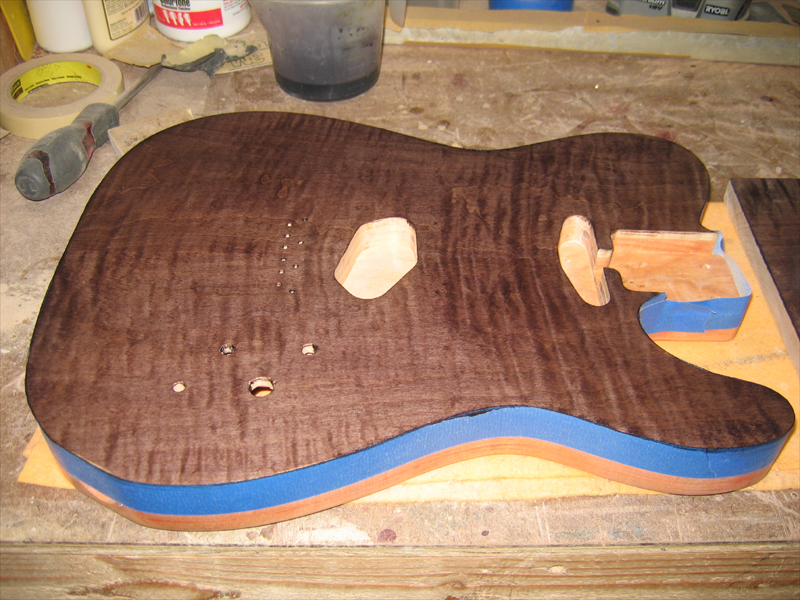
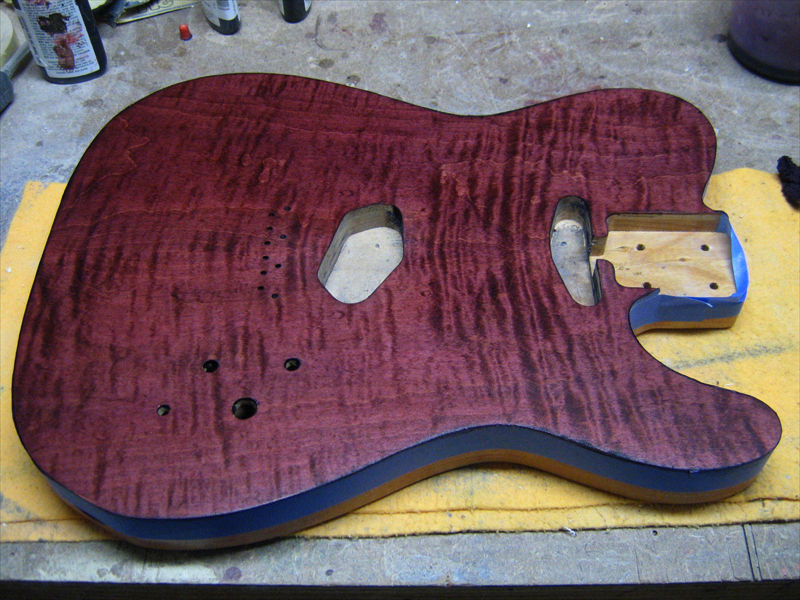
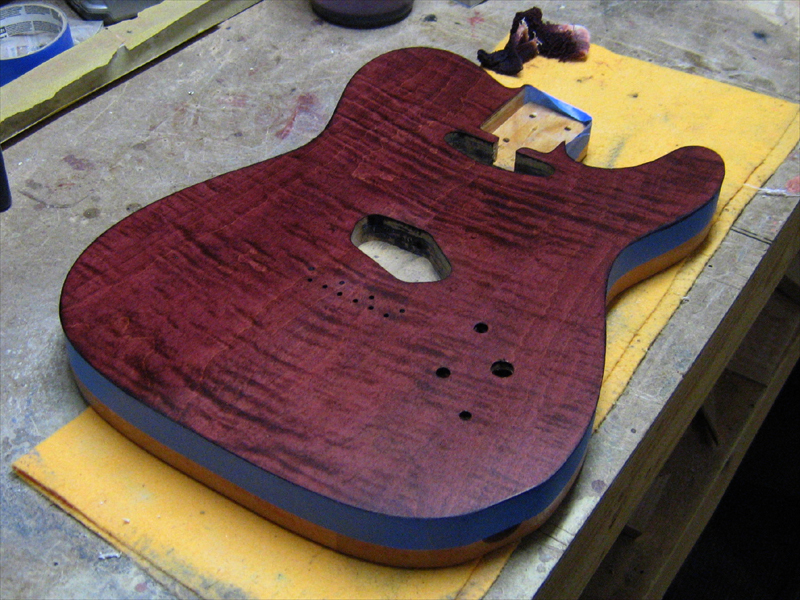
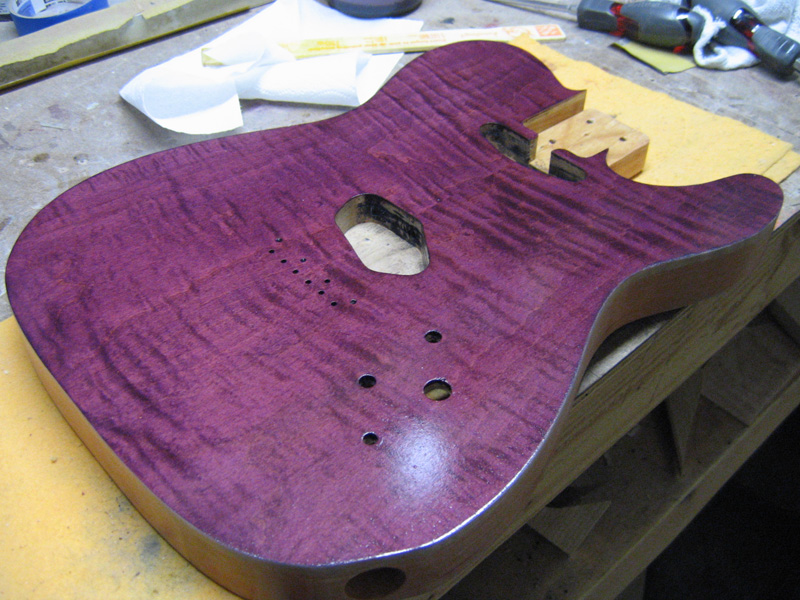
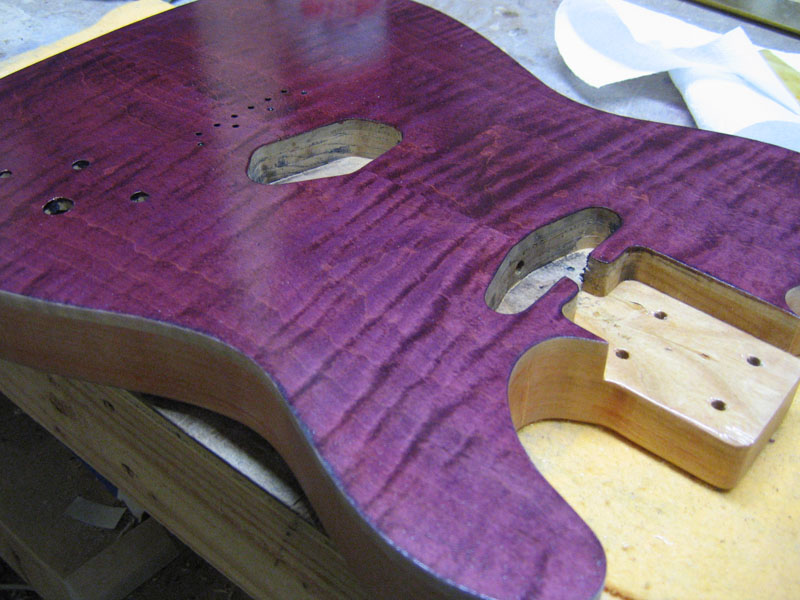
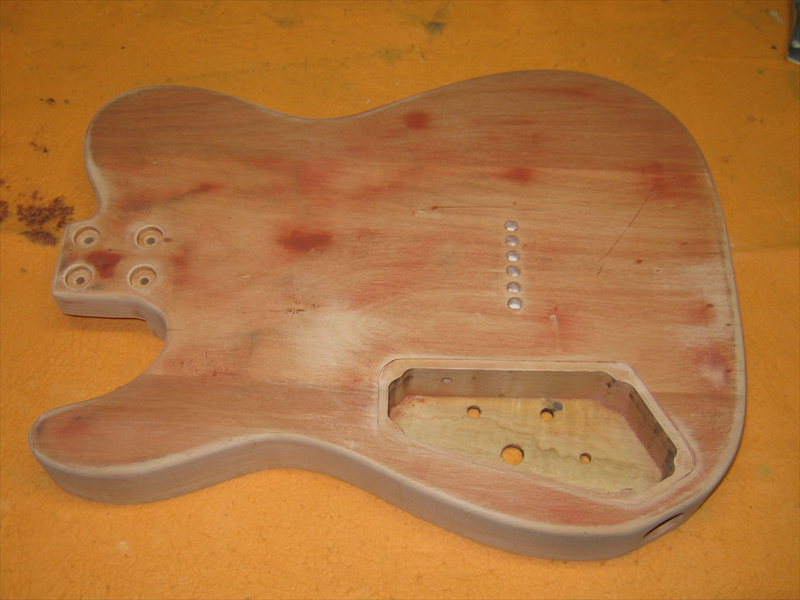
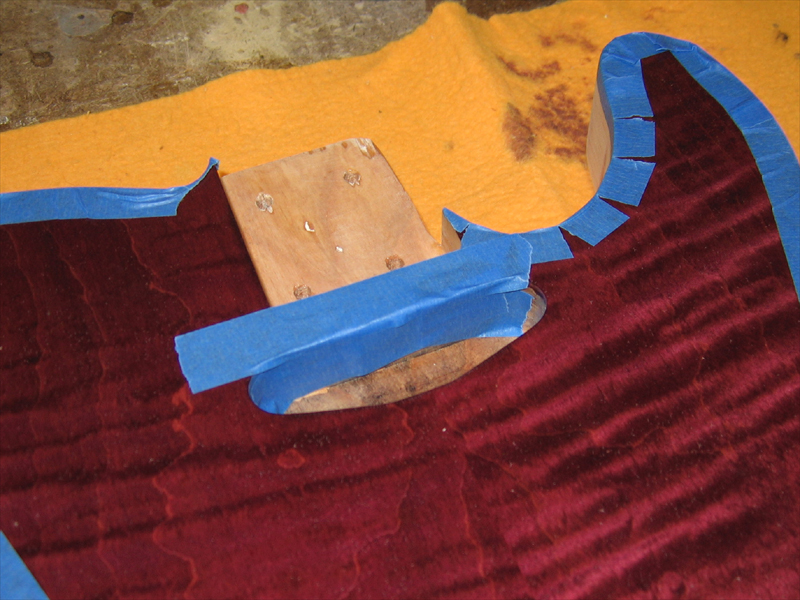
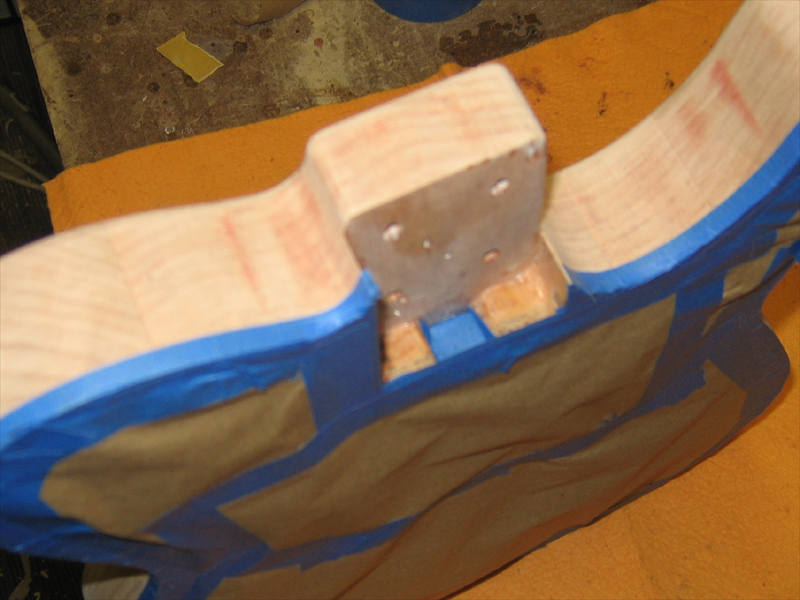
    Hey Matt. There is a TR installed. Page 2 of this thread shows the cutting of the channel and the rod installed before gluing on the fretboard.

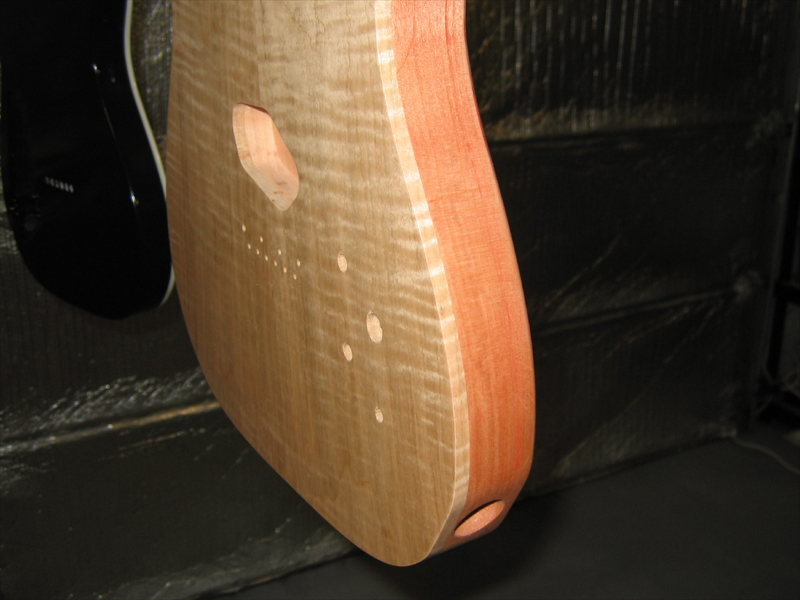
    I don't think a bass without a TR or neck support of some kind would do very well. Bass guitars have alot of tension on the neck. Maybe if the neck blank were a multi-piece laminate. But, if you're off by even a bit, it would be next to impossible to fix without reworking the neck or settling for string height that's less than comfortable to play. Even if you get it spot on during the build, it's going to move over time with changes in temp, humidity and string tension.

    The TR installation isn't too tough. I would recommend practicing on some cheap pine until you're comfortable cutting and installing the real deal.

    Best of luck with the build. I hope you'll share your progress with us.

    Peace,
    Mark
    "Thought that is no longer limited brings experience that is no longer limited" Marianne Williamson.

  4. #49
    i did miss that on page 2...
    with the maple fingerboard and the maple neck i didnt see the fingerboard/neck seam...

  5. #50
    Quote Originally Posted by Matt Slayen View Post
    i did miss that on page 2...
    with the maple fingerboard and the maple neck i didnt see the fingerboard/neck seam...


    Let me know if I can help with any questions.

    Peace,
    Mark
    "Thought that is no longer limited brings experience that is no longer limited" Marianne Williamson.

  6. #51

    Update - 02-27-10

    I've been away from this build for awhile. I started 2 others thinking I'd work them all together but my focus shifted.

    Well, it's time to put a finish on this one. I still plan to go with black burst top, faux binding and opaque black back. I have the maple neck/fretboard ready to go also, but I'm not sure this will be the neck that stays with it. I may build one with a rosewood fretboard for this guitar. I'm still considering a black burst on the neck...or at least a trans black. Not sure how I would lay it out but since the neck has a separate fretboard, I could carry the faux binding down the neck, too.

    Hmmm. I need to do a mock up first.


    More soon. I have this one, and both the ash and walnut Teles ready for finish this weekend. I might even toss in the Texas Tele and get it wrapped up.

    Peace,
    Mark
    "Thought that is no longer limited brings experience that is no longer limited" Marianne Williamson.

  7. #52

    Update - 03-16-10

    I started on clear coats today. The neck has 5 coats on it. I'll give it a few days and then wetsand it before final coats. I'm really pleased with the flame on this one.


    I also put a couple of coats on the body to seal the maple and help protect the edges that will eventually be the binding.


    The red spots are lacquer putty, otherwise know as glazing putty. It makes a huge difference when doing opaque finishes. It fills in all the tiny surface imperfections. Alder is so soft and easy to ding, that even being careful, I managed to scratch it...see the red scratch at the bottom of the body. Lacquer putty makes quick work of this sort of thing. It applies easily, dries fast and sands like butter. It's a bit messy, so keeping the dust collector or vacuum close makes a big difference.

    "Thought that is no longer limited brings experience that is no longer limited" Marianne Williamson.

  8. #53
    I'm back on this one again...it's been hit and miss but I'm pushing to get this one and my $210 Challenge build to finish at the same time.
    With a couple of clear coats on the sides to protect the faux binding, I'm ready to start the dye process.


    After wetting the top, and a piece of similar maple for finish testing, to raise the grain...


    I sanded it back to knock off the stubble.


    Then I applied a generous coat of black dye.


    I'll sand it back this evening and start testing with color...I'm leaning toward purple, but I've changed my mind on this several times already. So....

    Last edited by Mark Crenshaw; 03-16-2010 at 8:45 AM.
    "Thought that is no longer limited brings experience that is no longer limited" Marianne Williamson.

  9. #54
    Well, I'm no longer thinking about what color to use on this build It's PURPLE!

    I'm loving it!

    Can't wait to get a few coats of clear on it. I'll leave the edge of the maple cap natural as faux binding...which will tie in nicely with the flame maple neck...and I think I'll black out the back...a purple back would be too much I think :!::!::!:


    "Thought that is no longer limited brings experience that is no longer limited" Marianne Williamson.

  10. #55
    Join Date
    Jul 2003
    Location
    Northwest OH
    Posts
    365

    brilliant

    these things just keep getting better.

  11. #56
    Quote Originally Posted by Brad Schafer View Post
    these things just keep getting better.
    Thanks Brad!
    "Thought that is no longer limited brings experience that is no longer limited" Marianne Williamson.

  12. #57
    I shot a few coats of clear to protect the dye while I work on the back and sides. Next. I'll sand back the sides and clean up the maple edge. I hope to get this one finished by this weekend.


    Peace,
    Mark
    "Thought that is no longer limited brings experience that is no longer limited" Marianne Williamson.

  13. #58
    "Purple Rain"? Another great Tele.

    I have a class coming up making one, should be a lot of fun.
    joecrafted

  14. #59
    Quote Originally Posted by Joe Cunningham View Post
    "Purple Rain"? Another great Tele.

    I have a class coming up making one, should be a lot of fun.
    Thanks Joe!

    Mark
    "Thought that is no longer limited brings experience that is no longer limited" Marianne Williamson.

  15. #60
    More shots of the finishing process. With the top dyed and clear coated, I sanded the sides back to make sure the edge of the maple cap was clean.


    This thing looks like a train wreck but it's smooth and clean and ready for black color coats.


    I taped off the faux binding and placed tape over any areas I didn't want overspray to reach.


    Close up of the masking around the truss rod adjustment route...nothing can reach the neck PU route or the top of the guitar.


    "Thought that is no longer limited brings experience that is no longer limited" Marianne Williamson.

Posting Permissions

  • You may not post new threads
  • You may not post replies
  • You may not post attachments
  • You may not edit your posts
  •