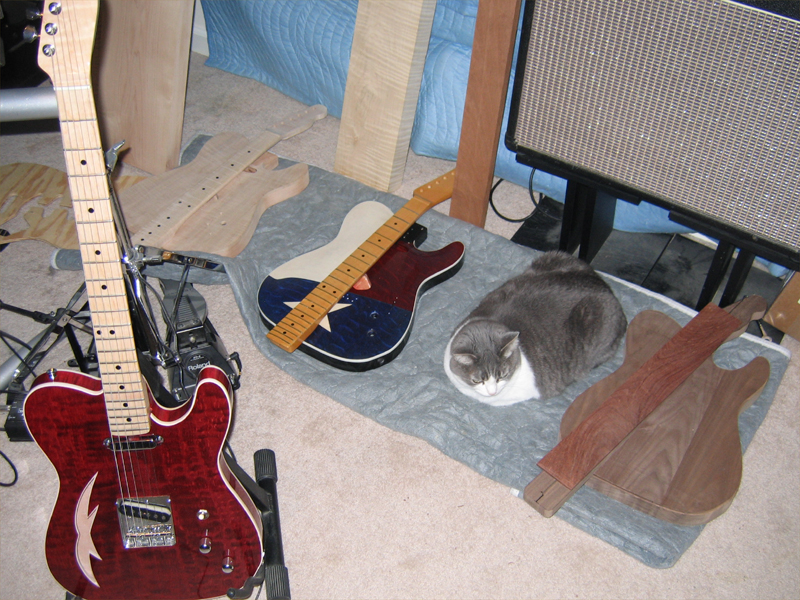
I'm out of control!!!
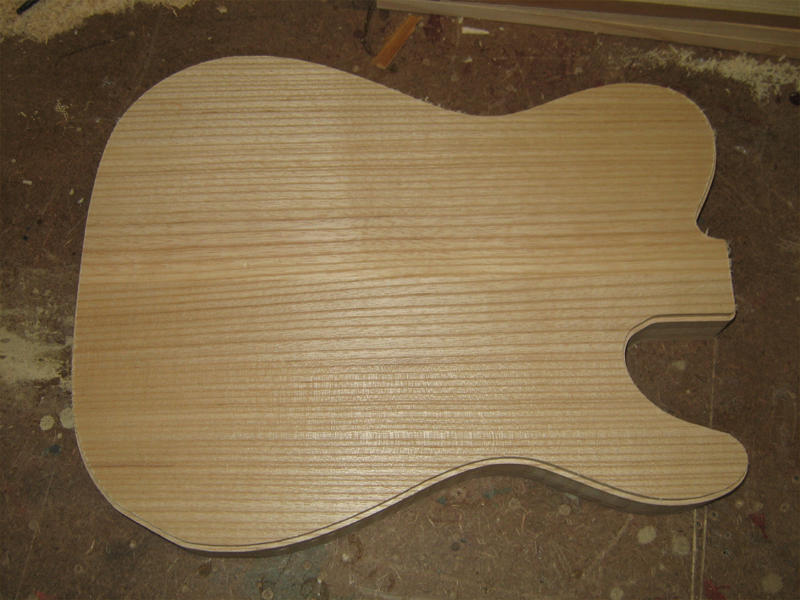
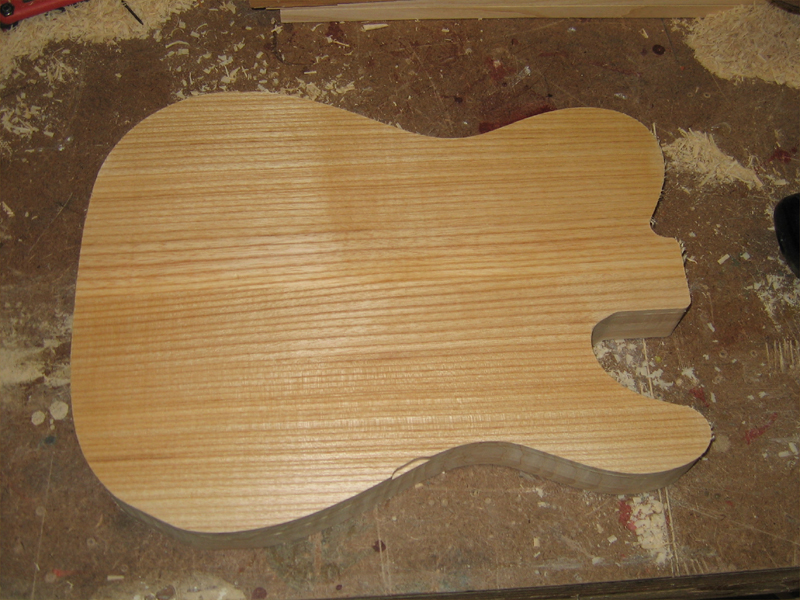
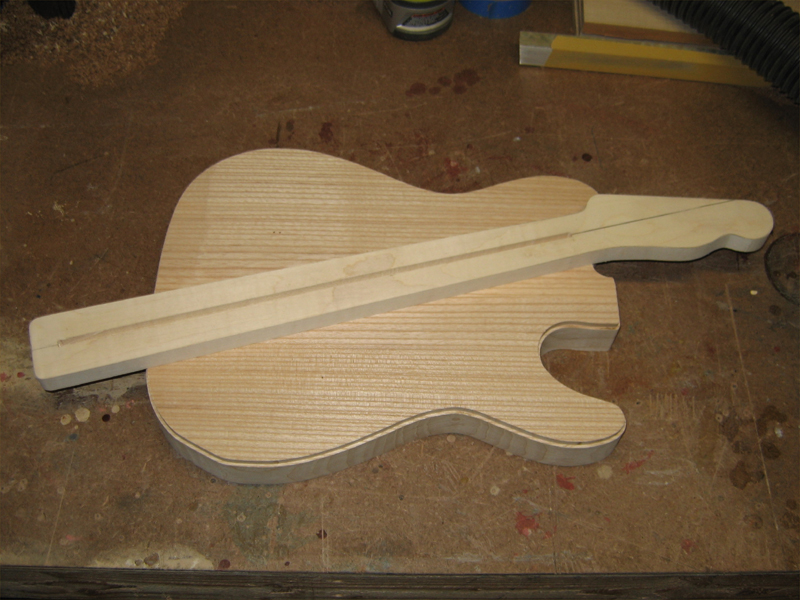
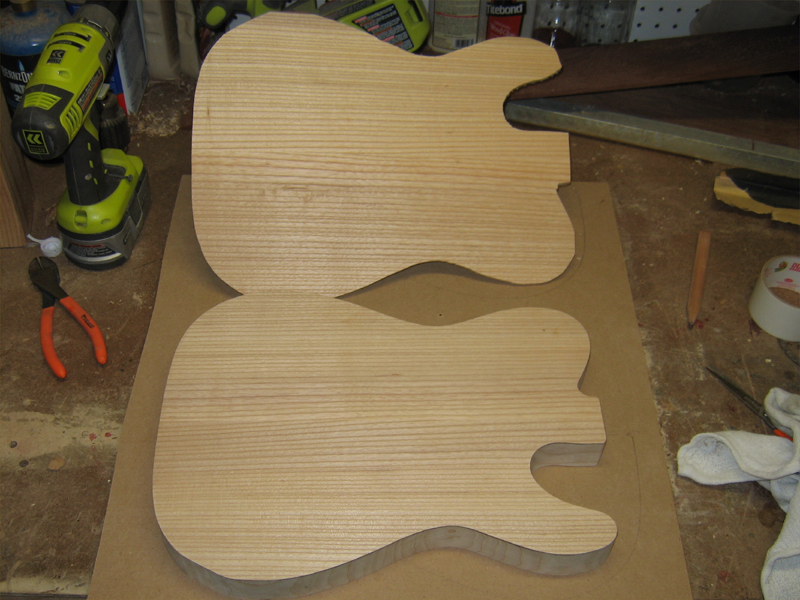
After my last few builds, I wanted to do something classic. So, I've decided to build an ash Tele.
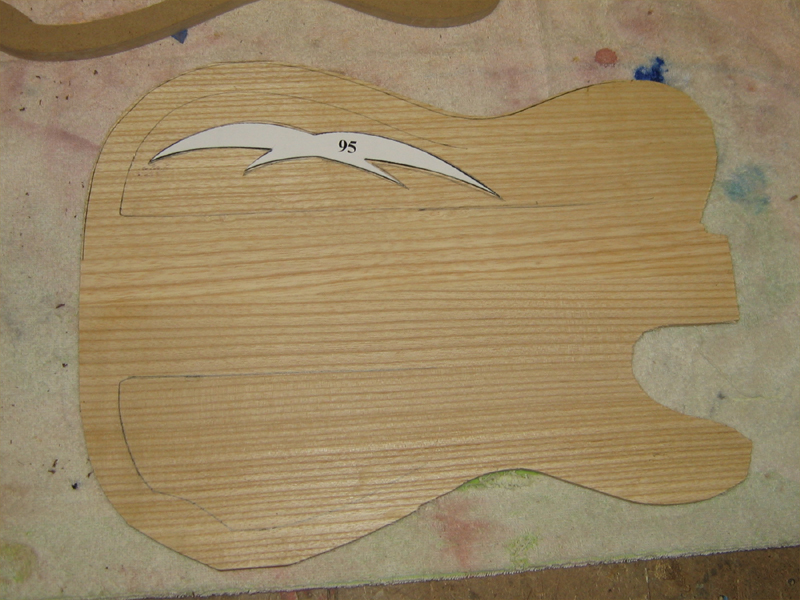
Specs:
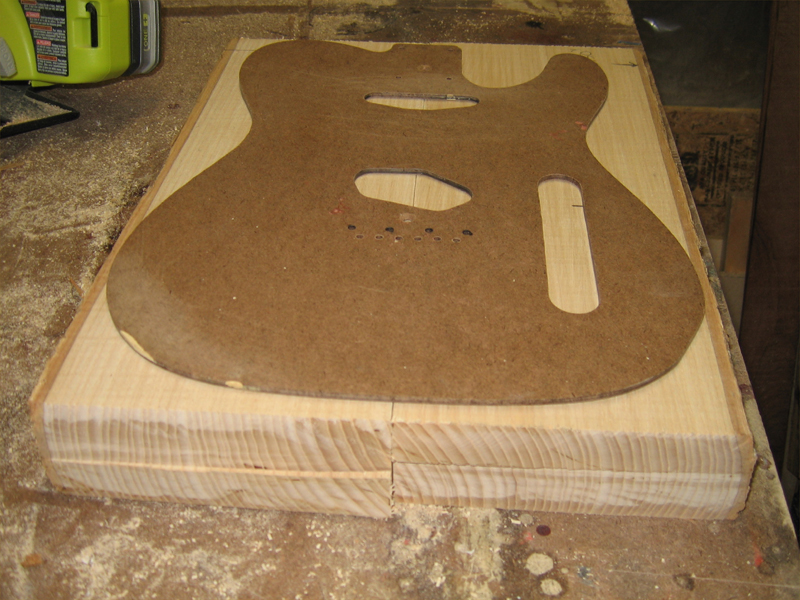
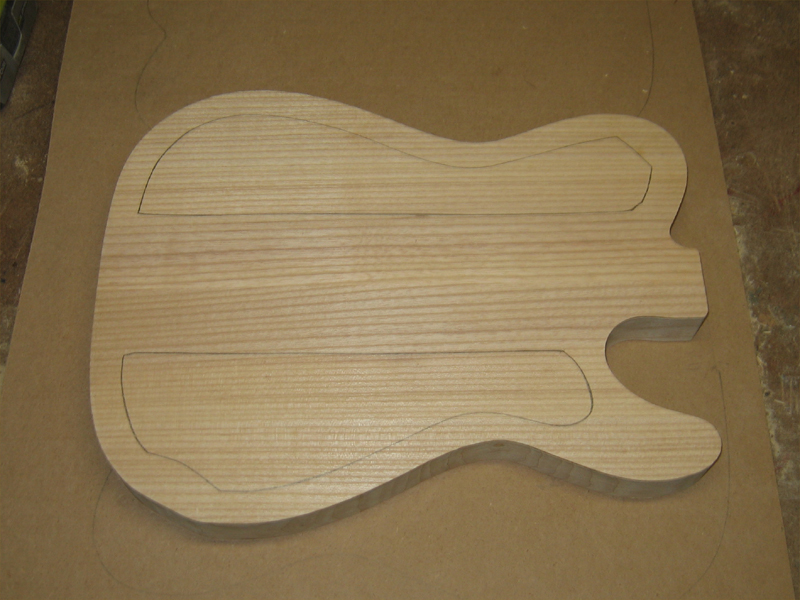
Quarter sawn 2 piece ash body
Black pickguard
Standard Tele pups and hardware
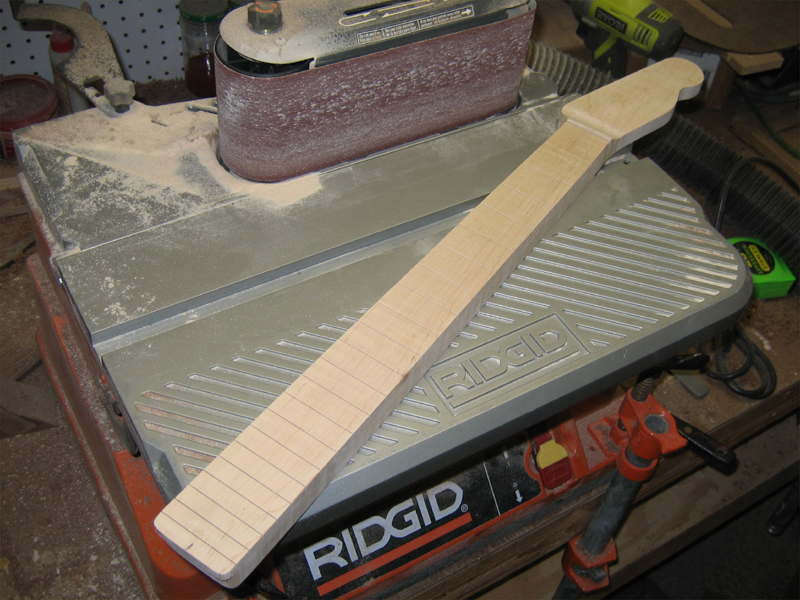
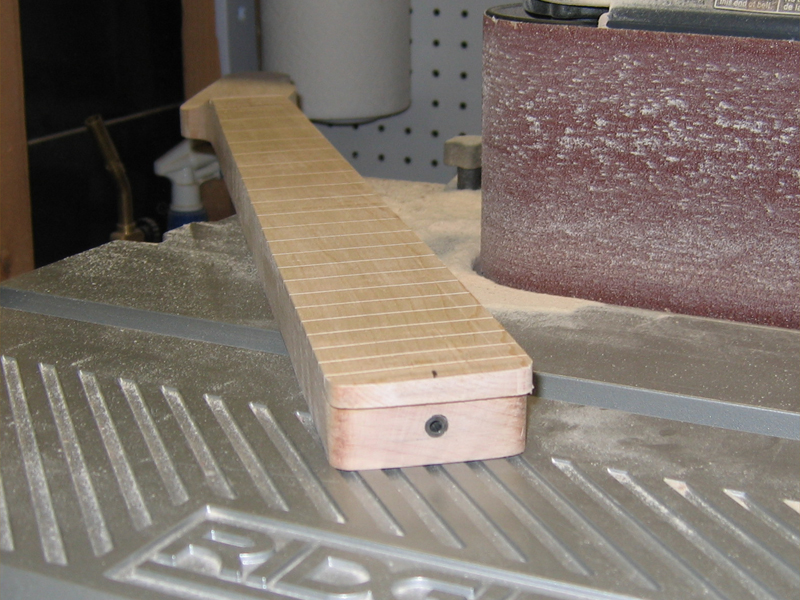
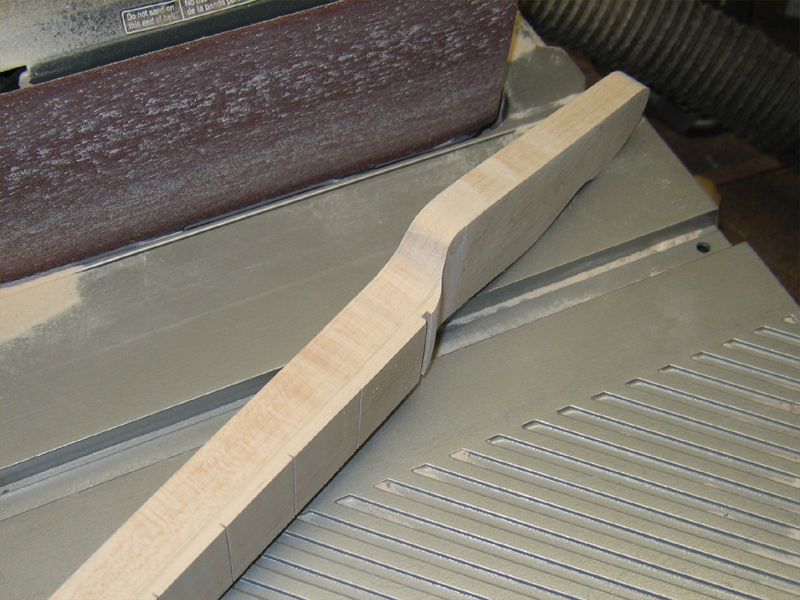
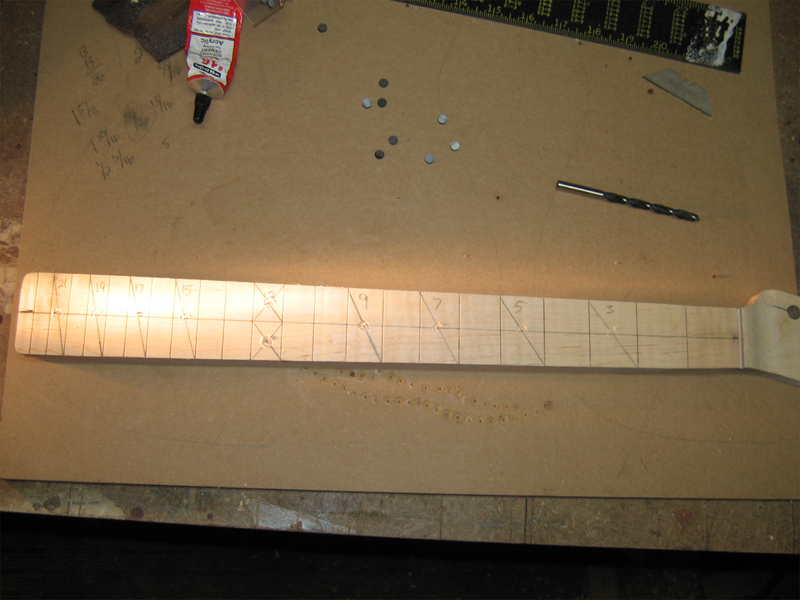
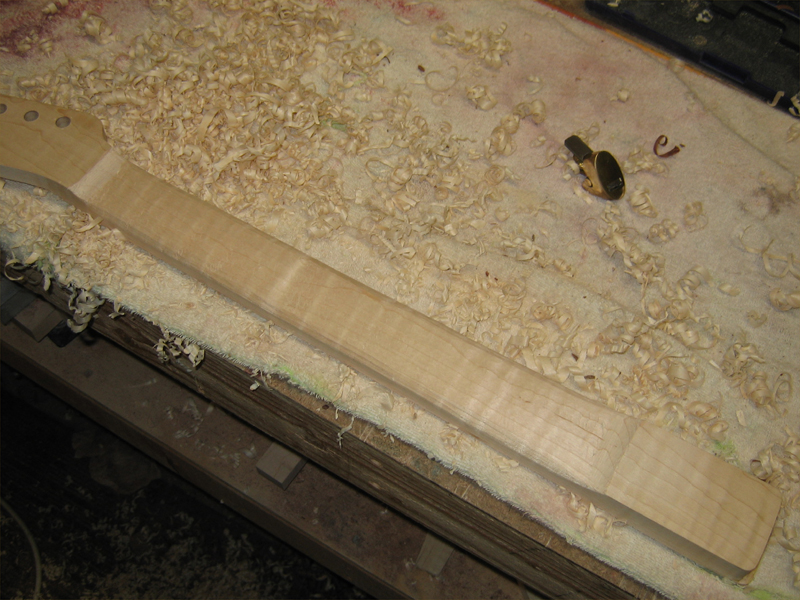
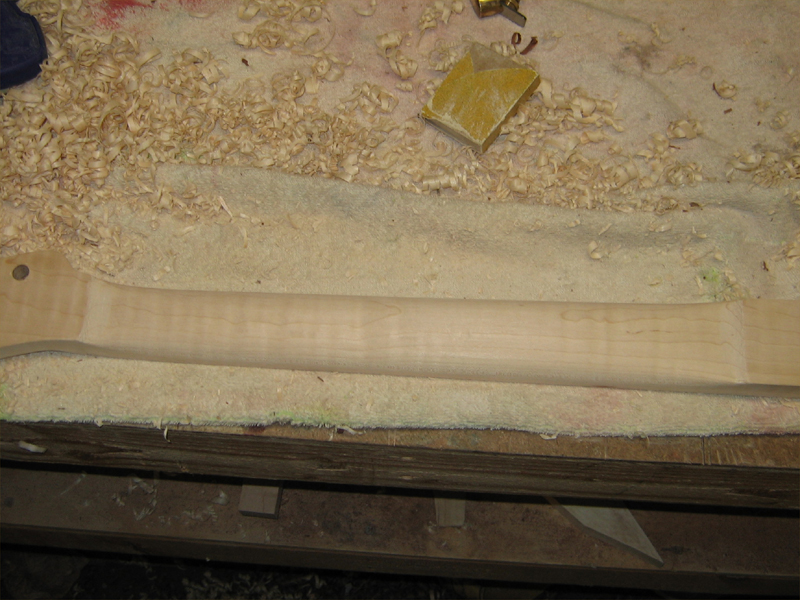
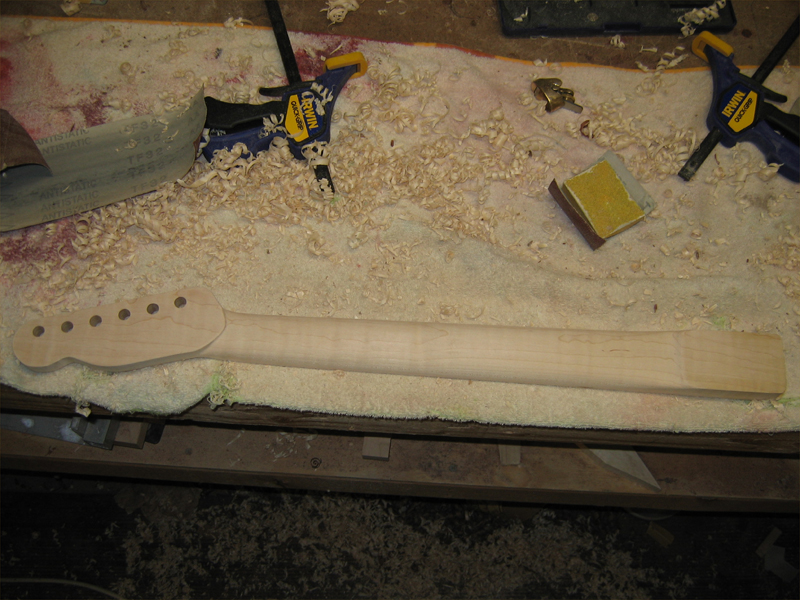
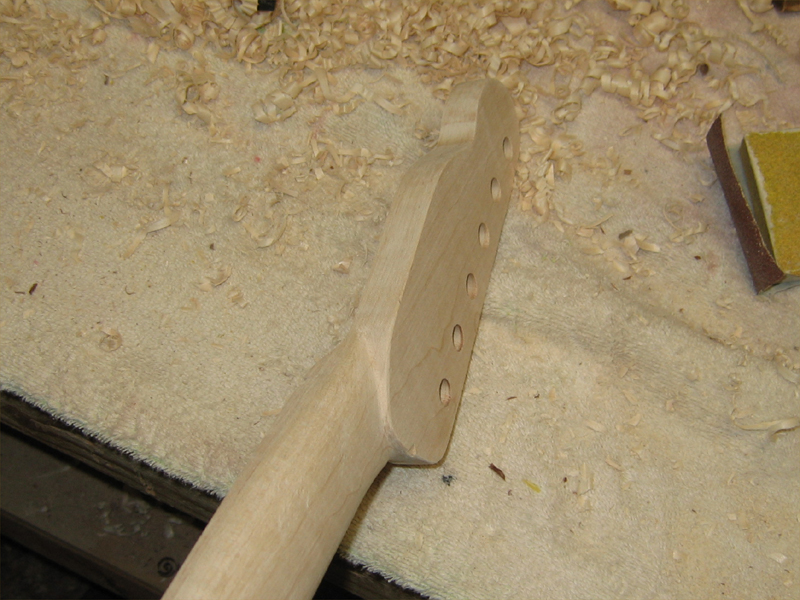
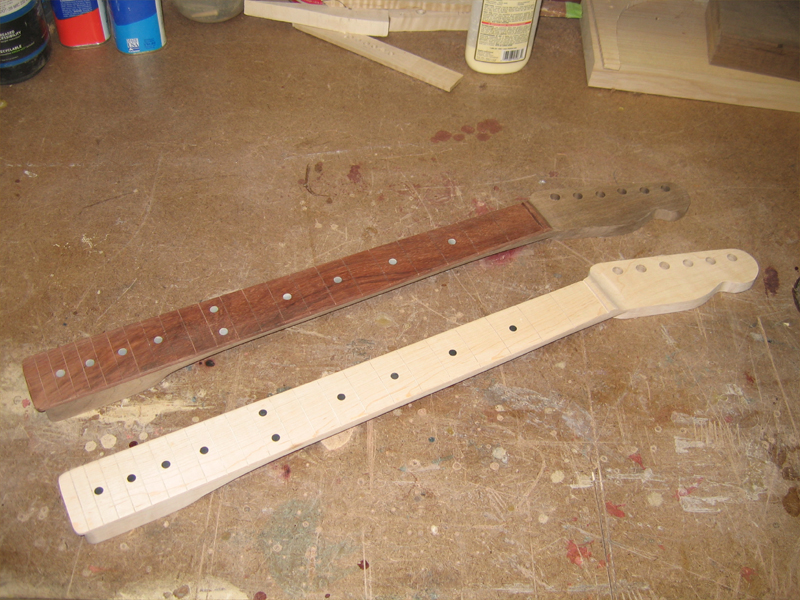
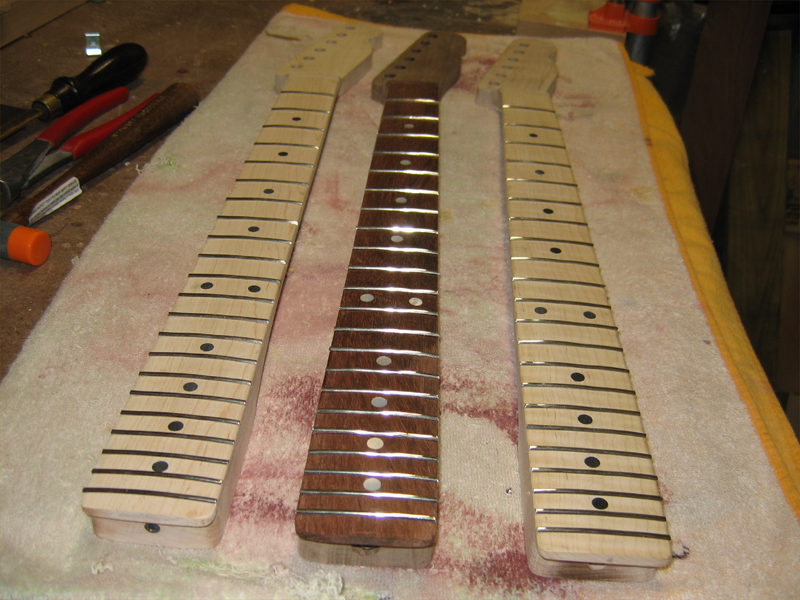
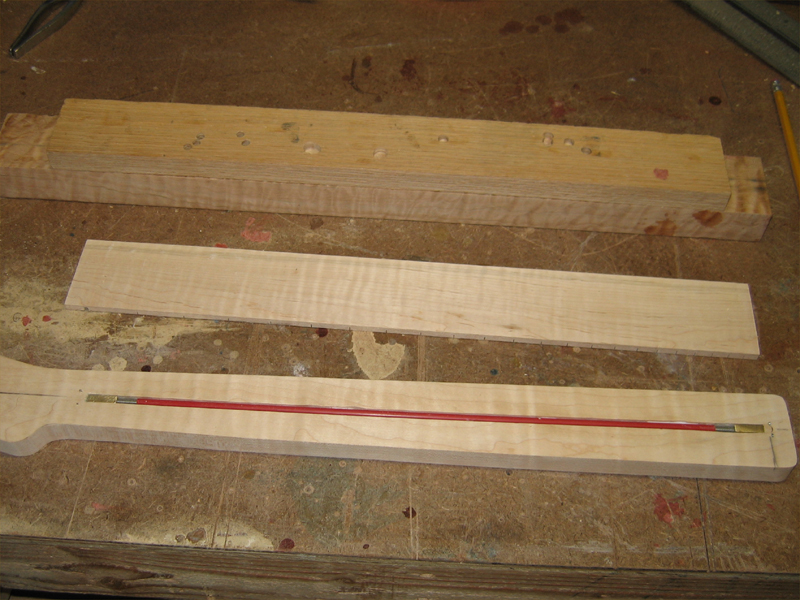
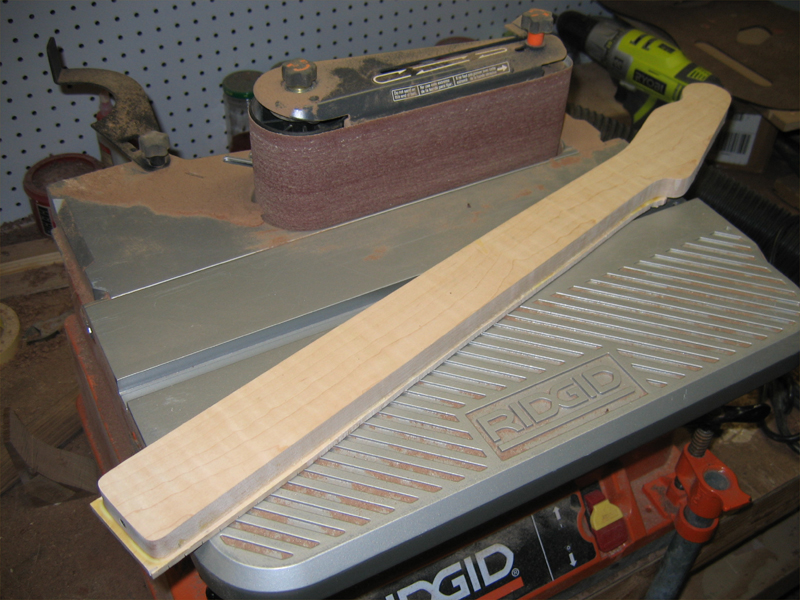
Flame maple neck & fretboard
And so it begins.
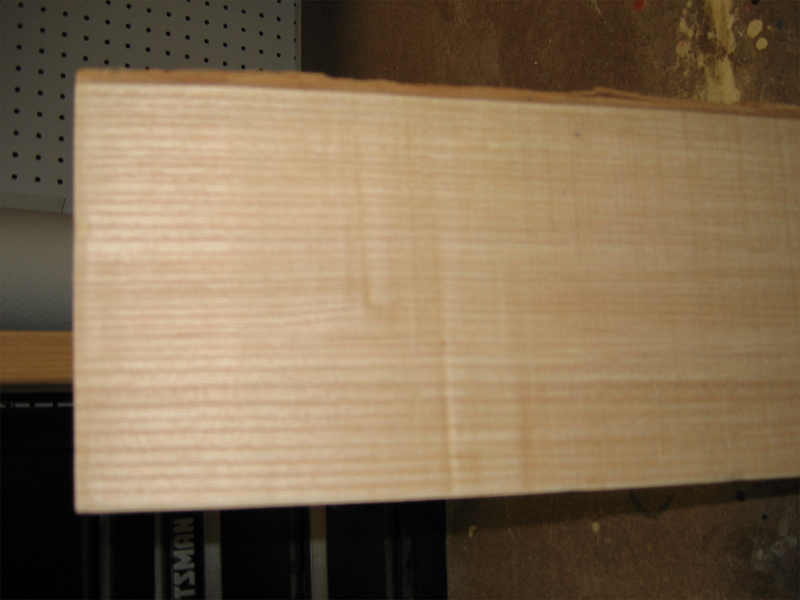
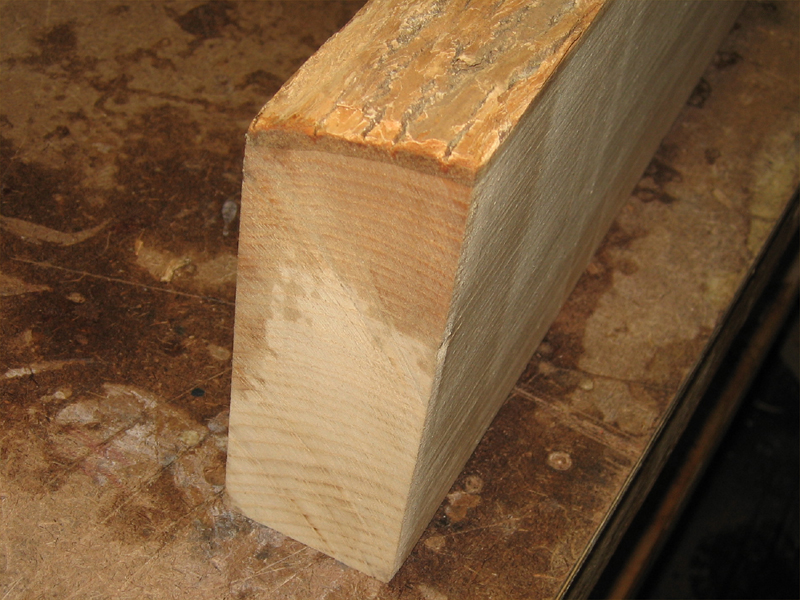
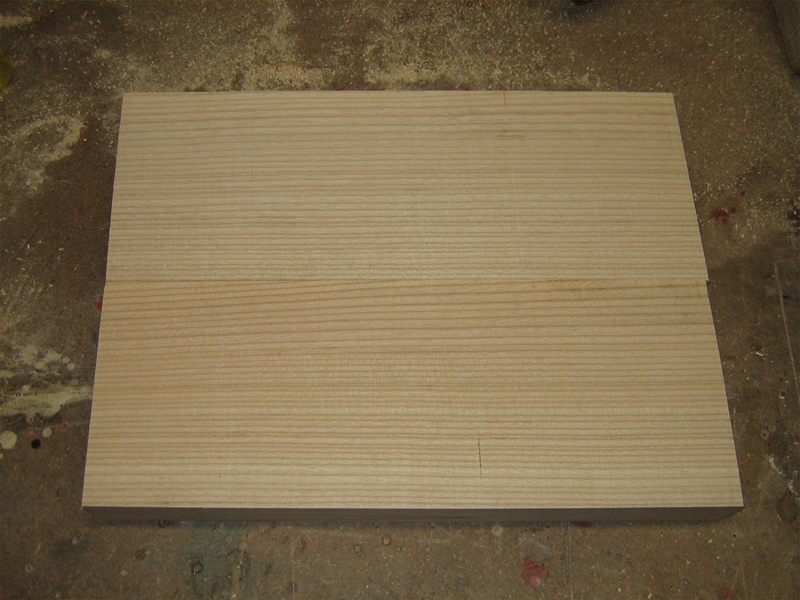
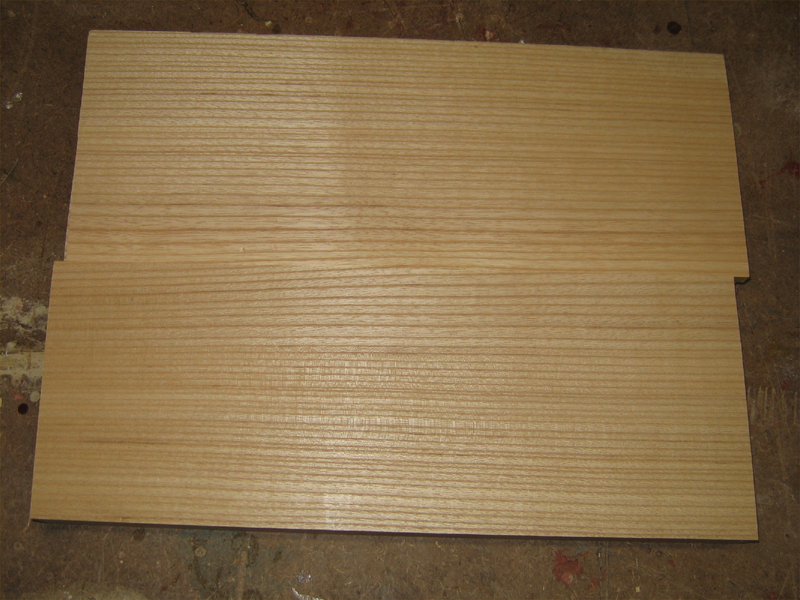
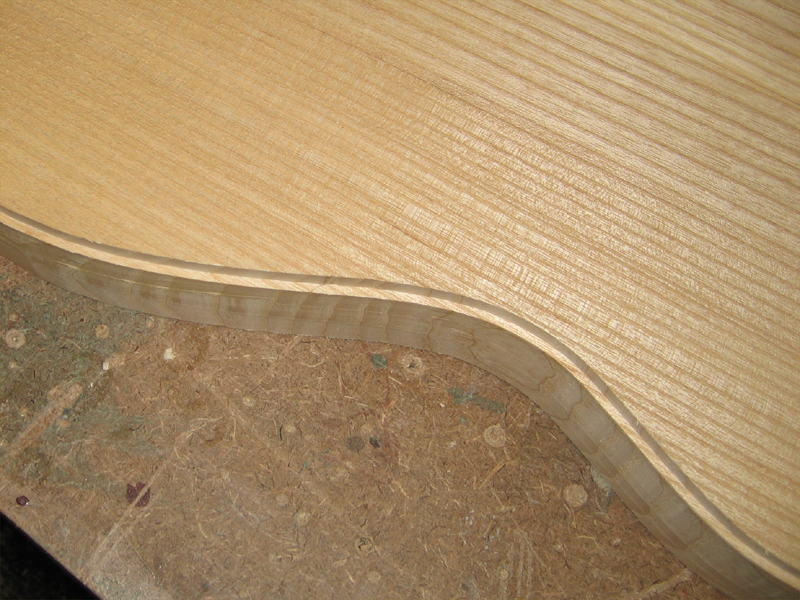
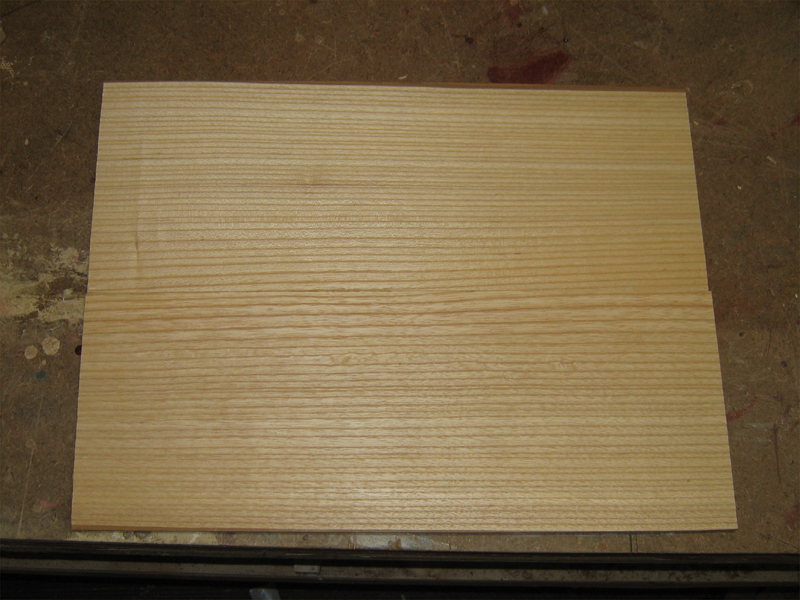
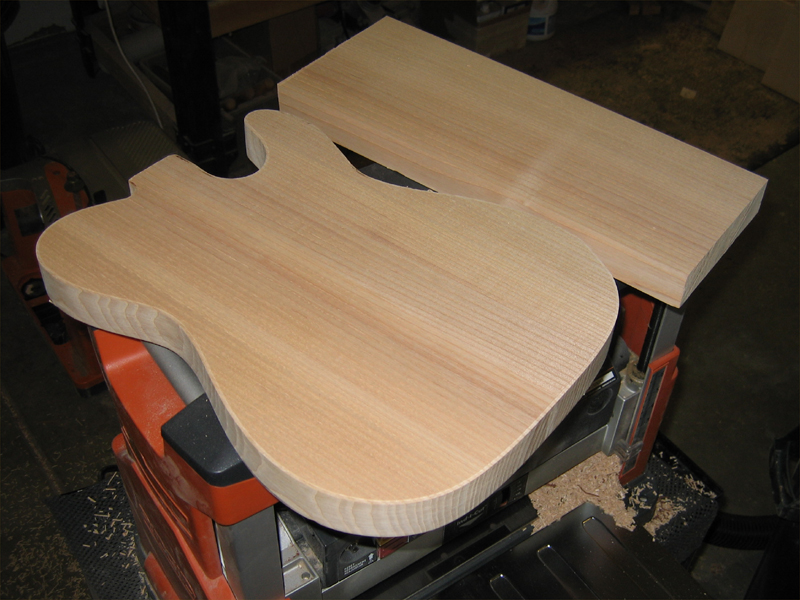
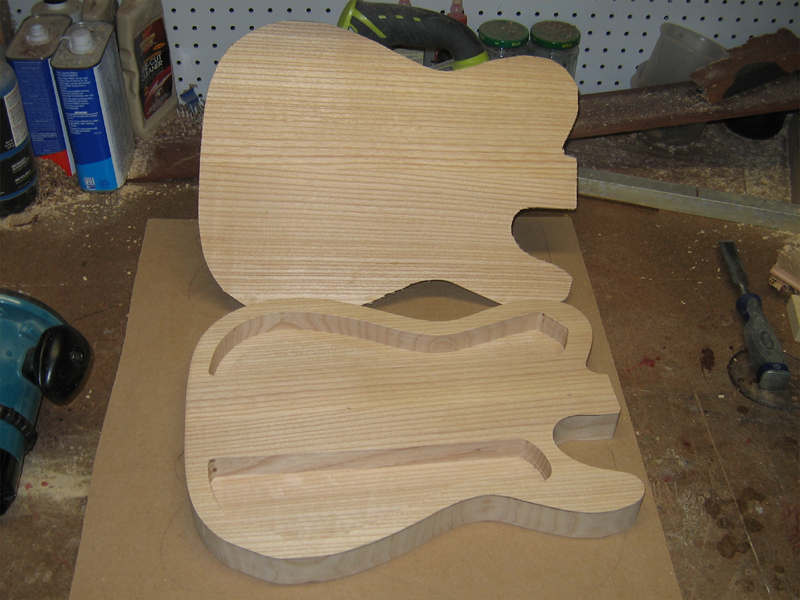
The body will be made from a rather nice slab of quarter sawn white ash. It's dried to 5% but is still a bit heavy. I know going in that this will be a heavy guitar but I'm comfortable in the 7 to 8 lbs range...strong back and shoulders.
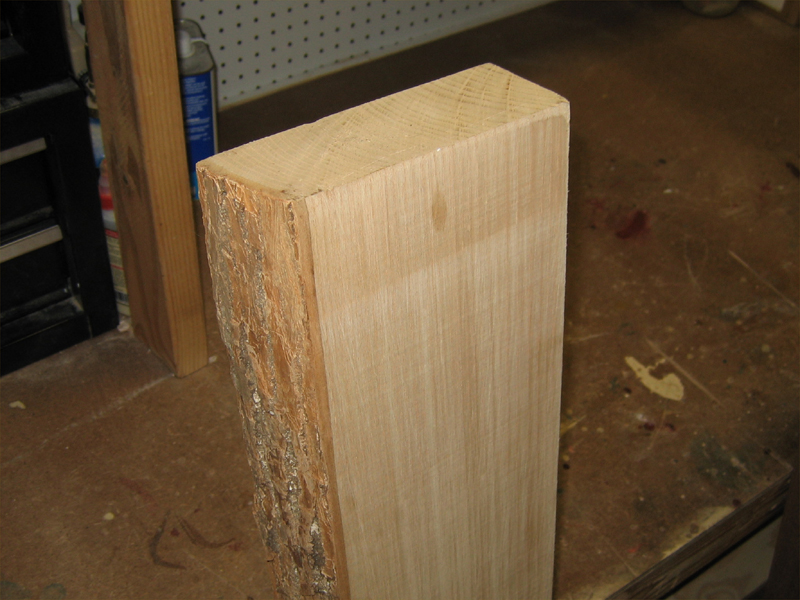
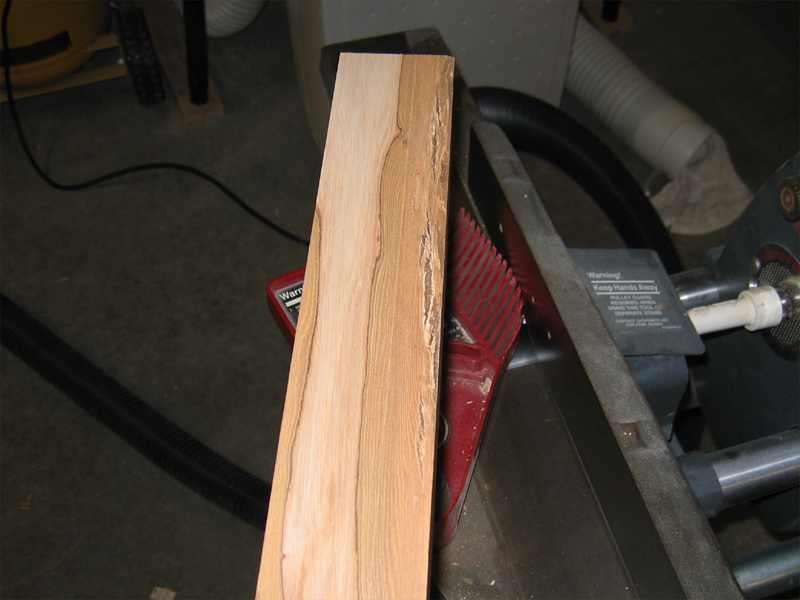
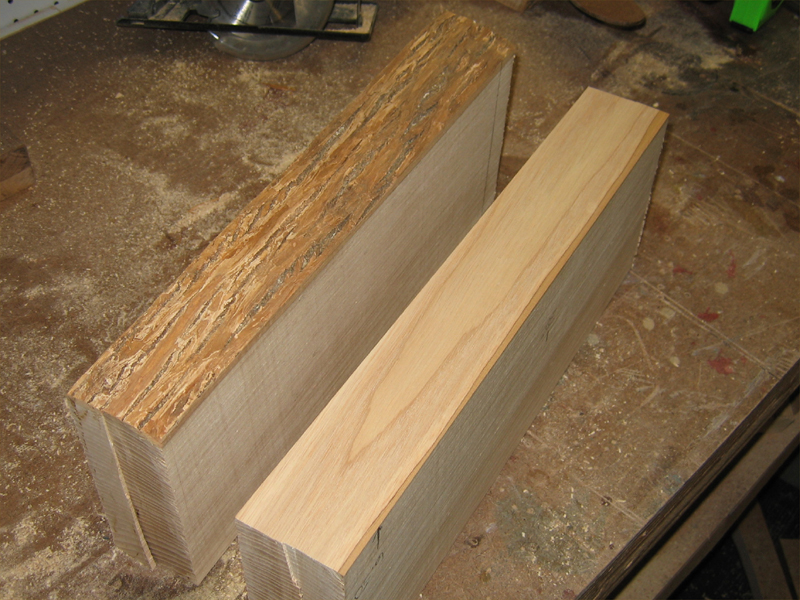
The slab has a machined edge and one natural edge. This will present a few challenges and require a little different approach.
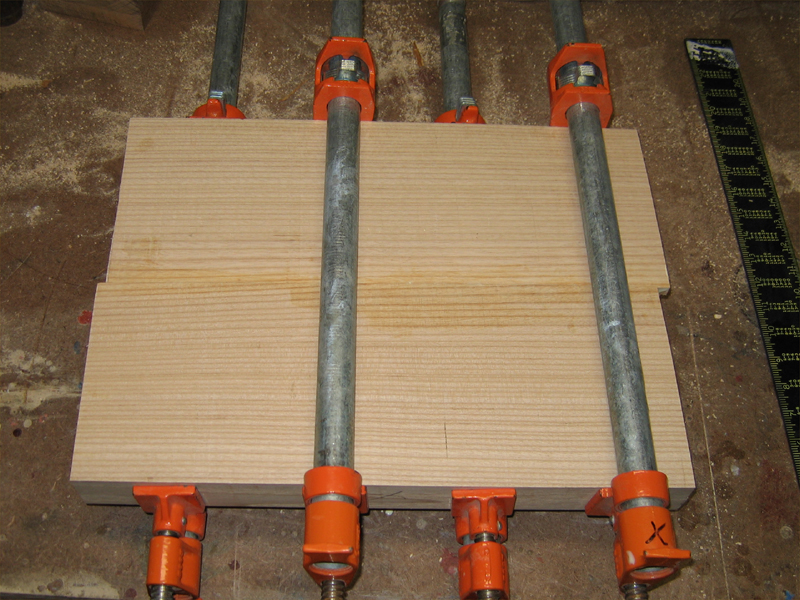
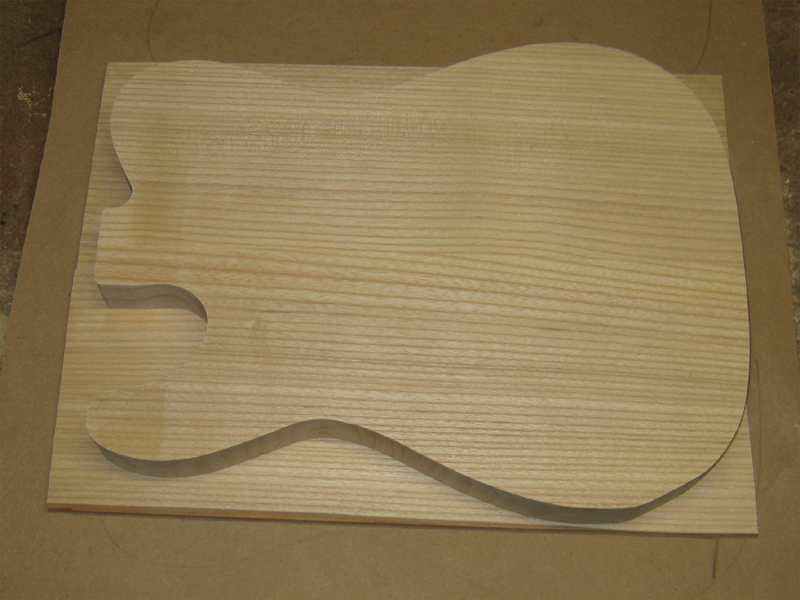
Because the natuarl edge is twisted...it's narrow to the right on this end but to the left on the other end. I need to find the widest portions of the board before I decide how to cut it.
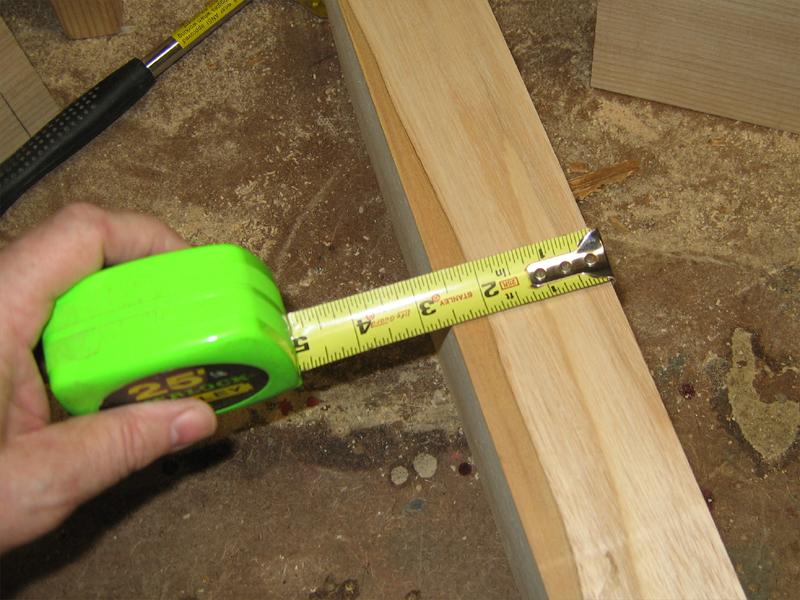
I ran a tape measure down the board on each side using the machined edge as my quide. One side showed 6.75" and the other 6.5" to be the widest points. I makrked those on the other side and checked the width to see how the opposite edge would yield. The max I can get out of this board, with a perpendicular edge is a shade over 6.5"...which I can get for about 90% of the length of the board.
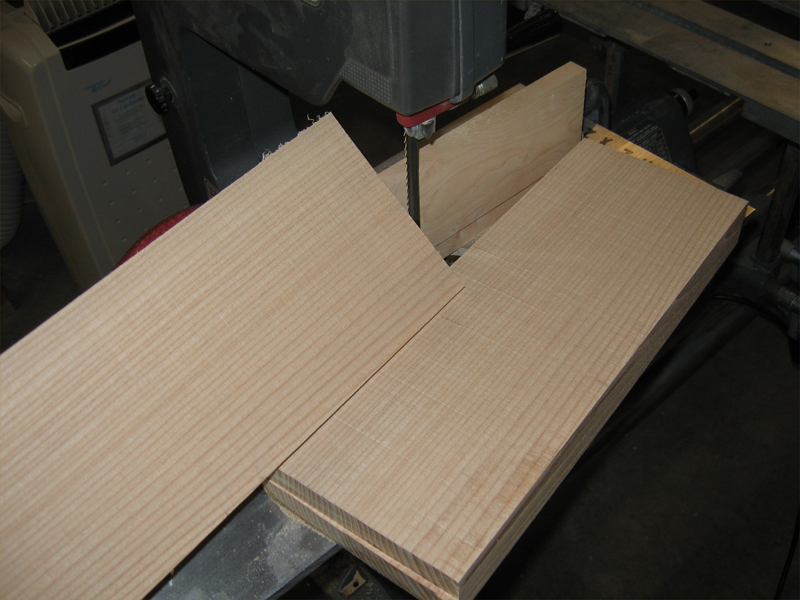
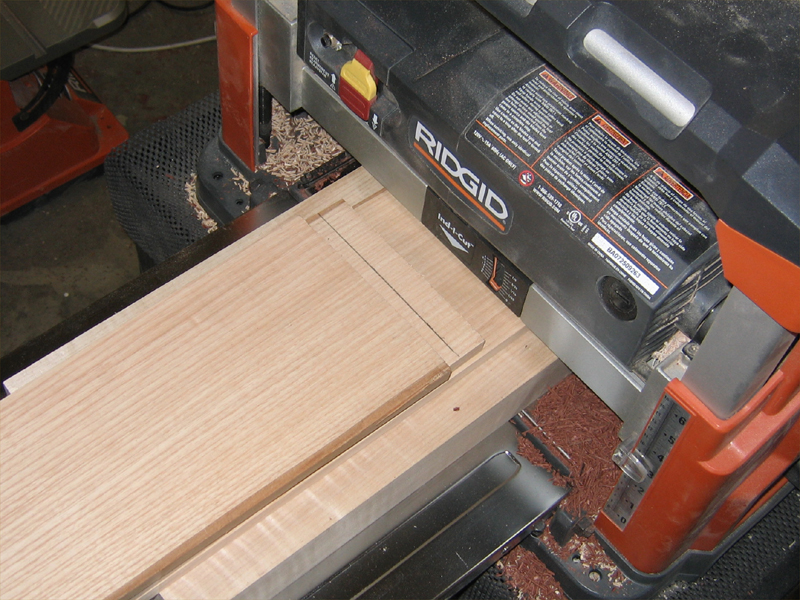
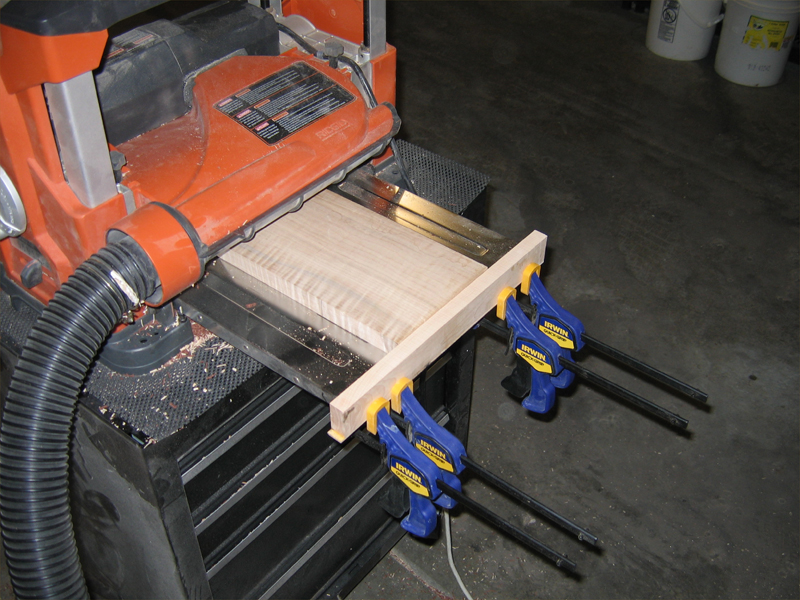
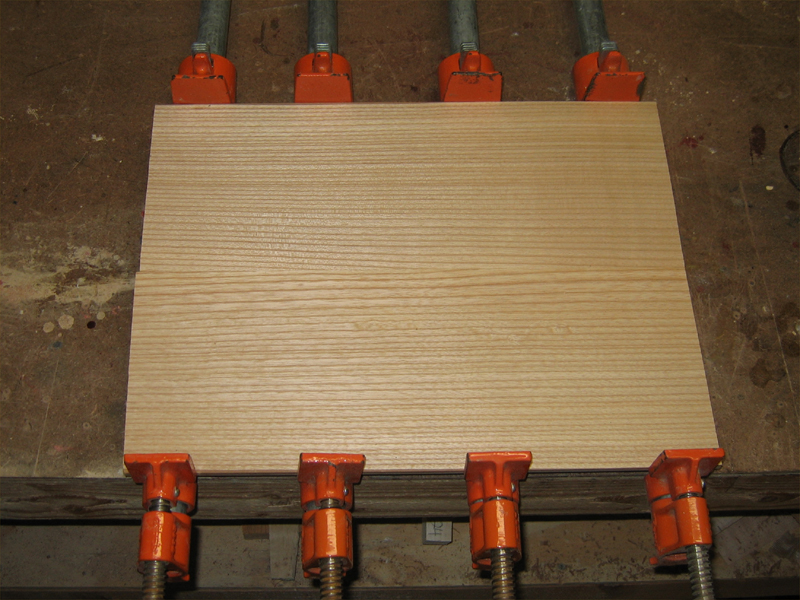
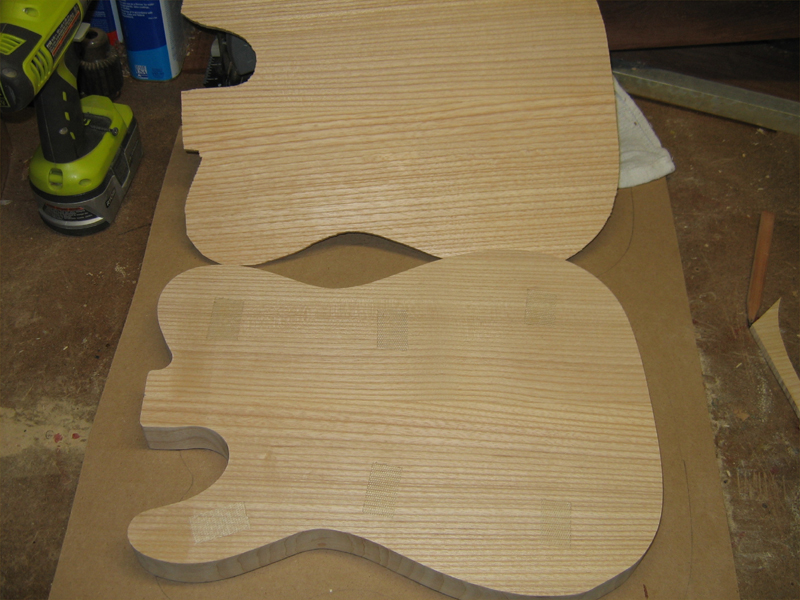
So, I laid out my cuts...deciding at just over 2.75" in thickness, it was too much for a table saw...mine anyway. Plus I knew I had to maximize the width, and I could do that better in smaller pieces vs ripping the entire length to one width.
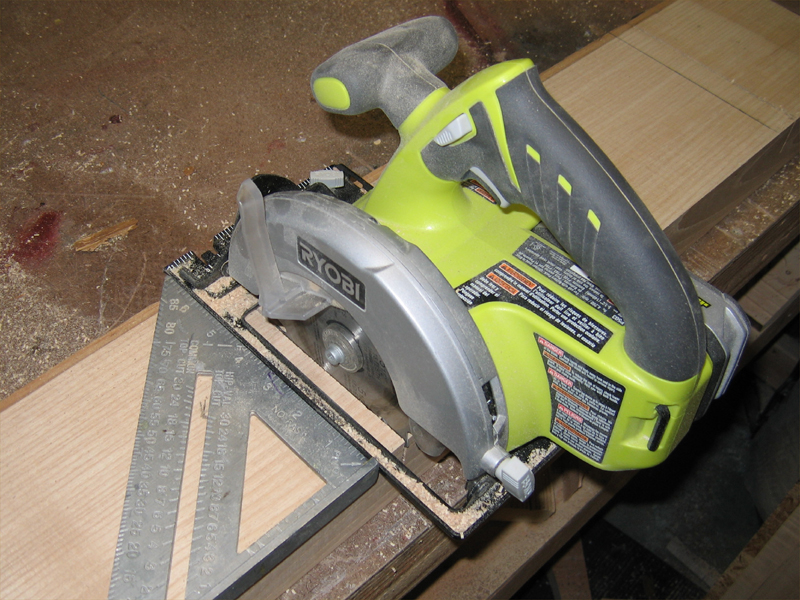
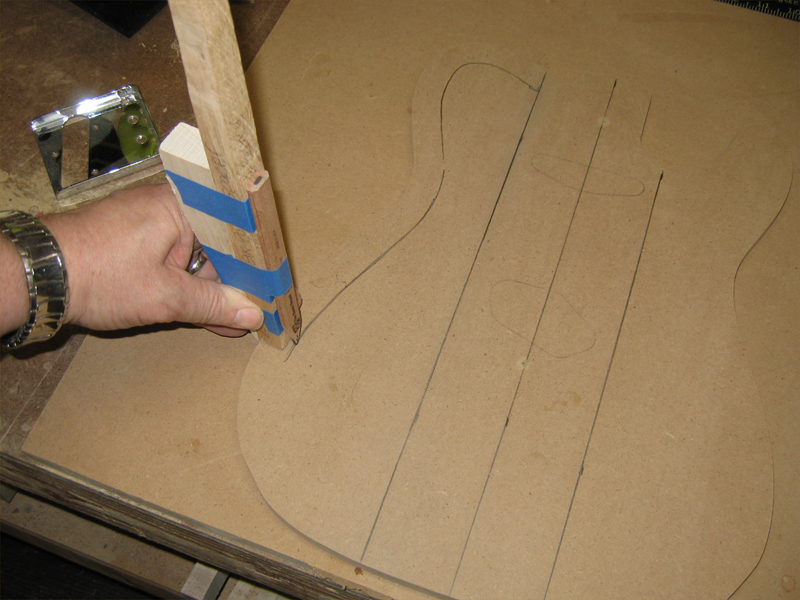
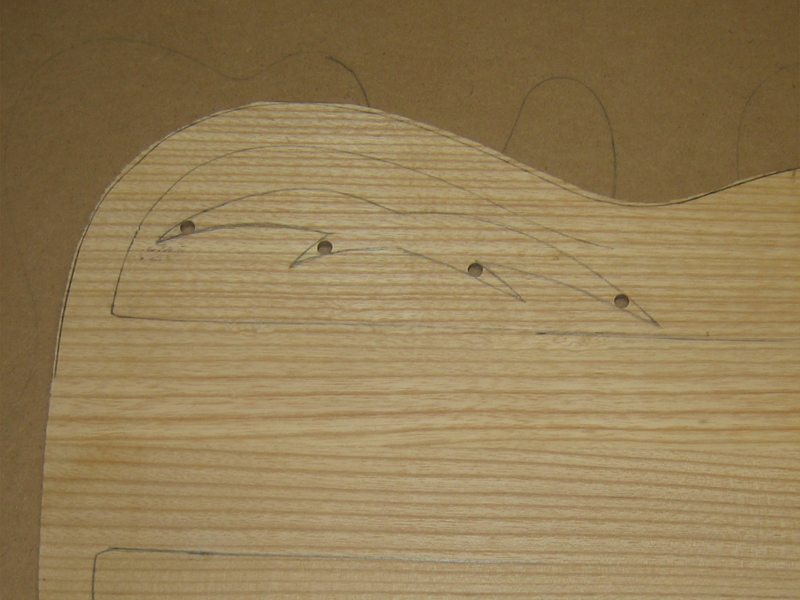
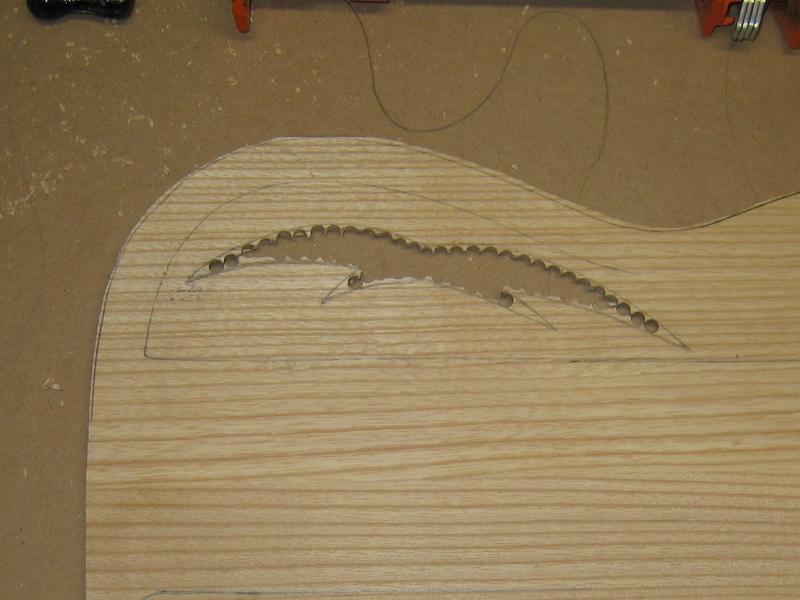
The 3 sets of marks are for the cut lengths and guide for my circular saw.
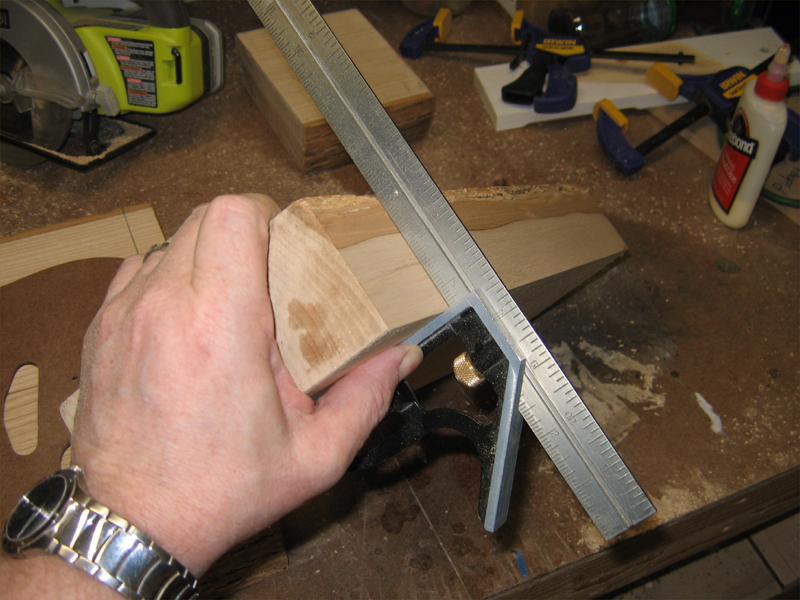
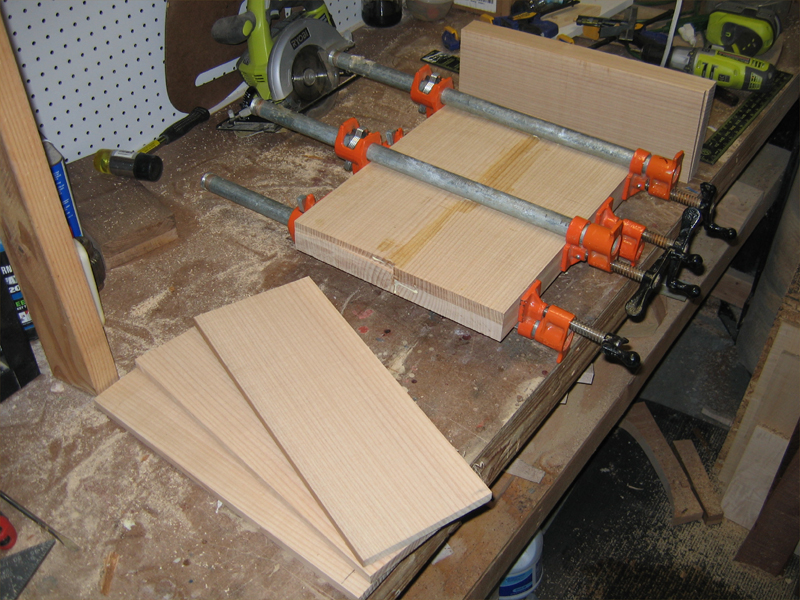
This shot is for illustration only. Both hands are needed to do this safely. One hand holds the combination square in place, squared to the edge, while the saw rides against it. I made shallow cuts until I was half way thru, then flipped it and cut from the other side. I set my lengths at 17" so I didn't have to be super accurate in lining up front and back.


 Reply With Quote
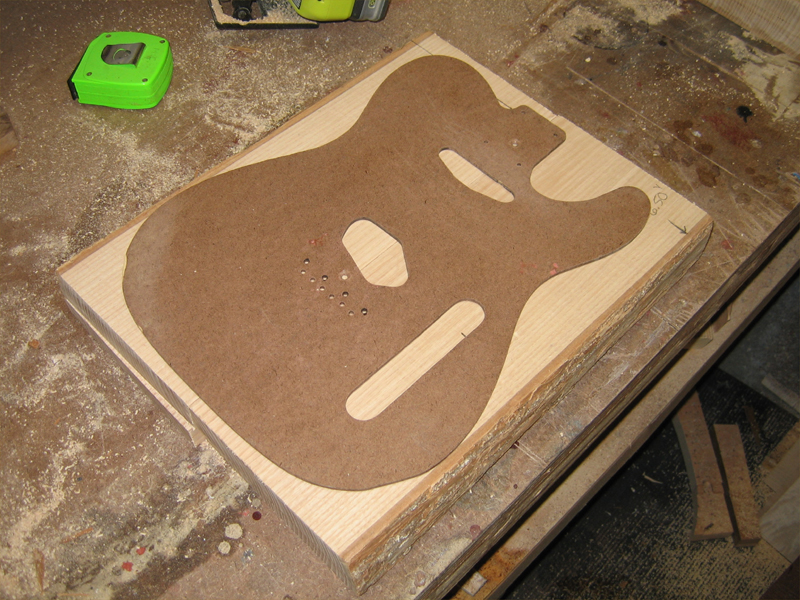


 '
'

 [/QUOTE]