this will probably be it for pics until I get the plywood backer installed, gonna order it monday. The place I found is closed today.
also gonna pick up some wood to start doing drawer sides with.


 [OP]
Member
[OP]
Member
this will probably be it for pics until I get the plywood backer installed, gonna order it monday. The place I found is closed today.
also gonna pick up some wood to start doing drawer sides with.
 Member
A really nice project and one I plan to do myself soon. Your mix of old school joinery and pocket screws is intriguing. I think your choices make a lot of sense in maximizing strength where it matters like the corners of the case, but not where it doesn't like in the dust frames.
Please consider becoming a contributing member of Sawmill Creek.
The cost is minimal and the benefits are real. Donate
[OP]
Member
well I was gonna pocket hole the veticals too.... I did on the bottom one, but not the others.... I figure the glue alone with clamp pressure would be enough to hold them. I bought enough walnut plugs to fill all the holes if I were to have done them, but it just wasnt necessary to do all that extra work. I would have cut the dadoes by hand, but I really lack the tools to do it all properly, unless I wanted to go at them with a chisel.... and that was just me being lazy. A dado set is just too useful, neander or not.
[OP]
Member
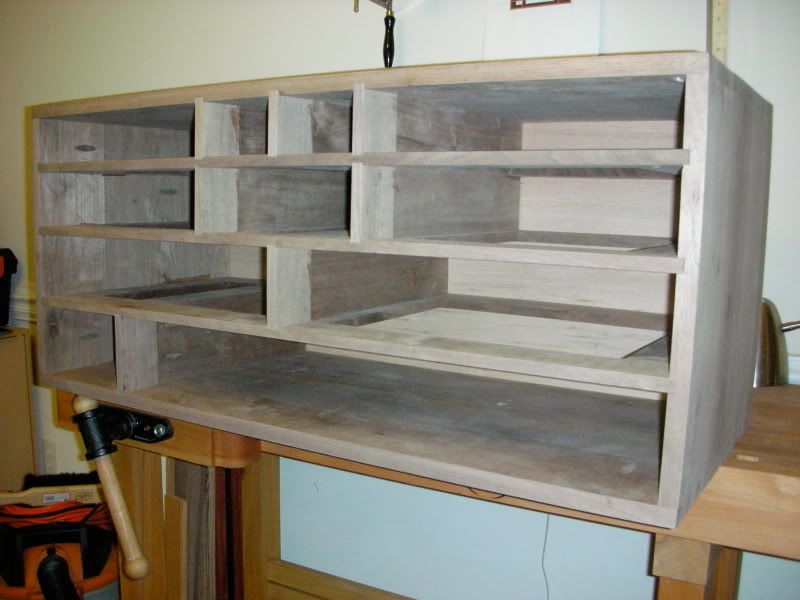
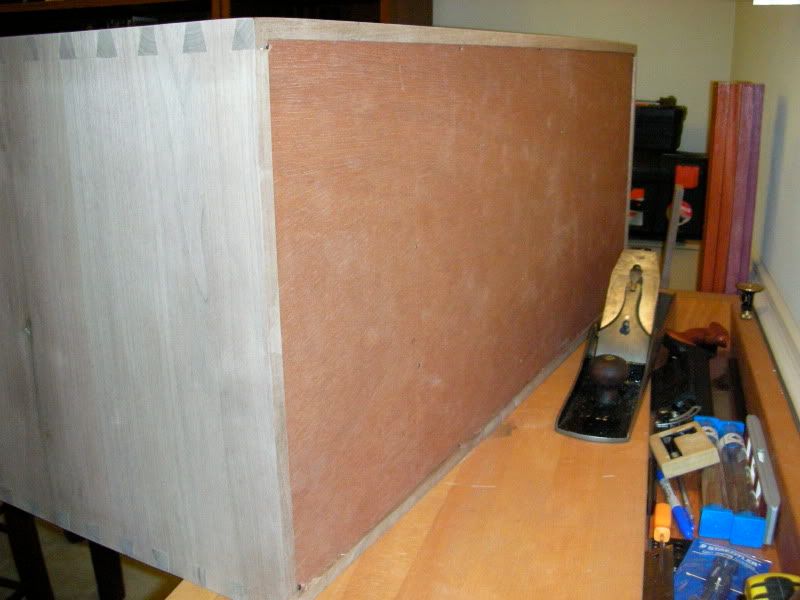
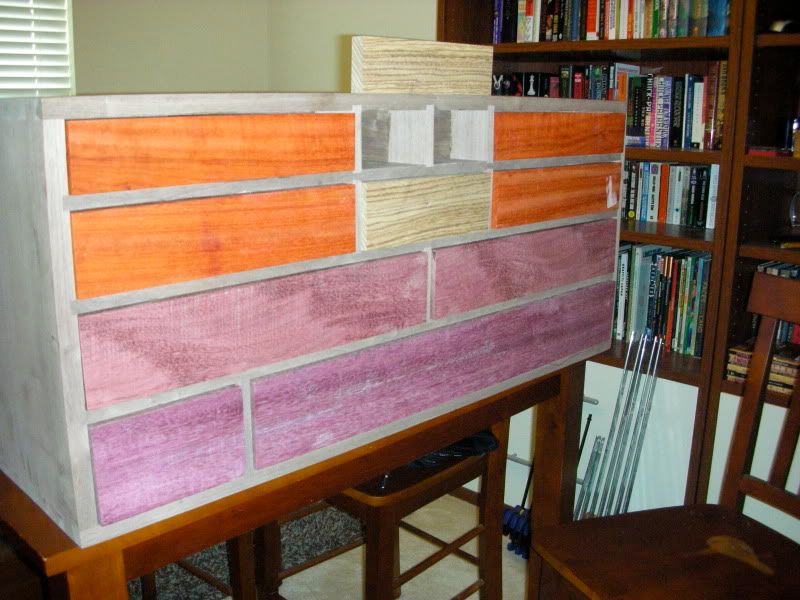
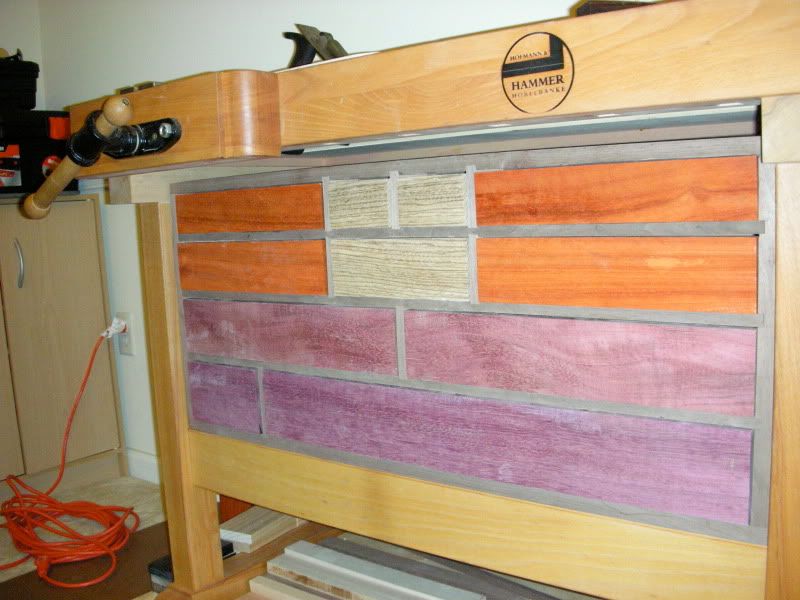
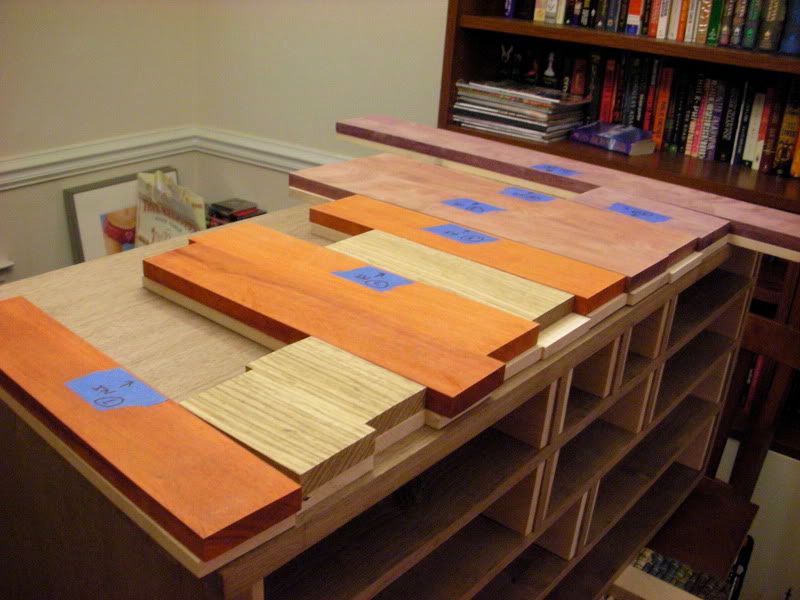
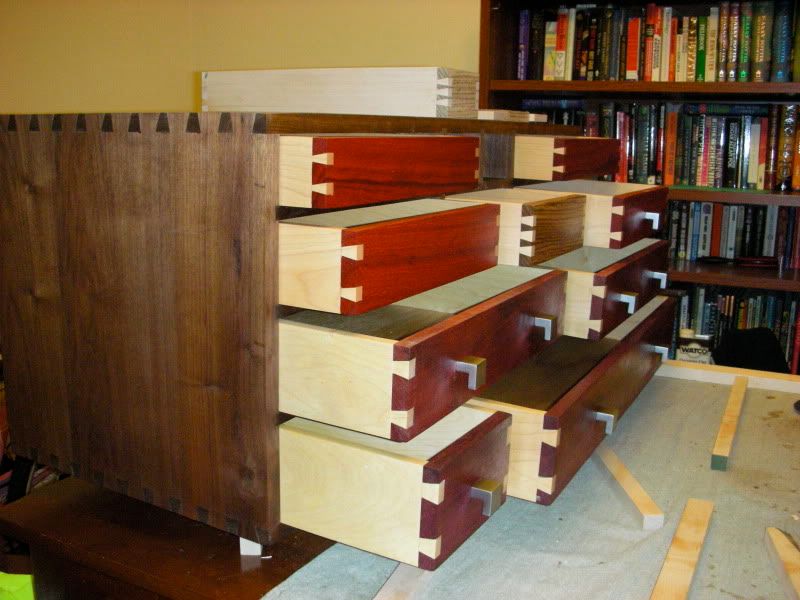
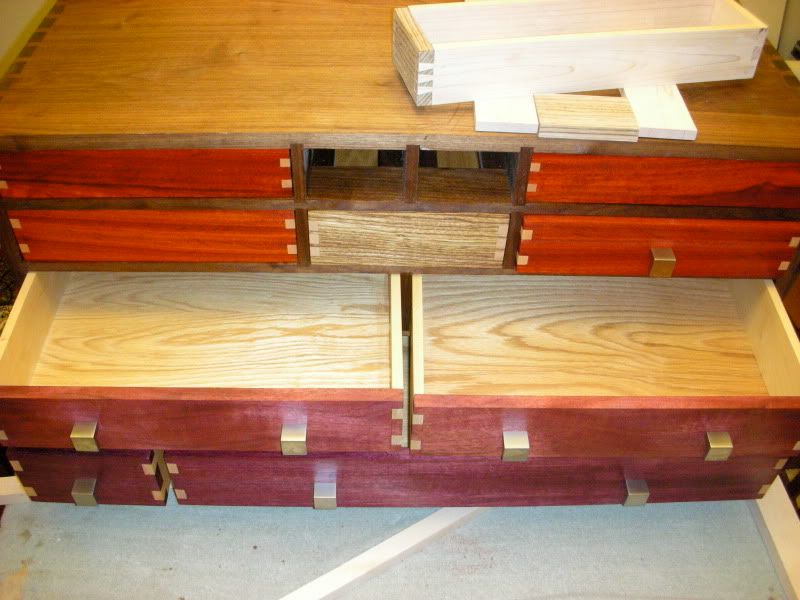
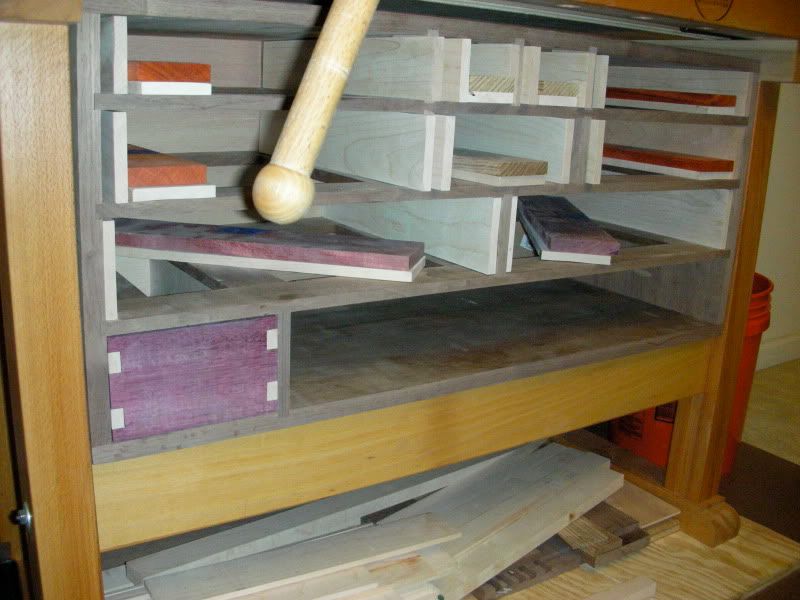
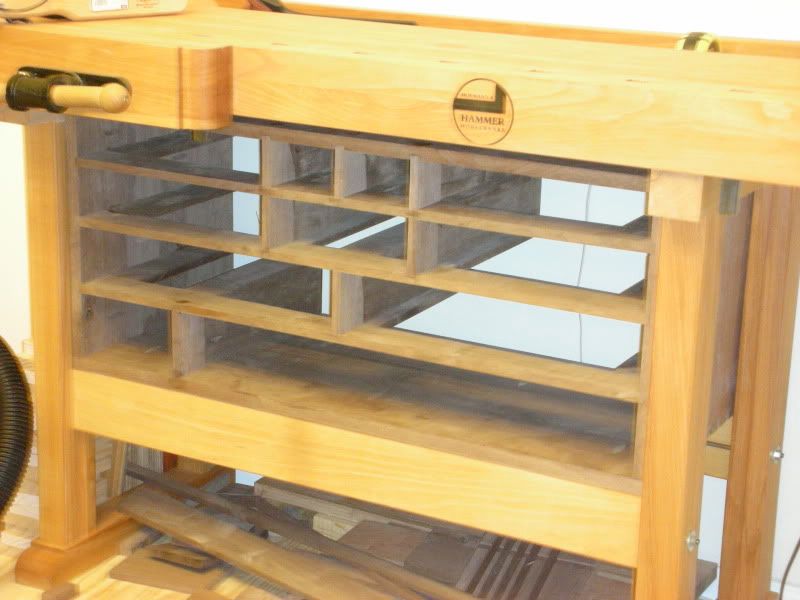
so, I am back at it... Going to start cutting drawers this week. I was going to purchase a quarter sheet of walnut plywood for the back... but ordering it and shipping costs.... dont see the need to go that route right now. So I got a piece of red oak ply from HD for about 8 bucks... It wont be seen... and it is just nailed in. If th back is ever visible, I buy some walnut so it will match.
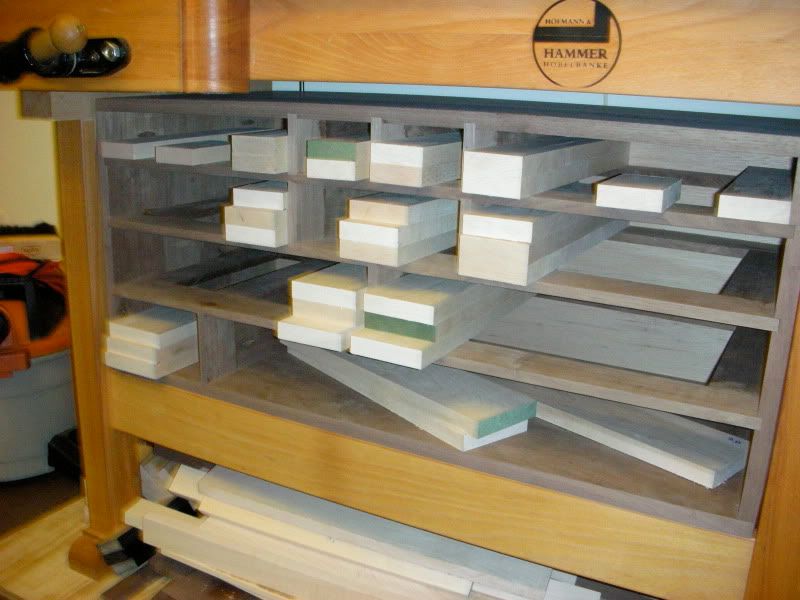
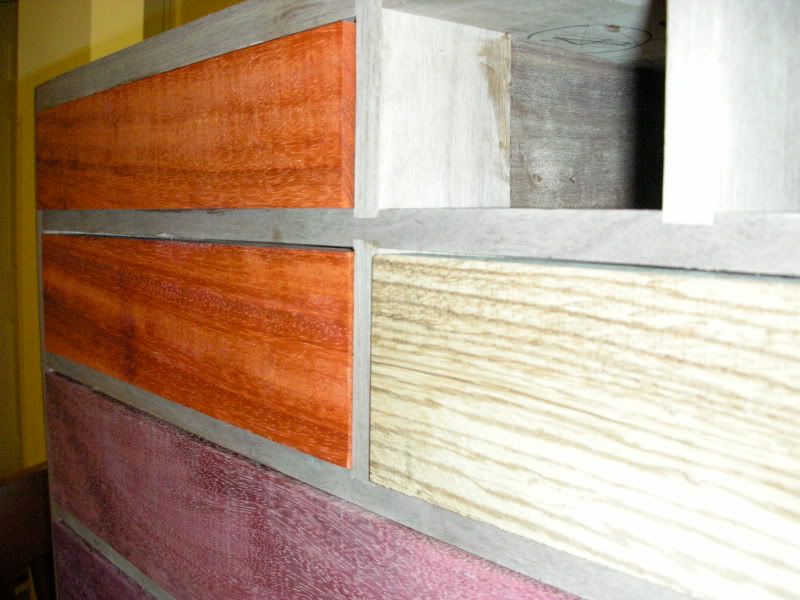
The drawer sides and backs have been rough cut to size for all drawers, I used soft maple ....found a place in savannah that sells it ( along with lots of other hardwoods ) it needs to be planed down to thickness, but I will do that as I cut each drawer. The two bottom rows will have purpleheart faces, the two top rows will have padauk faces... except the three middle drawers ( two on the top row, middle of the second row ) will have zebra wood faces.
So, here is where we are now...
[OP]
Member
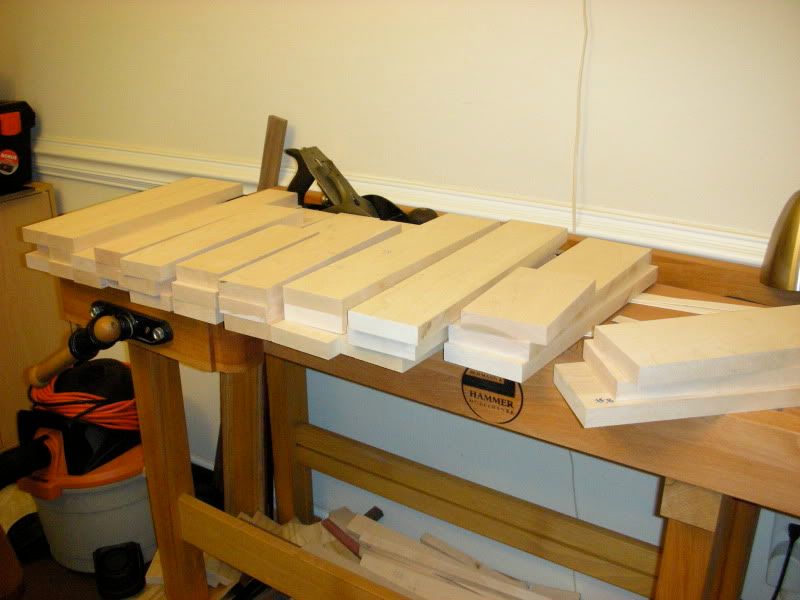
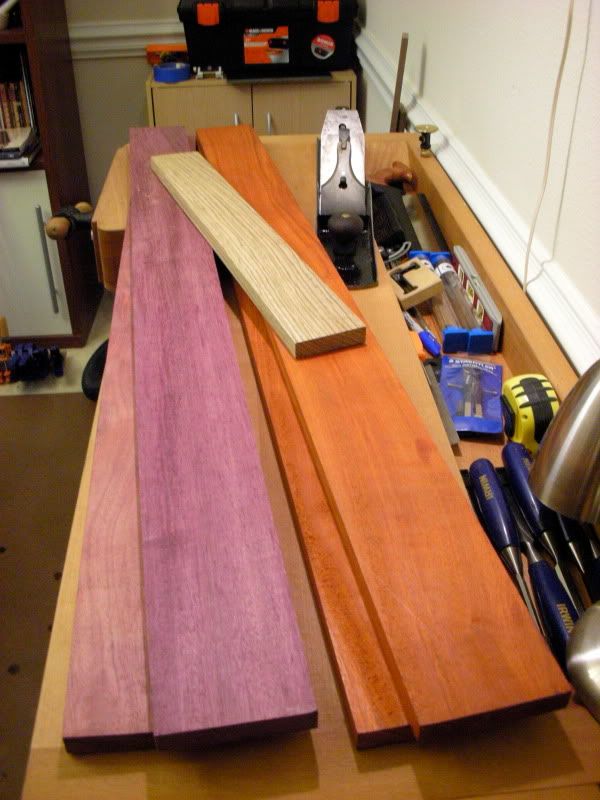
Drawer parts cut. Gotta run everything through the drum sander a buddy has. I tried to resaw some scraps on the table saw.... but the maple got a good bit of burn marks in it... So, after jointing them flat with the number 8 , I will have to catch it when he and I are both home ( he is a railroad guy too ) so I can thin this stuff out. The drawer faces will lose about 1/16" or so.... gonna leave them sorta thick.... the rest of the sides and back I will try to get them down to about 7/16" or so.... What thickness plywood should I use for the bottoms ? 1/8" or 1/4" ? I don't know ? I am thinking for the bigger drawers I should certainly use 1/4" ....
But what do you guys think?
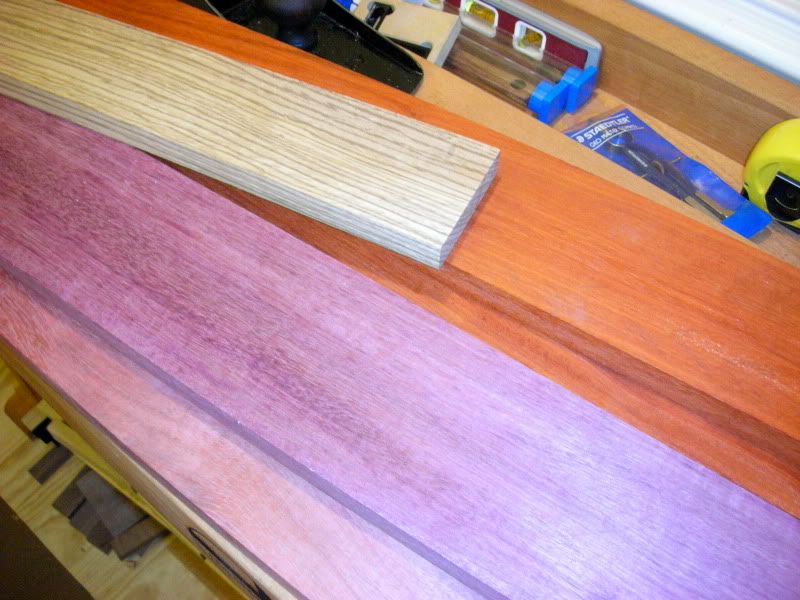
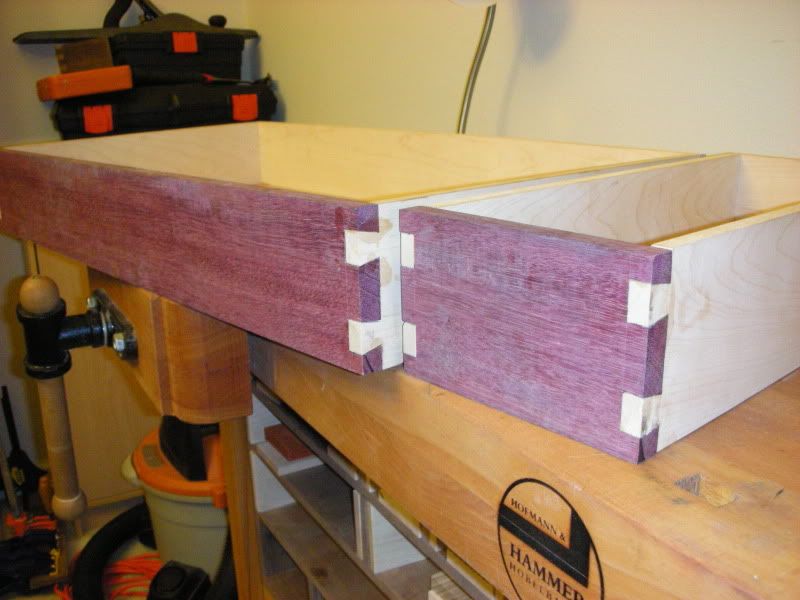
Left this piece a little long until I get it thinned out. did the same for the back of these two drawers with the maple...
I love the way this purple heart looks. The grain and density is really eye catching....
[OP]
Member
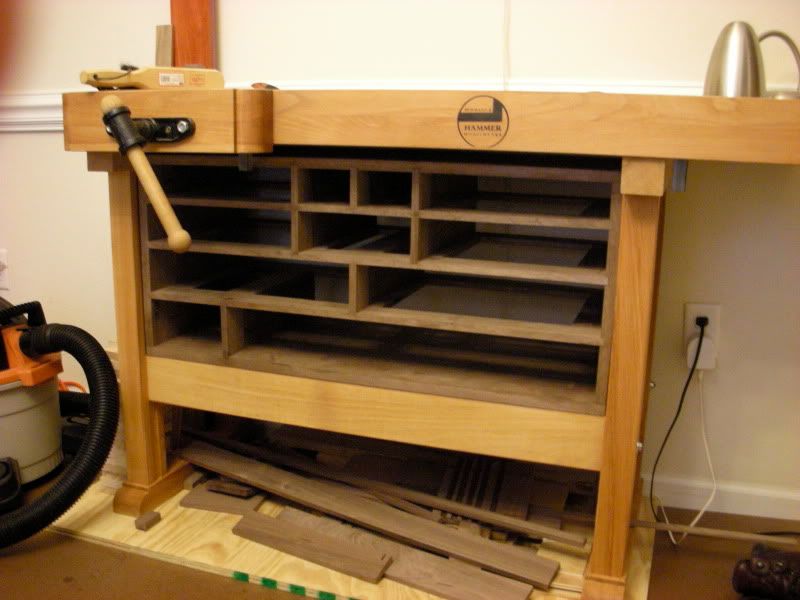
small update... Got a little curious... and impatient...my buddy with the drum sander works for the railroad like me... Our schedules are a little hard to match up... I jointed everything flat with the number 8 plane first , then I put a rip blade on the table saw and ripped all the maple down to 7/16" ..... took a little sanding with the palm sander afterwards... but the pieces look good. All of the drawer faces I just shaved down to about 5/8" ( they were 3/4" pieces from woodcraft ) .... Everything is flat and sized for joinery now. So the next time I get home I will start cutting dovetails... So it isn't a big step, but the last day or so was a necessary process in the build....
[OP]
Member
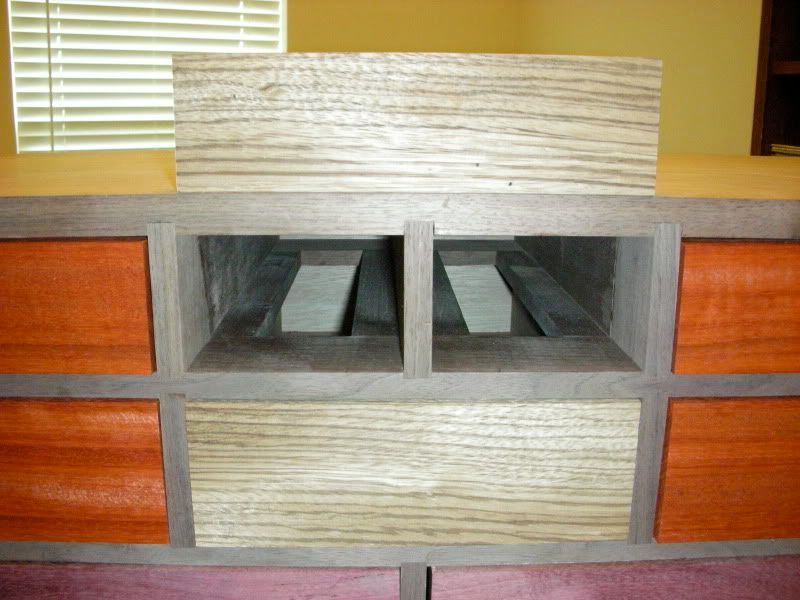
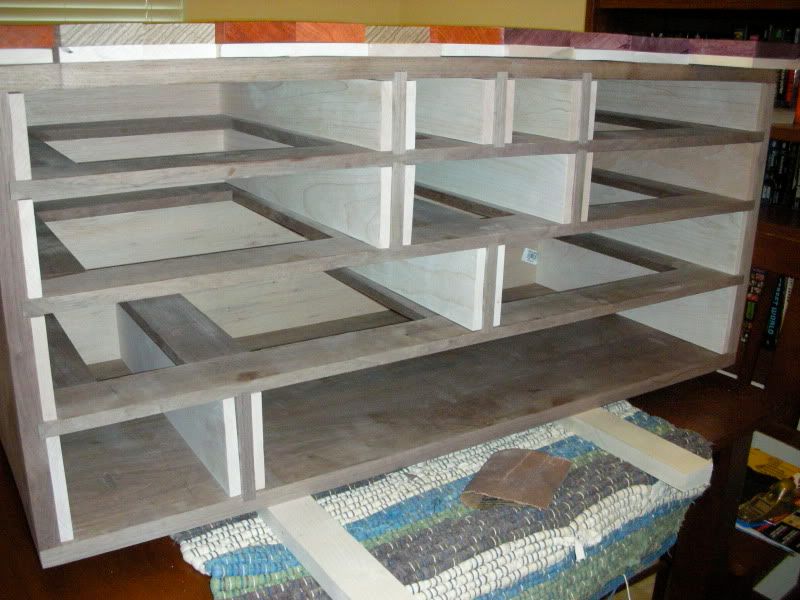
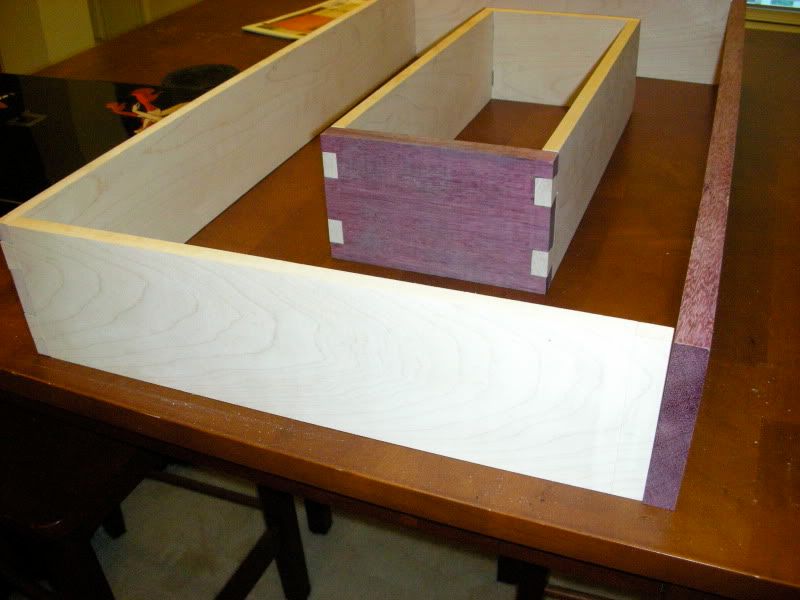
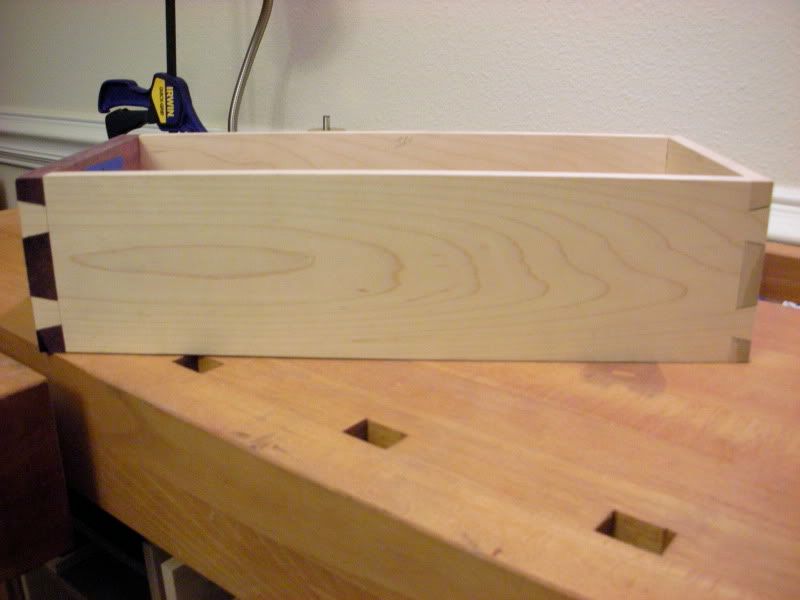
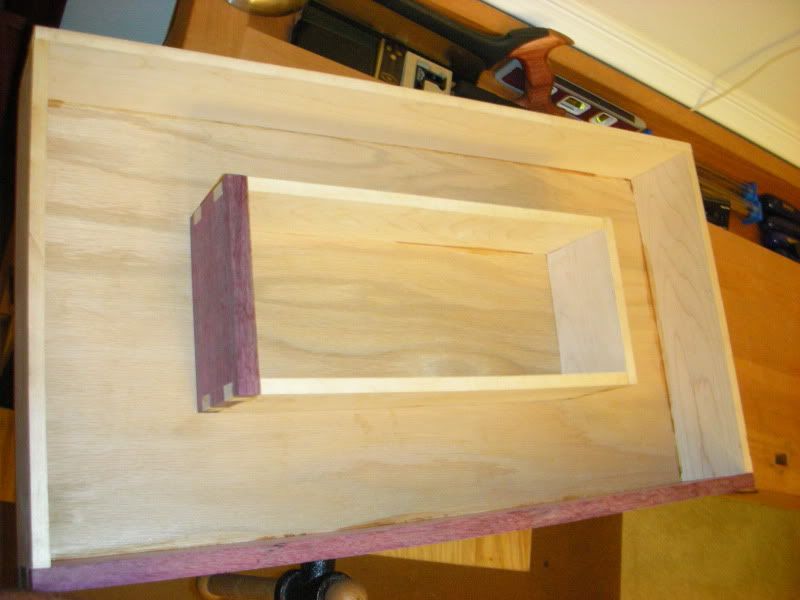
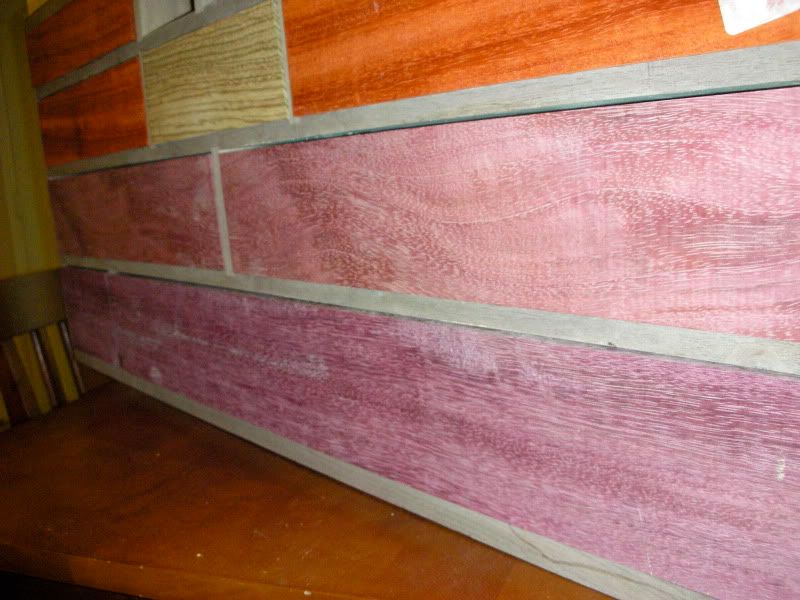
small update.
first drawers started. One finished, except for a drawer bottom groove.
Member
Wow looks great...
Any rhyme or reason to the drawer sizes? Looks like a change from the sketch
Last edited by brian c miller; 08-06-2010 at 10:06 PM.
What fun with those differing drawer fronts. This is great.
"A hen is only an egg's way of making another egg".
Samuel Butler
[OP]
Member
Brian, I changed the bottom row only. Doing three drawers would have been a little more symmetrical .... But the middle one wouldn't hold a number 8 jointer plane, even diagonally... so, I left off the far right hand drawer.... Other than that, it is all the same.
And yeah, I know there are alot of colors what not to throw you off.... but I like it. and I didnt want it all to just " blend in "
We work with wood. So, I figured I would show off some of the more unusual woods that you dont normally see in something like this. I got the idea from one of the workbench books.... Not Schwarz's book....the other one..... some guy did a cabinet and used four different woods for four different drawer faces.... and it got my attention. but I couldnt bring my self to use eleven different woods for eleven different drawers !!!!
[OP]
Member
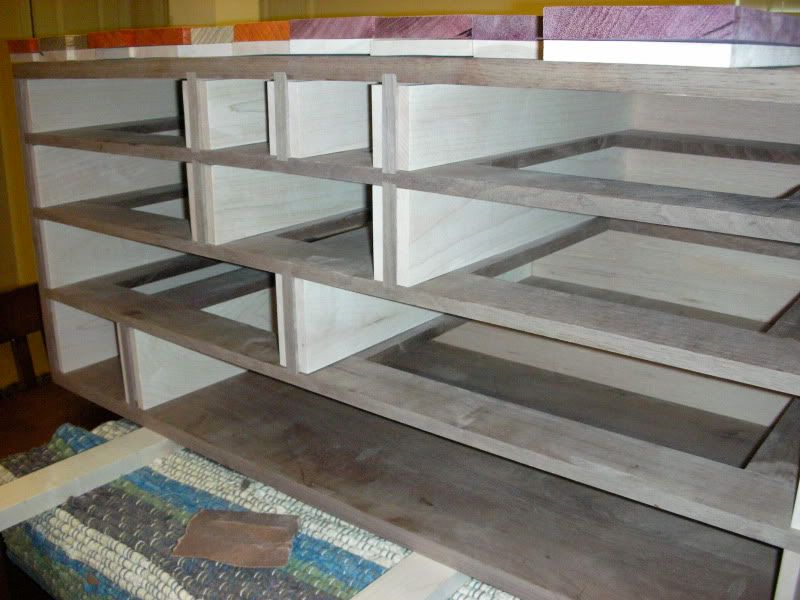
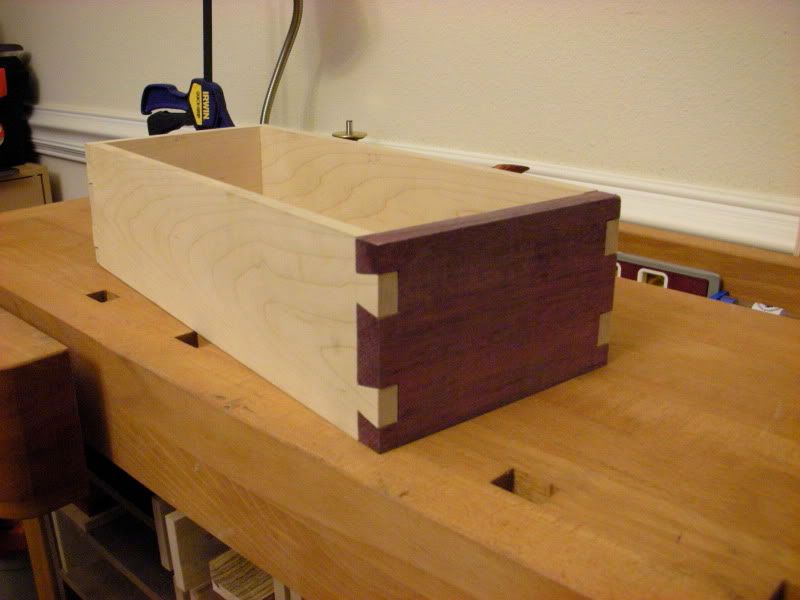
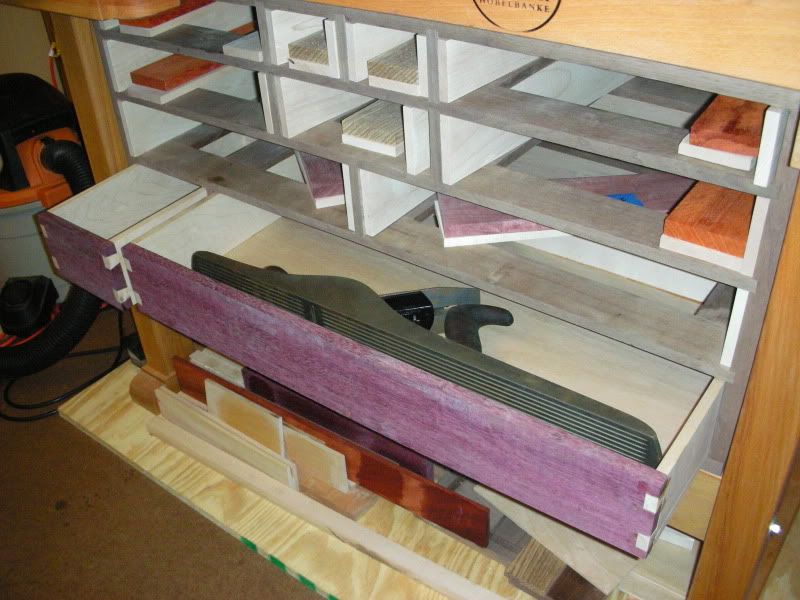
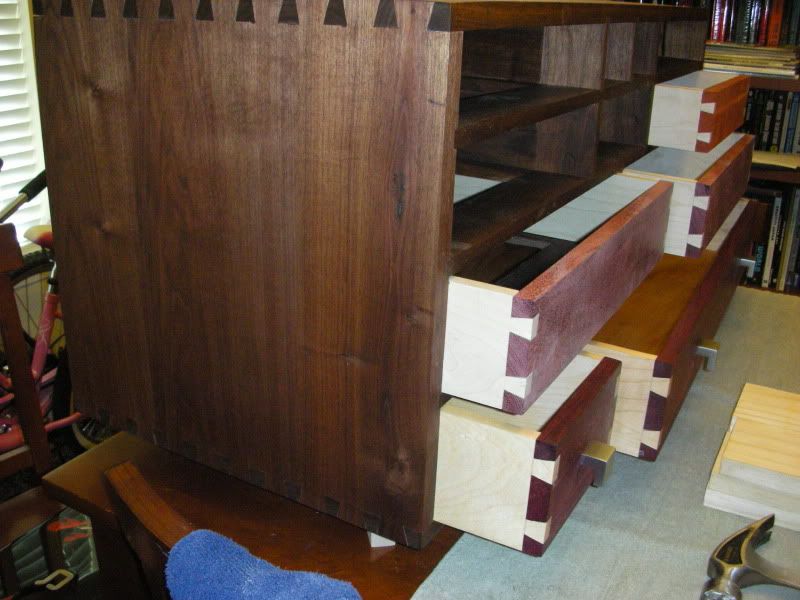
two bottom drawers done...except for a little edge planing to make them slide a little easier... Oak ply bottoms.

 Member
John, this is coming along nicely, and I really like the different colors
Dave
IN GOD WE TRUST
USN Retired
[OP]
Member
thanks. even with taking my time I till make an error or two here and there... and I am okay with that. I have never taken on a project of this size or type before... and some of my mistakes are just careless goof, and others are genuine accidents....
I am definitely going to have to get a scraper of some sort to clean up some of this dried glue in places...
the bigger drawer is a little tight in its pocket, so I am gonna have to plane the top edge of it a bit towards the back to get it to slide all the way in with no resistance.
I have drawer pulls already but I haven't put them in yet. They are just little square aluminum pulls from HD. I wanted something small and simple and most importantly, short.
Look for the next row to be done sometime in the next week.
I bought some BLO and some premixed shellac.... I did some sample application on some scrap on each species... I can't decide if I like the BLO or not on the exotic woods.... It darkens them up more than I wanted it to... but on the Walnut it is fine. and the maple doesnt even change color. So I still don't know about using it or not... I may try the danish oil and see how it looks.... and then danish oil with a shellac top coat.... I dunno yet ...
[OP]
Member
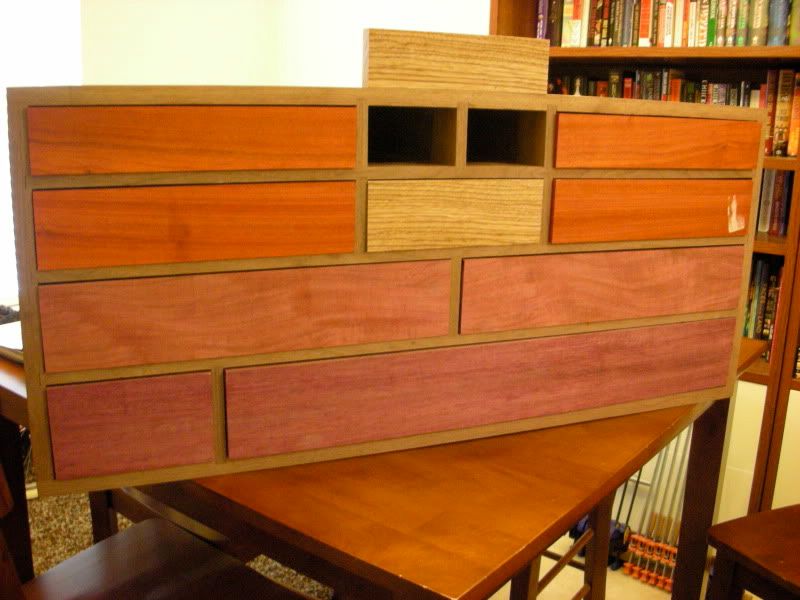
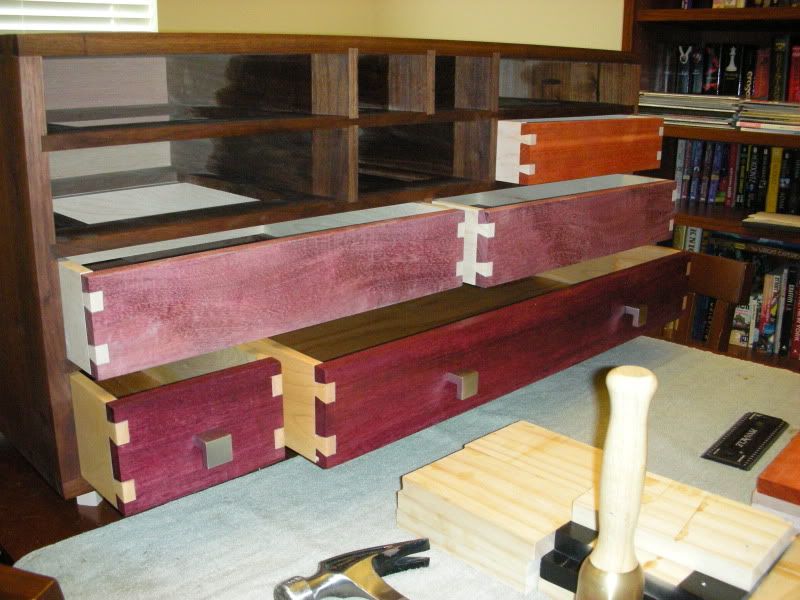
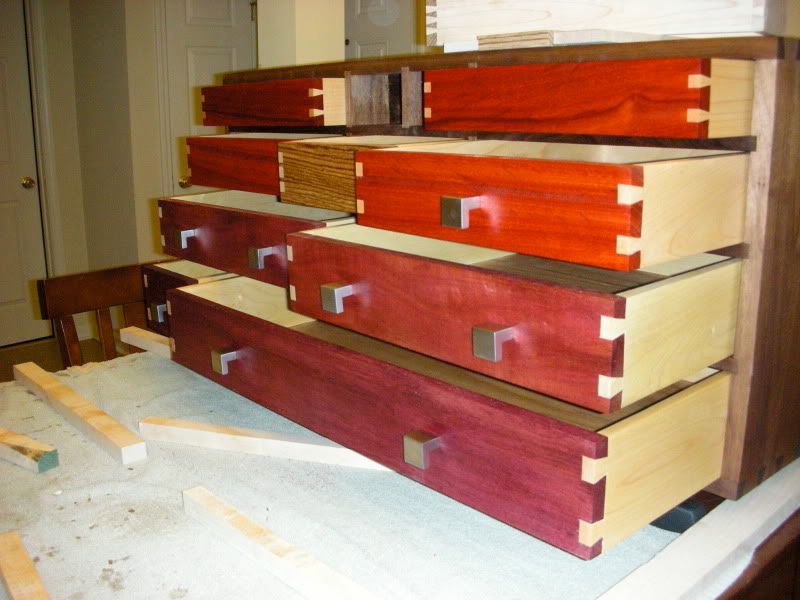
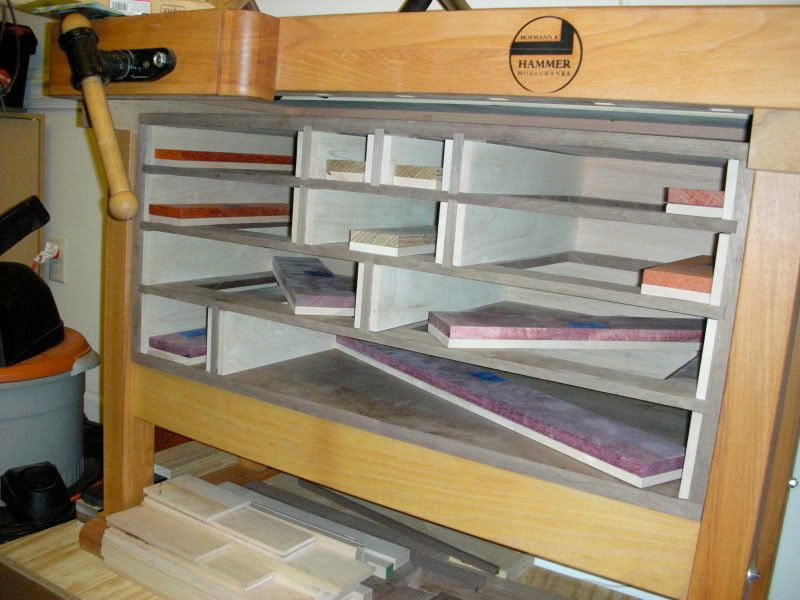
still chuggin along bit by bit. The finish is a coat of danish oil first, then some boiled linseed oil after that. I tried several variations on scraps... and I liked this result. When all the drawers are finished I will shellac the drawer fronts. the top three drawers are done, just no finish applied yet. I will Probably do that next go round.
Hind sight lesson learned... hardware : I wish I would have waited to mount the pulls until I finished all the drawers.... the third row will also have two pulls per drawer.... and I could have centered them up better .... as the bottom row is now... it will look a little off.... but I am not gonna try to fill holes and try to hide it.
[OP]
Member
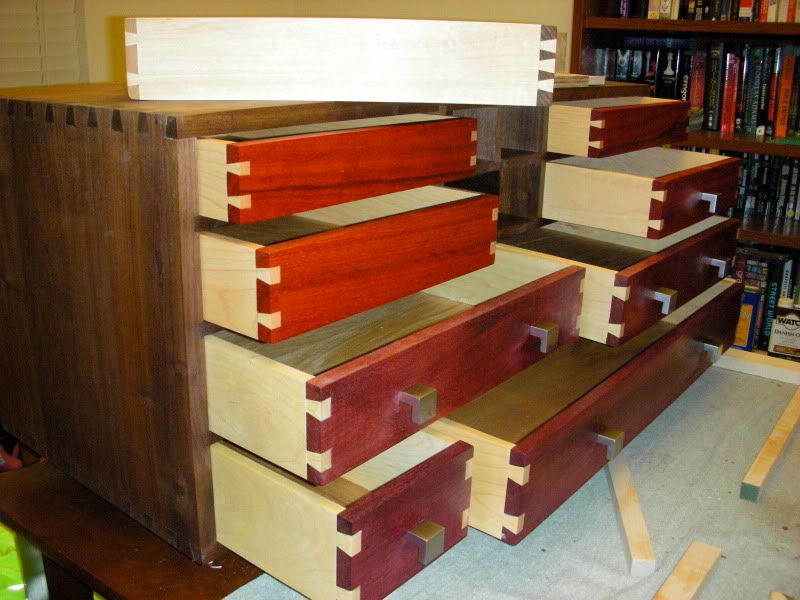
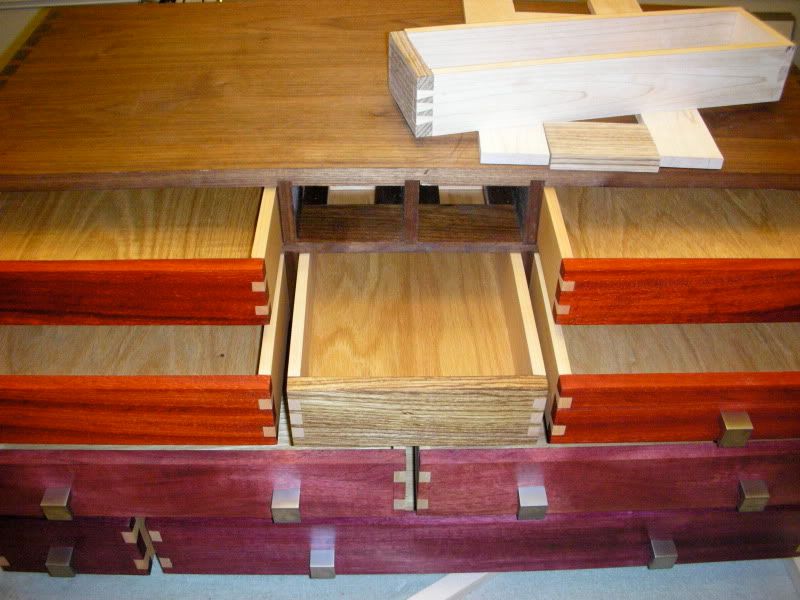
Still have to install the pulls on these drawers .... and the two little drawers up top are not finished yet. One is made, but not complete... The other is still uncut and waiting.
I rounded over the bottom rear edge of each drawer. Seems to make them slide a little easier.
Soon. It will be finished.
 Posting Permissions

 Reply With Quote