I have been working on this when I have time for the past month or so.... I just haven't gotten around to putting pics up. So, I will post them all up now.
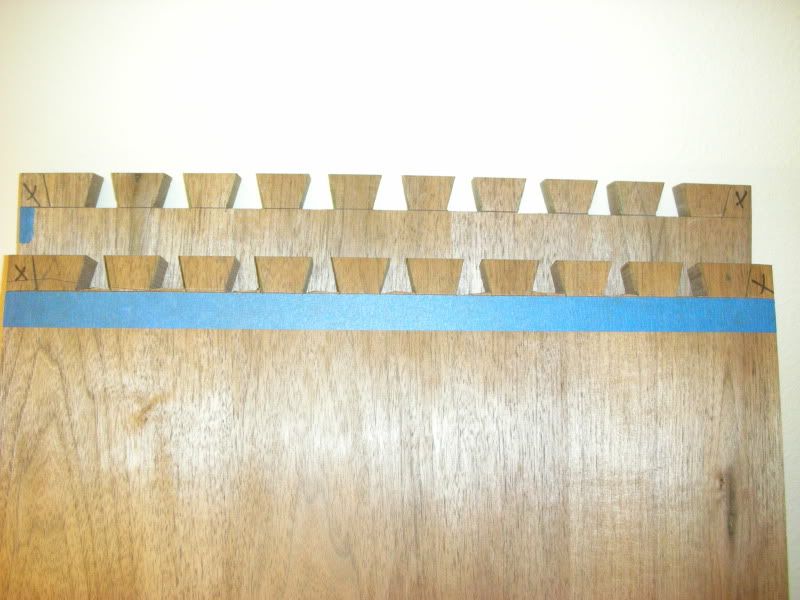
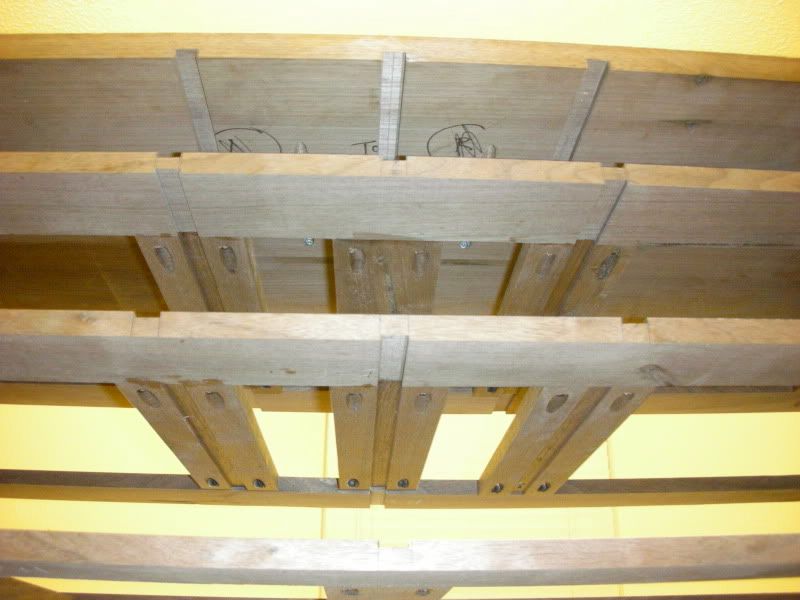
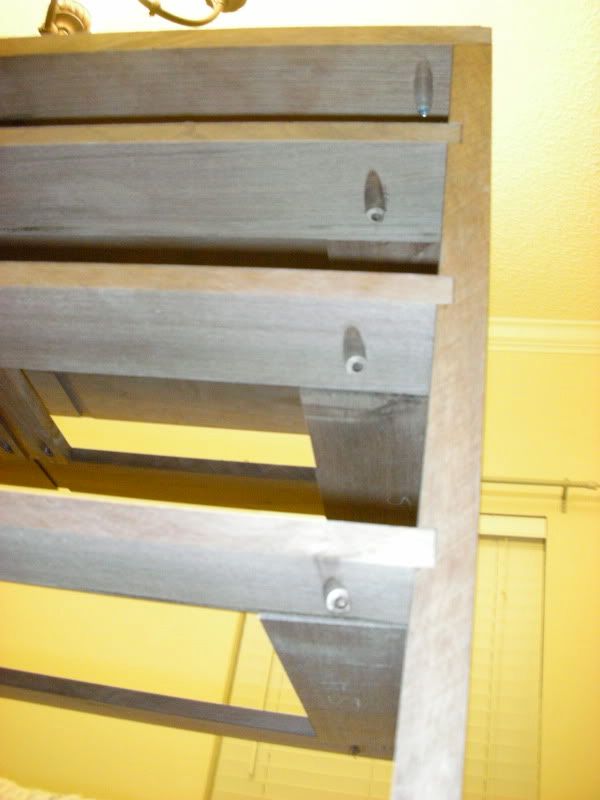
with the exception of cutting dadoes and a few cross cuts, and drilling some holes, This will be a neander build, especially when I get to building all of those drawers....
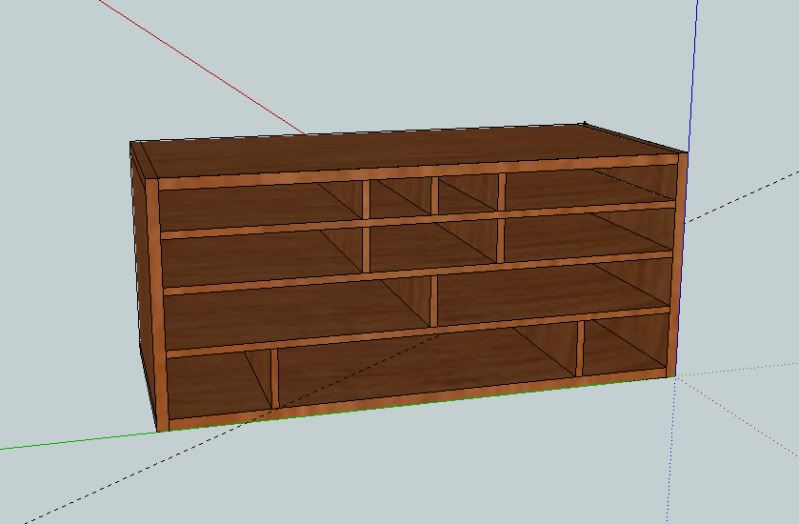
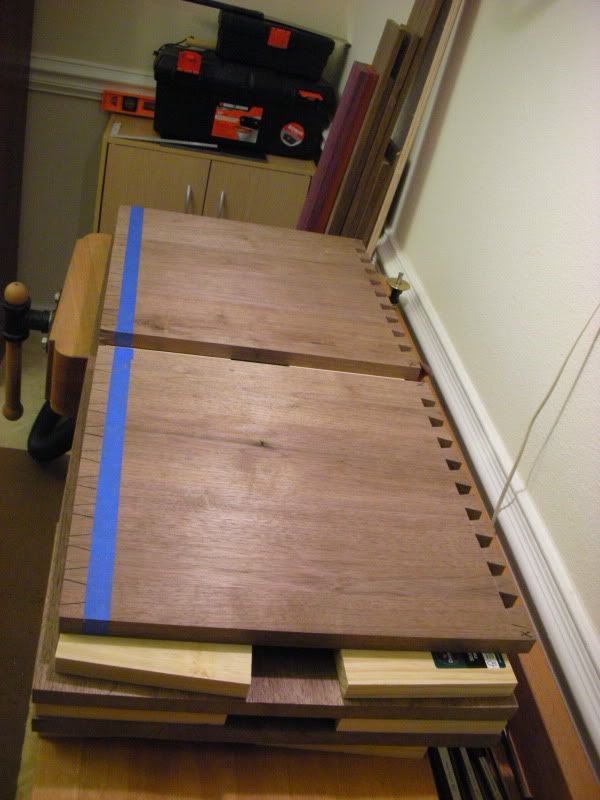
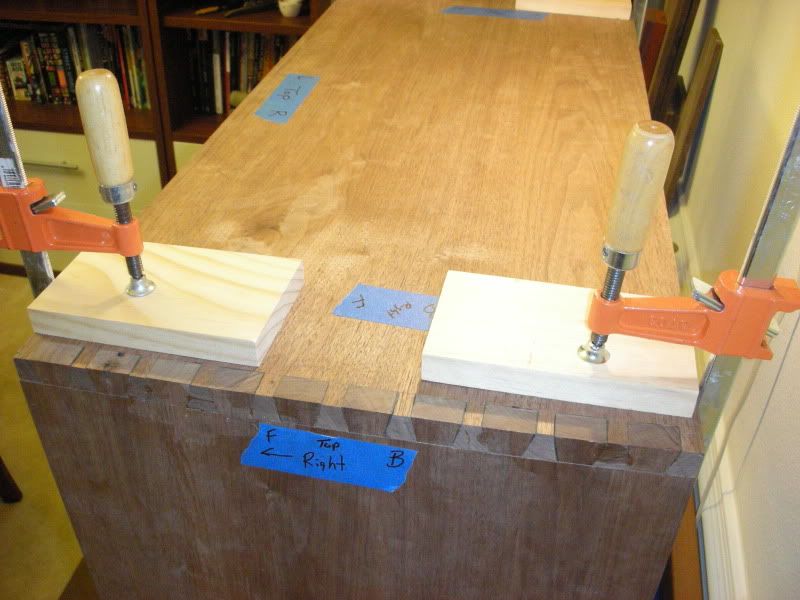
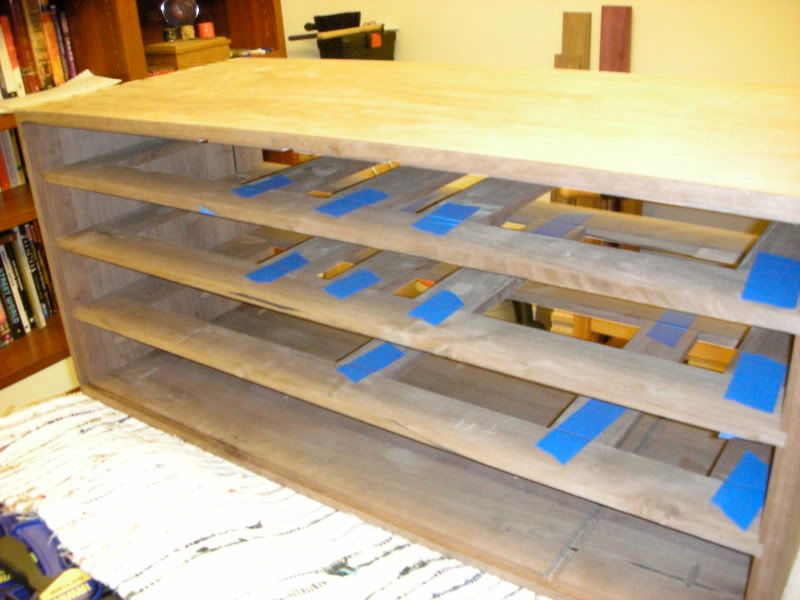
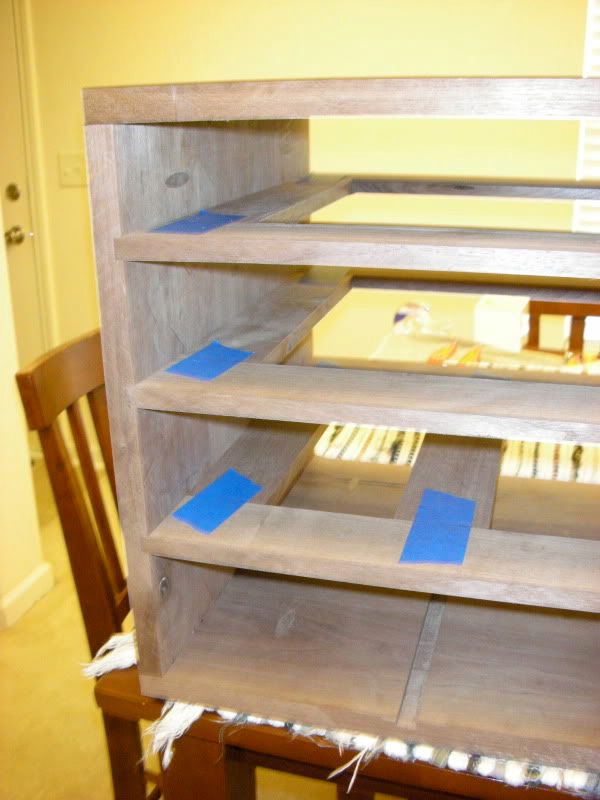
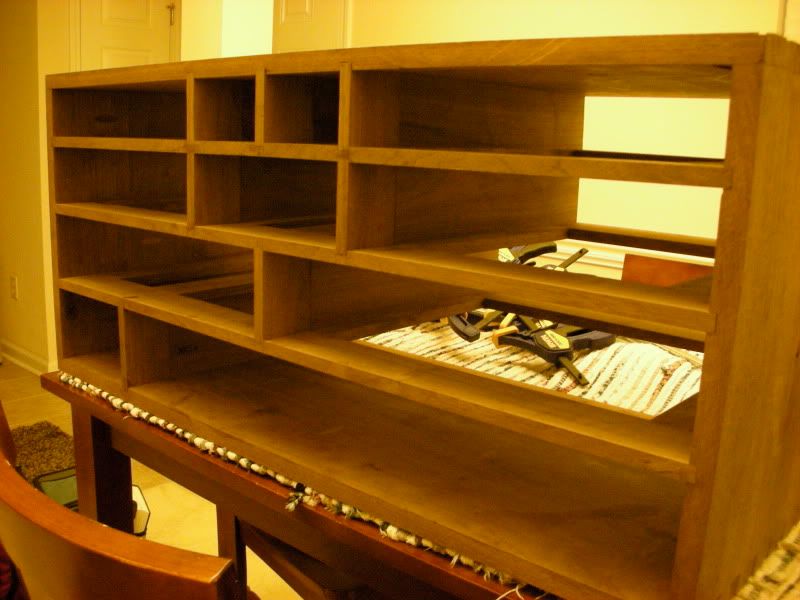
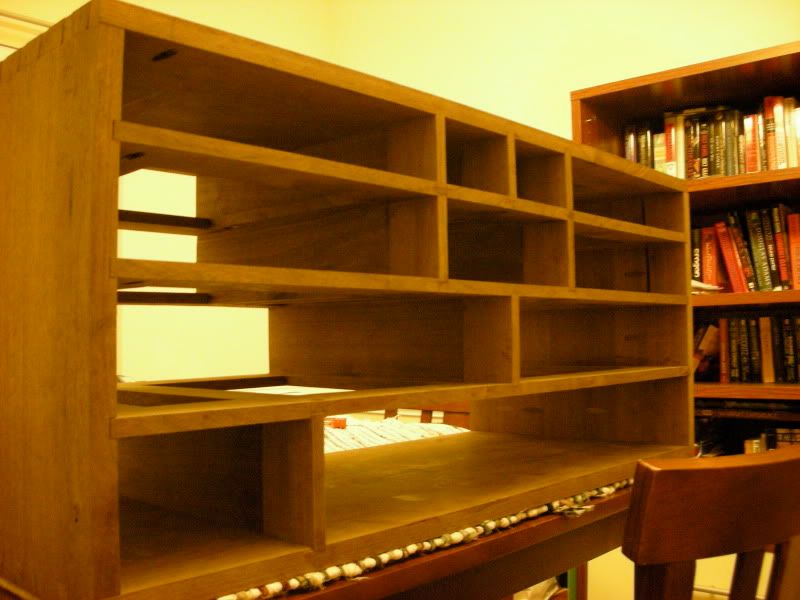
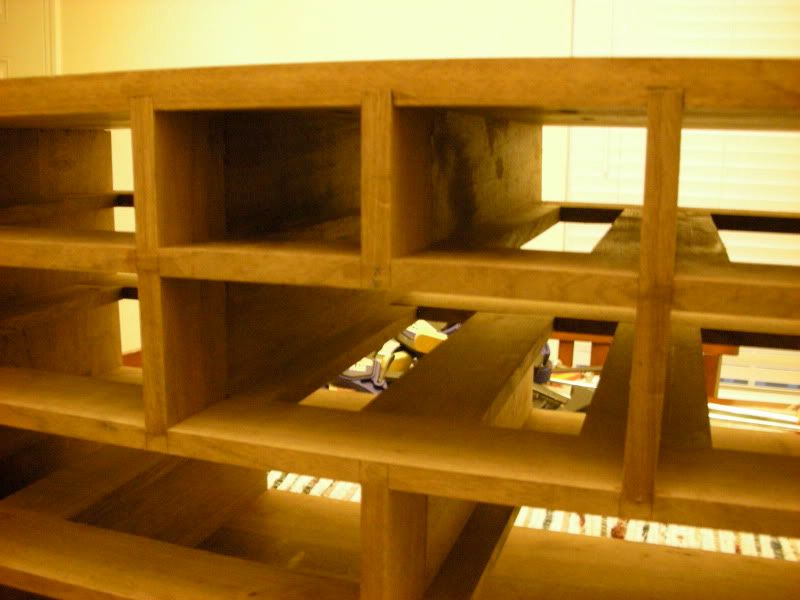
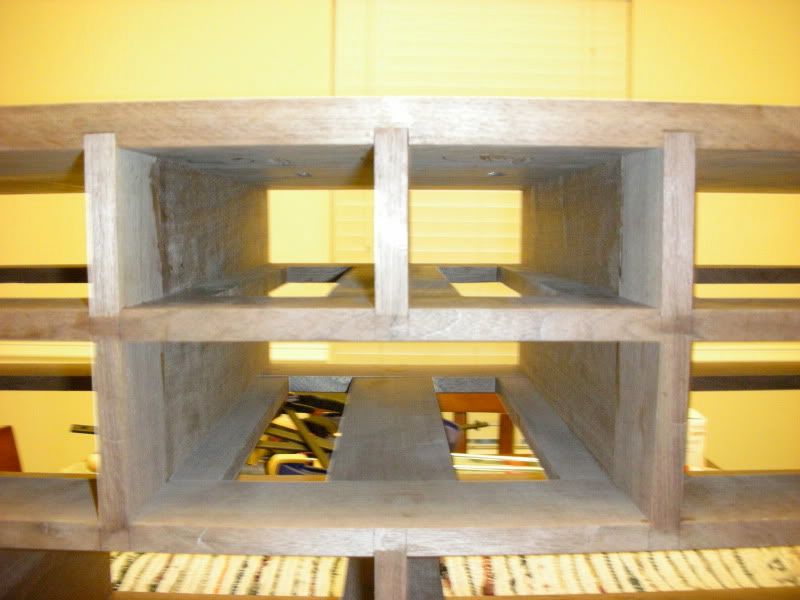
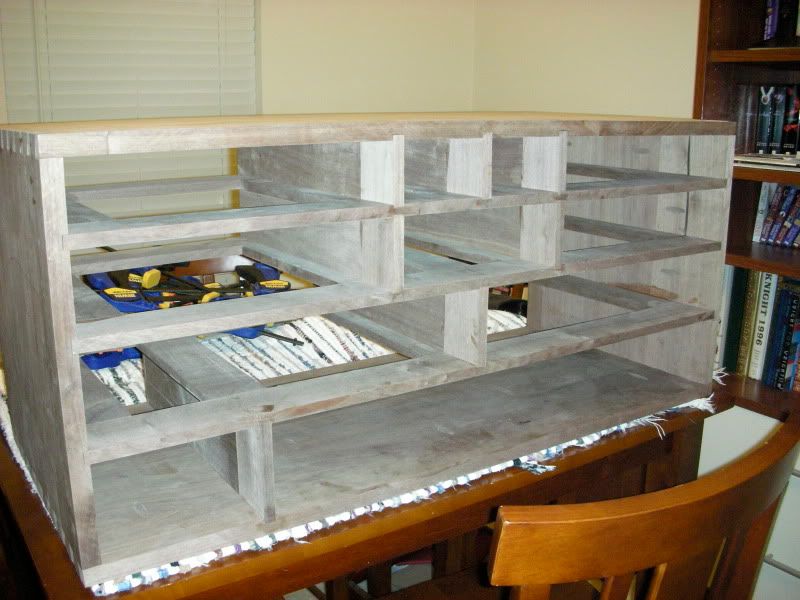
The walnut cabinet is 16 inches high, 16 inches deep and about 35.5 inches long. The drawers are 2.5 , 3, 3.5, and 4 inches high. The height and width of the the top two rows of drawers are laid out using the golden ratio....thanks sketchup!
So here we go.
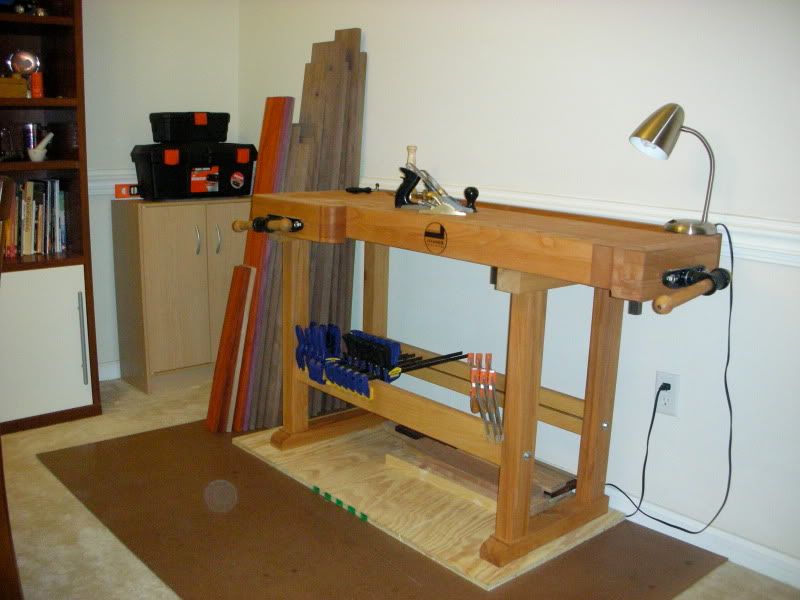
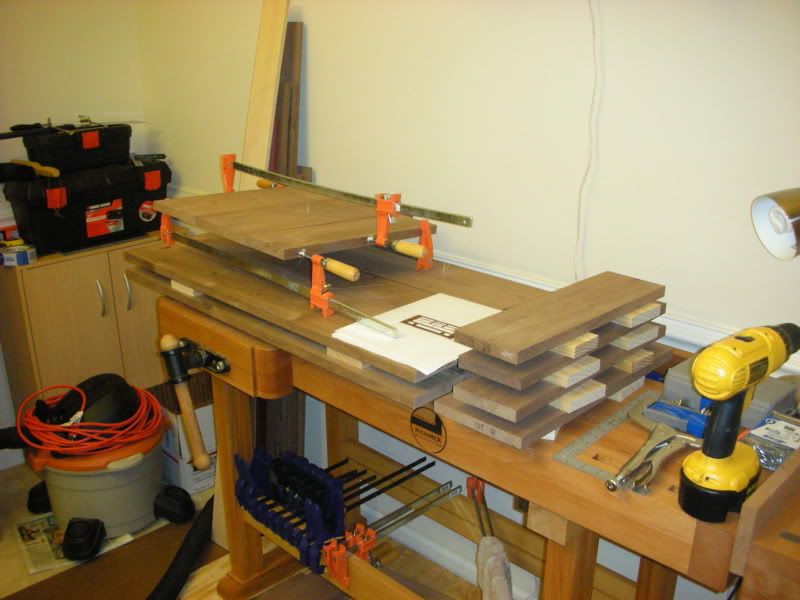
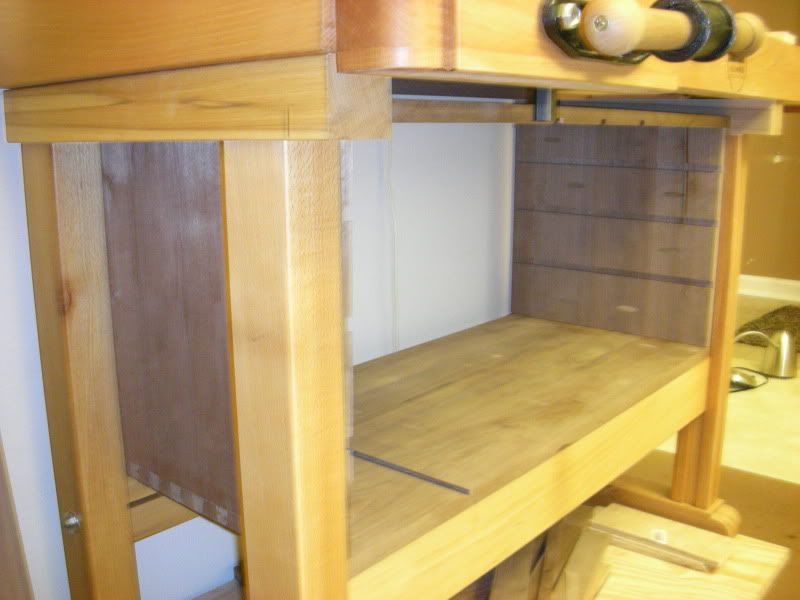
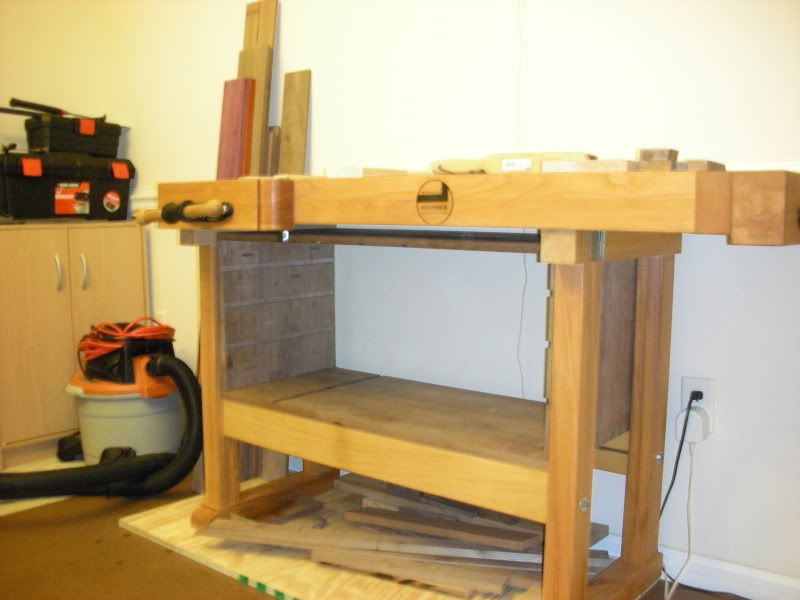
this is the workbench it will fit into, and the lumber planed to thickness stacked up next to it. The padauk and purpleheart are for the drawer faces. I still have to track down some maple or birch or something to do the drawer sides and backs with.... and a piece of walnut ply for the back of the cabinet.
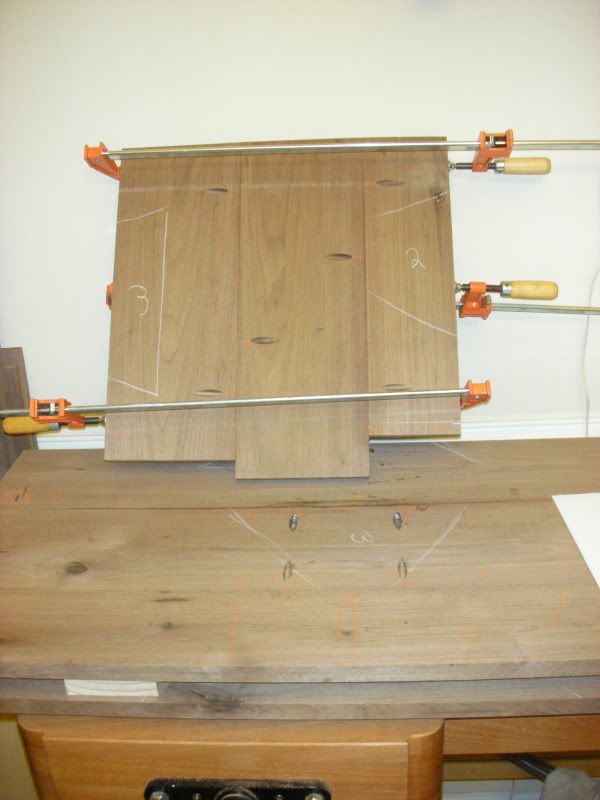
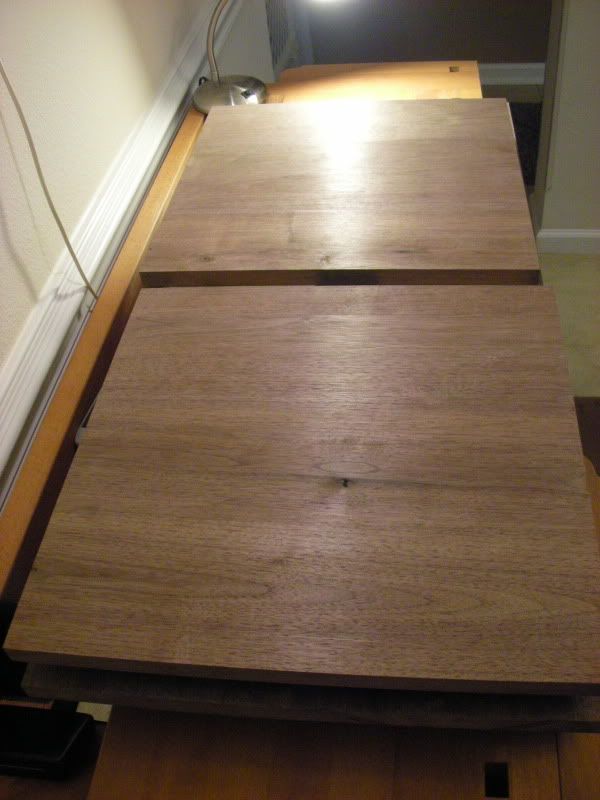
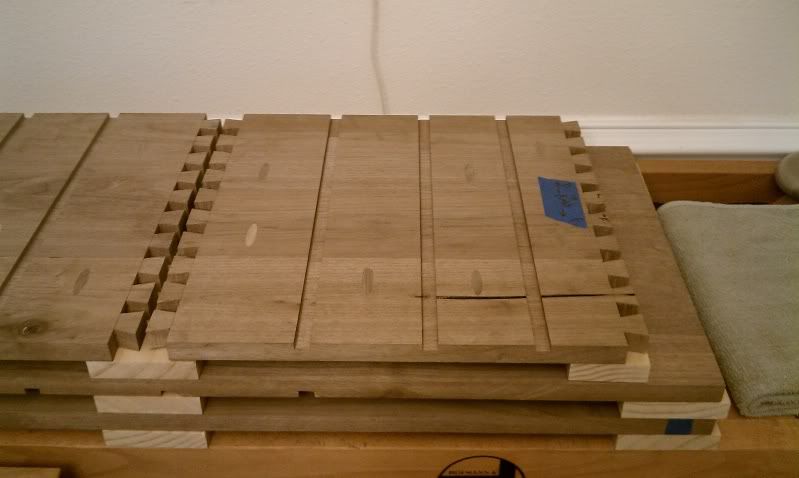
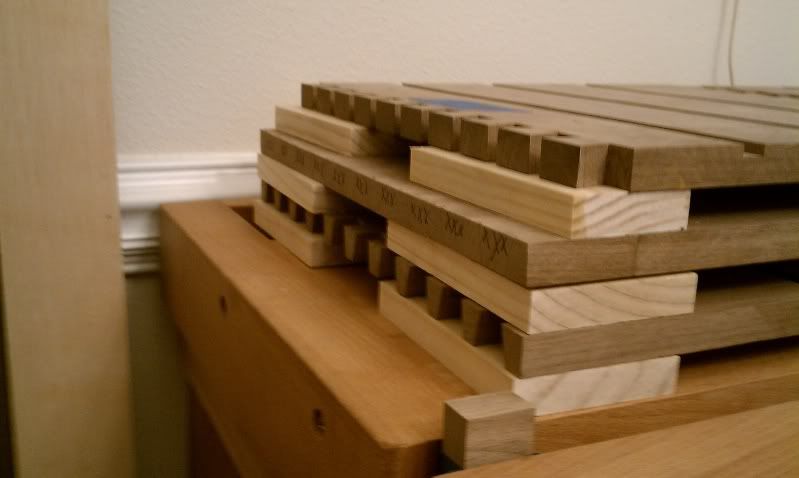
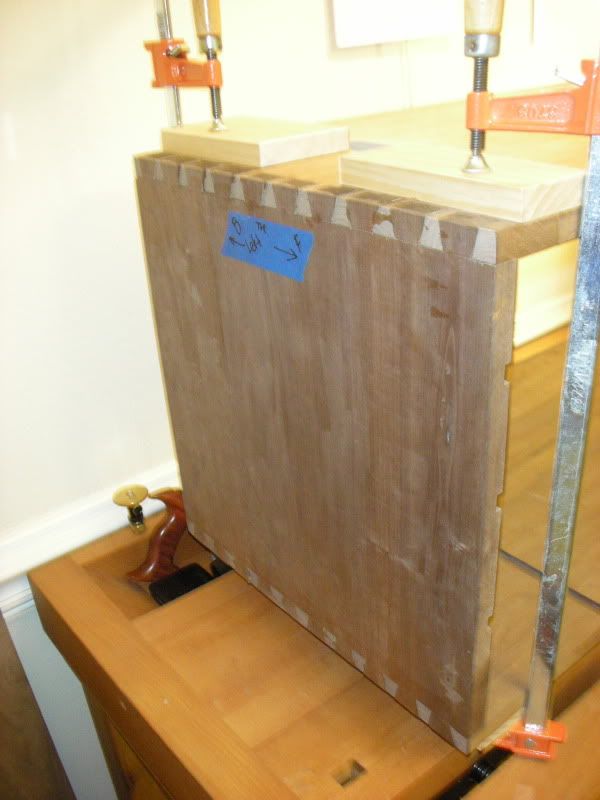
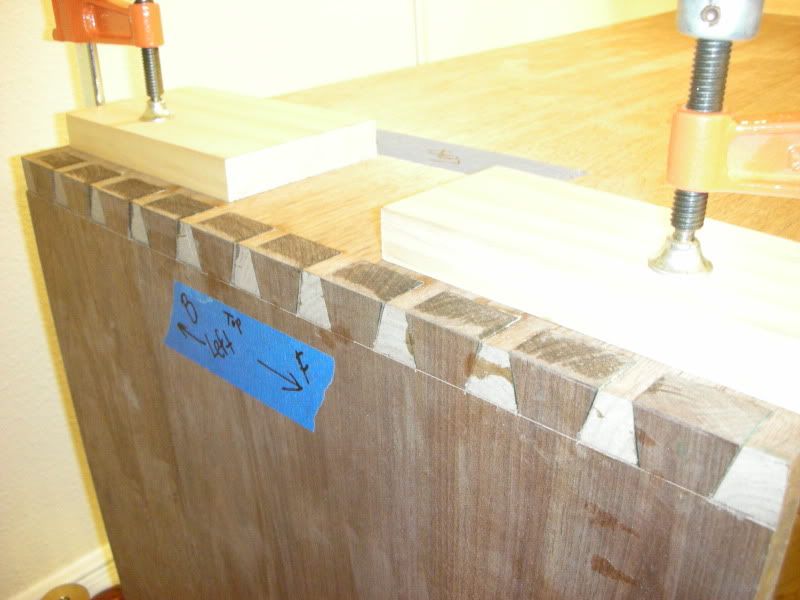
here the top and bottom have been glued up, and had some pocket hole screws added for a little extra support, and I am gluing up on of the side panels. The other boards stacked up are for the other side.
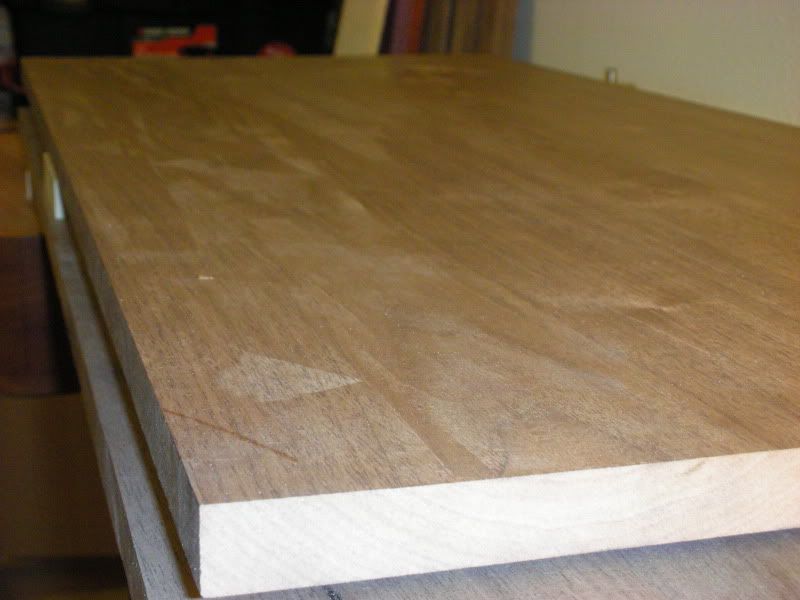
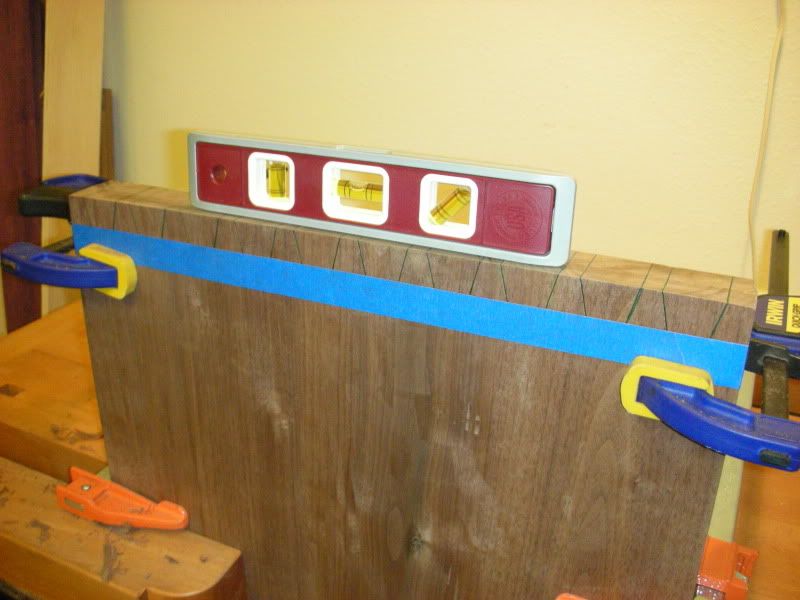
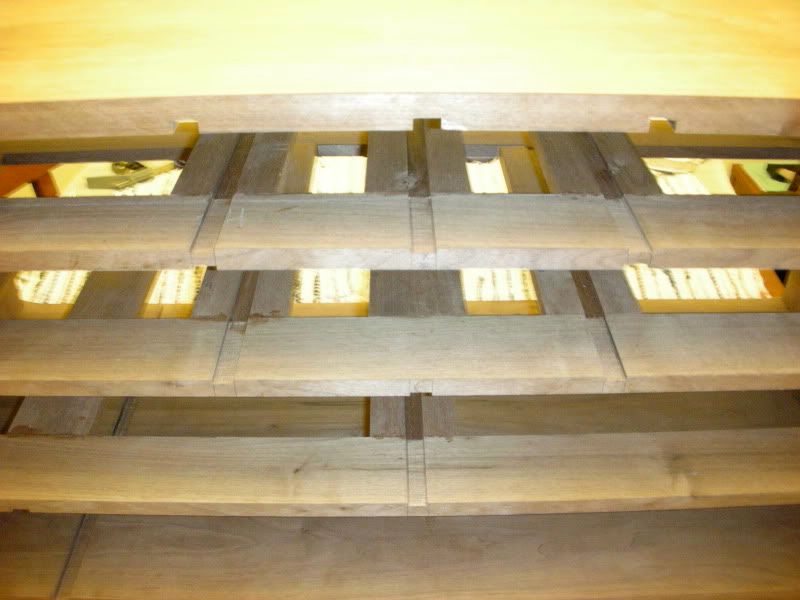
after all the panels were glued up, I planed them smooth with # 3 ... It did a okay job, still learning how to fettle a plane and get it planing good and with out tracks.... I will delay finishing the cabinet until I can get it planed to a point I am happy with....
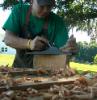
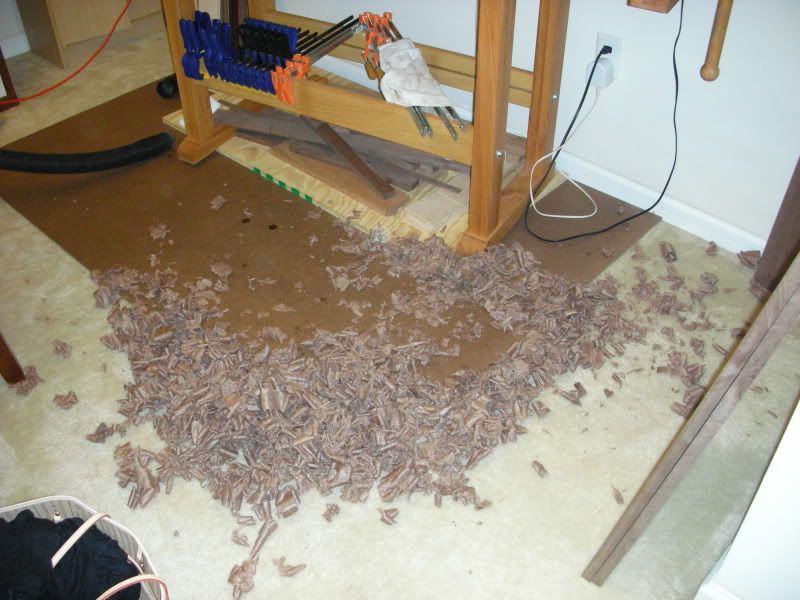
and yes, I use a shop vac about every twenty minutes...
more pics to come in a minute.....

 Reply With Quote
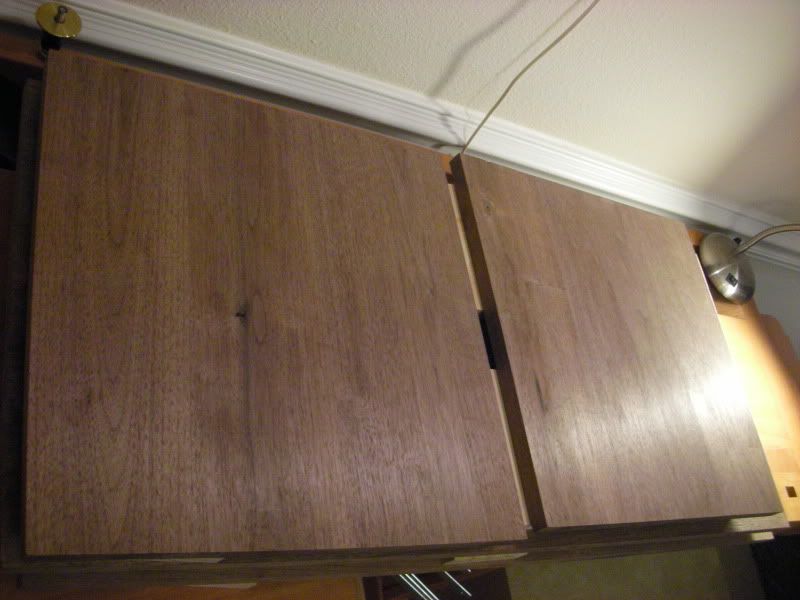


 .
.