I could see the stop color could being completely adequate. I'd think most of the forces on the bit as it gets started would be at the tip.


 Member
I could see the stop color could being completely adequate. I'd think most of the forces on the bit as it gets started would be at the tip.
Member
I love how detailed you are with your posts. Makes it convenient for us to silently copy everything you do.
 Member
Mark,
Great update! I always enjoy your presentations.
Hey....how many guys would dare make a jig out of tiger striped maple? Durn straight, a tool should be as purdy as it is functional. I envision some inlay work, or perhaps your Lone Star stain pattern with a high luster finish.
Do it. Do it. Do it.
Cheers,
Seth
Play drums!
 Moderator
And it's a darn nice looking jig, too! LOL That maple was just calling out to you from the bin, wasn't it?
--
The most expensive tool is the one you buy "cheaply" and often...
 [OP]
Member
[OP]
Member
Yeah, I felt a bit of guilt as I was cutting it up but I had no idea the figure was that nice until I sliced it open. If the jig doesn't work out, I can always salvage it for inlay or headstock veneers. But, nothing wrong with having good looking tools.
Peace,
Mark
"Thought that is no longer limited brings experience that is no longer limited" Marianne Williamson.
 Member
Mark,
How did this build turn out?
Measure twice, cut three times, start over. Repeat as necessary.
Member
I can't wait to see the finished piece....and I love the green color! I love to see natural wood, but the green color really makes the quilt pattern pop. Keep up the great work!
Member
Updates? Looking forward to seeing more.
[OP]
Member
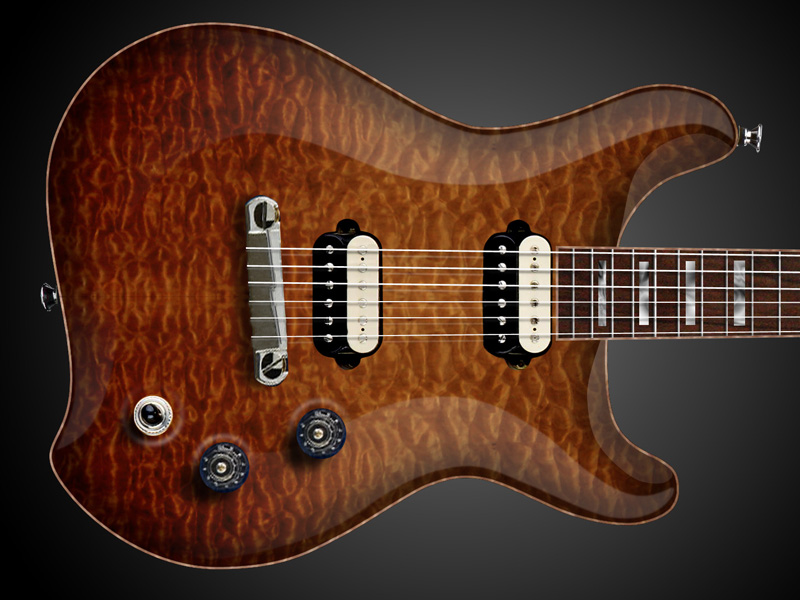
Well, I'm finishing up some builds I started last year and this one is next on my list...the last on the list actually. I'm excited to get back to it. I should have an update in a few days. I'm hoping to make some progress this weekend. I'm rethinking the finish color...maybe amber burst is better suited for this particular top...I'm leaning that way for sure.
Peace,
Mark
Last edited by Mark Crenshaw; 05-19-2011 at 2:38 PM.
"Thought that is no longer limited brings experience that is no longer limited" Marianne Williamson.
Member
This is very nice work!! But why not post under the musical instruments forum? We need Ur support there!!
Great job!
Mike
[OP]
Member
Thanks Mike. I will on future builds but the MI forum didn't exist when I started this thread last year. If Jim would like to move my builds to MI, I'm good with that.
Peace,
Mark
"Thought that is no longer limited brings experience that is no longer limited" Marianne Williamson.
Member
No need to do that.
Member
The amber burst is beautiful, but I still like the green best. It's more eye-catching and different.
[OP]
Member
This is the last of my unfinished builds. I wrapped up my 2011 Challenge build, the purple maple and alder Tele and my PRS Custom 22. Now it's time to focus on this one.
There's a lot to be said for staying on task and getting things done in a timely manner, but there's also a great bit to be said for walking away, refreshing your perspective and showing a little patience. Coming back to this build after several months, I have a whole new outlook on it and a renewed excitement for the project
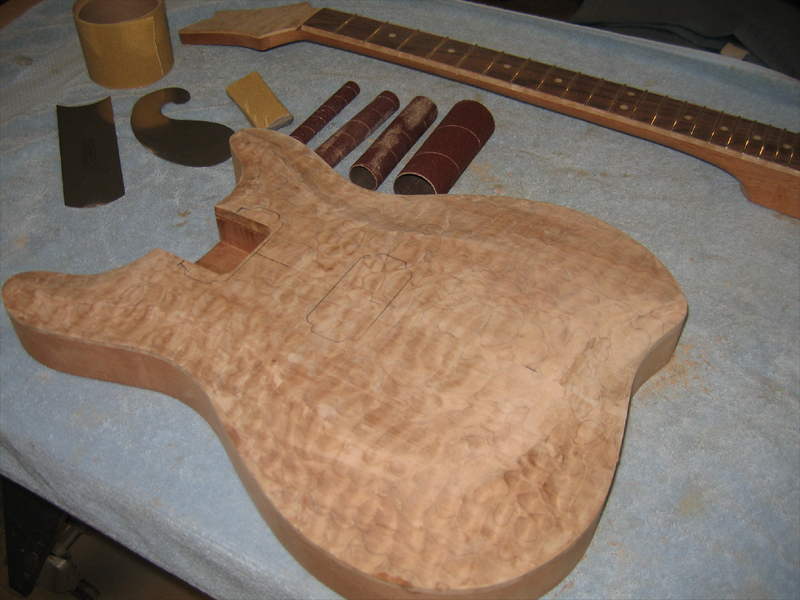
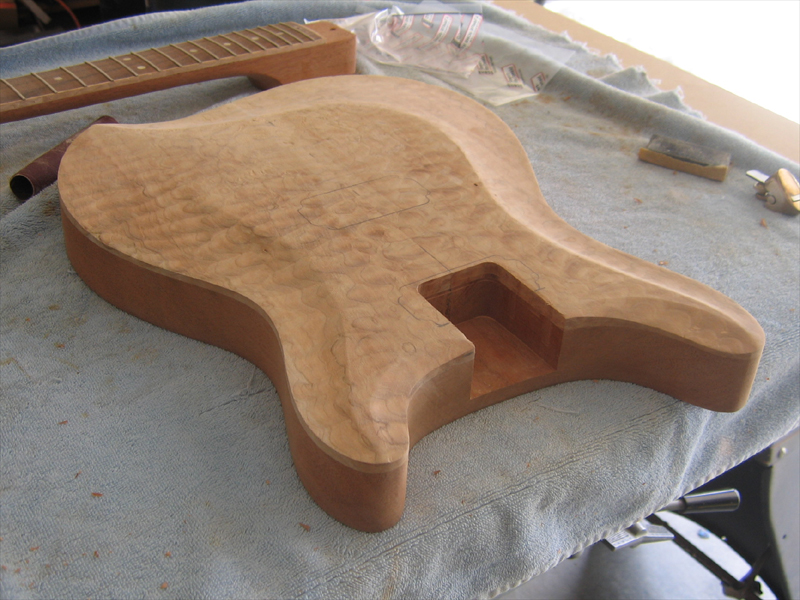
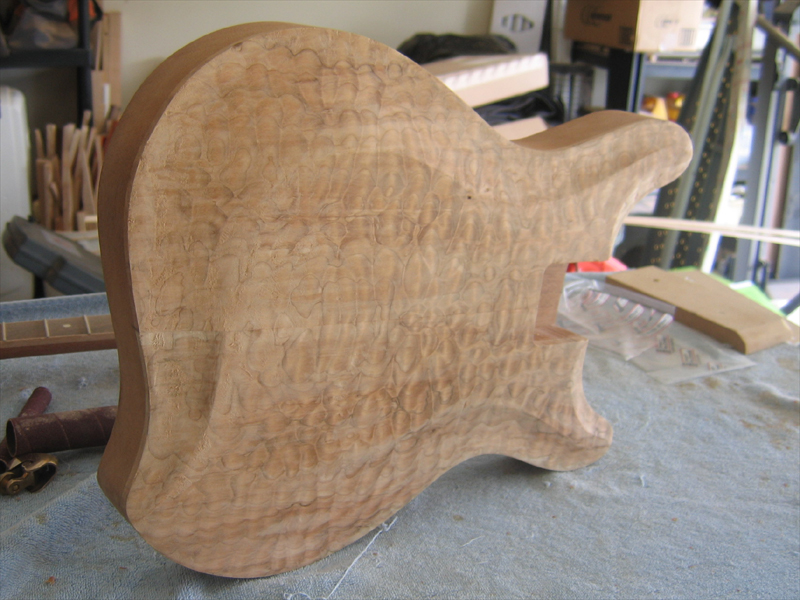
Since my last post, I have actually done a bit of work on the neck, It's fretted, leveled and dressed. I just need to drill it and open up the TR access. Here it is with the body pretty much as it was at my last post.
I started refining the carve with a collection of sanding tools, scrapers and an Ibex plane. I focused on the outer portions of the carve, making sure to remove all of the planing marks and deepen the areas that needed it.
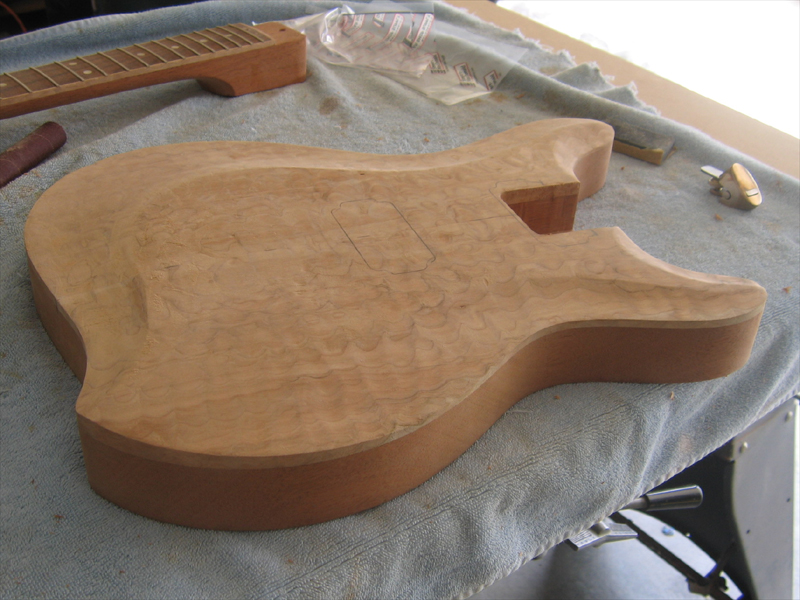
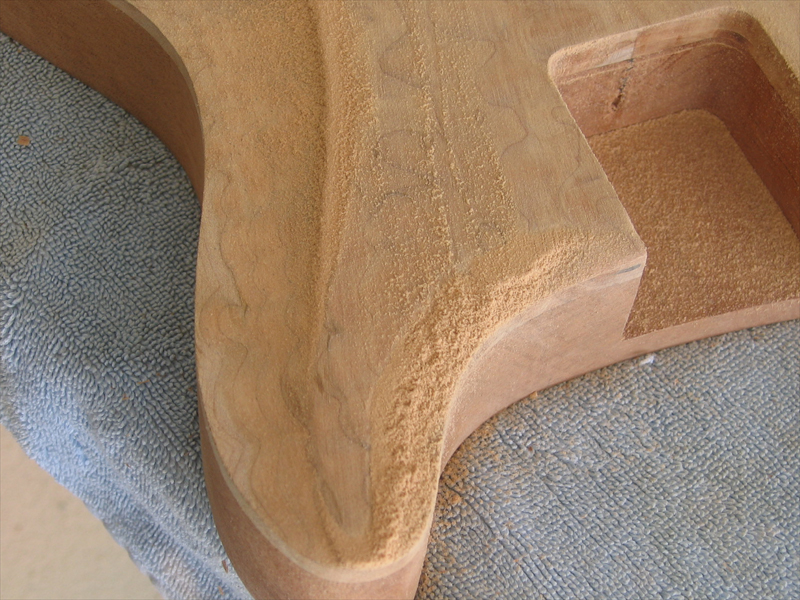
Then, I tool a piece of MDF with 80 grit and blocked the flat part of the top. This puts a crease detail back into the edges of the carve by flattening them. It also shows me where my shape may be off by the way the sawdust gathers in the recessed areas.
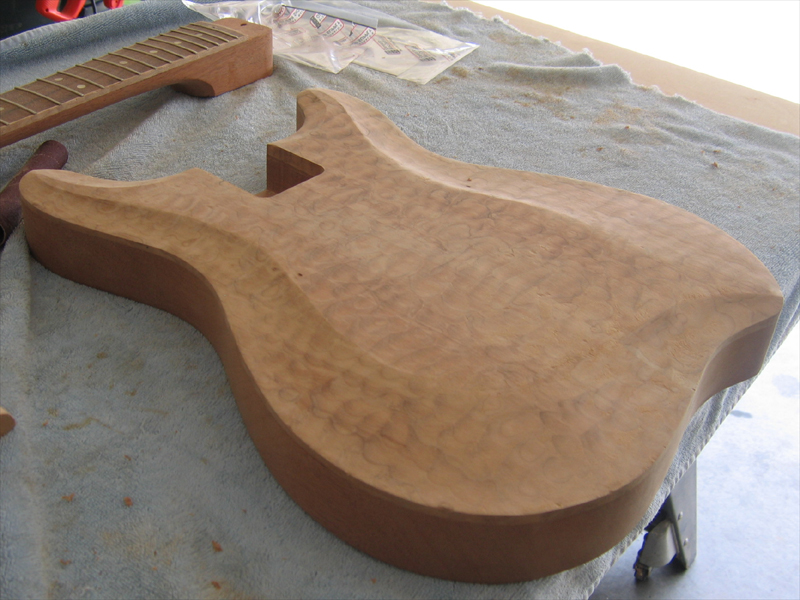
I then took a pass with scrapers to clear and open up the grain again...starting to look like the quilt I started with.
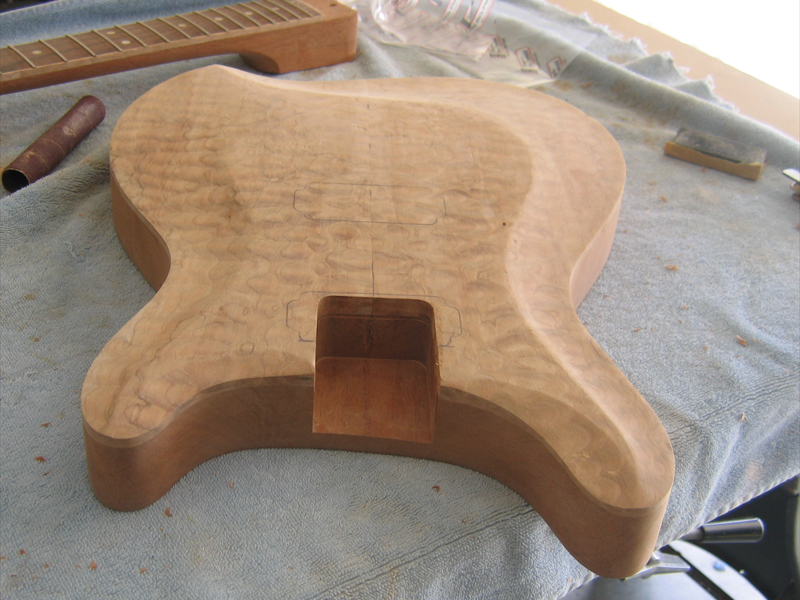
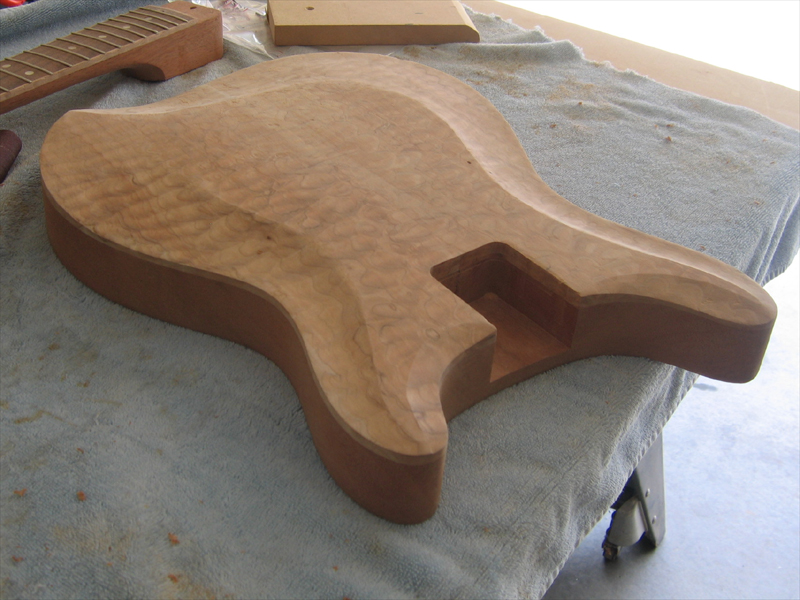
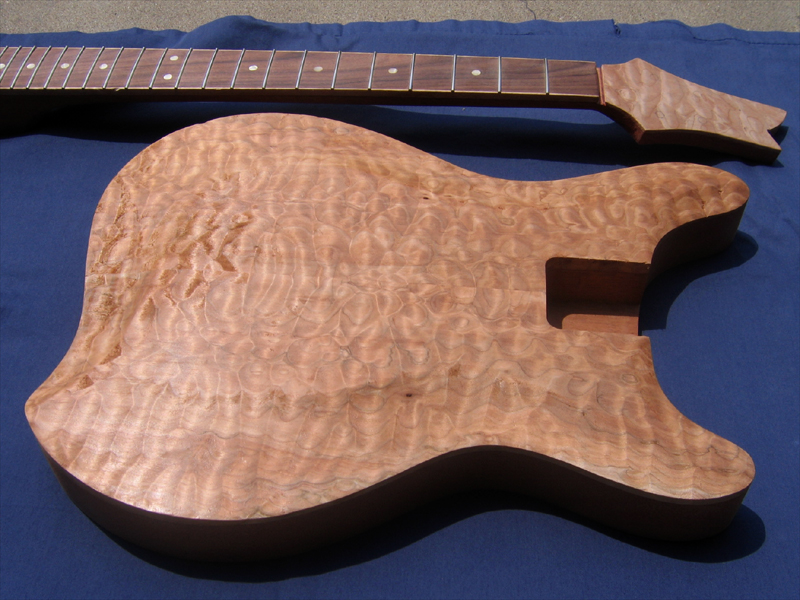
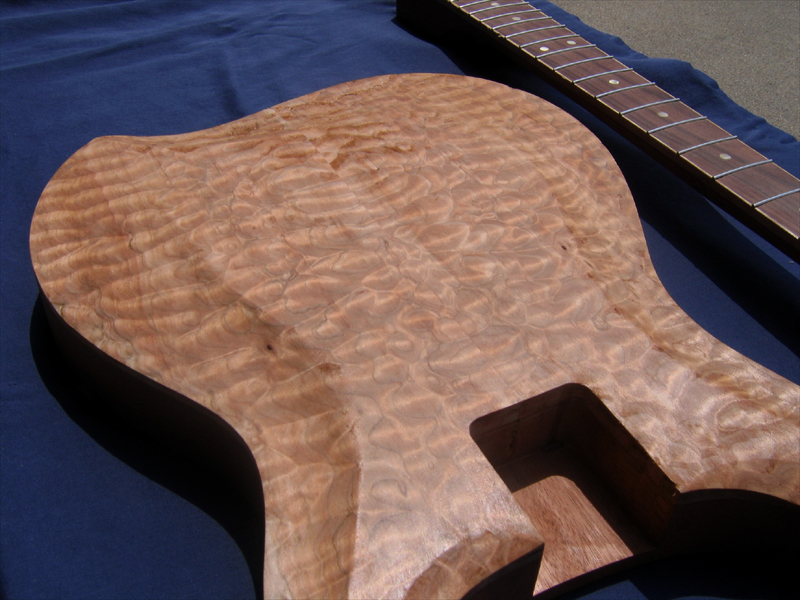
Here they are with a wash coat of EM6000 on them to seal everything up and serve as a guide coat for final sanding....it will all sand away but it seals things for now. The dark spots in the bridge area are still wet...they dried light like the rest of the top.
More soon.
Peace,
Mark
"Thought that is no longer limited brings experience that is no longer limited" Marianne Williamson.
[OP]
Member
I shot this as the sun was starting to set. The figure is back with a vengeance!
"Thought that is no longer limited brings experience that is no longer limited" Marianne Williamson.
 Posting Permissions

 Reply With Quote