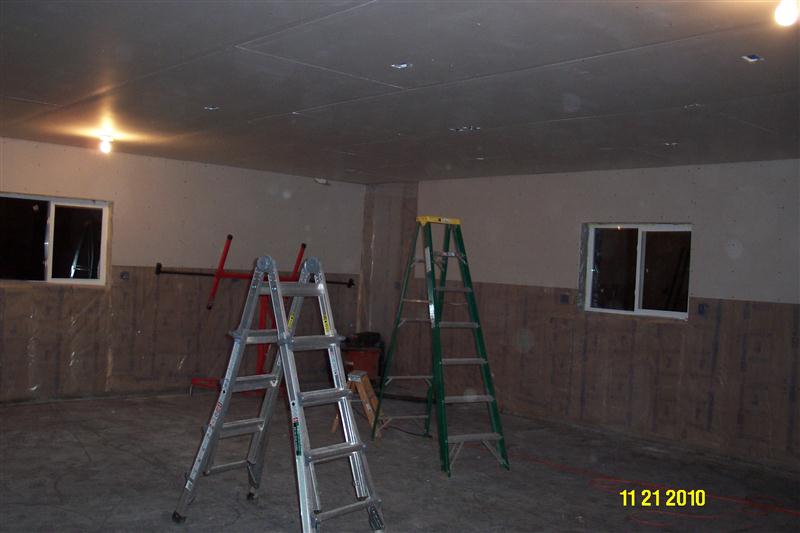
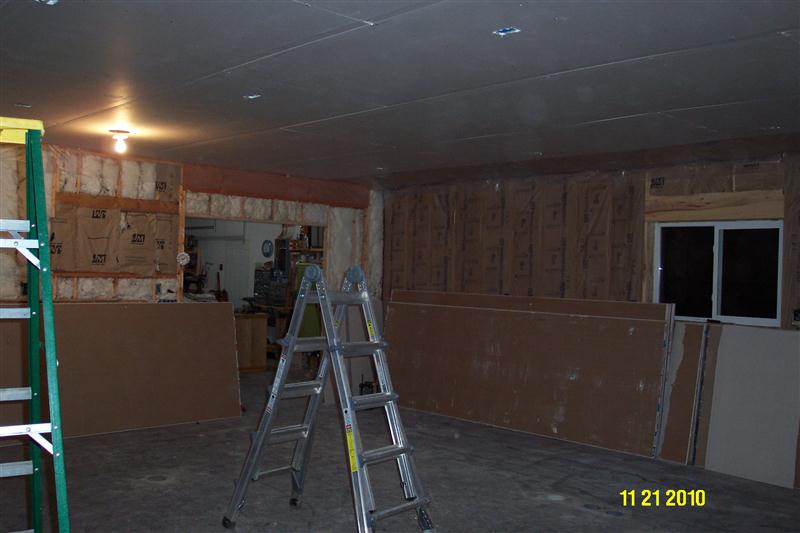
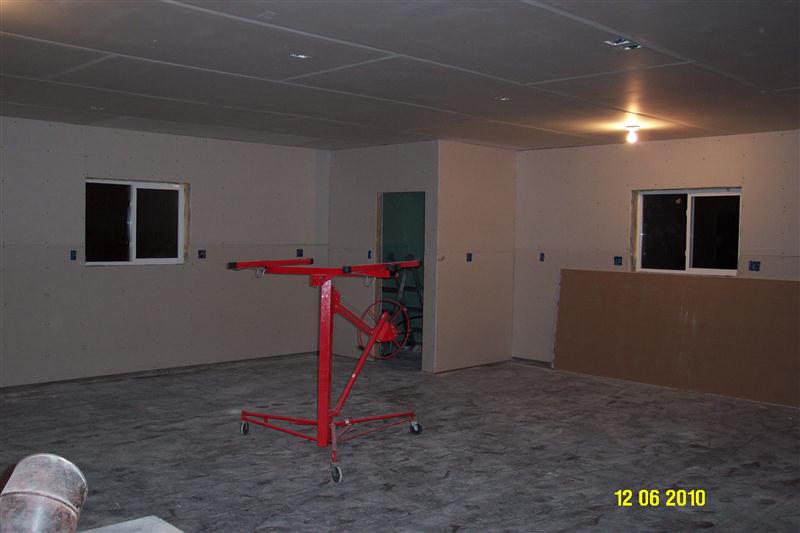
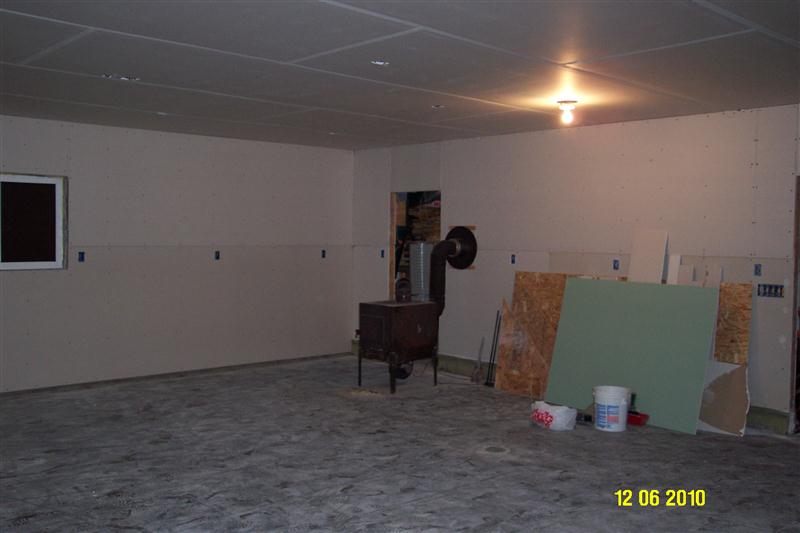
That should be a great shop. You and family are doing a superb job. The hydronic heating should be great, too!!
One suggestion- I would take another look at your DC lines- you have too many runs with multiple right angles . A lot of folks like nice, neat looking runs that are parallel to the walls with long vertical drops, but they aren't always the best for efficiency. A main that starts right at the DC and runs diagonally directly, with no bends to the opposite corner of the shop by the bathroom with branches to the machines coming off at 45's would yield much less static pressure resistance and much better CFM. There is a lot of duct and fittings between the tools on the left side of the drawing and the DC. (It looks like there might be at least one T there as well, YIKES!). Remember, unused drops have no effect on air flow. Too bad you couldn't have built a floor over a crawl space, then you could have run all your DC lines under the floor for shorter runs and very short drops that flow down instead of flowing up to the ceiling. It would have required the PEX be laid away from the walls by a foot or two but that really wouldn't have affected the heating.

 Reply With Quote