
-
Thats looking sensational. So good you could put a mattress in it and live there.
-
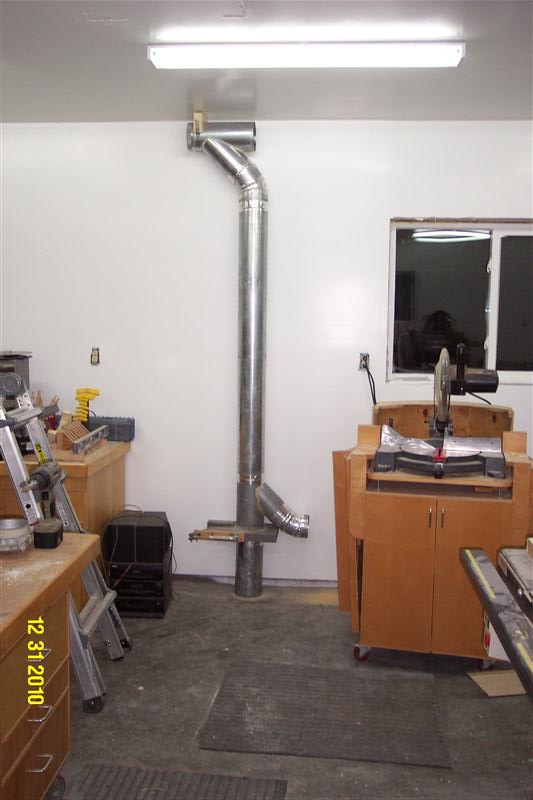
Sorry, Todd. Didn't mean to cause brain scratching. I just saw that elbow sitting on the top of the stove, and at first thought...uuuum.
I drink, therefore I am.
-
The elbow "sitting" on top of the stove is actually hooked up to the exhaust from the blower. I put the elbow there to get the heat to go across the shop instead of just straight up...Nice warm air comes out there.
-
-
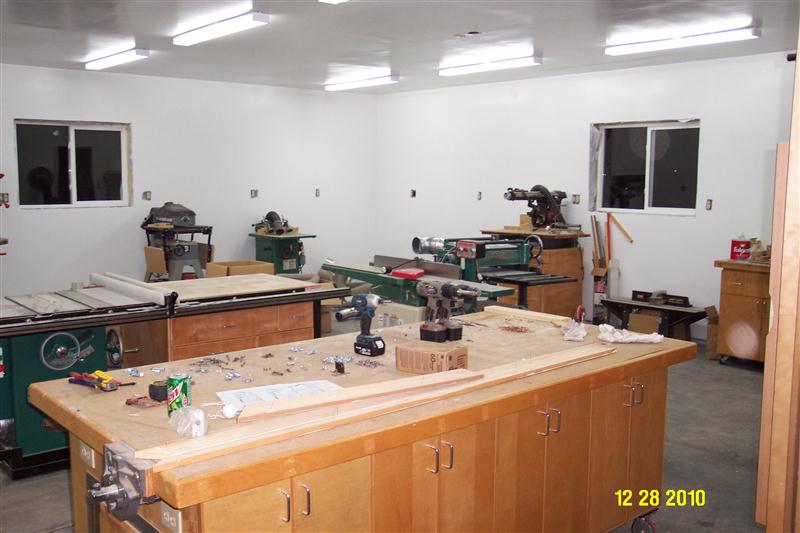
Moved In!!!!
I was finally able to move into the new shop this last week! Still a lot of work to do to get everything put away and the dust collection up.
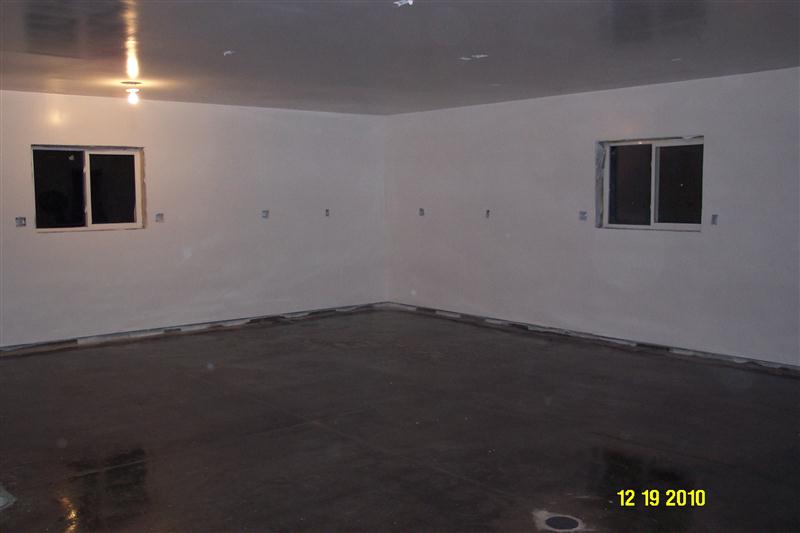
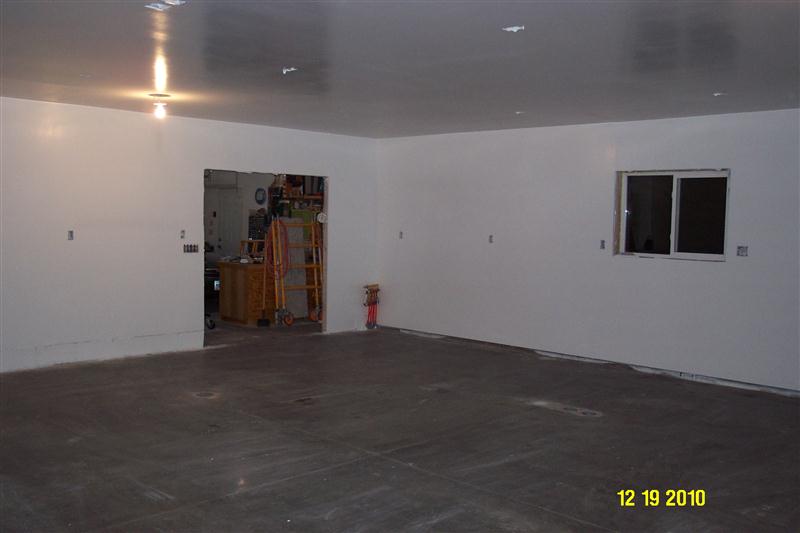
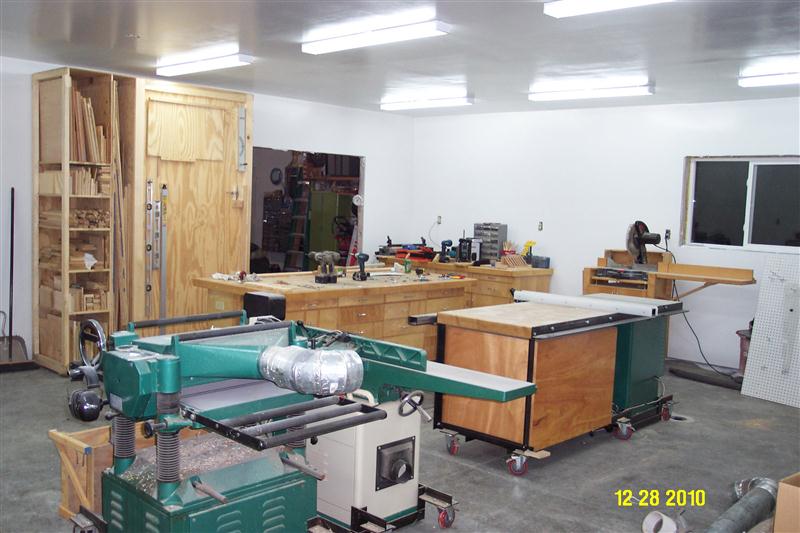
Here is the shop after I have it painted and before I moved in. I still have to put the doors in and make & install the window trim. All the electrical outlets and lights have to be installed as well.
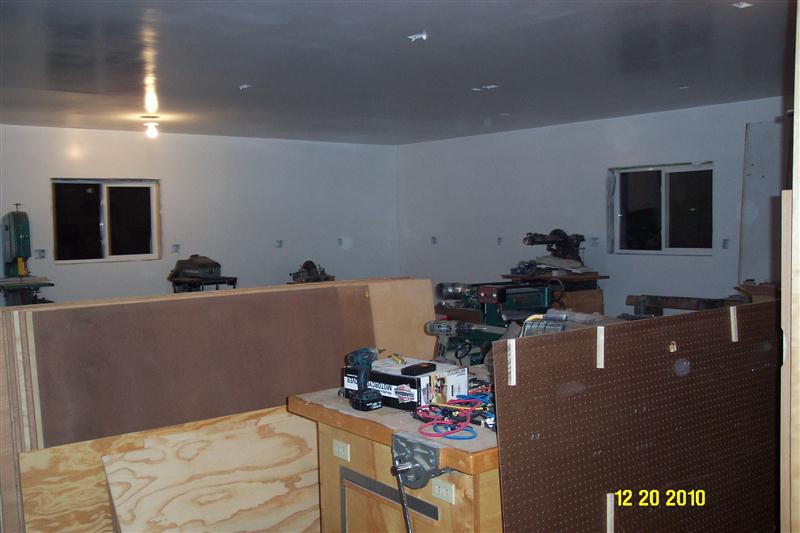
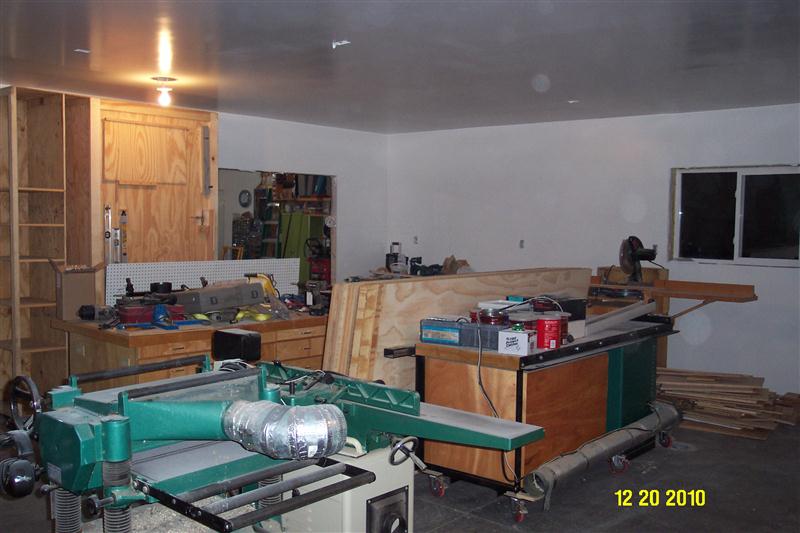
I have all of the tools moved into their new home. Now to get everything put away.
I have got some stuff put away, and I also have the electrical ready for final inspection. I am working on inventorying the dust collection pipe so I can get an order together.
-
Lookin' good, Todd. Hey, don't ya just hate that that Grizzly planer doesn't have an avilable 6" port? I can't believe that they don't make a replacement hood with a 6" port on it. Some day when/if I get the spark, I'll take my hood to a welder and get him to alter the hood. In the meantime, I got their side dispening hood (from a newer model). Instead of the port being directly to the back of the hood, it is kinda on the side of the hood. When looking the be back of the hood, it goes to the right.
Anyway, have fun making a place for everything and putting everything in its place. Keep the pics coming.
I drink, therefore I am.
-
That should be a fantastic place to work, err have fun!! Remind me, how are you going to hang the DC ducting.
-
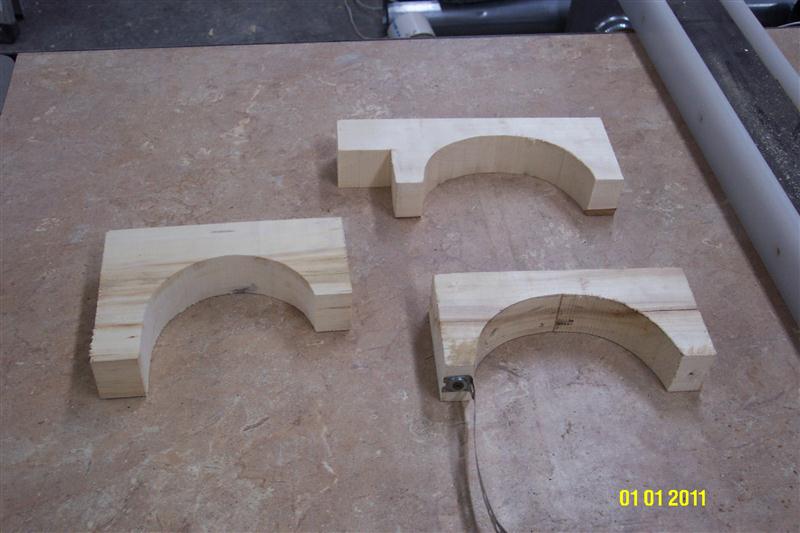
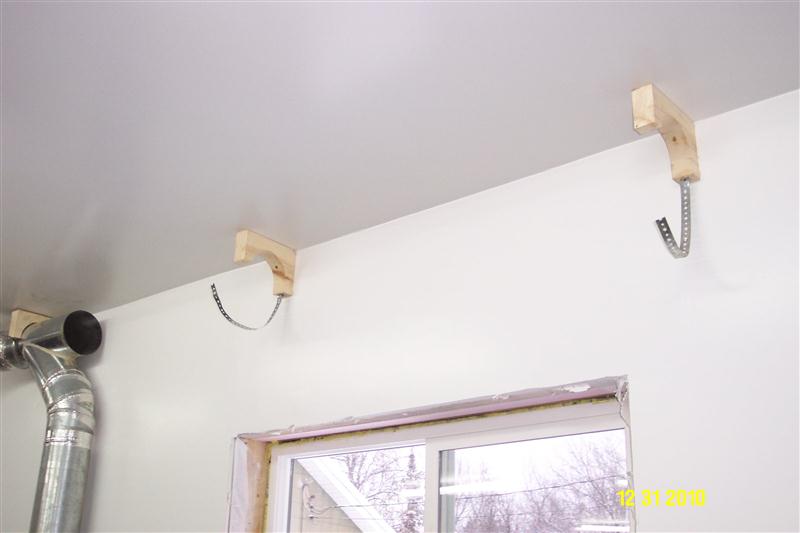
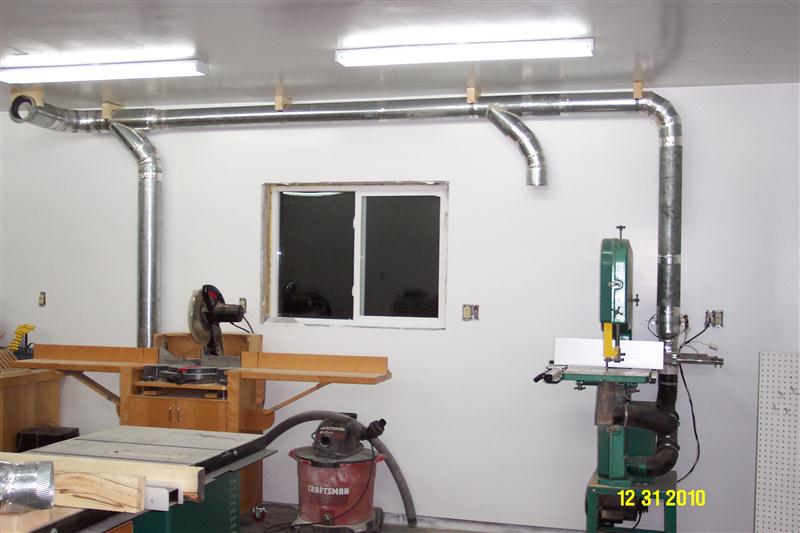
To hold the pipe to the walls and ceiling I made brackets out of 2x6s for corner mounting points (left bracket) and 2x4s for surface mounts. The lower right bracket is for the pipe that go over a trust/stud, and the top right bracket is for a pipe that ends up offset of a trust/stud. I hold the pipe into the bracket with duct strap.
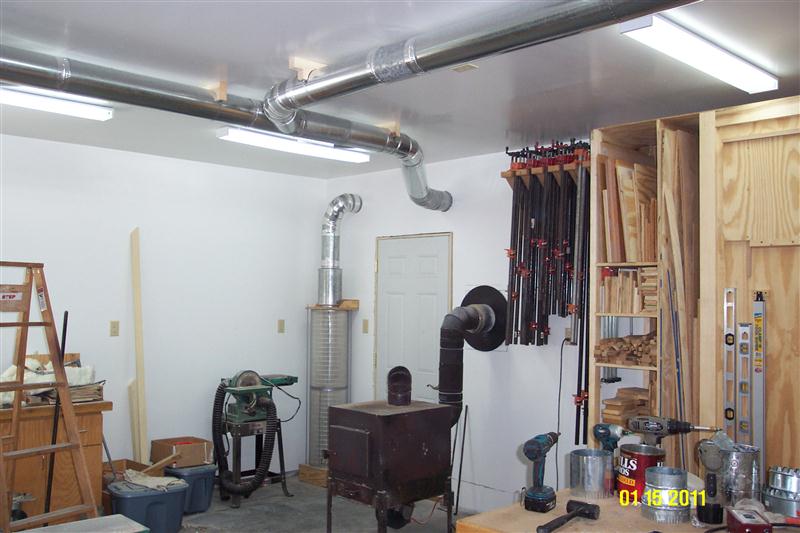
I am getting started on the dust collection piping. This drop is for the tablesaw. I ran the duct under the floor before I poured the concrete. You can see my automatic blast gate on the drop.
You can see the tablesaw drop, then I will have a drop for a floor sweep, and then to my bandsaw.
-
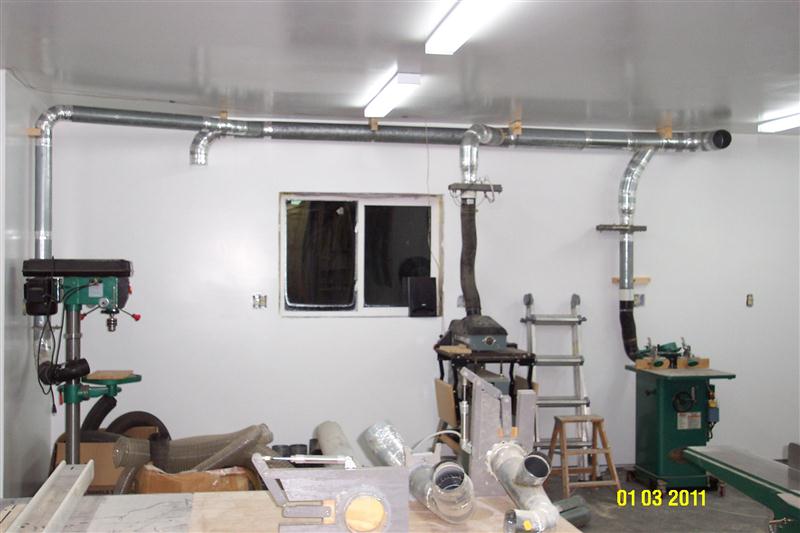
I have the drops on the east wall completed. The drill press, a spare drop (future moulder) drum sander and shaper.
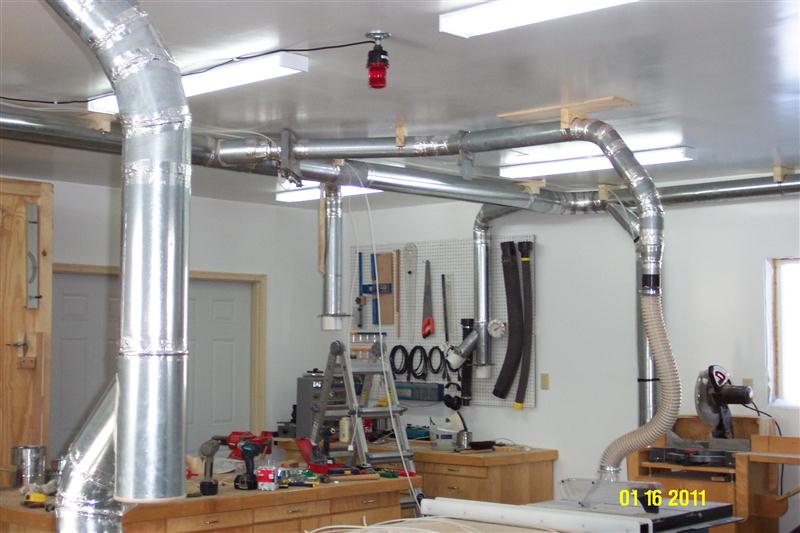
I have the main trunks all connected and the filter stack connected.
Here I have the overhead drop to the tablesaw and workbench hooked up. In the center of the shop is a strobe that I have connected to my full dust bin sensor designed by Alan Schaffter. I am starting to run the pneumatic lines for my automatic blast gates.
 Posting Permissions
- You may not post new threads
- You may not post replies
- You may not post attachments
- You may not edit your posts
-
Forum Rules


 Member

 Reply With Quote