Page 1 of 2 12 LastLast
Results 1 to 15 of 23

Thread: Math Project

  1. #1
    Join Date
    Sep 2010
    Location
    Asheville, NC
    Posts
    36

    Math Project

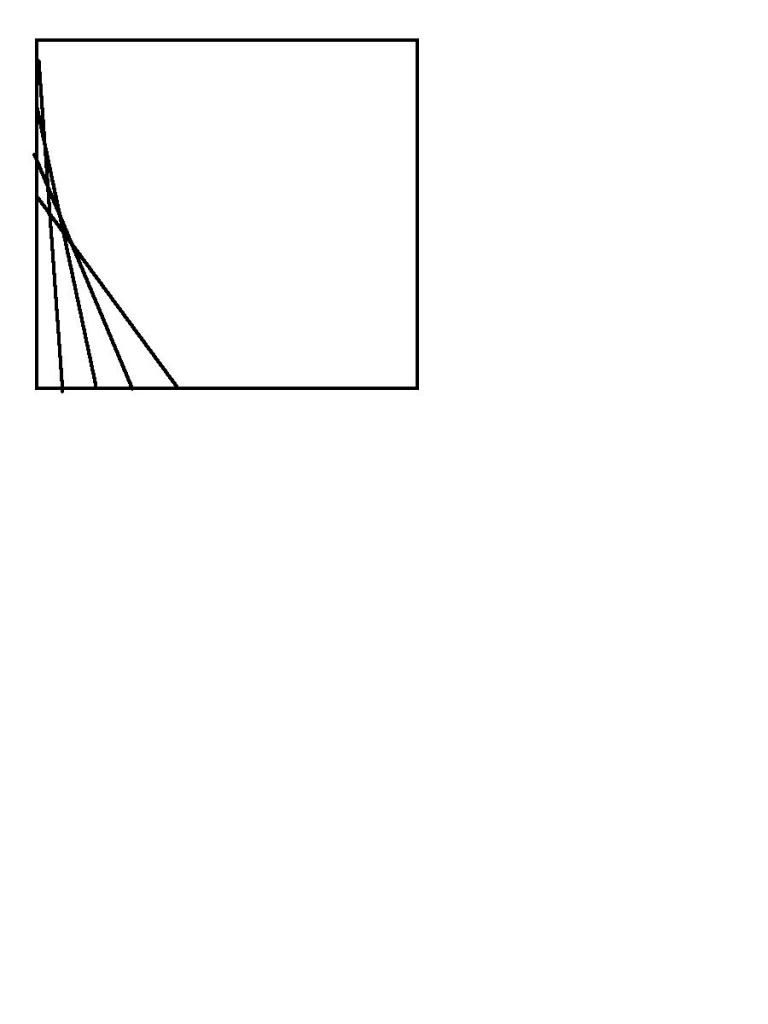
    My son has been assigned a project for his honors geometry class to produce parabolic line art(making curves from series of straight lines). You can see what I mean here http://www.mmwindowtoart.com/drawing/para1a.html

    The grade depends on originality and precision. He must use a 14" x 14" board. Most will use string or drawings, but we are not most! I thought perhaps we could use a slab of walnut, route in shallow lines to form the design, then fill those lines with ??? Using thin pieces of maple would take a lot of cutting, and the area where they form the curve would be nearly impossible. What about pouring some kind of liquid in that will then harden? Molten metal? How would you do it?

  2. #2
    Join Date
    Apr 2006
    Location
    Kansas City, MO
    Posts
    833
    You could fill the grooves with epoxy or just paint and sand off the top to leave paint only in the grooves

  3. #3
    Join Date
    Sep 2010
    Location
    Asheville, NC
    Posts
    36
    I didn't think of paint. Maybe I will try a test and use some shiny silver paint.

  4. #4
    Join Date
    Sep 2010
    Location
    Asheville, NC
    Posts
    36
    Also thought of gluing up layers of walnut and maple and routing through to the different colored layer below.

  5. #5
    Join Date
    Jun 2009
    Location
    Dallas, TX
    Posts
    216
    A while back I watched a video on making an inlaid border around a circular table... He used some kind of wood or dye powder mixed with epoxy I think. Once it was dry, he came back and just sliced the excess off with a wide flat razor blade to make it flush with the wood on either side.

    Can't find it now though...

  6. #6
    Rockler sells wood 'flour' and some kind if silica that can be mixed with epoxy to make a good wood filler.

    Wood turners sometimes also use stone dust as a filler.

    I would shellac the board first, then route the grooves, then fill then sand flush.

  7. #7
    Join Date
    Dec 2008
    Location
    South Central Pennsylvania, USA
    Posts
    761
    You should be able to route a slot - say 1/8" wide by 1/4" deep or more - and then cut a 1/8" wide strip that sits into the groove. Glue it in place and then plane it flush with the surface. Route the next line (as the lines cross each other) and repeat. The strips should be easy enough to bend to fit into the grooves.

  8. #8
    Join Date
    Sep 2010
    Location
    Asheville, NC
    Posts
    36
    Quote Originally Posted by Thomas Bank View Post
    You should be able to route a slot - say 1/8" wide by 1/4" deep or more - and then cut a 1/8" wide strip that sits into the groove. Glue it in place and then plane it flush with the surface. Route the next line (as the lines cross each other) and repeat. The strips should be easy enough to bend to fit into the grooves.
    That's also a good idea. The strips would all be straight--thats the math part--straight lines cross to form a parabola

  9. #9
    Join Date
    Sep 2006
    Location
    Las Cruces, NM
    Posts
    2,040
    One thing about using wires or strings under tension, it does emphasize the point that the design is created using straight lines. It may be more important to make the idea of the project clear than to demonstrate woodworking virtuosity.

  10. #10
    Join Date
    Sep 2010
    Location
    Asheville, NC
    Posts
    36
    The grading rubric gives highest marks to "museum quality appearance". My son immediately asked me if he could do something out of wood, so I will be more than happy to accomodate his "out-of-the-box" thinking. I'm sure the teacher will be surprised as well. I like to see my son thinking independently, and in walnut!

  11. #11
    Join Date
    Jan 2005
    Location
    Waterford, MI
    Posts
    4,673
    Inlace is another option for inlaying.
    http://www.turtlefeathers.net/text/i...lace-main.html
    Stuff stinks pretty bad while it's drying but it's fairly easy to work aftwerwards. You can custom dye it yourself or buy one of the kit colors which also has metal flake or other stuff in it.
    Use the fence Luke

  12. #12
    Instead of inlaying, how about outlaying? Each layer would be set on top of the previous so that the entire piece would have a 3-d effect. Observed from directly overhead, you'd have the standard view, but other angles would give all sorts of different looks. You want something out of a museum, that'd be it. Abstract math art

  13. #13
    Join Date
    Aug 2010
    Location
    USA
    Posts
    5,582
    I appreciate your idea to use woodworking skills and tools to create something like this, but I just don't think you will be able to get the detail using a router bit. Now if you had a laser system you could do it but that would be cheating IMO. I think you should stick to the string approach and focus on a very creative pattern.

  14. #14
    Quote Originally Posted by Brian Vaughn View Post
    Instead of inlaying, how about outlaying? Each layer would be set on top of the previous so that the entire piece would have a 3-d effect. Observed from directly overhead, you'd have the standard view, but other angles would give all sorts of different looks. You want something out of a museum, that'd be it. Abstract math art
    This is exactly what I was thinking as well. From the side, the supports would make a parabola. From the top, it would be the straight lines. From every other angle, it would just be random patterns. All you need to pull this off are small sticks and super glue (or whatever glue).

  15. #15
    Join Date
    Sep 2010
    Location
    Asheville, NC
    Posts
    36
    We did a few test cuts today with the table saw and a thin kerf blade, which looked great. However, I am trying to come up with a repeatable way to make the straight lines at exact distances. It seems like however I used my miter, I still did not get the result I wanted. Here is a bad picture of what I need to do. That is, a series of straight lines at regular intervals as I make my way around a 14" x 14" square piece of wood.


    Ideas?

Posting Permissions

  • You may not post new threads
  • You may not post replies
  • You may not post attachments
  • You may not edit your posts
  •