


I get a call from a man who decided to refinish his 1950's kitchen (rather than replace the whole thing). He liked the 'retro' look.The people who did it for him ran into some problems and he wanted to continue with someone else. So...
I did some work to correct some errors but the important thing was to recreate a door that holds a pane of decorative glass on the corner wall cabinet.
This old kitchen was made by a company called 'Whitehall'. They are no longer in business and because they were missing one of the pulls, I had to contract a company to recast a very different shaped, bronze pull using one of the existing ones to make the mold...
Anyway, the doors (typical of that period) were 3/8ths, partial overlay slab doors whose entire face was a single piece of vertical-running grain veneer (in oak). A regular frame and panel door w/ horizontal grain rails would not have matched so I had to make one from a single piece of A-1 grade, 3/4" oak ply.
The router really came into play for this small job.
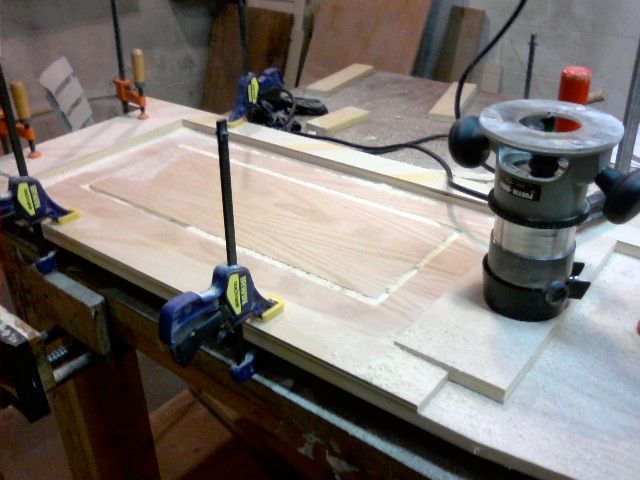
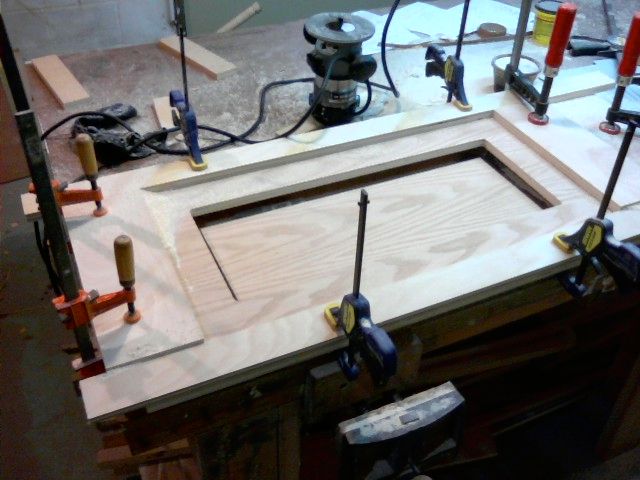
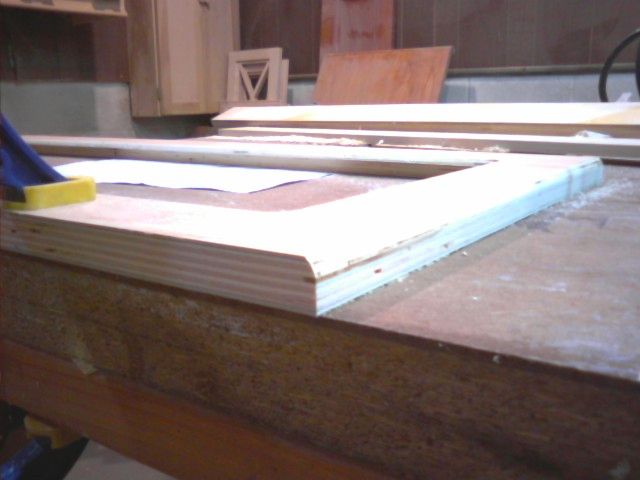
I began by using a piece of ply 10" larger than the final size. I clamped a border on the plywood's face for edge of the router's base plate to run against in order to plunge cut a rectangle for the glass.
I cut three times at 1/4" increased depths to finally cut all the way through.
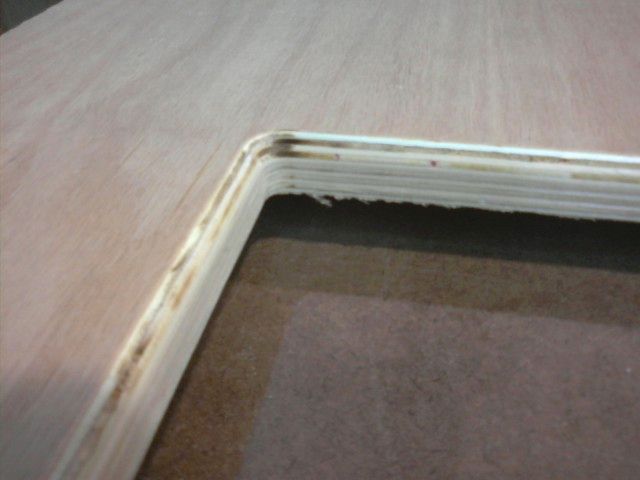
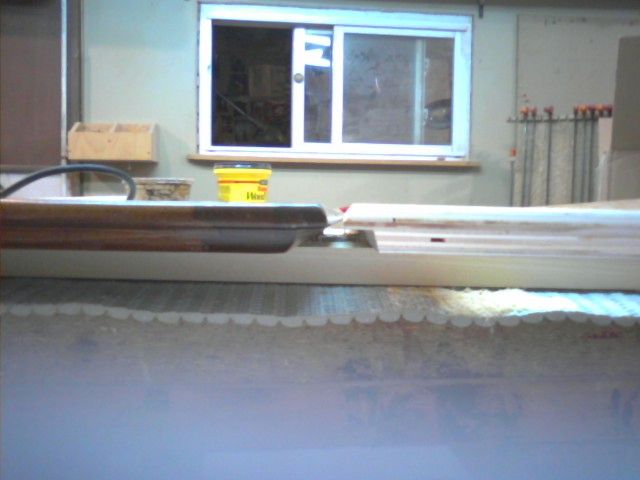
Before I cut a corresponding, slightly larger rectangle on the back to create a shoulder for the glass to sit inside, I eased the front side's edge first (see above photo), because I needed a square inside edge for the router bit's roller bearing to sit against. I used a quarter round bit, set at the right depth to mimic the existing door's profiles. Now I can cut the back side (1/2" larger rectangle).
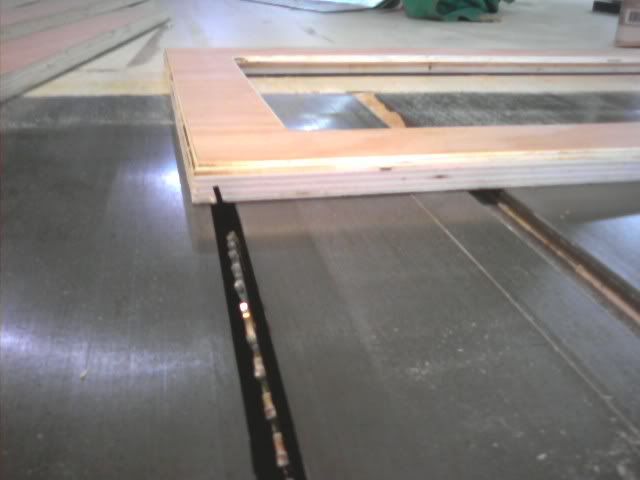
I cut the plywood to final size and routed it's outside edge in the same manner... once again using the square outside edge for the bit's bearing to roll on.
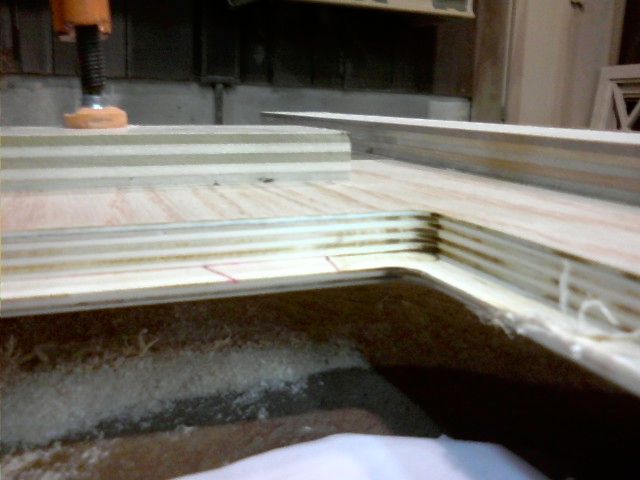
Now I can back-cut the perimeter for the 3/8ths over-lay profile. First I made a 15 degree and 3/8ths deep cut about a half inch in from all for sides.
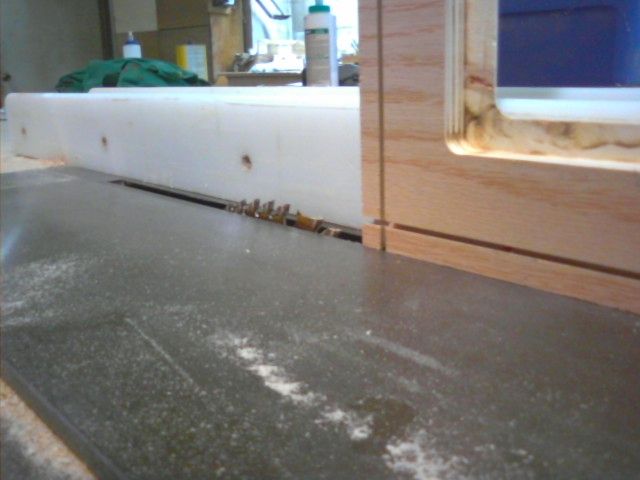
Then I set the table saws blade at 90 again and cut into the very edge to complete the 'shoulder'.
Here's what the back of the door looks like...
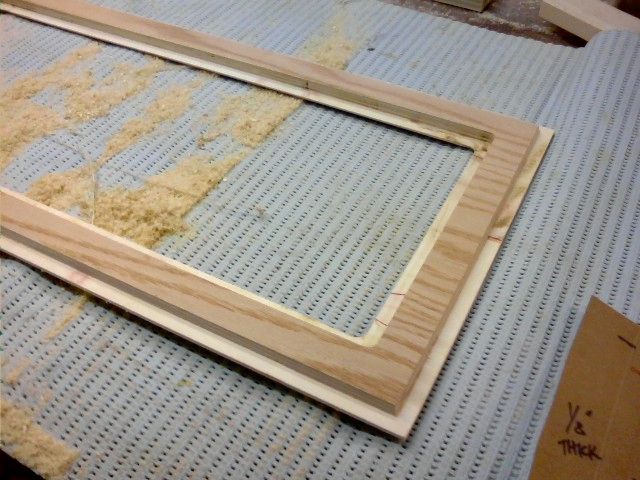
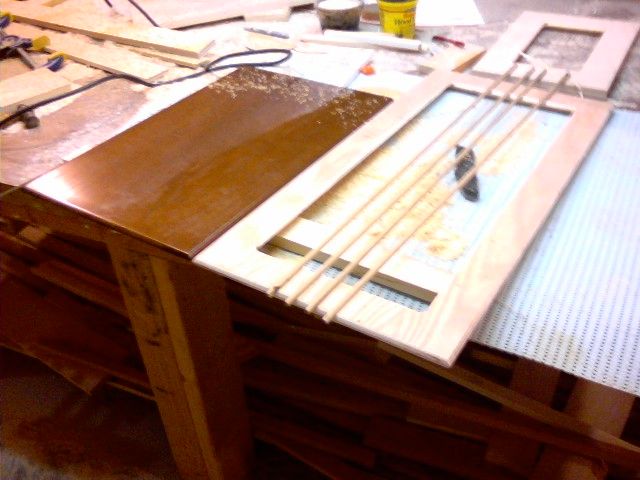
Here's a comparison of the existing and new door...
I made some small quarter round molding (from solid oak) to retain the glass. Now, it's all ready to hand to the finisher. He says he can hide the laminations you'd see on the edge (plywood). Helps that the stain is relatively dark.
I'll try to remember to post a shot of the door finished, w/ glass, installed on the cabinet.
Our site has a lot of photos, videos, articles, ideas, etc. Click on my name above to get to the 'home page' link.
Russell Hudson / Hudson Cabinetmaking, Inc.

 Reply With Quote