Page 1 of 2 12 LastLast
Results 1 to 15 of 22

Thread: A little box and two questions about sanding.

  1. #1
    Join Date
    Sep 2009
    Location
    Conway, Arkansas
    Posts
    608

    A little box and two questions about sanding.

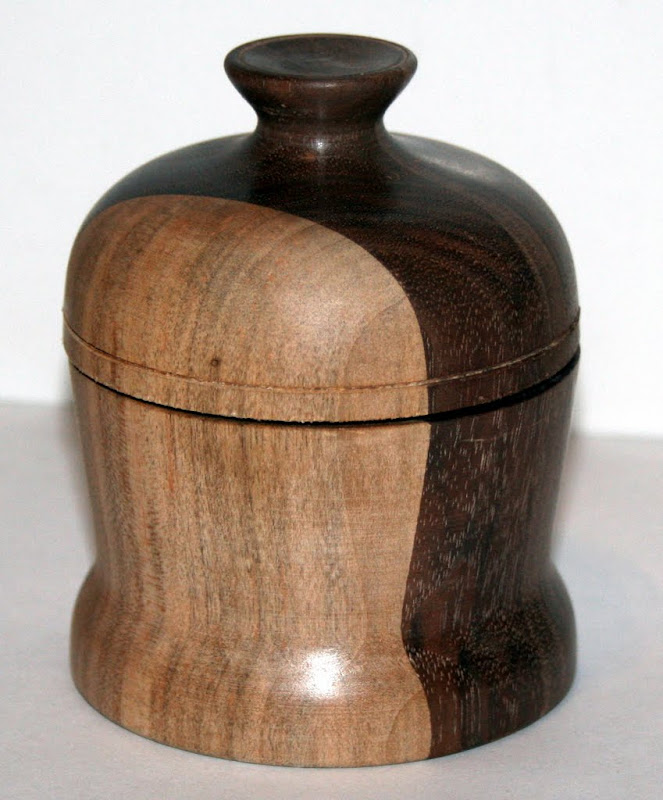
    I tried a little box out of some glued up maple and walnut I had laying around and ran into two questions. First, what method do you all find best to look for sanding marks in a piece? And second, is there a good way to keep saw dust out of the open grain of other woods?

    The pictures will illustrate the problems I ran into and hopefully clarify my questions as well. In case it matters here is the process I used for making this box.

    1. Joint/thickness the walnut and maple
    2. Glue up 4 pieces with titebond II
    3. Cut to 2.75 x 2.75 x 10" long blank on a table saw
    4. Chuck it up and turn this piece
    5. Sand with 80, 150,
    6. Rub with DNA to check for sanding marks, didn't see any in my shop light
    7. Sand with 220, 320, 400, 0000 steel wool
    8. Wax with johnson's floor wax (I know, not an ideal finish. But for my little practice pieces it leaves a nice shine and is quick).

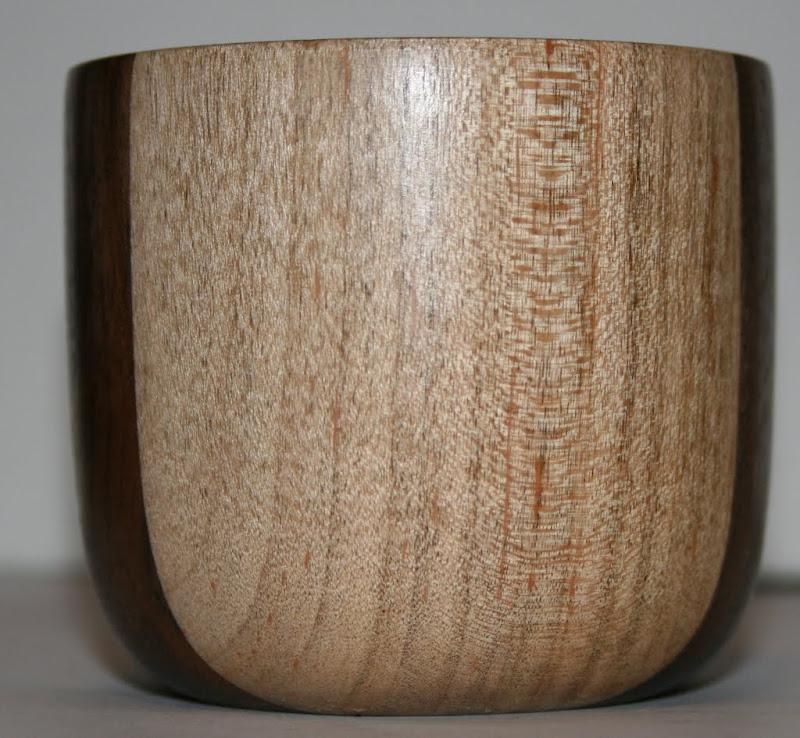
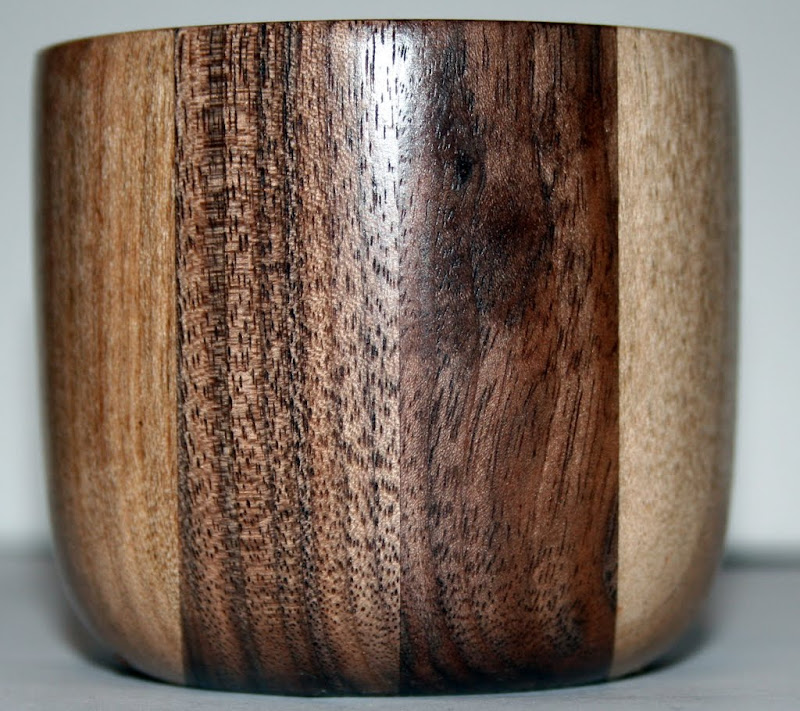
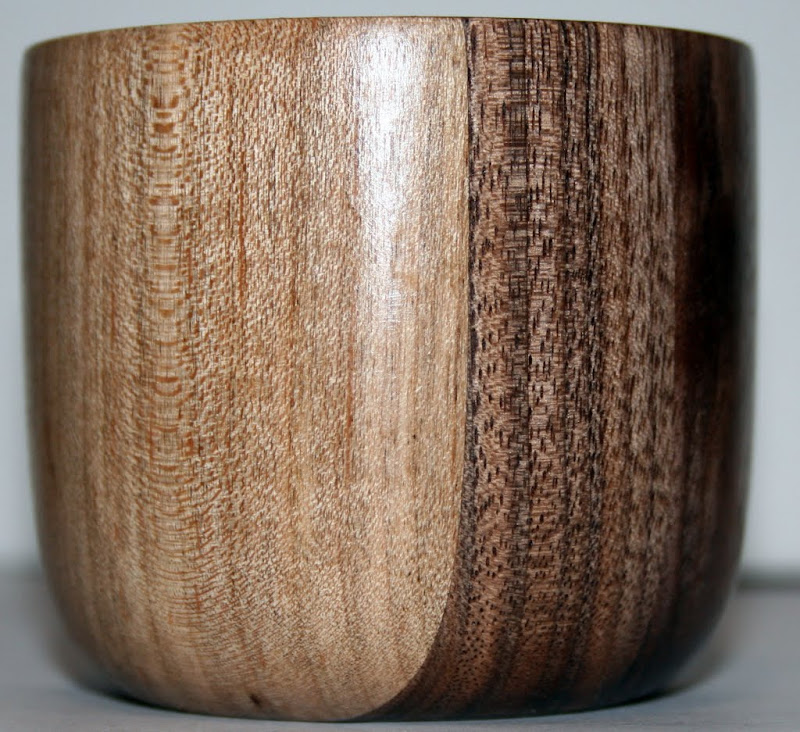
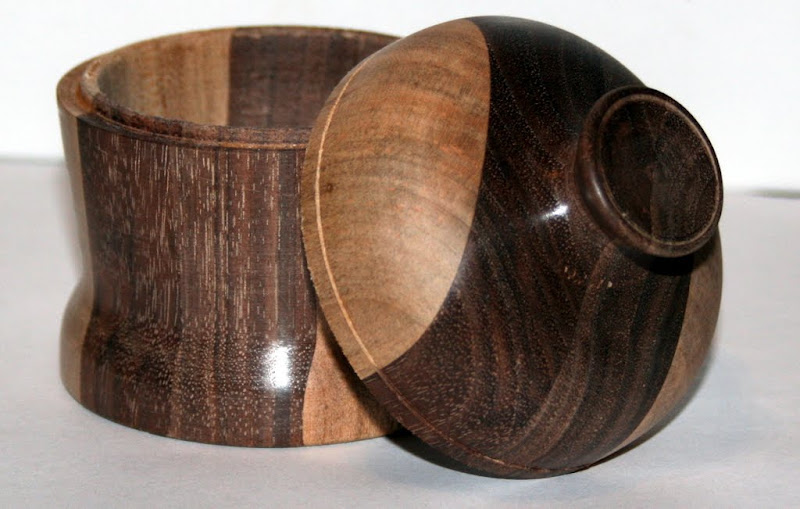
    Pictures of the offending grain, see all the maple coloring in the walnut grain:


    Need to undercut the lid a bit more to let the opening line and decorative line be the same size.


    Here are the sanding marks left over:


    I don't mind doing more sanding at each grit and/or doing sanding with the grain off the lathe to get rid of the marks. My problem is that I simply didn't notice them til the wax went on. Would water be better at showing the problems than DNA? I just used it because I had some handy and it evaporates quick.
    One purchase helps keep HF in business, the other helps keep LV in business.
    Those two outcomes have different values for me. - Chuck Nickerson

  2. #2
    Join Date
    Sep 2009
    Location
    Enid, Oklahoma
    Posts
    6,741
    Neat box, Derek! Seems like those scratches are coming from your finer grits, so maybe inserting another DNA step after the steel wool would be helpful. A well placed light at a rake angle will help see scratches and daylight is helpful as well. For boxes and peppermills turned end grain like this, I prefer to sand with the grain with the lathe off after each grit or at least every other grit. I can't help you with the pore filling portion, but I think blowing the piece off with compressed air between grits and after final grit would be helpful in removing the maple dust from the pores.

  3. Derek, some good blasts of air between grits will clear the dust from the pores/grain. Might need some better light to see the sanding marks. If I wet-wipe while sanding I normally use mineral spirits since it flashes off quickly. Don't know if that works better or worse than the DNA, so just sharing what I use for consideration.

  4. Keller... they say great minds think alike. Apparently our's do, too.

  5. #5
    Join Date
    Jan 2009
    Location
    sLower Delaware
    Posts
    5,464
    Between bifocals and faceshields I have the same problem. When I finish sanding something at night and put the first coat of finish on, I often later regret not waiting till morning to take it outside to examine it.

  6. #6
    Join Date
    Oct 2008
    Location
    Fresno, Ca
    Posts
    4,032
    Wow!! If you get Keller and Cothern in the same post!? What ever they said and do it twice...3 times before Christmas!
    Your Respiratory Therapist wears combat boots

  7. #7
    Grit progression should be 80, 120, 180, 220, 320, 400. 80 to 150 is too big of a jump. Also, when sanding spindles, you are sanding cross the grain, and especially with coarser grits you should make a few passes length wise. When going across the grain, it tends to tear more than cut. Then check for scratches. The two different scratch patterns will show you if you left any marks behind.

    robo hippy

  8. #8
    Join Date
    Sep 2009
    Location
    Conway, Arkansas
    Posts
    608
    Sounds good guys, I appreciate the tips. I've got some more little glued up blanks I'll give it a go on tomorrow. Gotta get my skills honed up a bit. There are two large bowl blanks staring at me from the shelf waiting to be turned
    One purchase helps keep HF in business, the other helps keep LV in business.
    Those two outcomes have different values for me. - Chuck Nickerson

  9. #9
    Also keep in minds that your darker woods are going to show ANY sanding or tool marks well before your lighter woods. Remember the tip about blowing off the work between grits and like Reed said, don't skip from 80 to 150! If fact, unless you have a lot of tool marks or tear out, I would think about starting with 120 or 180. Sunlight will always show more than shop lights.
    -------
    No, it's not thin enough yet.
    -------

  10. #10
    Join Date
    Oct 2010
    Location
    N.Y.
    Posts
    325
    Not sure how it will work for turning, but 'tack cloth' works pretty good on flat work for dusty pours.

    Cool looking box.

    _
    Your opinions and advice are welcome on anything i post - Thanks

  11. #11
    Join Date
    Feb 2008
    Location
    lufkin tx
    Posts
    2,054
    Everyone has their own opinion about sanding--here's mine. I think you should spend 60% of your efforts on 60-100 grits and 40% effort on the finer grits. I am also convinced that high rpm's scratch much less than heavy pressure. as to the dust i am guessing you may not have an air supply so--i find a good stiff nylon brush and and windex ect. does well. you can always come back and knock down any whiskering with a dose of sanding sealer and resand before finishing.----------old forester

  12. #12
    Reed has some good advice on the range of grits, and Scott is correct in trying to get your tool control to the point where you can start at 150 or so. 80 grit scratches are difficult to remove. Other comments about the amount of time spent on lower grits is correct, too. I start at 150, and probably spend 50% of my time with that grit. Then 220, 320, 400 and sometimes 600 - with progressively less time spent with each higher grit. I usually wet sand with 400, sometimes at 320, and find that really works well for me. There have been woods that I wet sanded at lower grits, too. That will, however, compound your problem with getting the maple dust in the walnut.

  13. #13
    Join Date
    Sep 2009
    Location
    Conway, Arkansas
    Posts
    608
    By way of update I spun up a little cup out of the rest of the glued together stock to give all the good advice a try. Things I changed are:
    1. Took two light passes for the final shape instead of one to reduce tear out and tool marks.
    2. Started at 120 instead of 80 grit, then went 180, 220, 300, 500
    3. Blew off the piece with 90 psi air between each grit
    4. Upped the rpms to 1200 instead of 900 for sanding
    5. Used a lighter touch when sanding the initial grit.
    6. Moved one of those aluminum dish lights over to the lathe so I can move it around and get strong light from all angles

    There are swirl marks but I think the drop in temp (44 instead of 68 in the shop) caused the the wax to not setup like usual. I can continue buffing to get them out after sitting inside for a bit. Thanks to you guys though the grain looks much better and the sanding marks are gone.

    And on the plus side there are a few little girls at church that love little bowls and boxes to decorate with and store hair clips in. So as many little doo-dads as I can crank out will have a home that loves them despite the flaws. And making them presents means my very gracious wife is more understanding of shop time to practice in


    One purchase helps keep HF in business, the other helps keep LV in business.
    Those two outcomes have different values for me. - Chuck Nickerson

  14. #14
    Join Date
    Jan 2005
    Location
    Goodland, Kansas
    Posts
    22,605
    Looks really nice Derek. Well done. I think a light touch is the key but I generally sand at 500 rpm or less. Haven't tried sanding at that speed.
    Bernie

    Never put off until tomorrow what you can do the day after tomorrow.

    To succeed in life, you need three things: a wishbone, a backbone and a funnybone.


  15. #15
    Join Date
    Jul 2010
    Location
    Sandia Park, NM
    Posts
    1,068
    Nice job on the cup Derek. I would add a hand sanding with the grain with each grit as well. Seems to work for me.
    When you approach the lathe you have "the plan", after your first catch you have "the intent".- P. Harbeck

Posting Permissions

  • You may not post new threads
  • You may not post replies
  • You may not post attachments
  • You may not edit your posts
  •