Results 1 to 11 of 11

Thread: Help with Shaper Extension Table

  1. #1
    Join Date
    Aug 2009
    Location
    Western NY
    Posts
    323

    Help with Shaper Extension Table

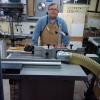
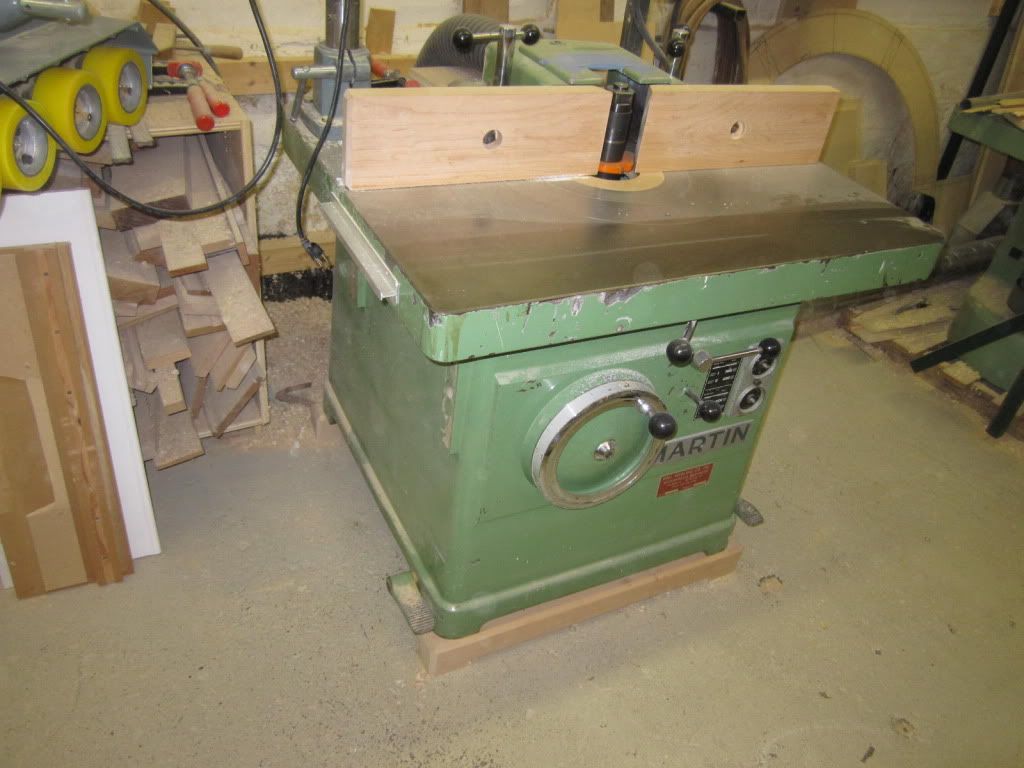
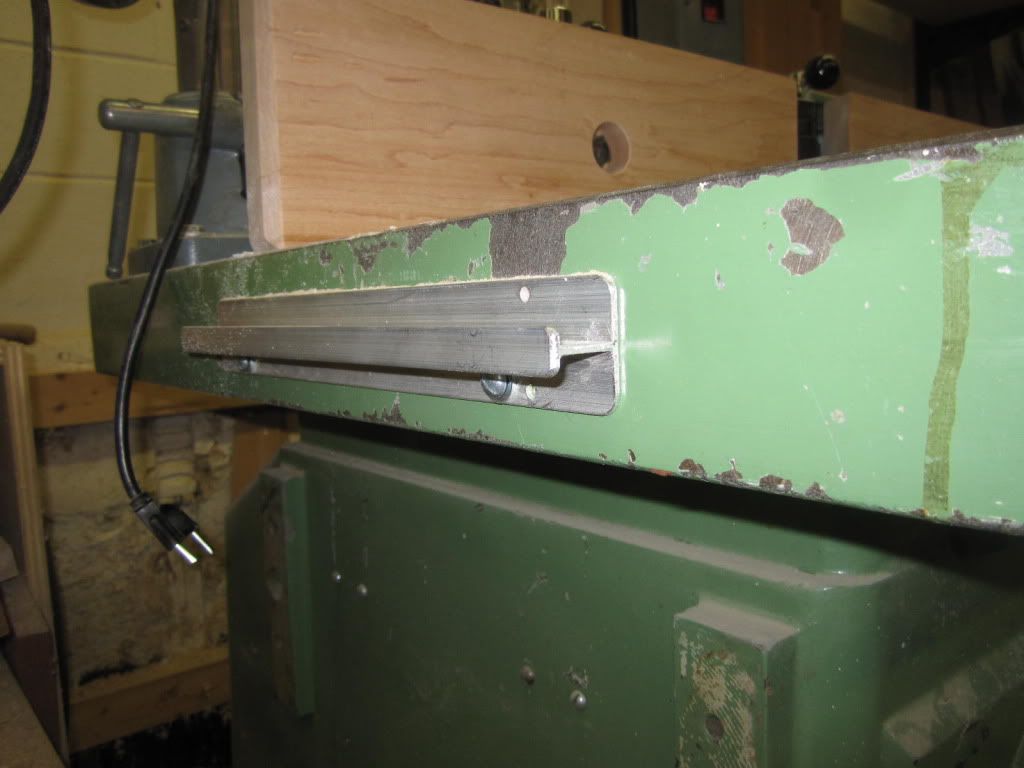
    Happy New Year Everyone! I'm hoping your expertise can help me. I posted a thread about a year ago about adding an extension table to my shaper and I've wasted more time trying to design an extension table where it will be sturdy, flat and be able to be attached to the shaper than I care to admit. I have a Grizzly G1035 shaper and the table is just too small. I'd like to add something like what is shown in the picture for the Shopfox shaper but there isn't one manufactured for my shaper so I have to build my own. Building the table isn't the problem so much as how to attach it. On my G1035, there are three threaded holes for bolts on the front, right side and back of the table but none on the left side. I can drill holes on the left side of the cast iron top to accommodate bolts but that isn't the biggest problem. The top is 1.25" thick on the edges with the holes right in the center which doesn't leave much room to work with. I've thought about rabbiting the extension table to allow for bolts but that leaves me with a very thin area on the extension and I'm afraid it won't last. I also thought that if I added angle iron to the sides of the shaper first, it would add extra support but because of where the threaded holes are on the shaper, I can't attach it and leave more than 3/16" for the top, nor can I get the angle iron mounted low enough so it doesn't sit above the miter gauge slot which is a whole other dilemna. I hope I've explained this well enough so you can understand and maybe have some thoughts on how I can accomplish this. Thank you and have a Happy Healthy and Prosperous New Year!


  2. #2
    Join Date
    Oct 2009
    Location
    Morristown, NJ
    Posts
    51
    I would use the threaded holes on the right side of your table. Drill and thread the same on the left side. Use your angle approach, but flip it up side down. May have to grind off a bit by the T-slot and the top of the angle on part of it that overhangs beyond the shaper's table (to gain more than 3/16 that you were referring to). Let's say you would use an angle that's 1 1/2 x 1 1/2 and grind off 1/2", you'll be left with 1" leg (which should be sufficient support) and the wooden table's thickness be at least 11/16" at the grooved section of it. Rabbeting for bolts and angle's leg near the shaper's table should not be a problem. Use 1 1/2" or so thick table and shim it up to make flush. Hope this makes sense.
    Happy New Year

  3. #3
    Join Date
    Mar 2009
    Location
    Hood Canal, Washington
    Posts
    1,039
    How about this: Go ahead and mount some L section stock, bolted on as low as it will go, with the horizontal part up. Use fairly thin aluminum L stock, also fairly wide, say 1 1/2". Then cut a corresponding slot into your table, so you can slide the table onto the L material like a tongue and groove. Then cut a shallow rabbet on the bottom of the table, wide enough to accomodate the L, plus enough room to get in a wrench to fine tune the height.


    shaper table.jpg

  4. #4
    I'd make the new top the exact thickness of the existing unit.

    Then I'd use a self-centering dowel jig to drill holes into the extension top, located to hit the cast iron's threaded holes. The holes should be slightly larger than the diameter of the hardware you will use, so you have a little up/down play.

    Now I'd use a combination of straight and cove bits in a router to make a t-shaped pocket through which you can insert and tighten your machine screw. I'd probably also add a diagonal brace from the extension to the base, to provide for a little support (otherwise it is awfully cantilevered).

    Oh, and BTW, when you're making the holes for the doweling jig, just place the extension in place and use either a brad-point bit or a centering punch to mark. Don't try measuring and transferring, you'll never hit it.
    Last edited by Phil Thien; 01-01-2012 at 1:46 PM.

  5. #5
    Join Date
    Feb 2003
    Location
    Bellingham, WA
    Posts
    1,933
    Sell your shaper and find a different one with larger table on the used market. Just a thought...
    JR

  6. #6
    on our old shaper we attached steel box tubing on the front and back into the table and then between the box tubes had wood tables to make the extention tables really long 3ft on in and out w/o the need for additionalleg support. Then we over worked the machine and upgraded in table size and H.P. as J.R. is suggesting

  7. #7
    Join Date
    Dec 2006
    Location
    Toronto Ontario
    Posts
    11,280
    My first suggestion is the same as JR, buy a bigger shaper.

    My second suggestion is to buy a cast iron shaper table extension from some other Grizzly shaper and bolt it to the front of the machine............Regards, Rod.

  8. #8
    Join Date
    Aug 2009
    Location
    Western NY
    Posts
    323
    Just wanted to say thanks to those that gave their thoughts and ideas to my dilemma. I need to weigh my options now and figure out which is the best approach for me. If it ends up being a new shaper with a bigger table, I better be extra sweet to my wife for a while!

  9. #9
    Rob ..Grizzly has the front extension for the 1035 I have had it on mine since day one. Have always thought about extending the sides just never got round to it and really dont see need for it yet. Cost is $90.00 its a cheap option probably fits the shop fox that you show as well.

  10. #10
    Join Date
    Mar 2003
    Location
    Monroe, MI
    Posts
    11,896
    Why not mount the angle upside down from David's drawing and just notch for the miter slot?


  11. #11
    Join Date
    Mar 2008
    Location
    Beantown
    Posts
    2,831
    Depends on what you need the extra room for? I almost always vote for bigger as you'll improve quality also, but I have a bigger shaper and still wanted more indeed and out feed room. So I built a set of removable tables for it that work well for my needs.

    shaper


    extruded aluminum clips


    tables


    good luck,
    JeffD

Posting Permissions

  • You may not post new threads
  • You may not post replies
  • You may not post attachments
  • You may not edit your posts
  •