Hey folks, I'm new here.
I started a thread over in the General forum looking for walnut; or just advice on how to get it and what I have to do with it once I get it. Here is that thread: http://www.sawmillcreek.org/showthre...inist-s-chestI
I figured it would be best to start a thread here detailing the design and build of it, before that thread turns into that type of thing. I think this forum is more suited for a build type thread. I've been modeling the chest in Solidworks to better understand how it all goes together. I have a set of plans I got online, but I am not following them exactly to the letter. I have changed a few minor things. This is what I have so far:
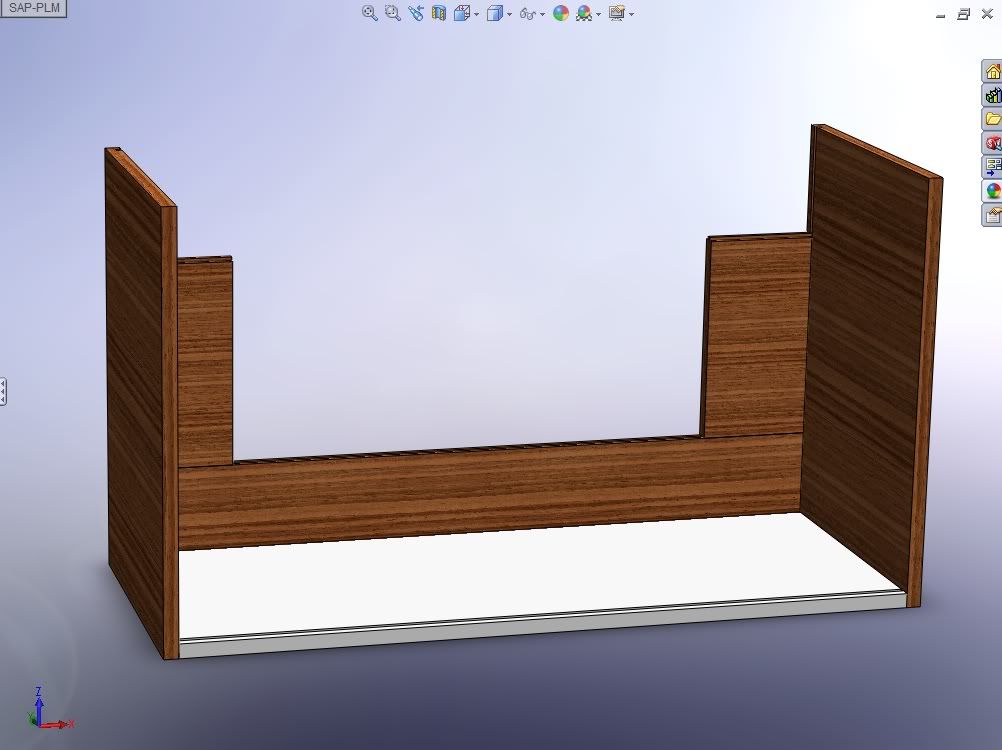
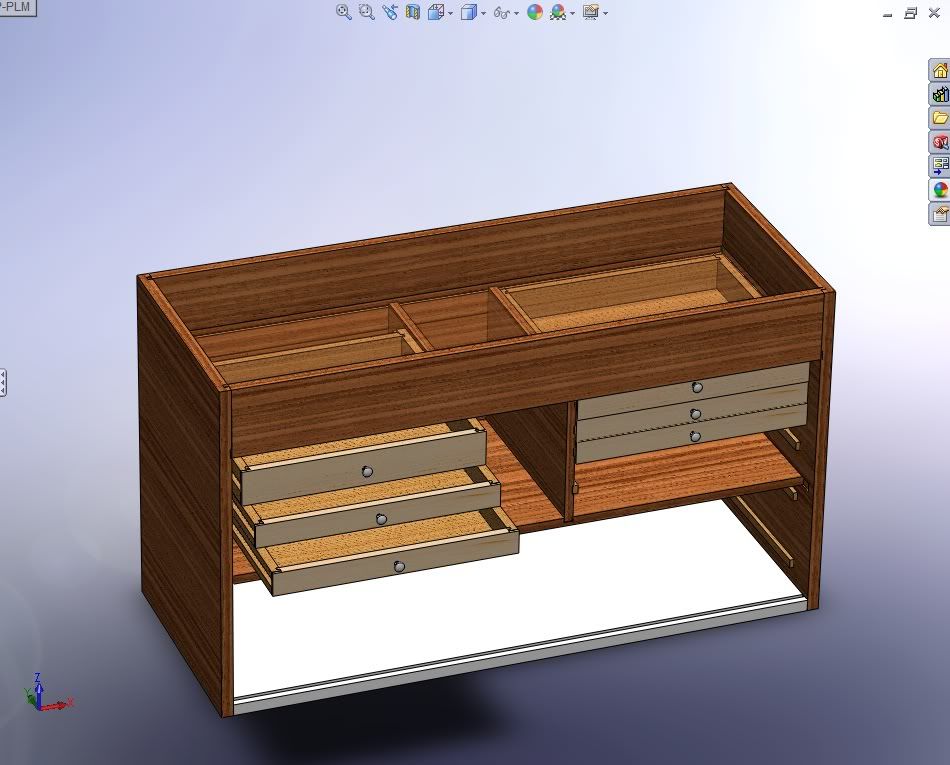
This picture shows the bottom (which is white). I had originally planned to do this part out of plywood or some other wood that isn't so expensive, but I feel like now I may not be able to because I am having trouble hiding the edges on all four sides. You can also see the two sides, the bottom lower panel, and the two vertical styles. Pay no attention to the grain lines. They are not intended to reflect the way the finished real project will be. Solidowrks applies realistic looking graphics, but I haven't figured out how to orientate the grain lines on the individual pieces.
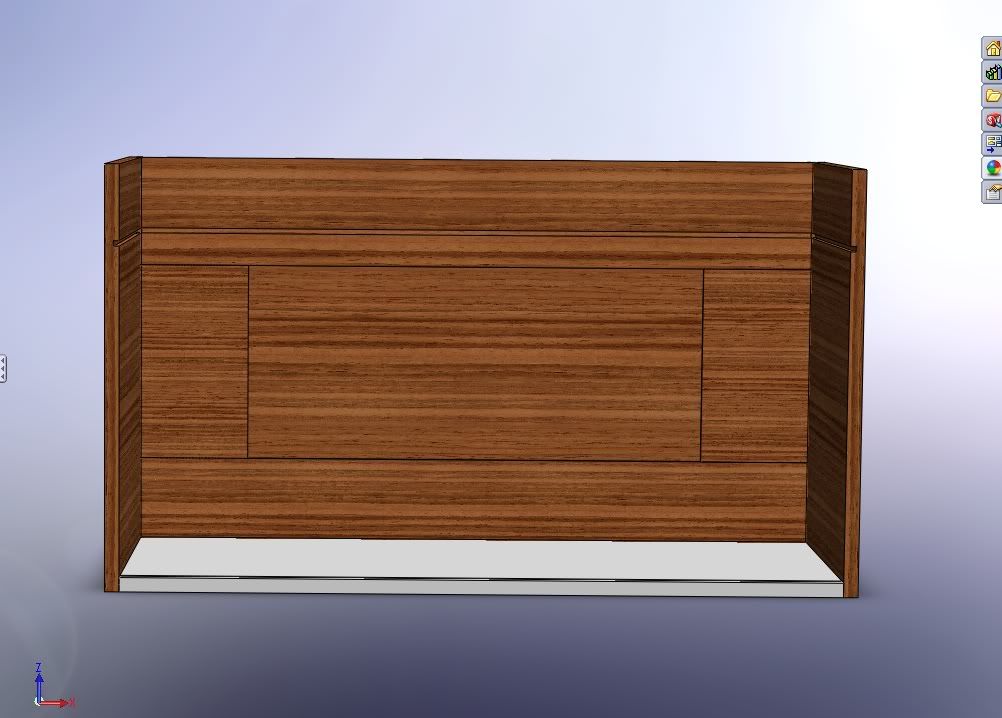
Here I have added the center piece, the upper rear panel, and the notch cut in all three that will hold the piece that will be the floor or bottom of the main compartment.
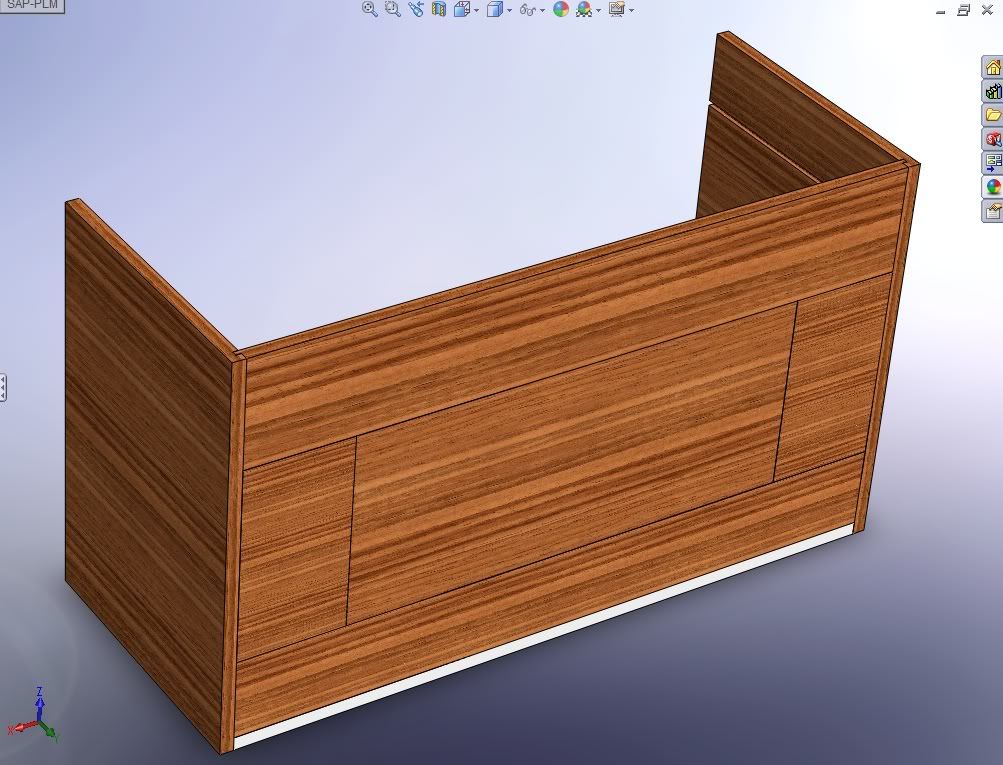
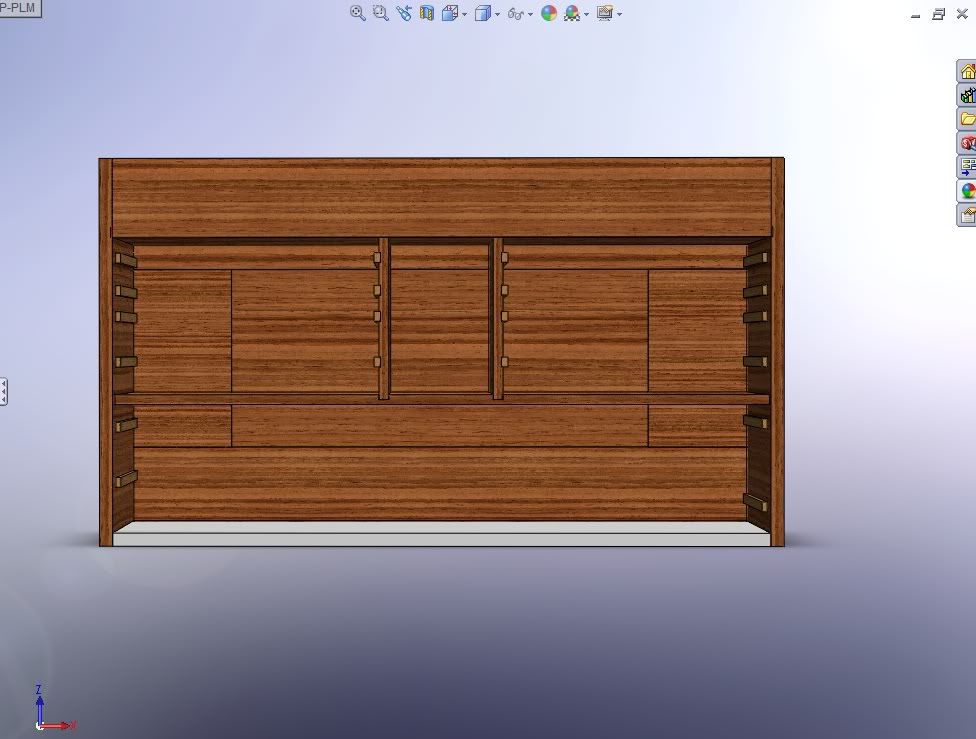
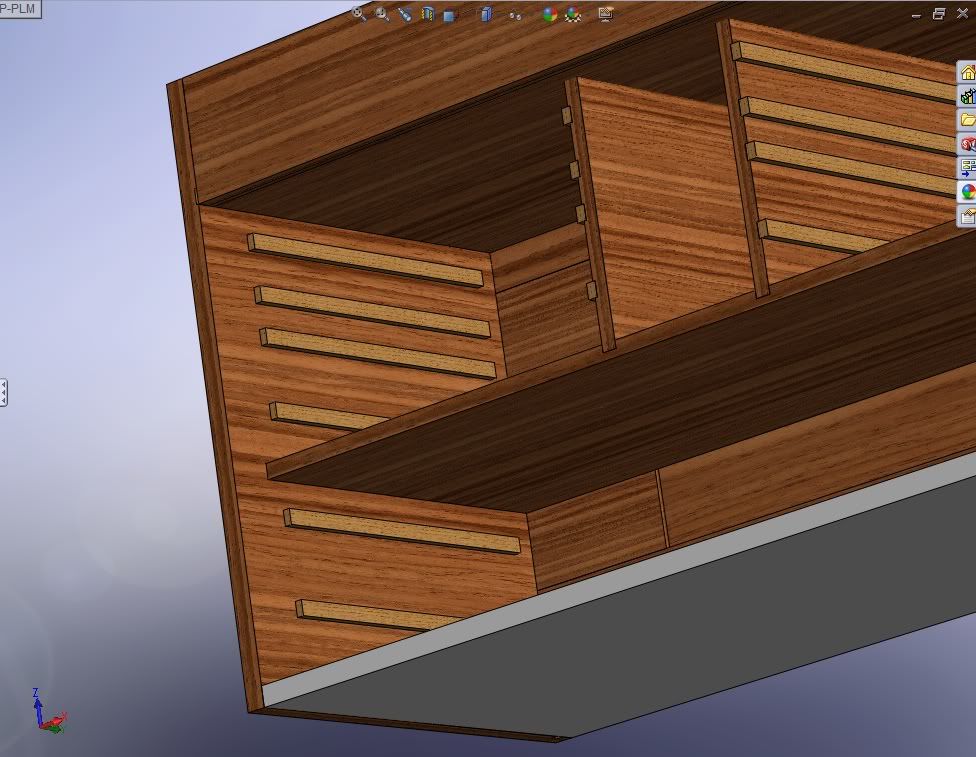
Another view

 Reply With Quote
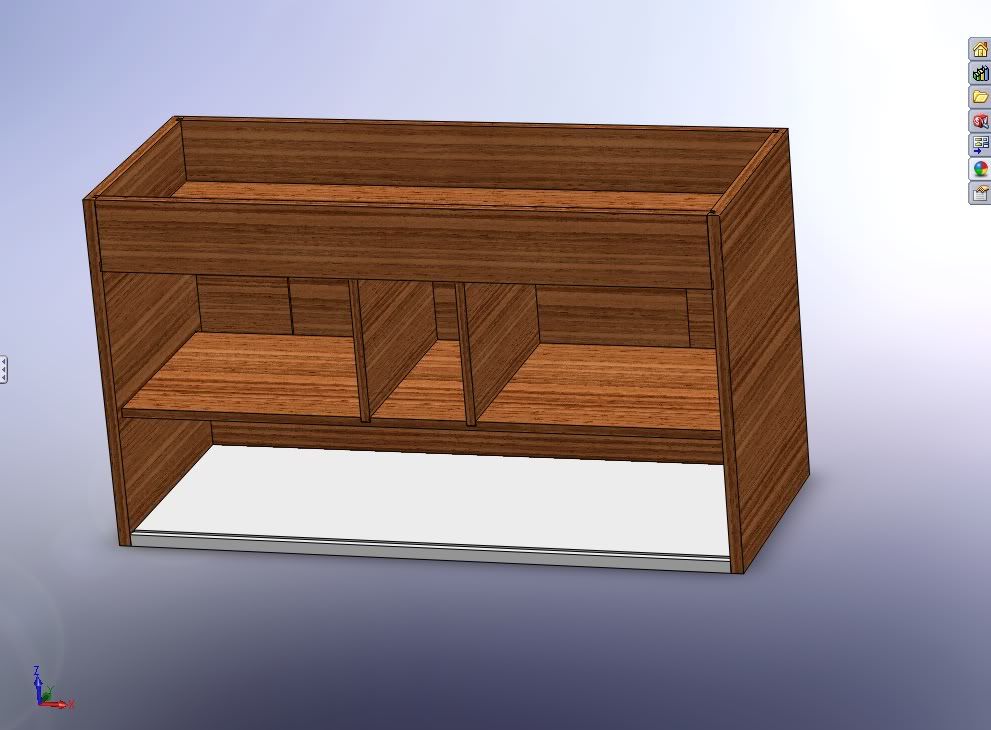


")


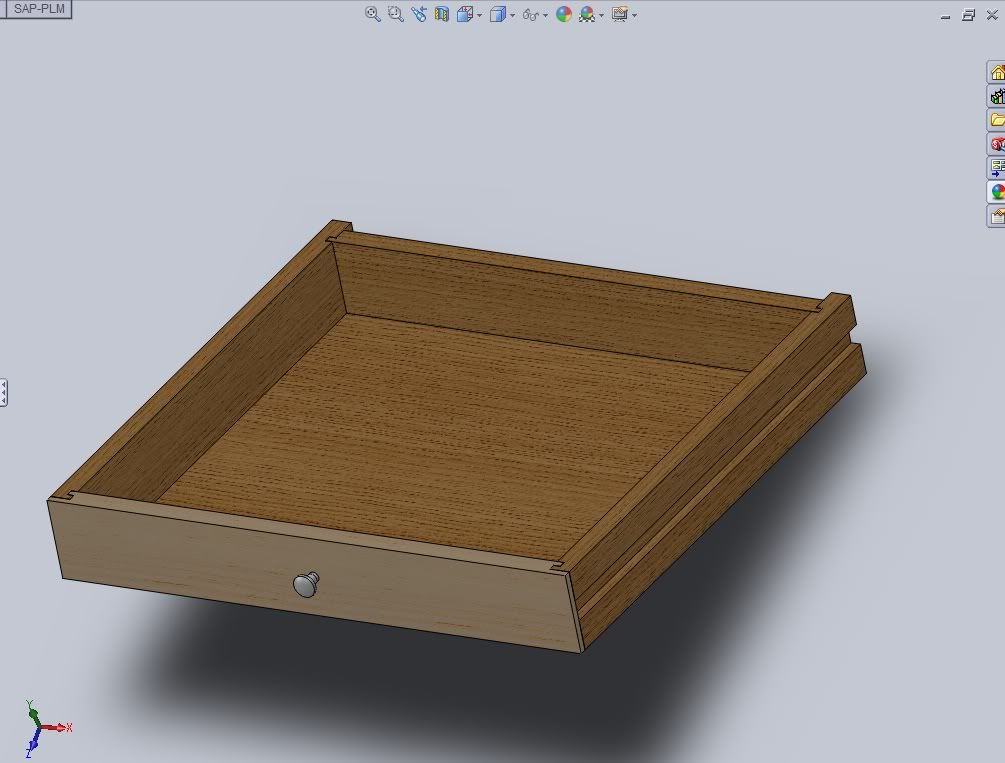


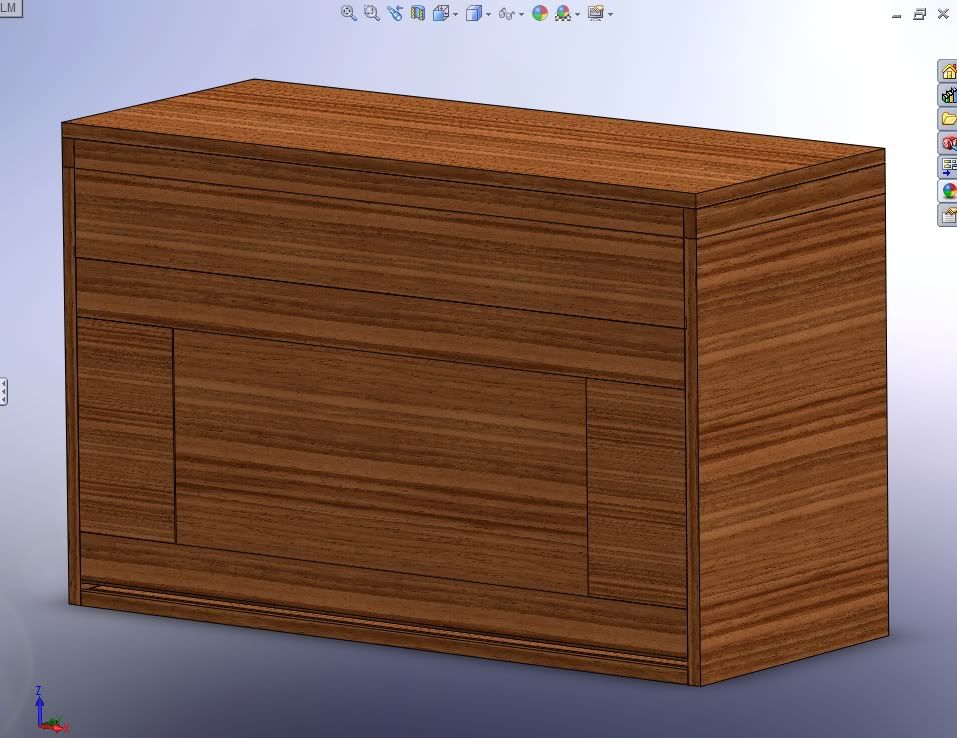
 This is the box completely closed. The front cover is in place.