
-
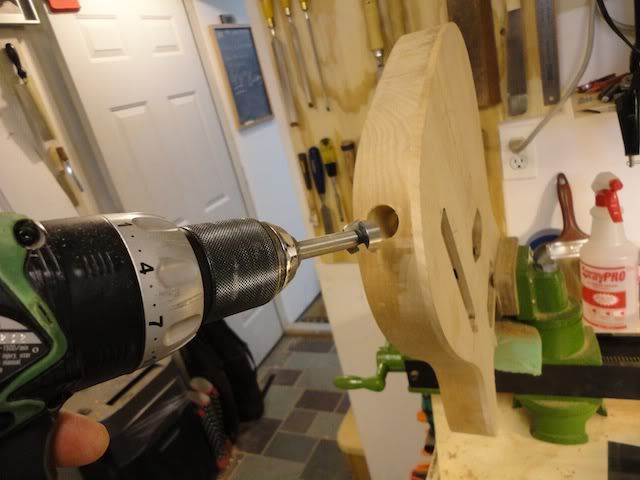
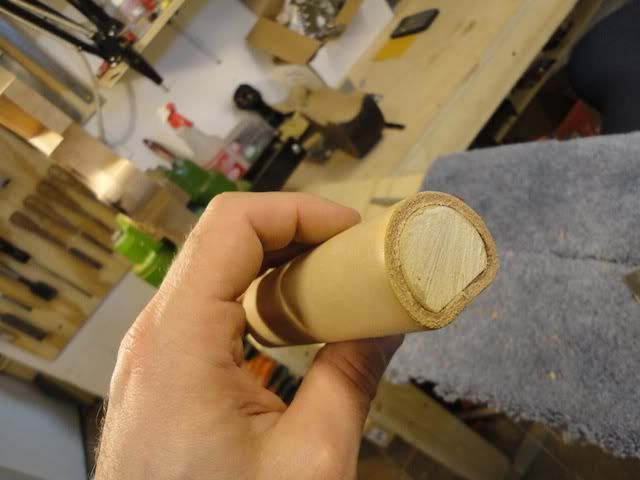
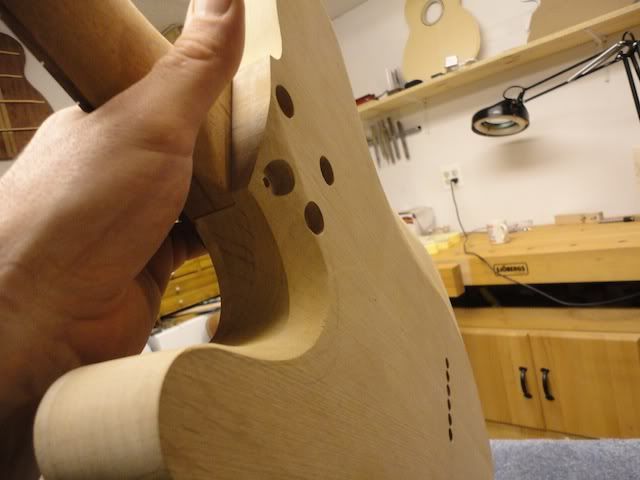
Just some finishing touches. I want to drill this jack hole before smoothing the sides. I know you're not really supposed to use these in a hand drill, but I do. I just eyeball the location, and then eyeball the correct angle.
Got lucky again! LOL.
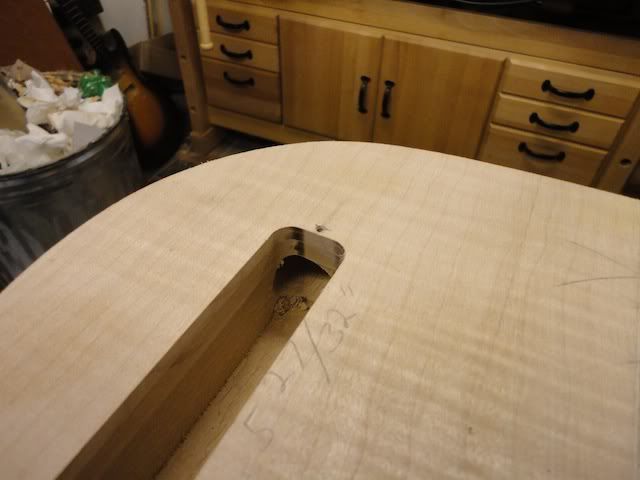
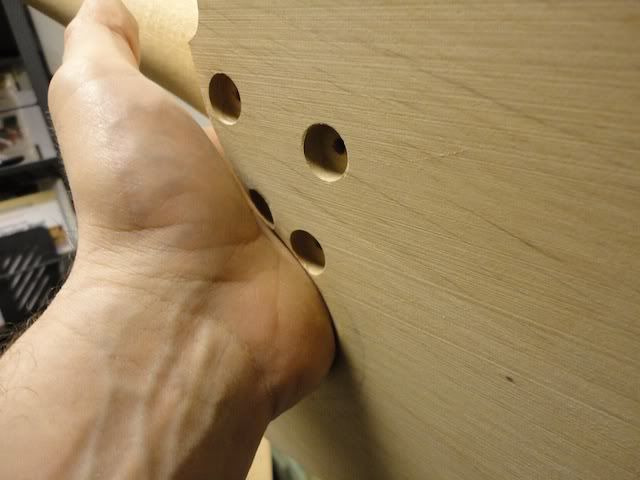
Then I start to block the sides. The better you block sand your woodworking, the easier it will be to level and buff the finish. It's difficult to emphasize how important it is to get the wood flat and level before applying finish. Before I do the belly and heel carve, I want to have the sides block sanded to 80 grit so that I can complete the carving without anything changing later on.
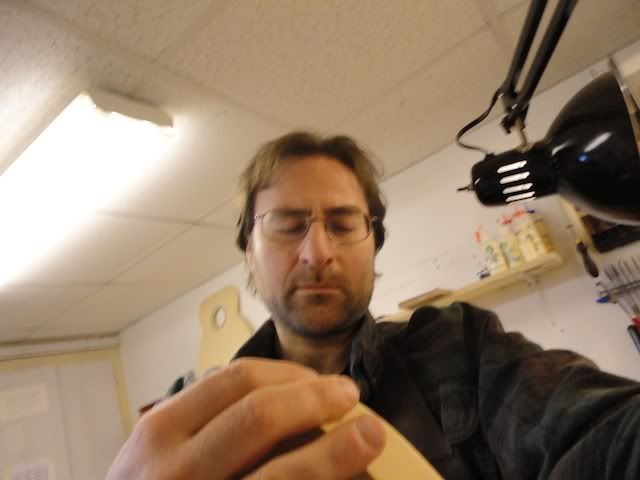
Ommmmmmmmmmm
No, I'm not pondering life. I close my eyes and run my hands along the edge, feeling for the slightest bumps or imperfections. Touch can be incredibly sensitive. I can certainly feel far smaller imperfections than I could ever hope to measure outside of a metrology lab. When the guitar is final buffed, you will see small imperfections in the form of wavy reflections. That's not the worst thing in the world, and I'm not really the world's greatest finisher, but I'd like to be one day and this is were it starts....surface prep.
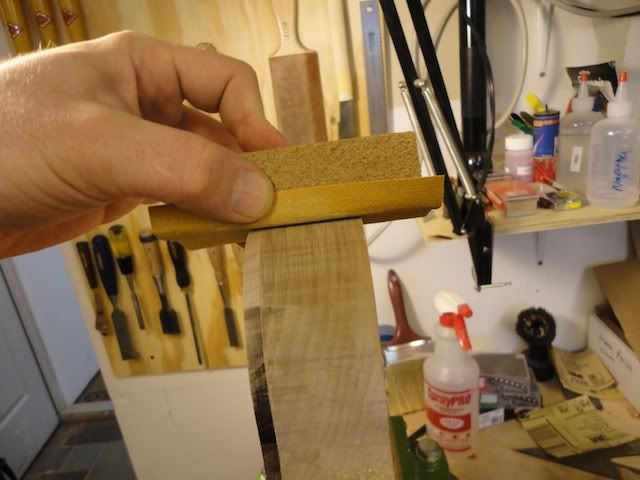
I have various different tools I use for this. I have a cork sanding block, some Iwasaki files, and various shop made sanding blocks. Here's one of my favorites. Just on old closet pole wrapped with leather. I use this EVERYWHERE and don't know what
I'd do without it.
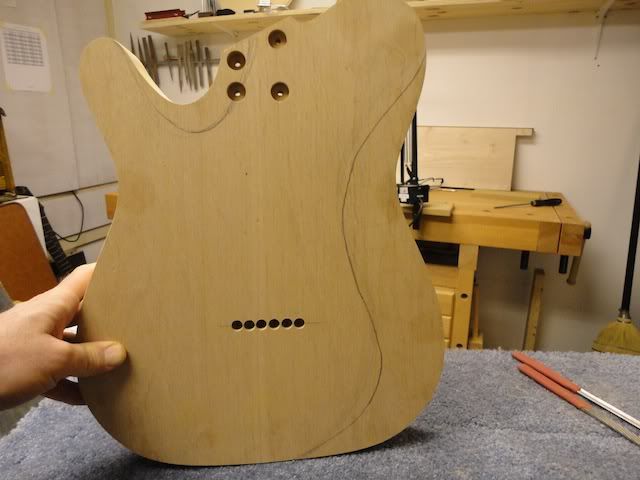
Now that the sides are nice and flat, I vaguely pencil is the heel and belly carves. I won't follow these lines exactly, but I find them useful when I'm roughing it out. I can't afford to have it take all day so I'm pretty aggressive and having a line to work to helps.
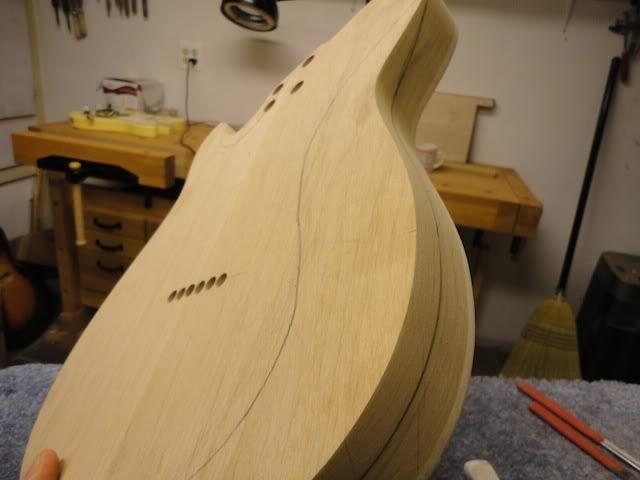
I also pencil in a rough line on the other side. Again, I don't exactly follow this line. I just use it so I can be aggressive and will know when to stop. Ultimately the final carving will go wherever my eyes and hands tell me it should go. I didn't take any good pictures of the process for some reason. Basically, I knock off a bunch of wood very quickly with an Ibex convex palm plane. Then I smooth it out a bit with a smaller flat bottomed plane. Finally, I make the final shape with rasps, Iwasakis and sanding blocks....whatever it takes.
I'm very careful, just as on the neck carving, to not let the carves get a bulbous, convex look going. It should be a nice, crisp, mostly flat look. That's just my style and what I like. I just think it's a very modern and clean look. It will get smoothed out during final sanding and I will intentionally soften the edges, but I want to start with crisp edges.
Here's a little video my wife took of some of the roughing. It's only a few seconds long but shows just how aggressive you can really be with the Ibex palm plane. Everyone has this vision in their head of guitar builders sitting in an old dusty shop, with glue pots bubbling all around, candles burning and lovingly fitting tiny pieces to each other with the care of a Swiss watchmaker. The reality is that this can be a very physical task sometimes
Just look at those huge chips flying out of the plane. The right plane, a bad attitude and a bunch of elbow grease and sweat make short work of the body carving.
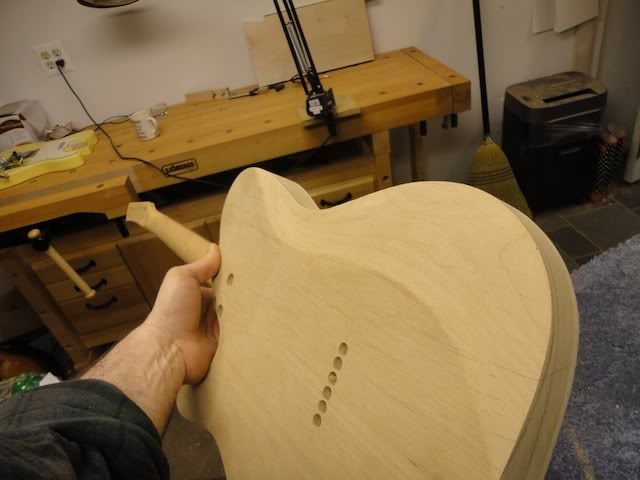
The end results....
I test these with my hand. If I find it comfortable, surely there's someone else out there that will find it comfortable too. You can see that this fits my hand almost perfectly. I don't feel the heel at all when I'm playing, and that's how I like it.
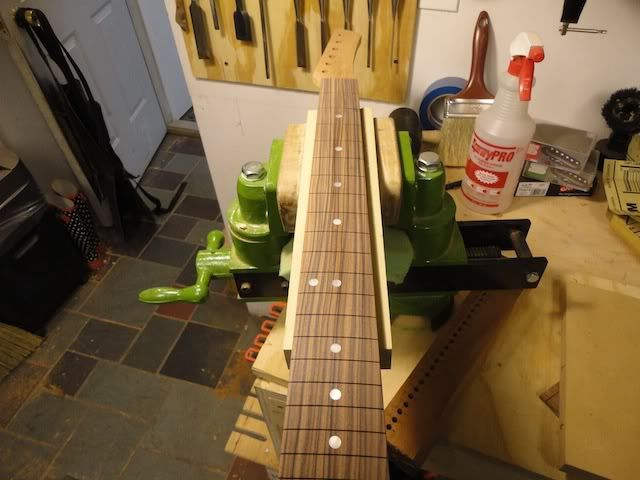
It's Sunday, so it will be a short work day for me. I'm back on the neck, getting it ready for fretting. I hit the fingerboard with sandpaper up to P400. I have a small StewMac wooden sanding block for this. At this point, clean the fret slots, fix any chips, and sand. I also SLIGHTLY round over the fingerboard edges......and I do mean slightly. Just enough to break the edge and make it comfortable.
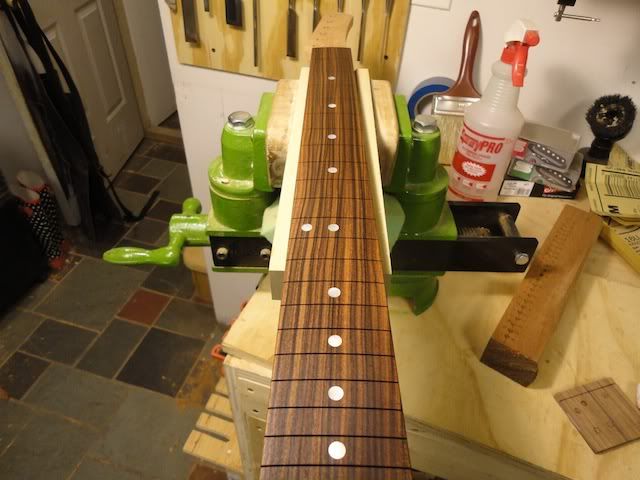
Then I oil the board and buff it with a soft cloth. The end result is a silky smooth fingerboard, especially on this Pau Ferro.
And that's it for tonight.
Last edited by John Coloccia; 03-05-2012 at 7:48 AM.
 Posting Permissions
- You may not post new threads
- You may not post replies
- You may not post attachments
- You may not edit your posts
-
Forum Rules


 Reply With Quote