Well having completed the Davenport and a few small jobs started on a new project this week - A mahogany consort/Hall Table.
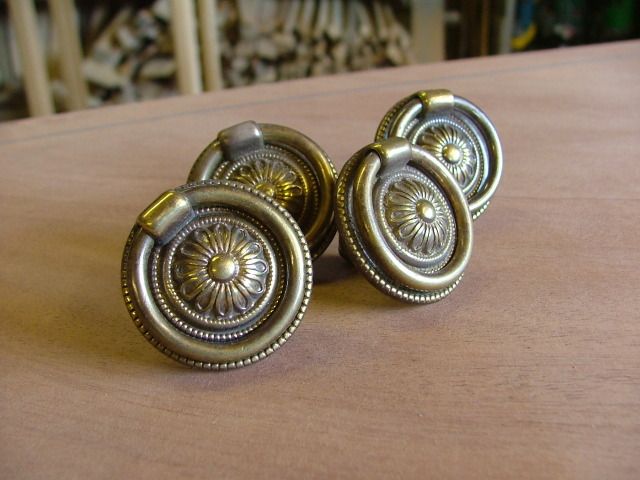
The basic dimensions are 30" tall, with the top being 40" by 16" with fine tapered legs and a pair of narrow drawers.
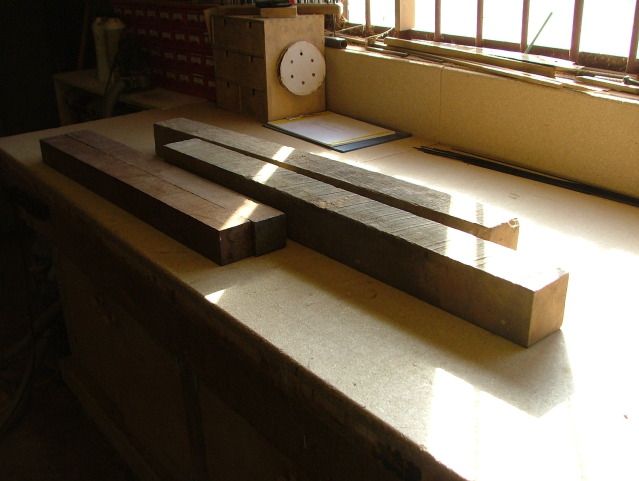
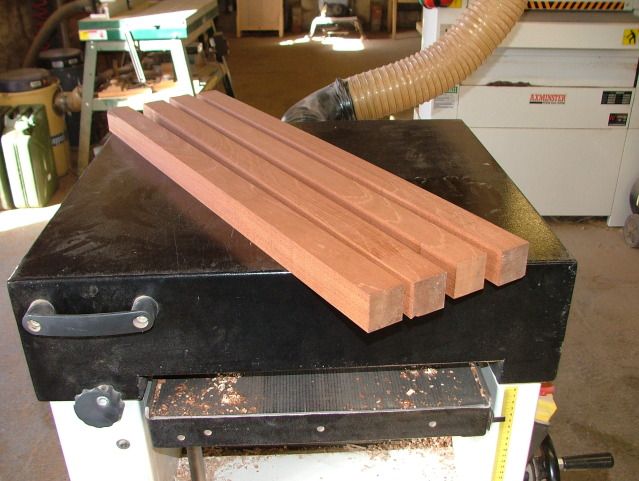
Started by taking some square section stock
Which was rough sawn down on the table saw to just over 40mm square
Before being planed down to 40mm square on the thicknesser
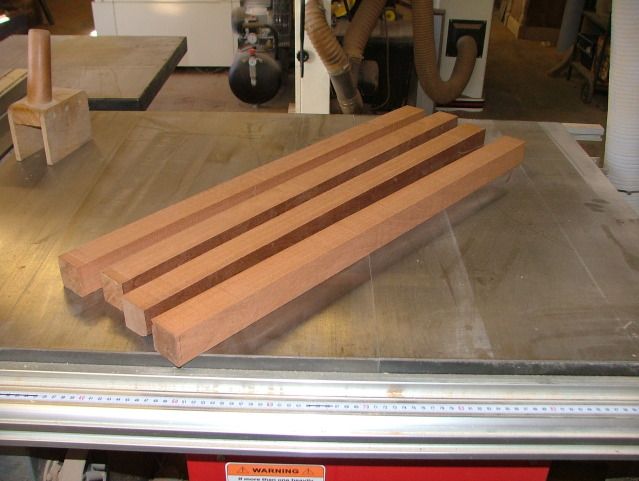
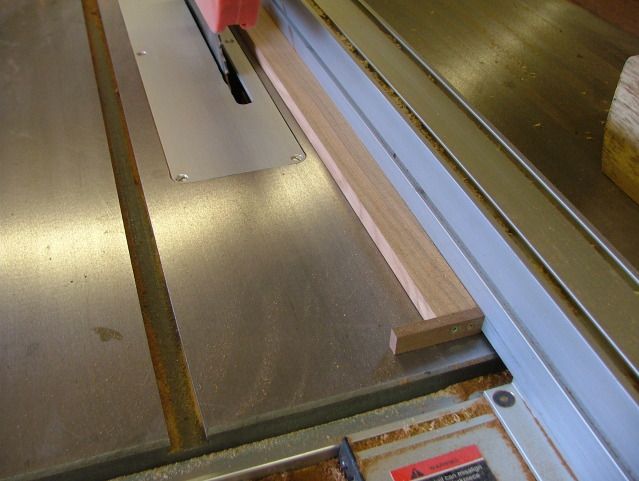
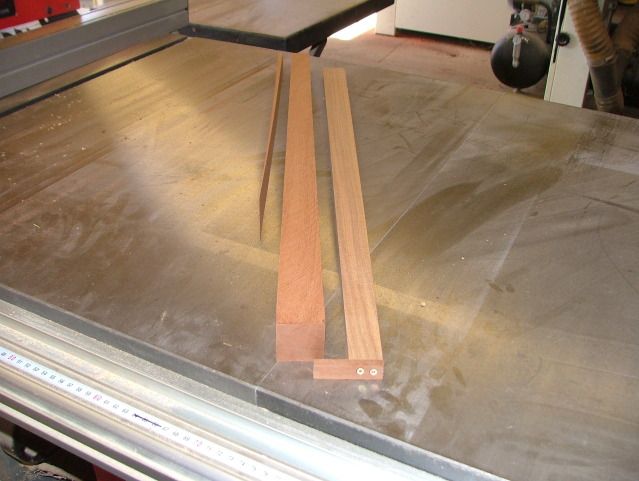
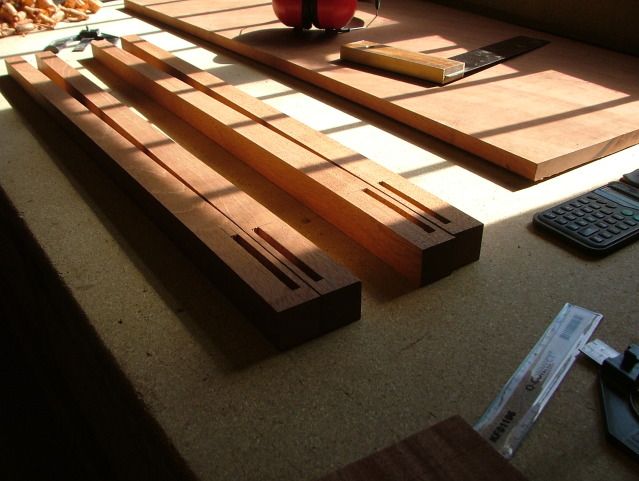
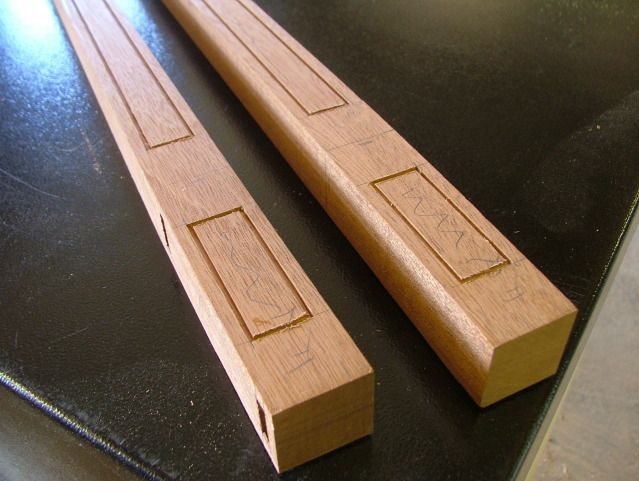
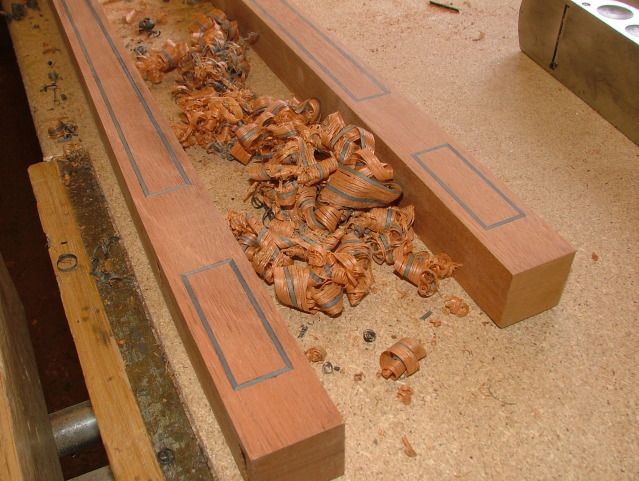
The taper in the legs was initially cut using a home made taper jig on the table saw, only the two inner edges were tapered leaving the outer line of the leg straight
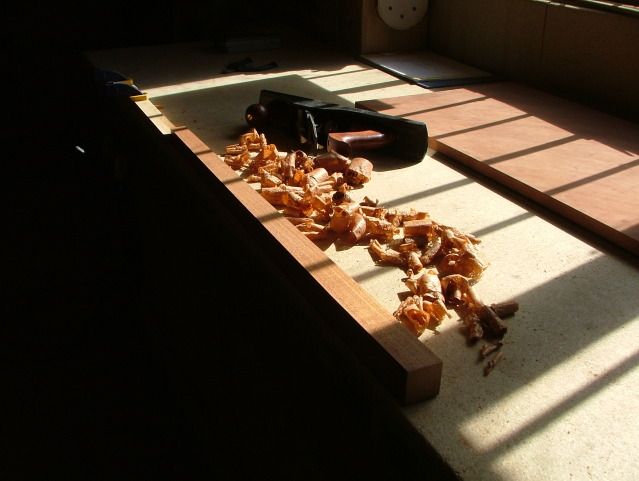
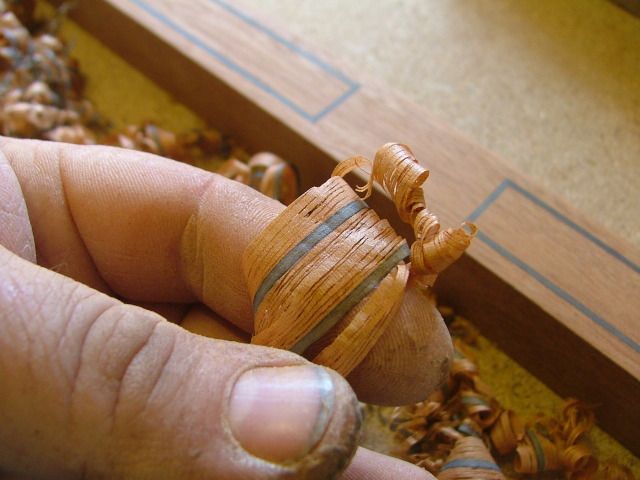
The tapered edges were then planed with a jack plane (No5) leaving a nice crisp finish despite the mahogany having a very twisted/interlocking grain.
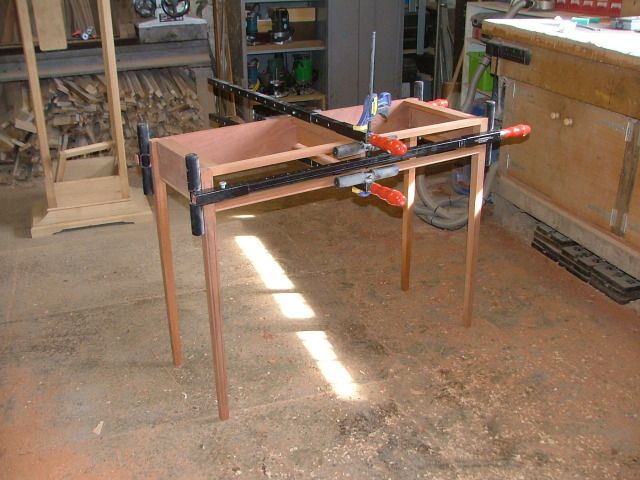
The legs were duly morticed ready for the frame rails
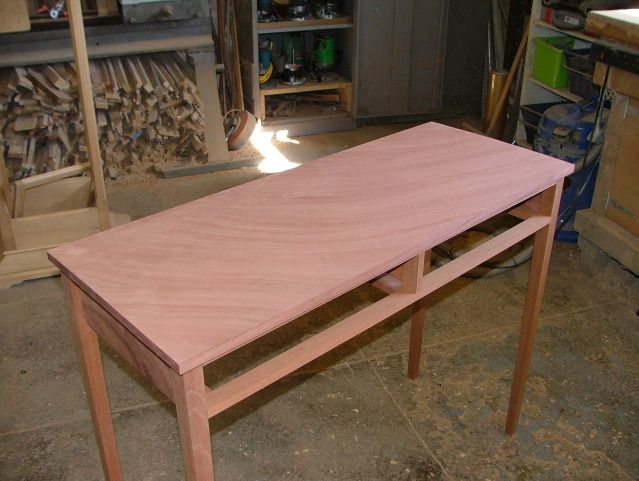
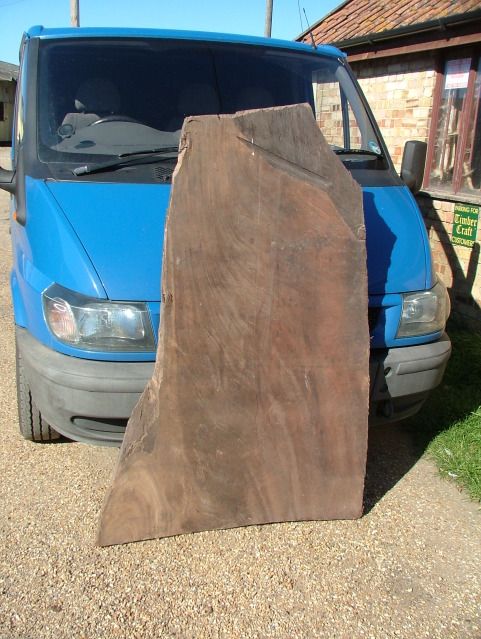
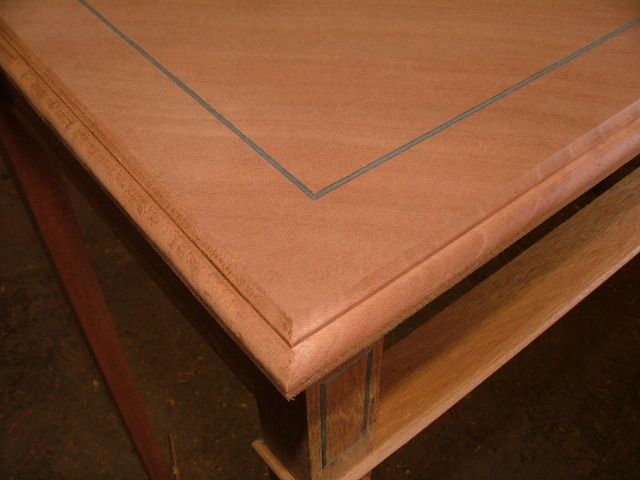
The customer had specifically requested that the top be made from a single piece of timber rather than jointed and I had a well figured board in my woodstore that had been sitting there for a number of years which was ideal for this, it also had a particularly nice grain pattern
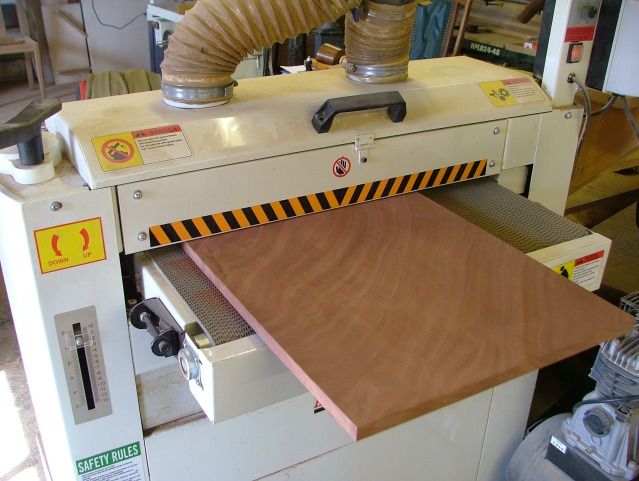
The board was duly cut and both thicknessed and then passed through the panel sander to flat the board
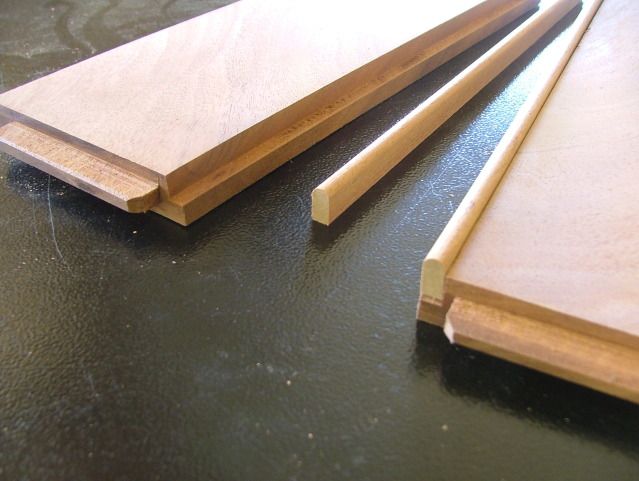
The rest of the board was machined and used for the sides/back of the table as well as the drawer supports.
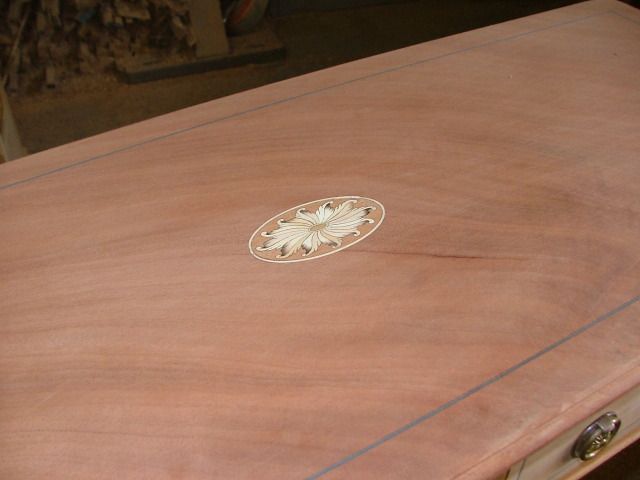
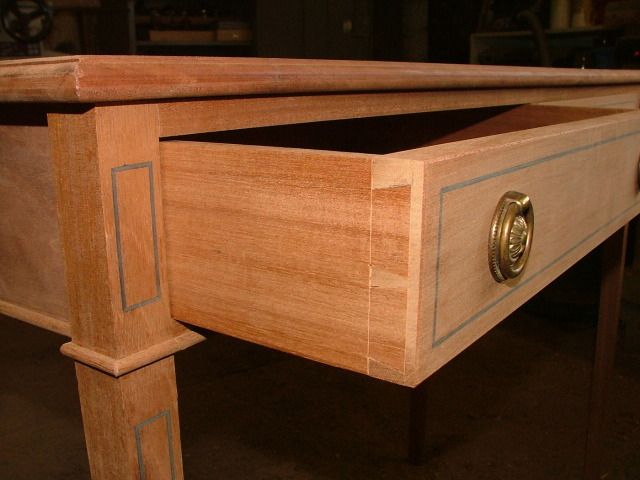
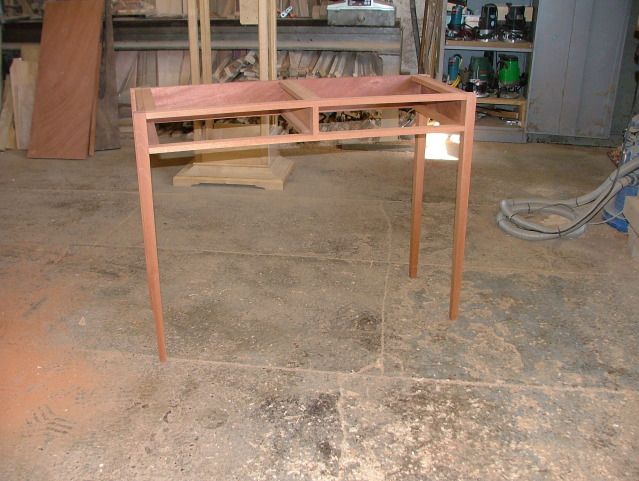
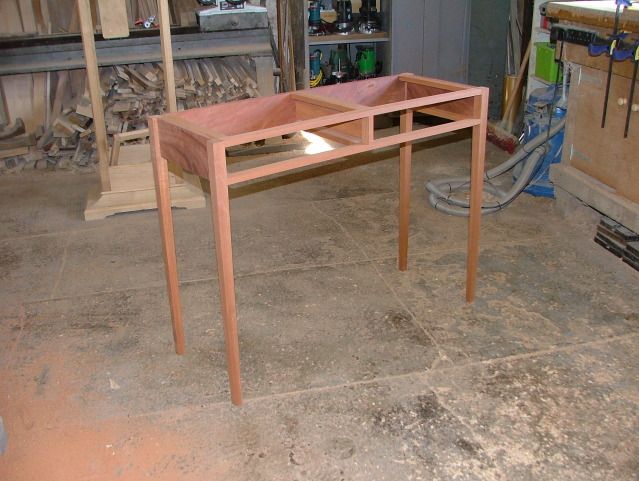
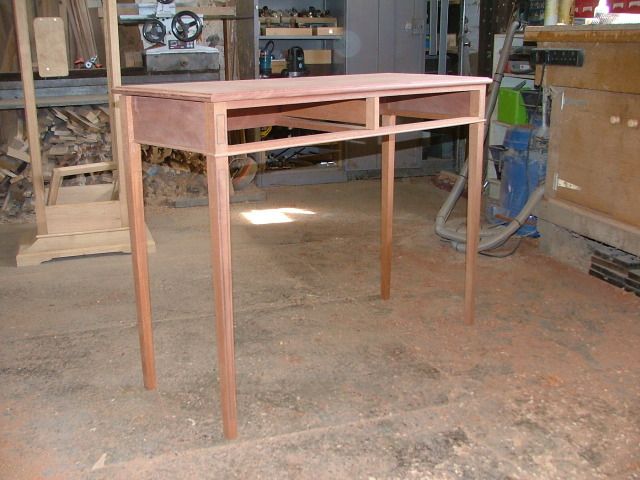
When I left this afternoon it was looking like this
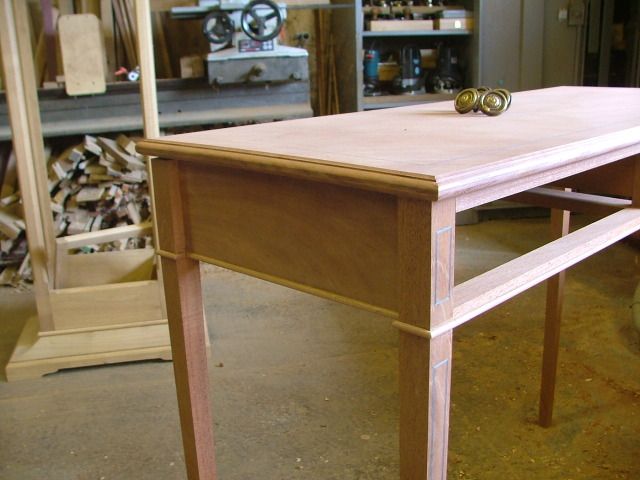
I placed the top onto the frame, and whilst the edges are not yet moulded I think it will work quite well

 Reply With Quote
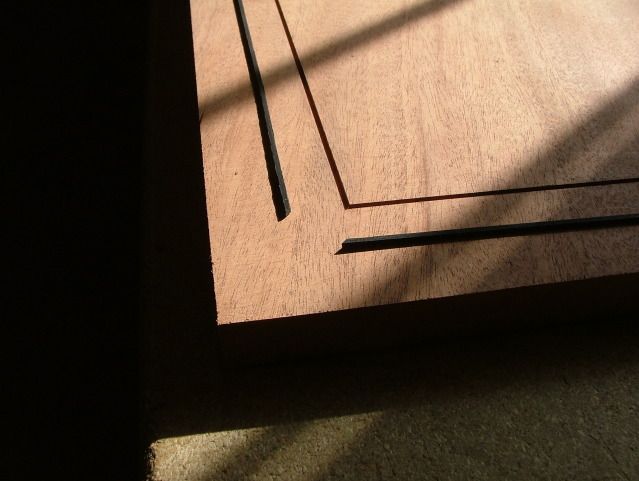


 Lori K