Here's the latest. After taking a few days off I finally got around to working again. I finished cutting the mortises for the rail hardware.
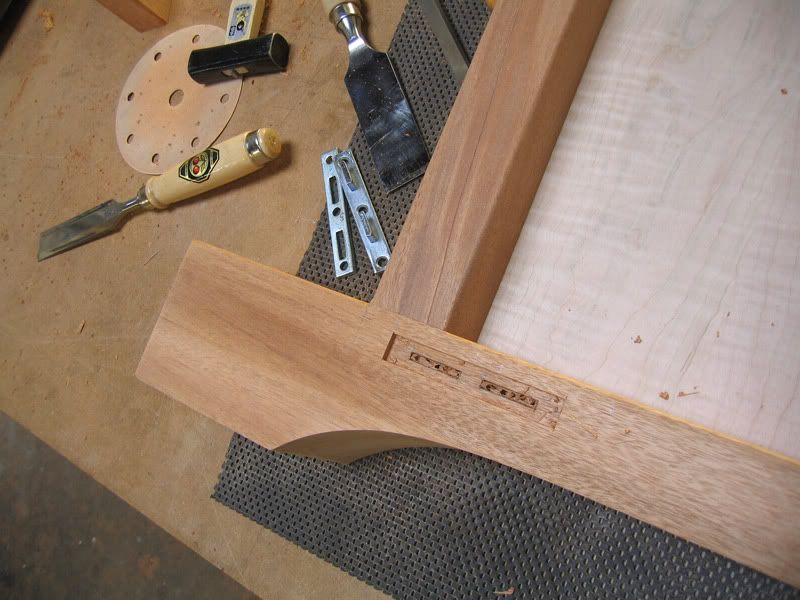
Layout for mortises ( I know most everyone could figure that out but I figured it might be helpful to explain everything just in case someone doesn't know )
After routing out most of the material freehand with a small laminate trimming router I cleaned up the mortises with a corner chisel and straight chisel.
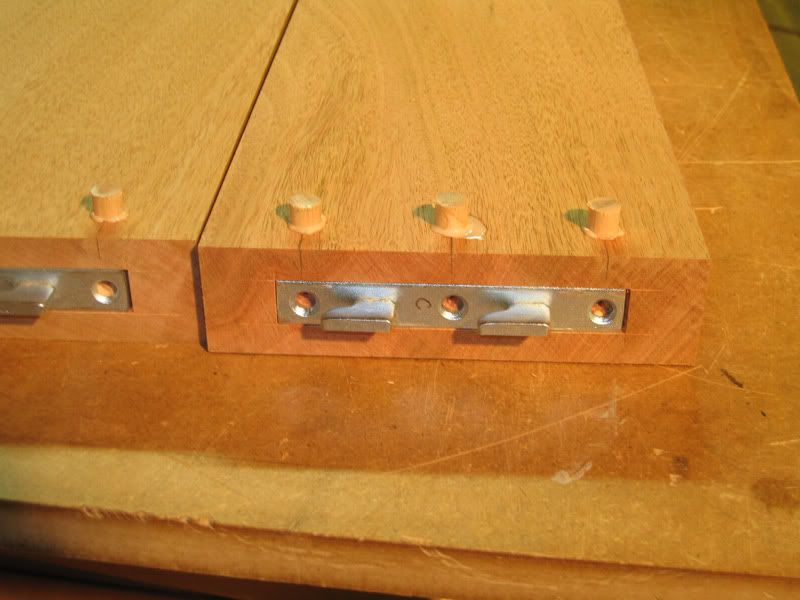
installed hardware.
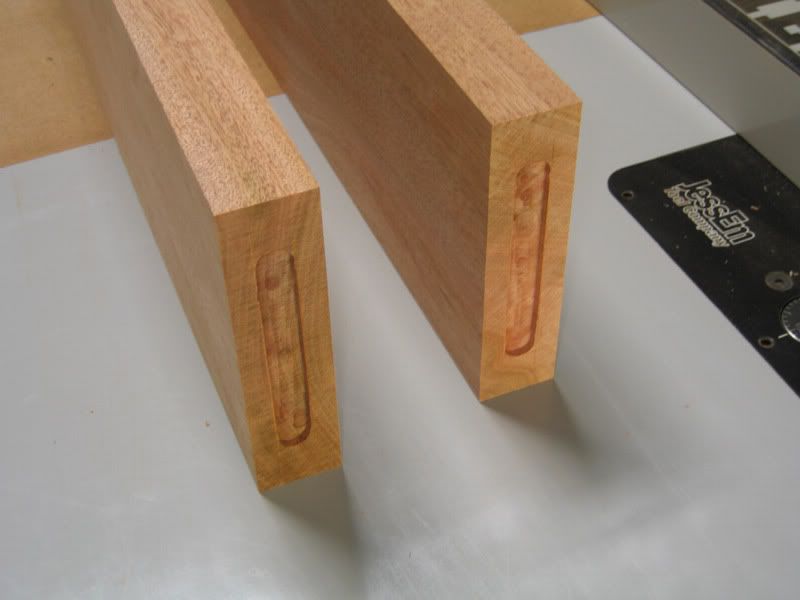
Rail ends.
Rail ends with hardware installed. By putting dowels in where the screws will go to attach the hardware it gives some long grain for the screws to bite into decreasing the chance they will strip out over time. I drilled about 3/4 through on the inside of the rails and glued 3/8" birch dowels.
That's it for now. I hope to have it final sanded and oiled next time.
( the little gaps in the mortises are because I switched hardware after i had cut the mortises....oppps. Luckily it's not too big of a mistake. )


 Reply With Quote