Hello all. I made a shooting board yesterday with the intent of being productive ... turned out to be a MAJOR time bust for me ... all I did was waste time making the board and troubleshooting, sharpening, etc.. Intent was to be micro-trim and square end-grain of foot-long parts a couple of inches wide.
I am using a Lie Nielsen Low-Angle Jack Plane with a Hot Dog (for the shooting board), within which, the blade is bed at 12*. I used the Charlesworth method with a Sigma Power Select II 1200, Sigma Power 6000, and a Sigma Power 13000 for polishing). I sharpened as follows: 20* Grind Angle, a 24* Primary Bevel, and 1* Secondary Bevel, then about 5 strops by hand on horsebutt ... I have hairs jumping off the back of my hand!
This gives me 37* of final cutting angle. I experimented with the throat opening, but ultimately closed it way down. I tried slicing end-grain on both poplar and oak - neither are as clean as what I got off the tablesaw with a cross-cut blade. Waste of time: tearout, tearout, tearout!
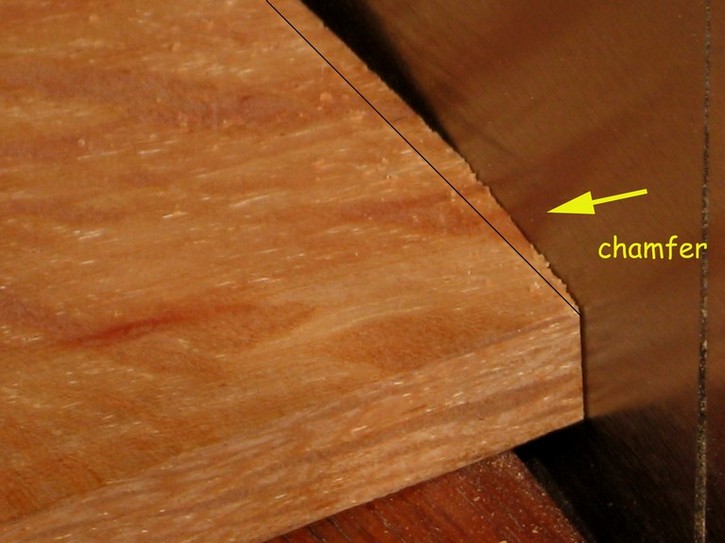
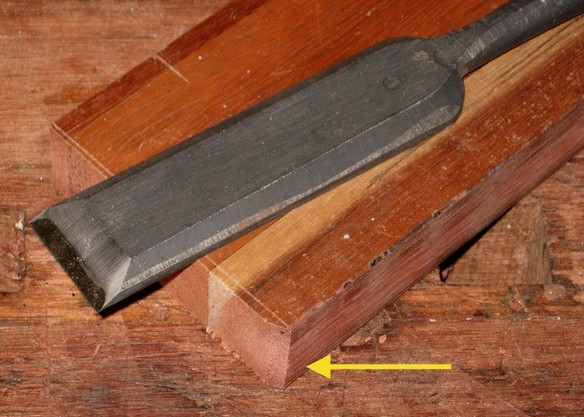
Is my shooting board design possibly problemmatic? Or is my blade angle wrong for this application? Please see the shooting board pics: I created a stair-step to keep the blade of the plane from "eating" the shooting board. The first step is at the height of the blade and there's a 3/16" gap between the sole of the plane and the edge of the 90* fence/stop. Maybe the gap is too big? Uggggh! What could be wrong? Thanks so much for your time and assistance! Happy Holidays!
IMG_1096.jpg
IMG_1095.jpg
IMG_1094.jpg
IMG_1093.jpg
Regards,
Rich

 Reply With Quote