Originally Posted by
Kees Heiden

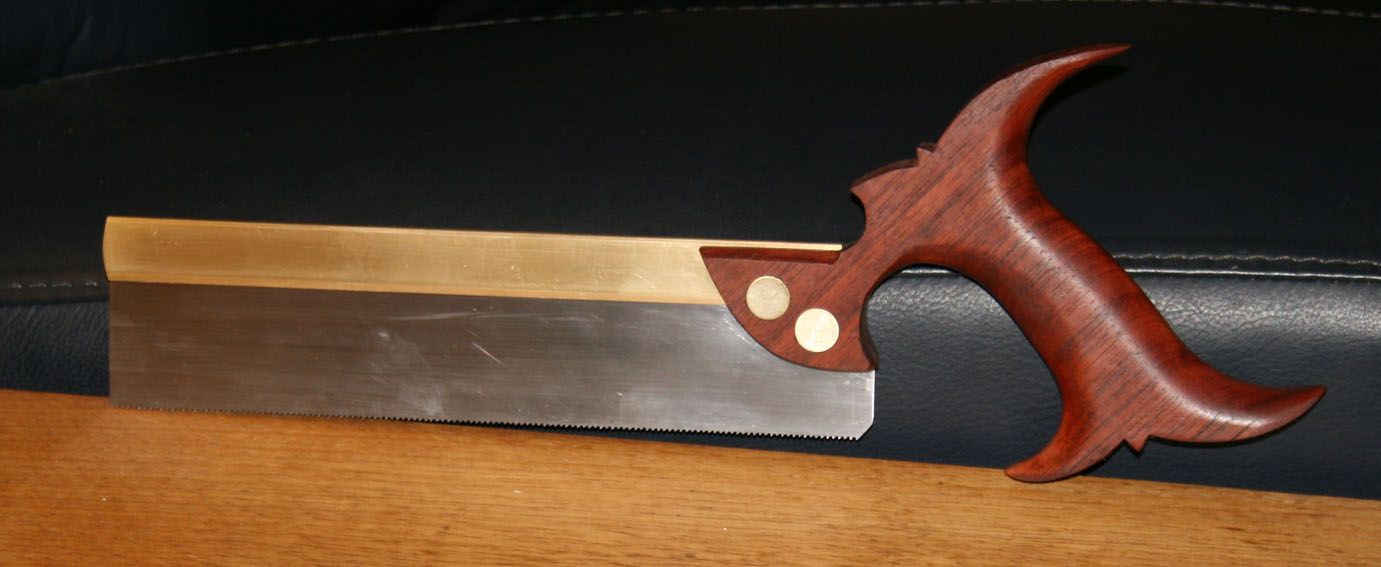
Bending 1/8" steel is not easy! I did it with 1/8" brass and had to use a hydraulic press at the end to really get the thing flat. Hammering flat ain't easy either. You quickly stretch the metal and create curves. But give it a try. I would choose some thinner material though.
Did you anneal the brass when working, Kees? That can help things a lot. There's a reason George suggested it.
" Be willing to make mistakes in your basements, garages, apartments and palaces. I have made many. Your first attempts may be poor. They will not be futile. " - M.S. Bickford, Mouldings In Practice


 Reply With Quote