Page 1 of 2 12 LastLast
Results 1 to 15 of 20

Thread: Mesquite Desk

  1. #1
    Join Date
    Oct 2007
    Location
    Fort Worth, TX
    Posts
    1,389

    Mesquite Desk

    I started a few weeks ago on a mesquite desk for a fellow Ag. We went back and forth on deciding on a walnut slab top, but the costs were pretty rediculous to get a slab shipping in, so we ultimately settled on a mesquite desk, given that I could get some nice mesquite from South Texas cheaper than walnut from Idaho, Pennsylvania or Oregon.


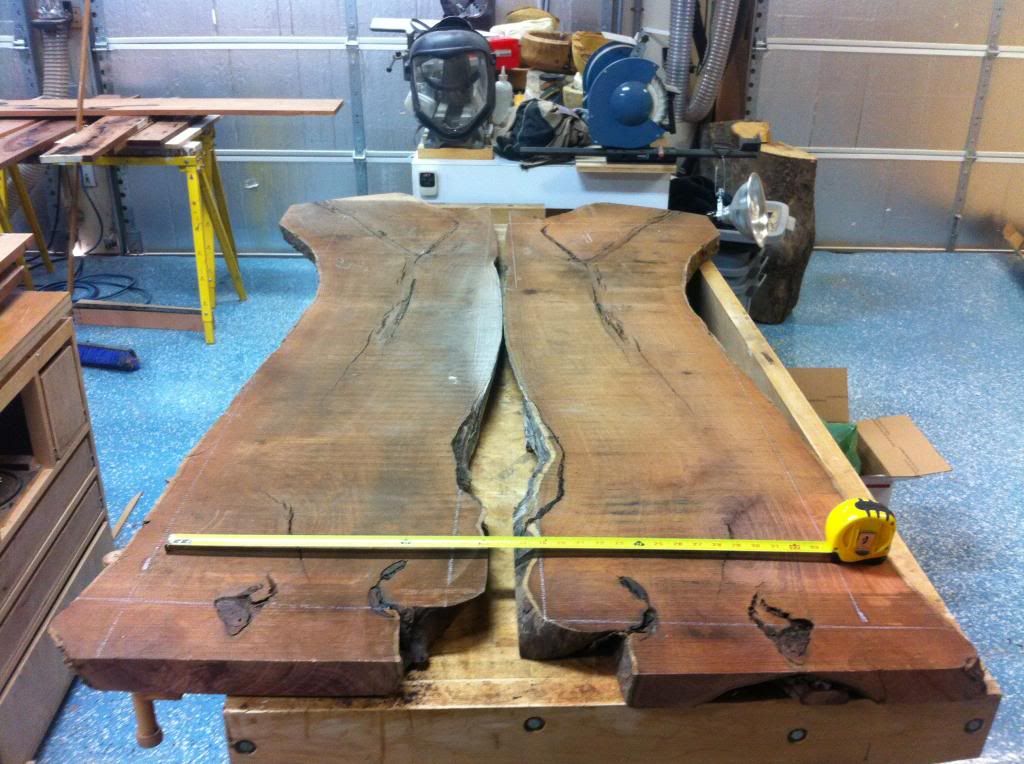
    First was to find a bookmatch set of boards I could make a 60" x 30" desktop from:


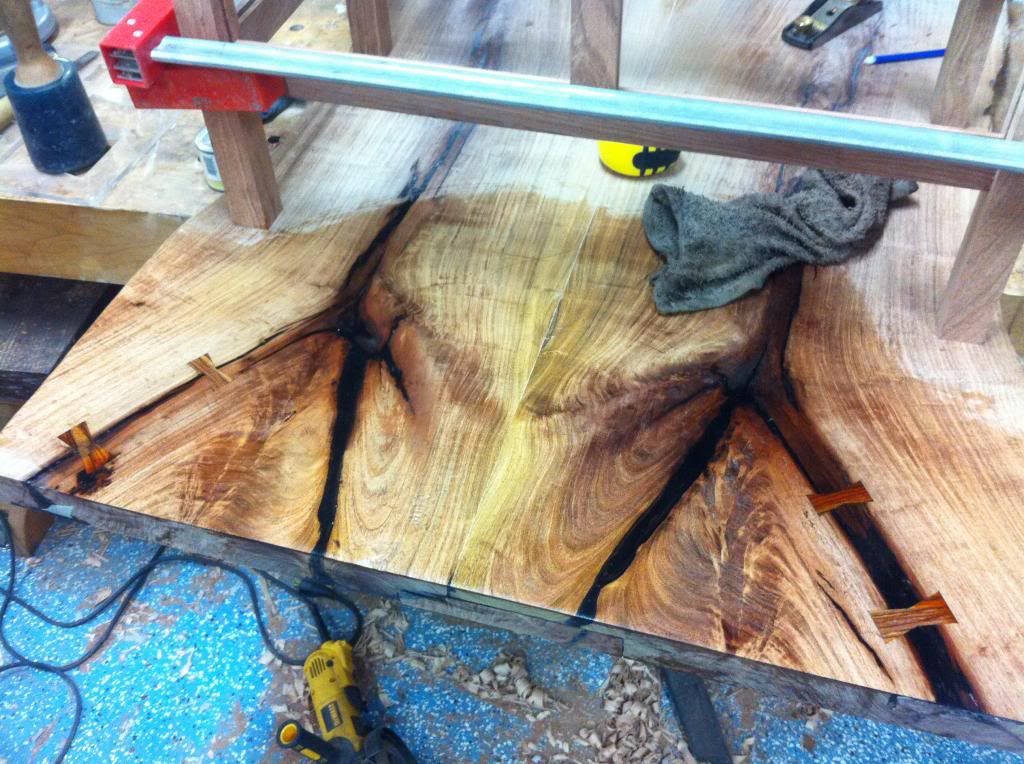
    Then to level each board and thickness them. One was about 1/4" thicker than the other, and I don't have a machine large enough to level them, so I made a few rails with a bridge for a router to move back and forth on. I put an end mill bit on, and went back and forth with the router on the rails removing about 1/16" at a time. I don't think my garage has ever been dustier, but it worked.


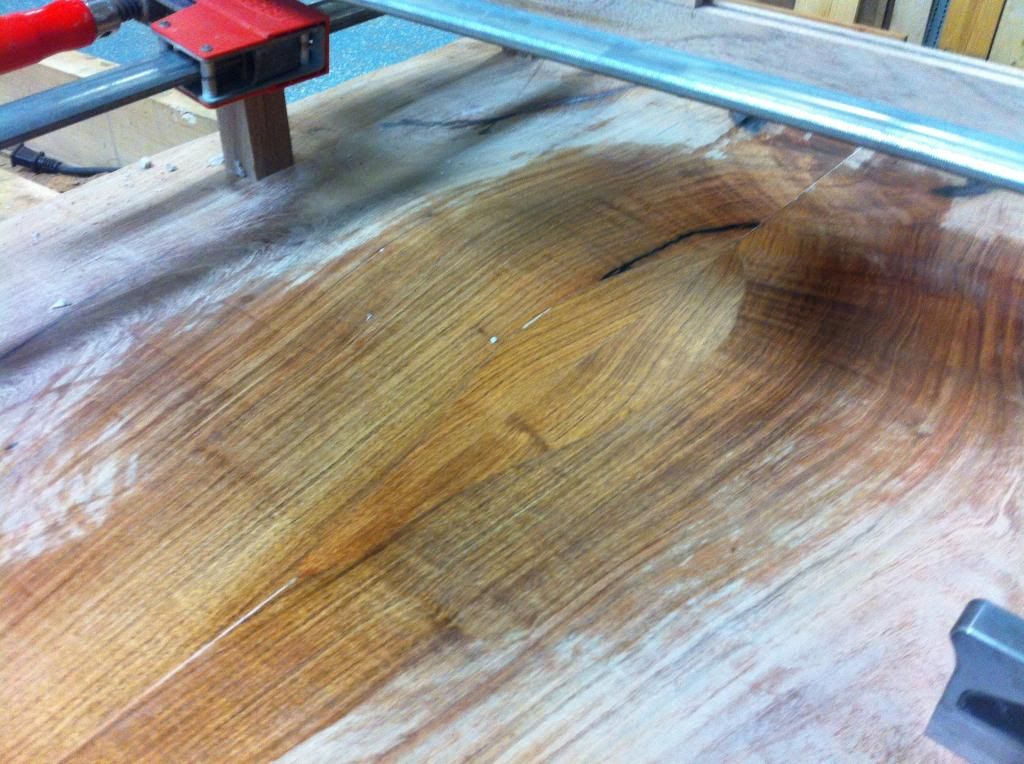
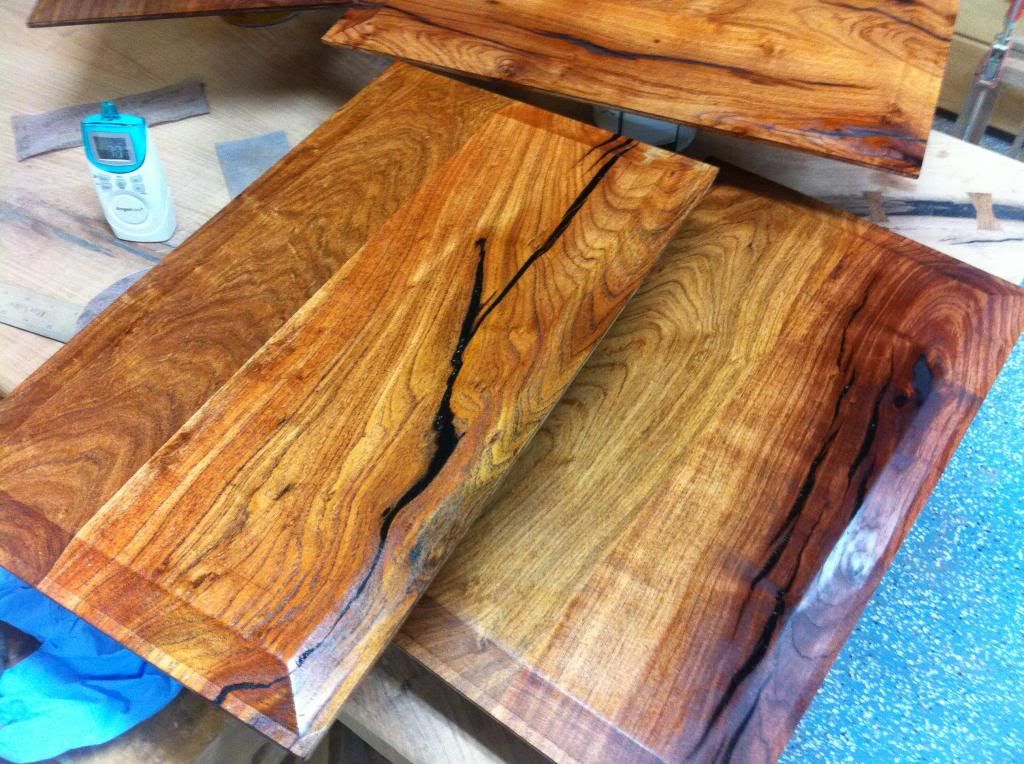
    Then it was time to epoxy the cracks. Just some two part epoxy with a few drops of a dye to blacken the epoxy.


    Glued together:


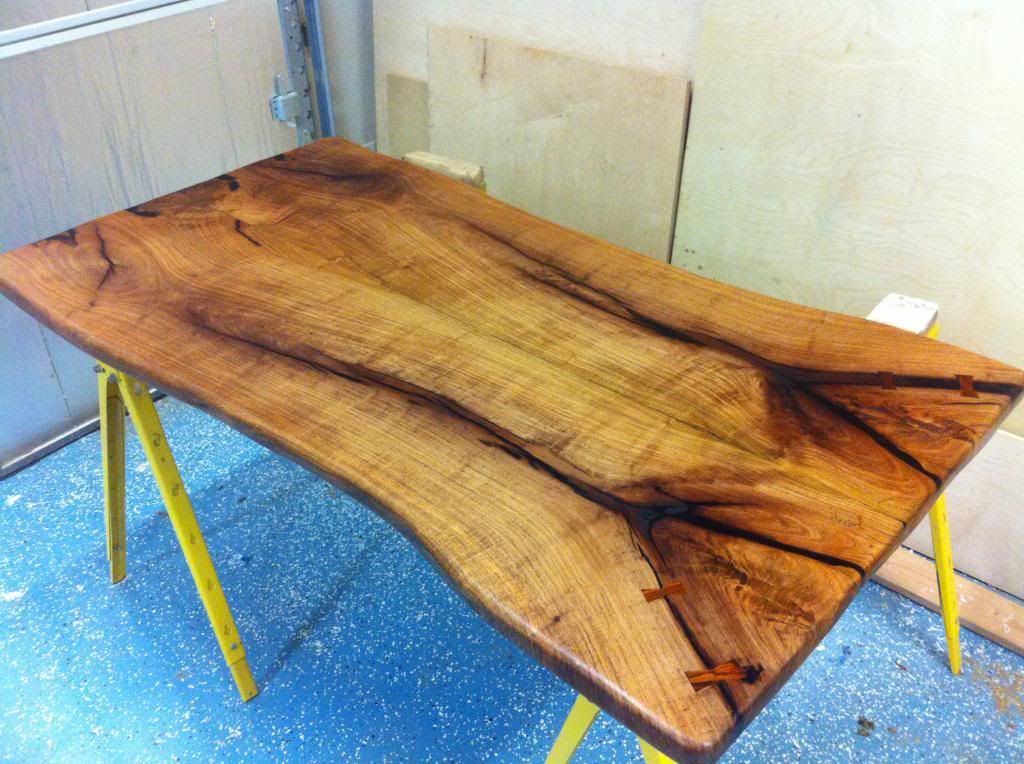
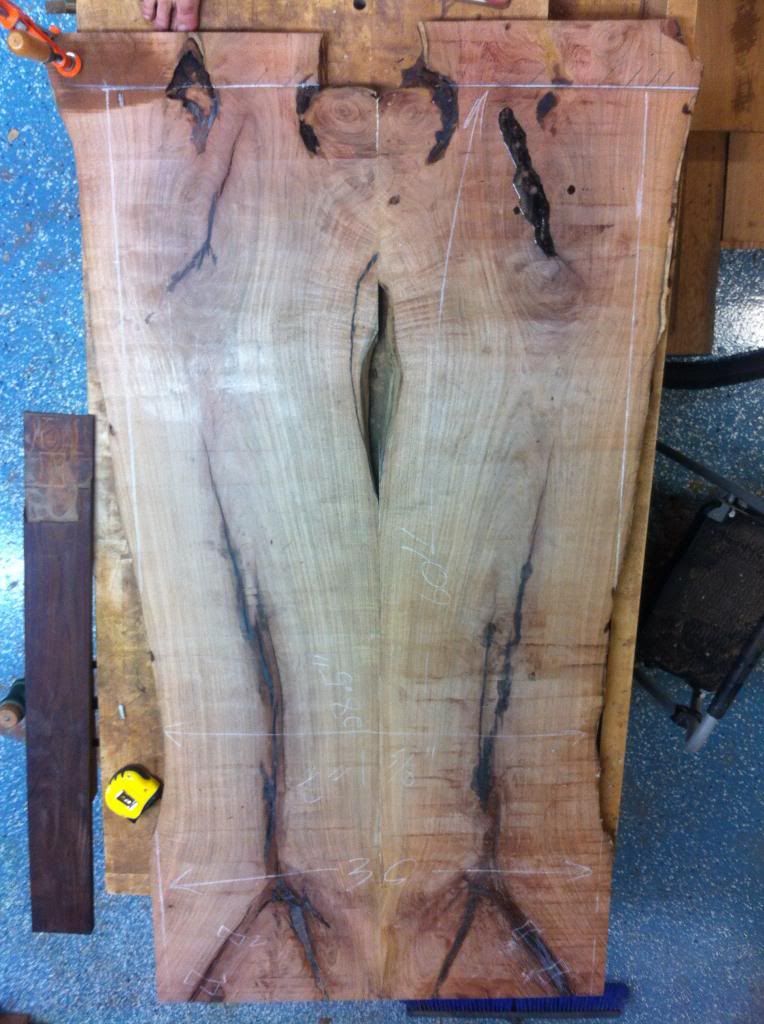
    To keep the width at the middle where the boards bowed in, I cut them so they had a gap I could fill with some inlay.


    Inlay (I just found some other mesquite that had a similar curve in the grain, bookmatched that, and then inlaid it into the gap.


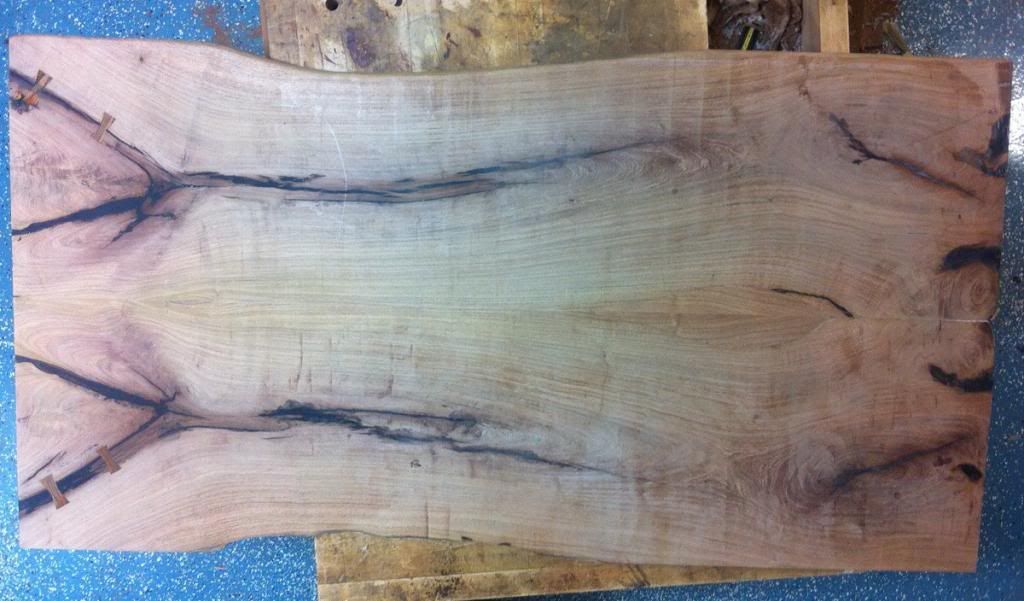
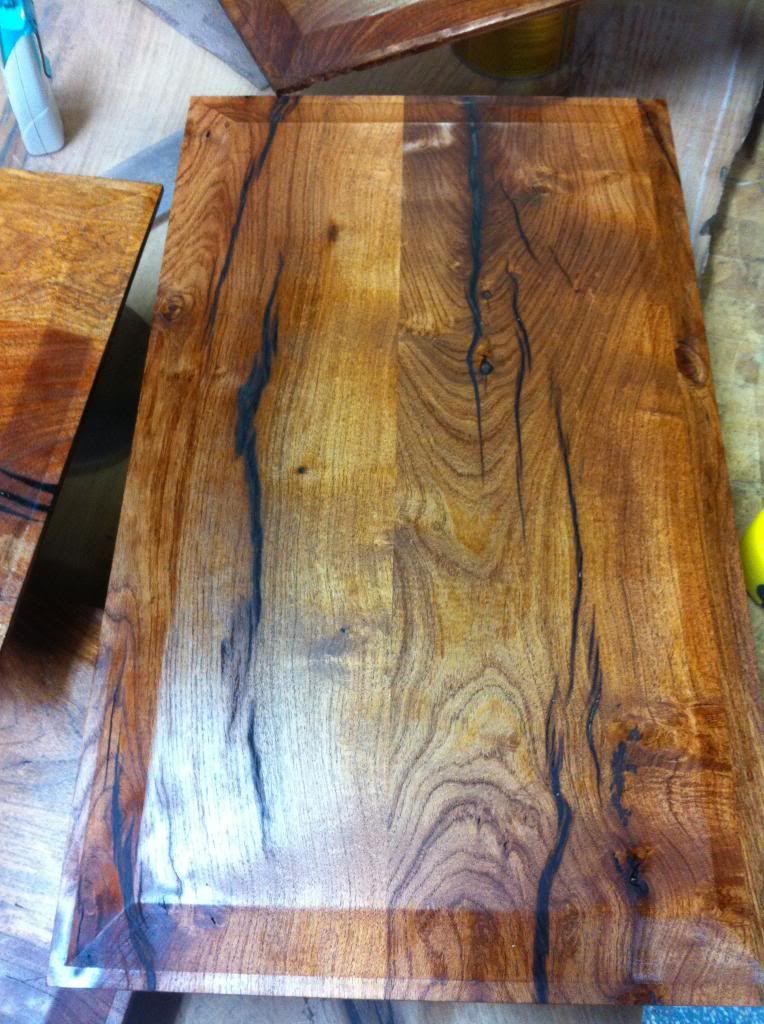
    Full slab with gap filled


    I then inlaid a couple of cocobolo butterfly dovetails across some cracks for accents and stability against the cracks spreading any more:


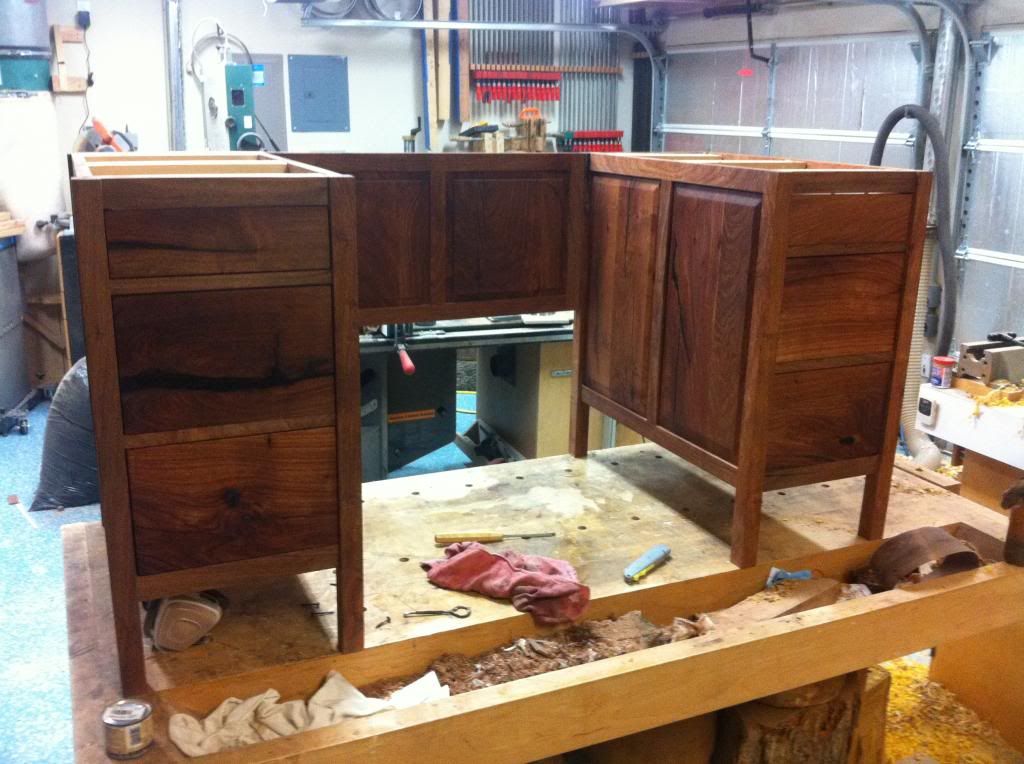
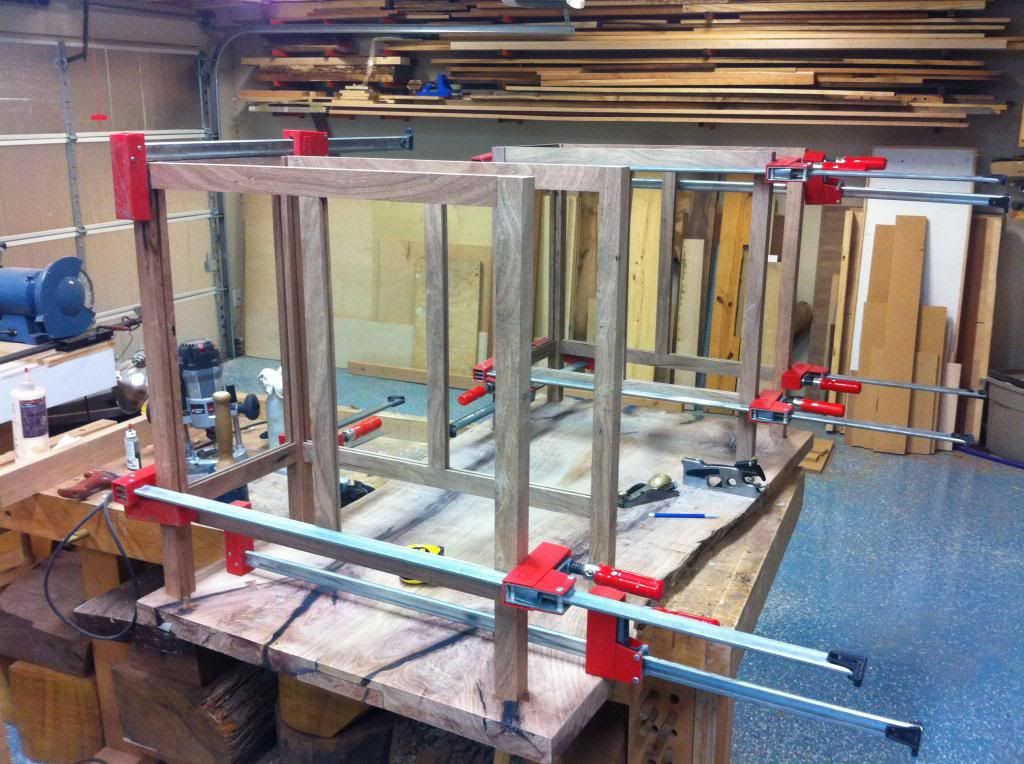
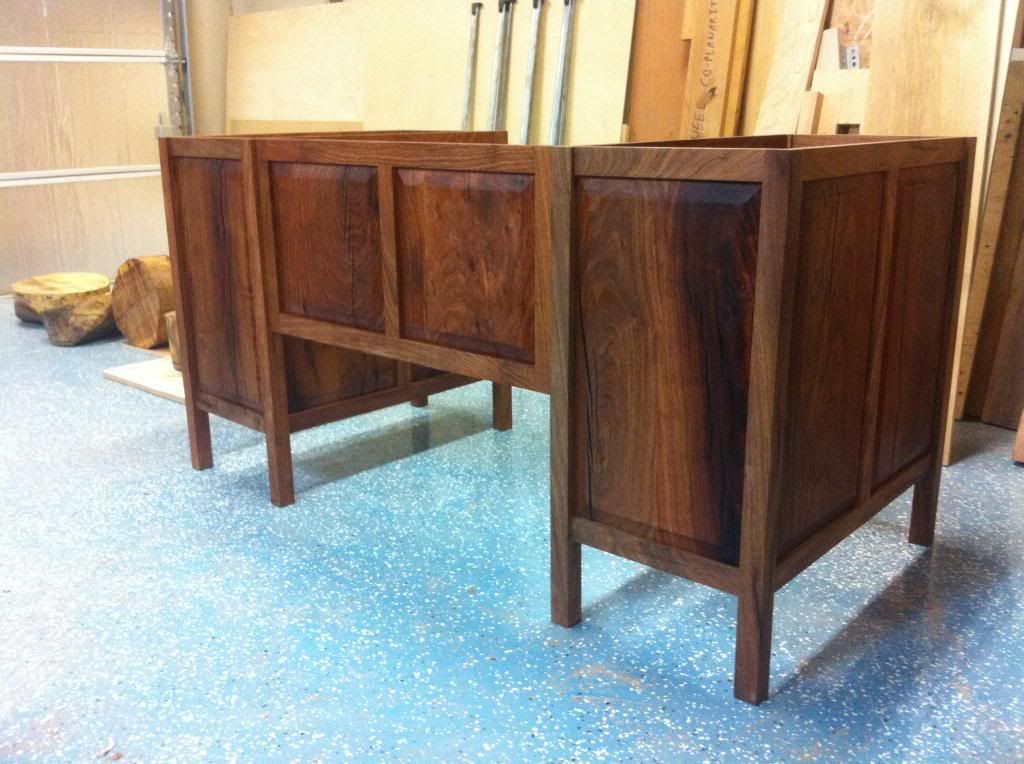
    Dry fit testing the framing:


    Raised panels inset for fitting testing:


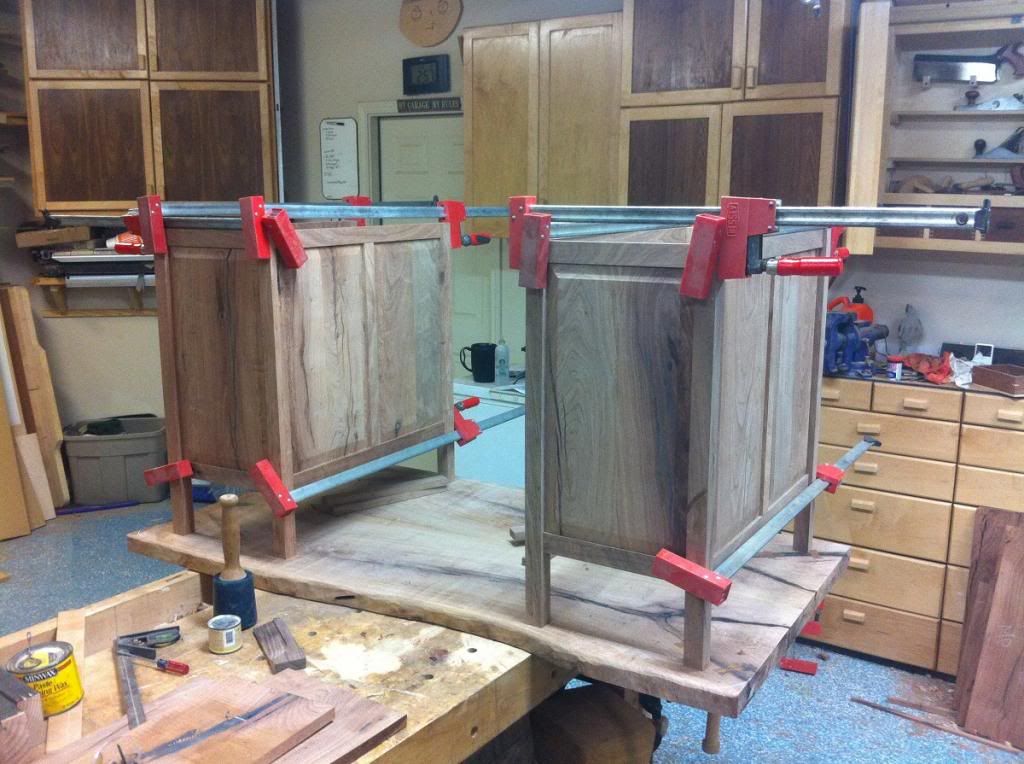
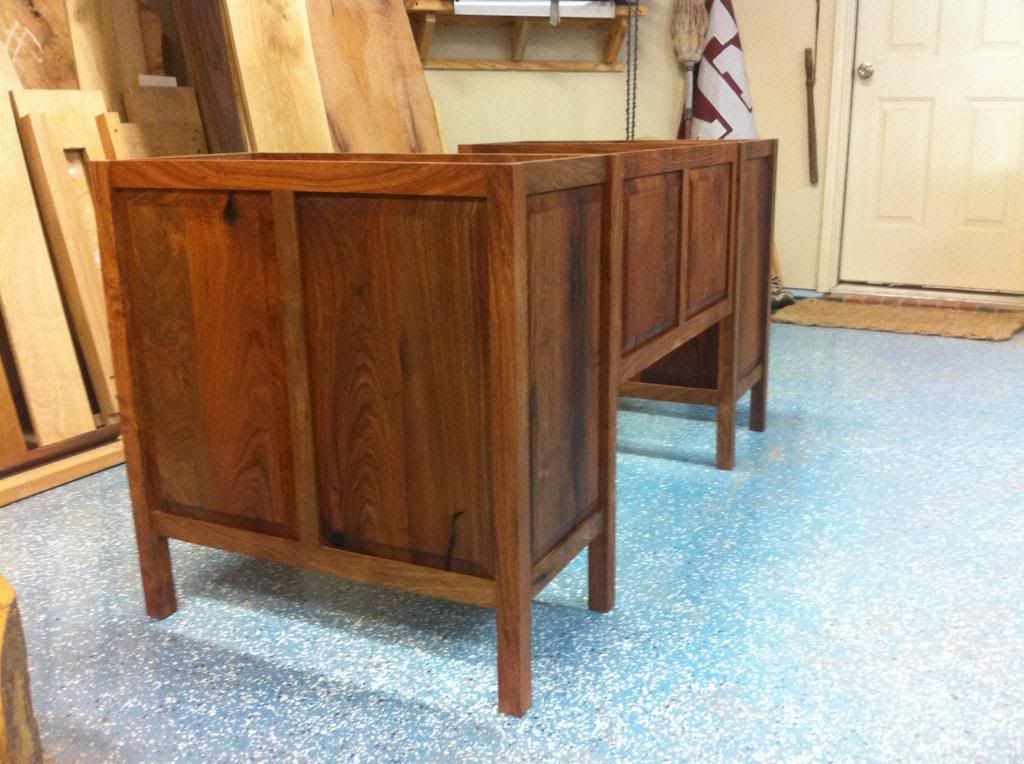
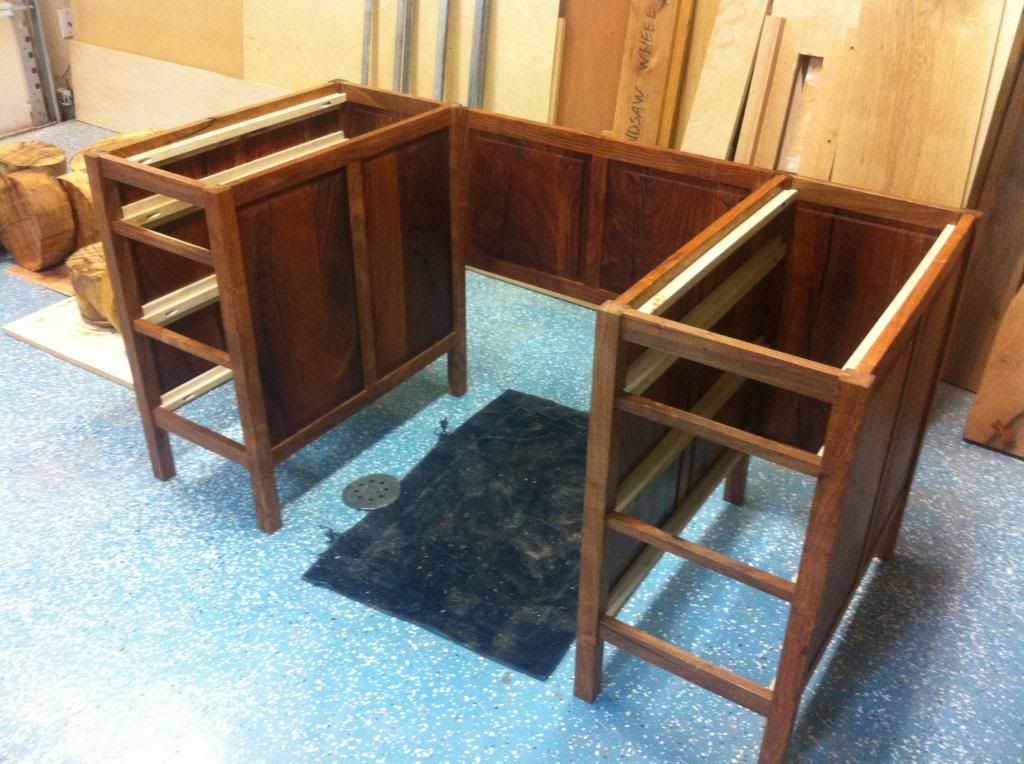
    About all that is left is sanding down the top, making the drawers, and finishing everything. I got the lower cabinet panels oiled, then glued up the lower cabinets.


    Then once glued up, I sanded the new joints from the glue up, the re-oilled everything to match:


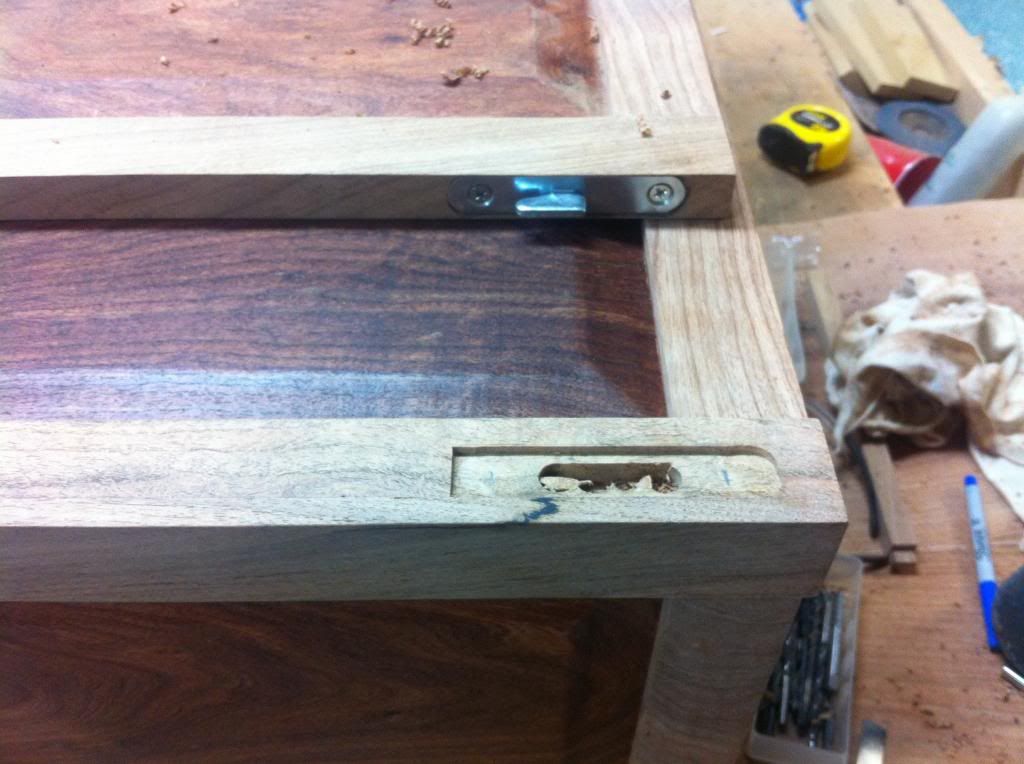
    I then cut the hardware for the mid panel. It is bed hardware that I adopted to work on the front panel, two hooks that mount on each side of the mid panel that slide into plates inset in the cabinets.


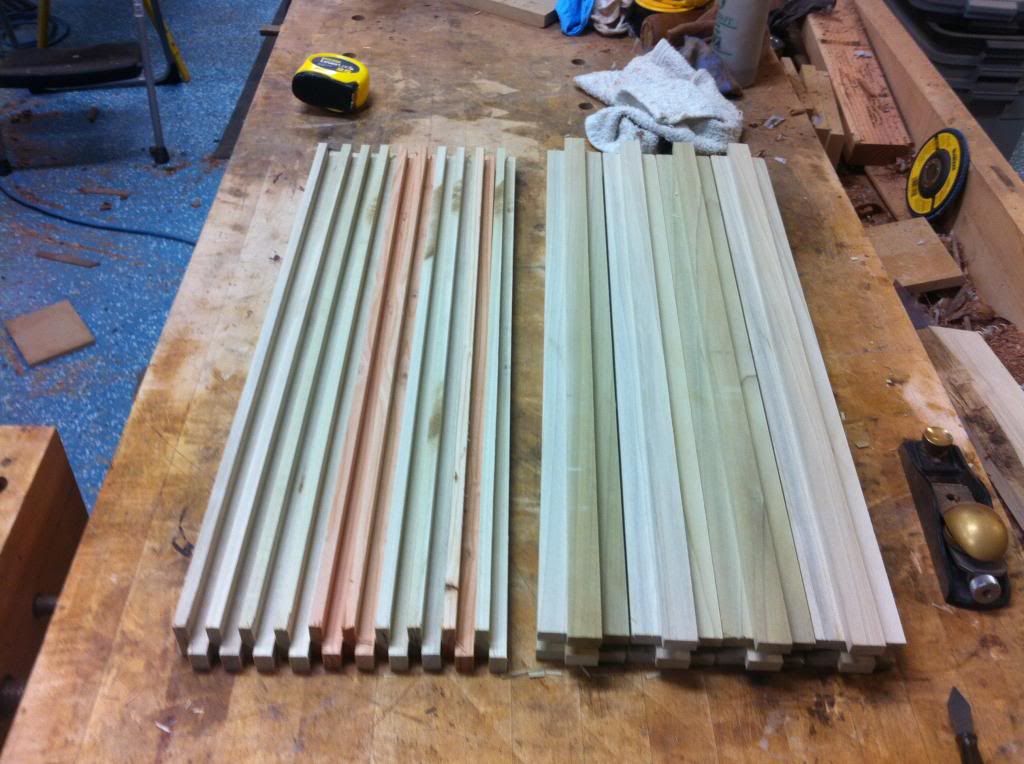
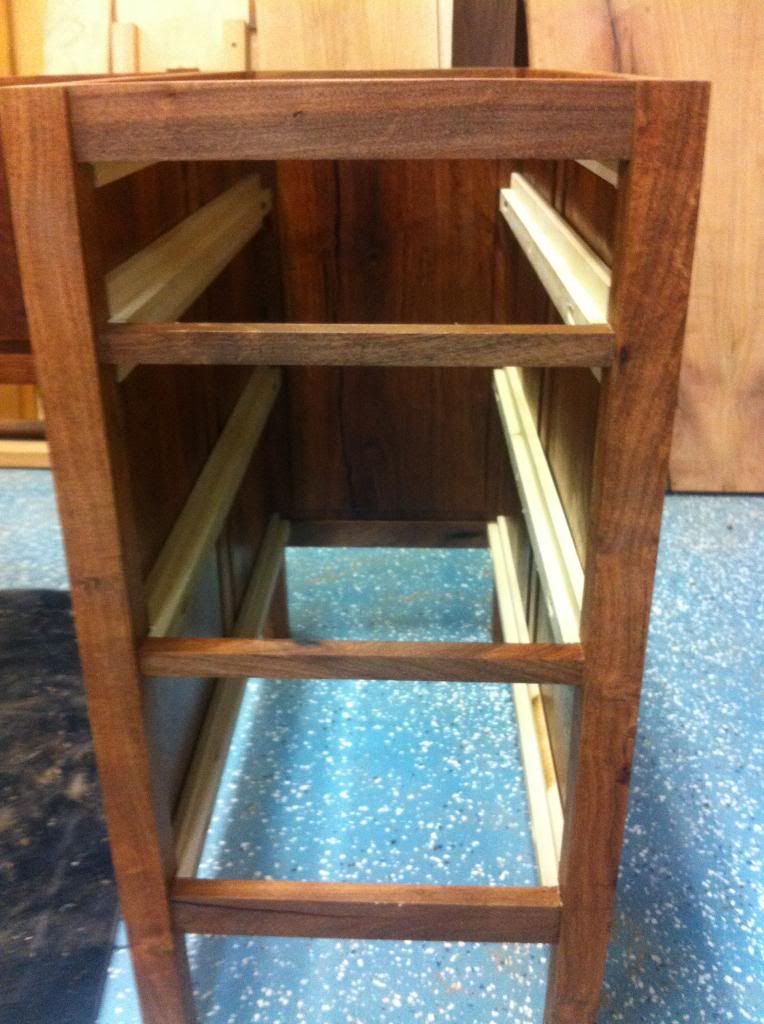
    The I cut up the runners and spanners on the lower cabinets. The drawers are going to run on waxed runners. There is about 3/32"-1/8" gap between the drawer height and the runners, so it will be pretty tight against the drawer being sloppy.


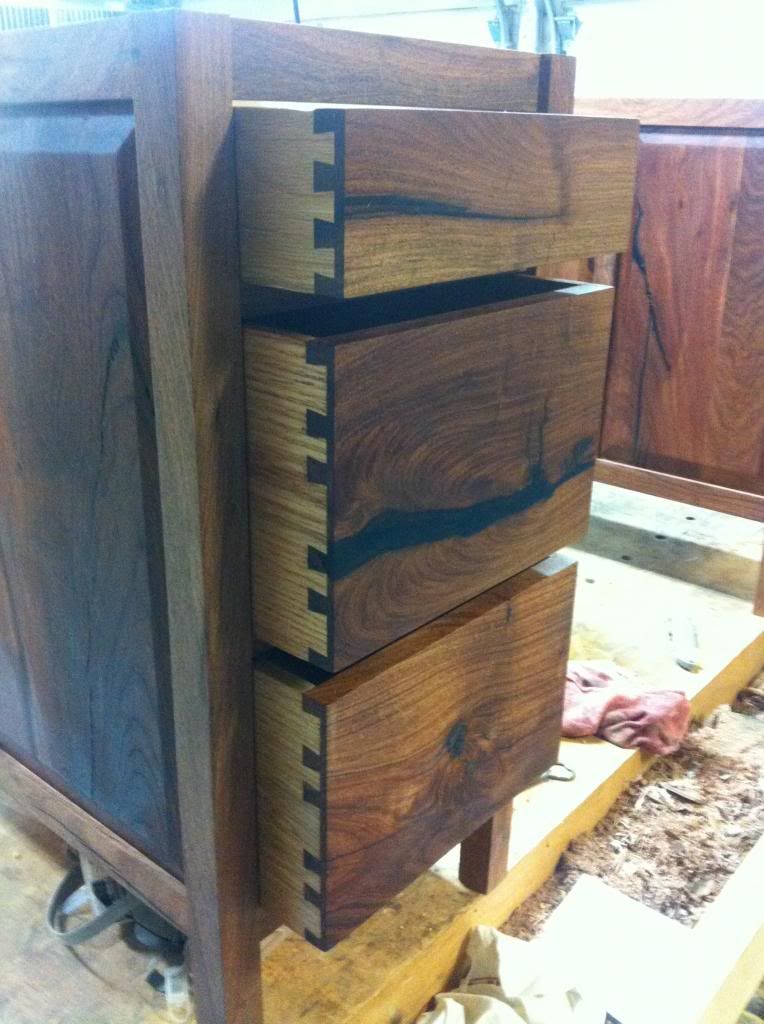
    The dovetails on the drawers are cut, and I've got the bottoms for the drawers made up. I am going to add some slots in the sidewalls of the top drawers to put in removable dividers parallel to the drawer face. Once I get the drawers done, it will just be lots of sanding to finish the top. The finish schedule is boiled linseed oil and waterlox.
    Grady - "Thelma, we found Dean's finger"
    Thelma - "Where is the rest of him?!"

  2. #2
    Join Date
    Feb 2003
    Location
    Pasadena CA
    Posts
    713
    wow, beauuuuuutiful !!! love that wood !!
    MARK

  3. #3
    Join Date
    Nov 2012
    Location
    Ft. Worth TX
    Posts
    27
    What a great looking desk! Your fellow Ag will be proud to showcase that piece in his office. Please post pics once finished. That's a piece to be proud of right there!

  4. #4
    Join Date
    Feb 2003
    Location
    Lewisville, NC
    Posts
    1,360
    Beautiful desk! I like the design lines you chose and the wood is fantastic! I like walnut fine....but this will turn out to be much more unique and appealing than a big walnut slab.
    Your friend will be HAPPY!

    Jim

  5. #5
    Join Date
    Jan 2012
    Location
    mid-coast Maine and deep space
    Posts
    2,656
    Very nice in all respects. Great work mating the two slabs and getting them flat and useful. Yeah, this will be a unique piece!
    "... for when we become in heart completely poor, we at once are the treasurers & disbursers of enormous riches."
    WQJudge

  6. #6
    Join Date
    May 2007
    Location
    Fort Smith, Arkansas
    Posts
    1,992
    Pretty doggone speechless. Wow!
    My three favorite things are the Oxford comma, irony and missed opportunities

    The problem with humanity is: we have paleolithic emotions; medieval institutions; and God-like technology. Edward O. Wilson

  7. #7
    Join Date
    Apr 2006
    Location
    Tucson, Arizona
    Posts
    855
    That is going to be one great looking desk. Thank you for sharing the process.
    Lori K

  8. #8
    Join Date
    Jun 2008
    Location
    So Cal
    Posts
    3,783
    Looks good Alex, mesquite is not easy to work, it's hard as ebony and heavy too.Cant even imagine how much your desk will weigh? I have worked with it too much because its so expensive out here and not nearly as nice as your stock.But I did find it very stable,and that's nice.
    I remember running some thru my planer and thinking I never heard it sound like that before.I was sure it was going to break something.Its so dense.Looking forward to seeing the desk all together thanks for sharing.Andrew

  9. #9
    Beautiful. I'm a fellow Ag also ('94). Will you make me one next and bring it up to Nebraska. Beautiful.

  10. #10
    Join Date
    Mar 2003
    Location
    SE PA - Central Bucks County
    Posts
    65,918
    That's one very beautiful project!
    --

    The most expensive tool is the one you buy "cheaply" and often...

  11. #11
    Join Date
    Jan 2006
    Location
    Grand Forks, ND
    Posts
    2,336
    Nice Alex! Don't see much with mesquite, but it looks great. Did you get any breakout or how did raising the panels with the cracks go?
    A bus station is where a bus stops. A train station is where a train stops. My desk is a work station.

  12. #12
    Join Date
    Oct 2007
    Location
    Fort Worth, TX
    Posts
    1,389
    Jeff, I had the same concern on the raised panels. I have a pm2700 shaper with power feeder, and I did the first as a standards cut on the shaper, and had just the slightest amount of tearout (fortunately on the tongue that sits into the frame, so not visible). But after that, for the rest of the panels, I used the power feeder and switched to a climb cut and had no problems.

    It is certainly a fun wood to work with, and has such character. It is hard as a rock though.

    I have the drawers all done, and am doing a few touchups on the top, once I get the top sanded down I will be able to start with the linseed oil and the waterlox. I will post some pictures soon.
    Grady - "Thelma, we found Dean's finger"
    Thelma - "Where is the rest of him?!"

  13. #13
    Join Date
    Oct 2007
    Location
    Fort Worth, TX
    Posts
    1,389
    some progress:

    Some progress coming down the home stretch:

    The top is sanded down and has the first coat of oil drying:


    All of the drawers are dovetailed and glued up


    And the mesquite cutoffs were used to smoke a pork shoulder over the weekend!


    Now it is just a process to wipe on 5-6 coats of oil on the entire desk, put the drawer stops in, and mount the hardware.
    Grady - "Thelma, we found Dean's finger"
    Thelma - "Where is the rest of him?!"

  14. #14
    Join Date
    Jan 2004
    Location
    Lewiston, Idaho
    Posts
    28,559
    Alex,

    I really like the desk, the wood and your attention to detail. The pork shoulder looks great too!
    Ken

    So much to learn, so little time.....

  15. #15
    Join Date
    Dec 2008
    Location
    South Central Pennsylvania, USA
    Posts
    761
    Beautiful piece of work!

Posting Permissions

  • You may not post new threads
  • You may not post replies
  • You may not post attachments
  • You may not edit your posts
  •