Results 1 to 14 of 14

Thread: Nursery Room Build Under Progress (Crib and Dresser)

  1. #1
    Join Date
    Aug 2007
    Location
    Greenville, SC
    Posts
    750

    Nursery Room Build Under Progress (Crib and Dresser)

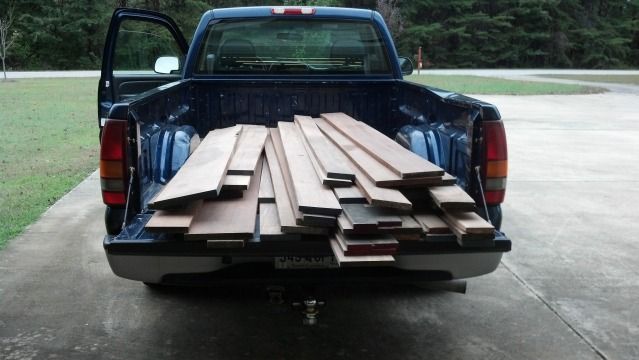
    This project got started about 2 months ago when I went to a local custom home builder and picked up 200-ish bf of Walnut.


    Below is a poor screen shot of my design for the crib, a pseudo A&C style with pointers taken from other designs I have seen. I have it all laid out in CAD with all joinery, makes working and layout very straightforward. The Crib also will convert into a Toddler Bed and Full-size bed, being loosely based on the Wood magazine plans.


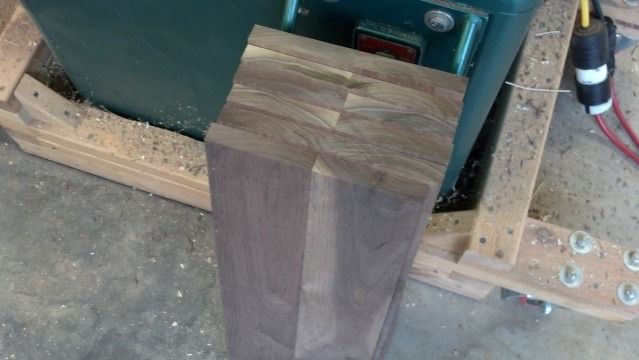
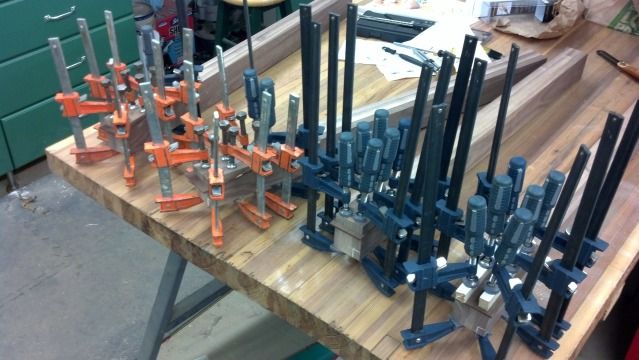
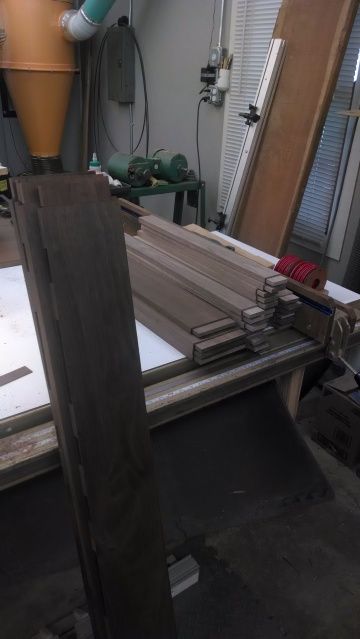
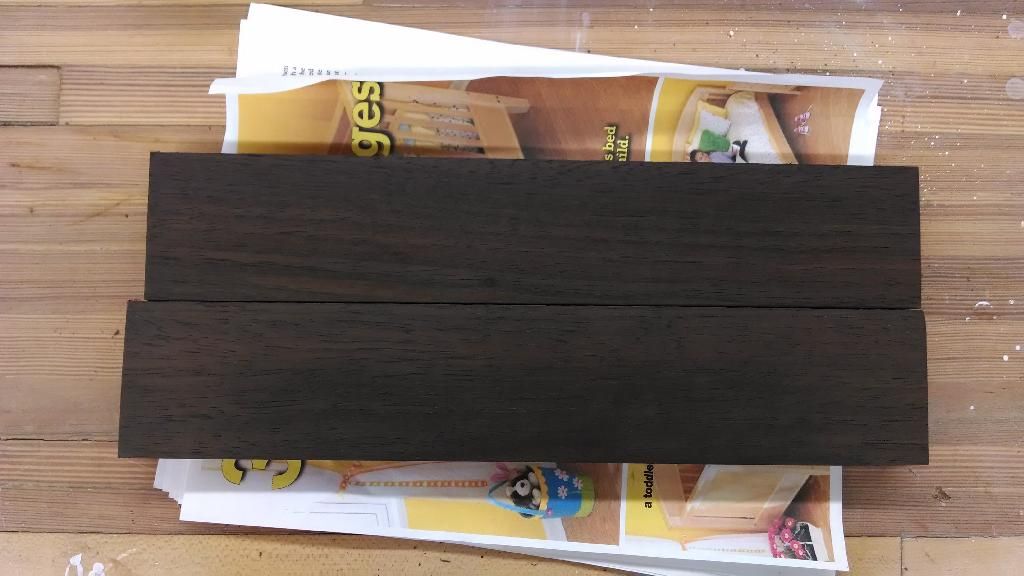
    I started by gluing up the legs with 3 laminations of 3/4"+ walnut, unfortunately I couldn't find any thicker stock to make the legs out of a single piece.


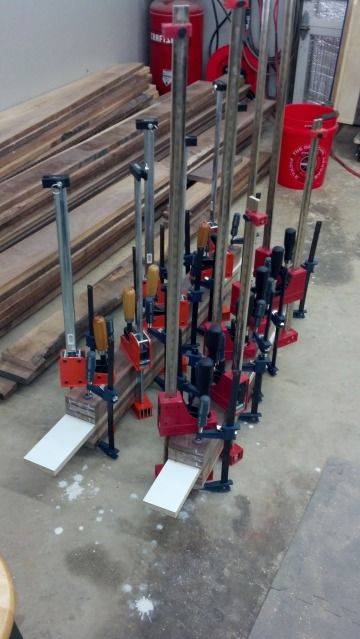
    And the glue-ups, I need 6 legs, 4 for the Crib and 2 for the Toddler bed.


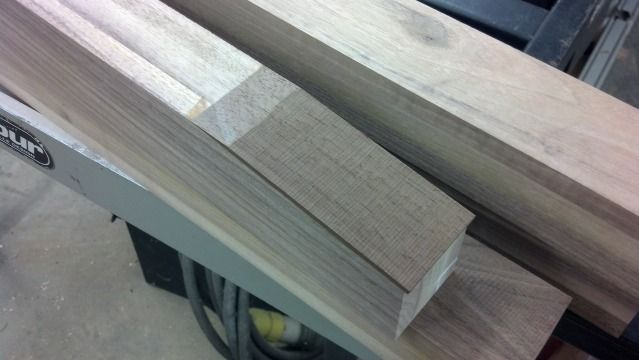
    That is as far as I got with the legs, they are now waiting for final jointing/planing/dimensioning as I got started with the Sides.


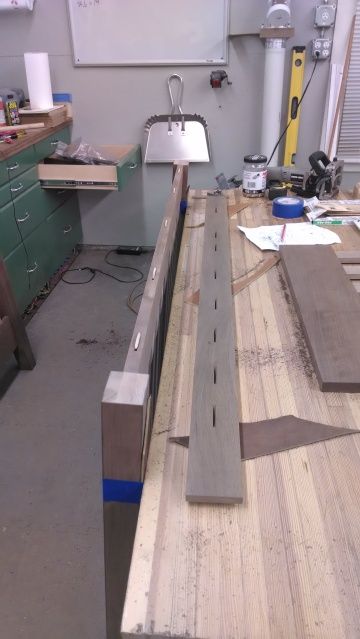
    The sides are made up with 7/8" bottom and top rails, 5/8" slats and a 3/4" cap.


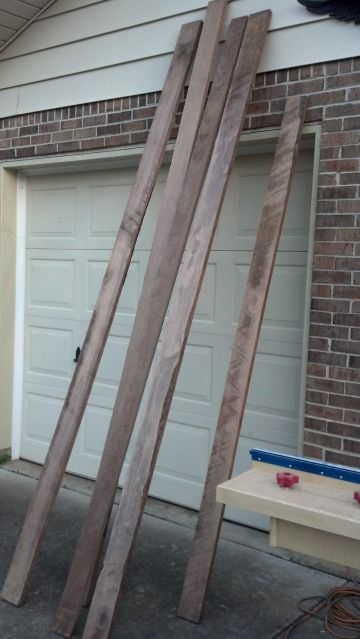
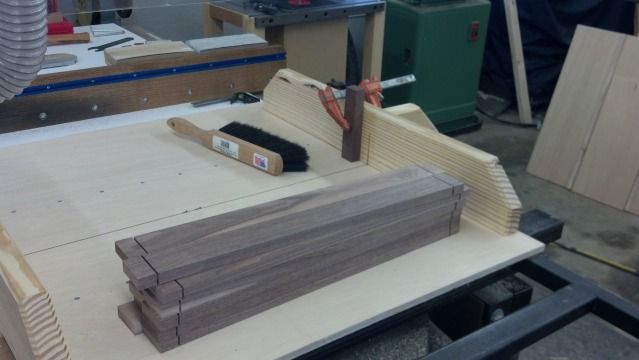
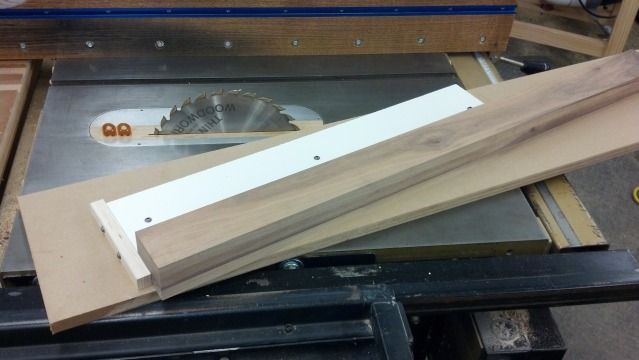
    First started with getting all the lumber ready. For the slats I got some of this walnut that is 7 3/4" by 3/4" thick that I am ripping down the glue seam in the middle to end up with 2 2" wide slats. Some of it had water/fire damage from the shipping department fire that it was in, but it hasn't given me any issues thus far.


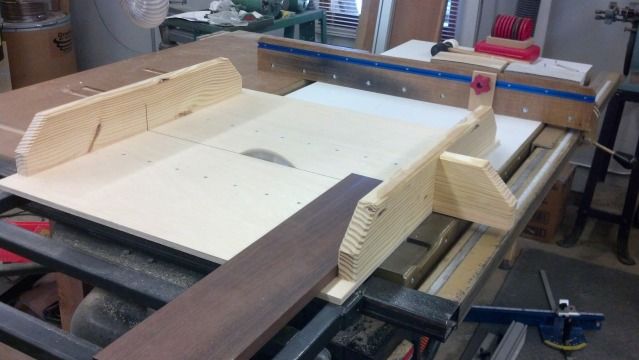
    I got to use the new Crosscut sled I built, square to within 0.0000125"/inch of cut, not too shabby...


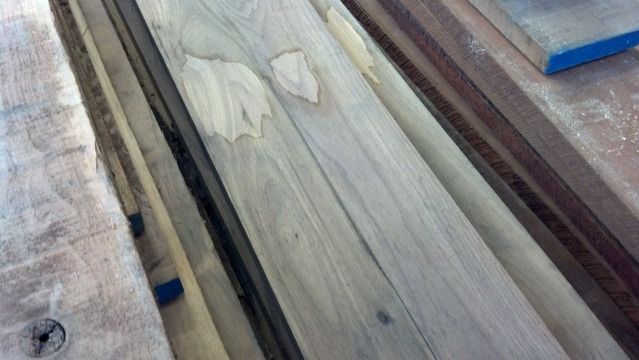
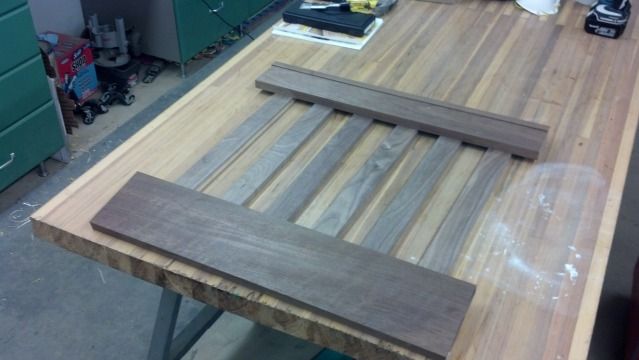
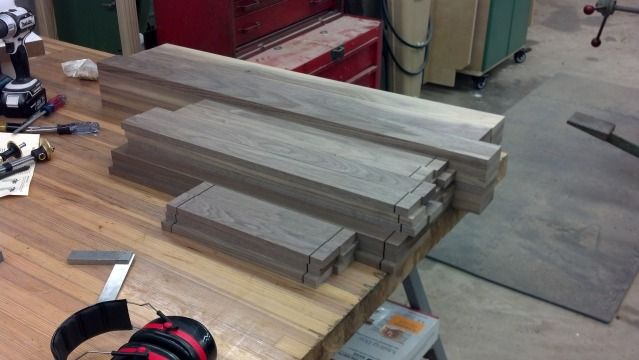
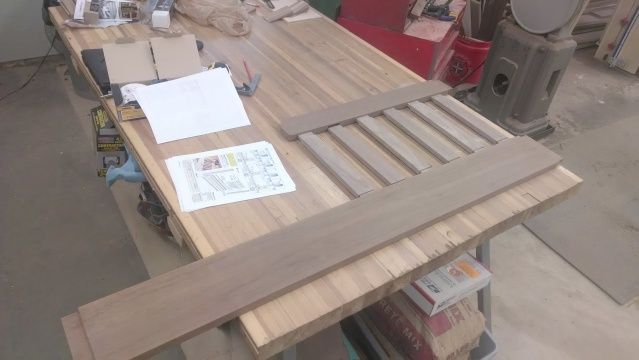
    Everything laid out to see what it would look like. The walnut is both kiln and air dried, so I decided to use this as a design element. The red, air dried material will be the rails and the kiln dried, drab grey, will be the majority of the slats.


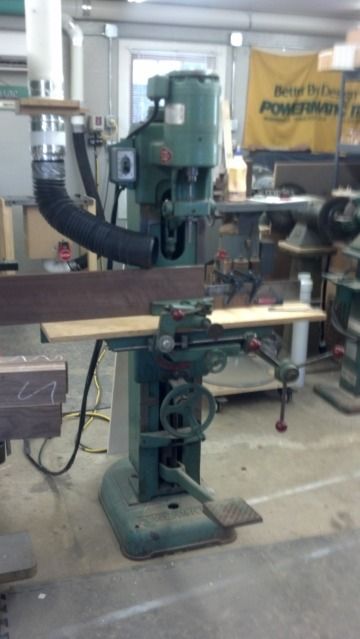
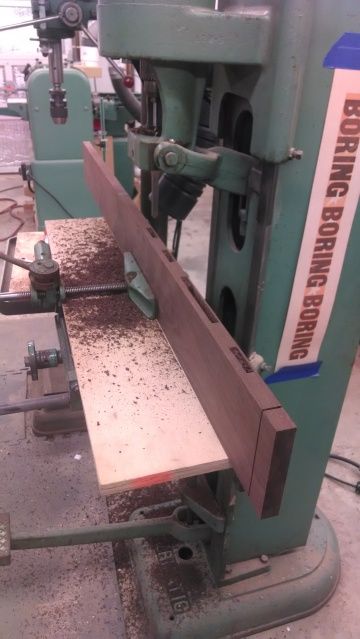
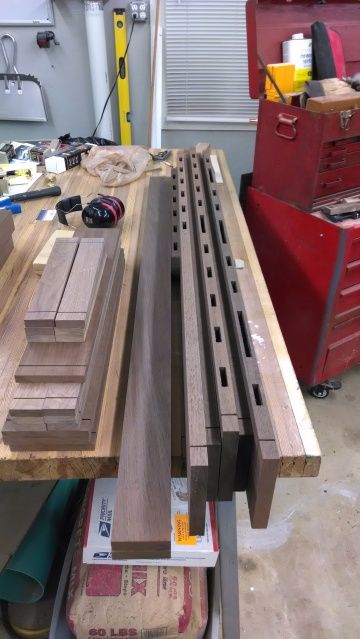
    Laying out the M&T joinery with my PM10 and 1172 jg on my PM66.


    Ben

  2. #2
    Join Date
    Aug 2007
    Location
    Greenville, SC
    Posts
    750
    Sanded to 150 and than 220 and time for some glue.


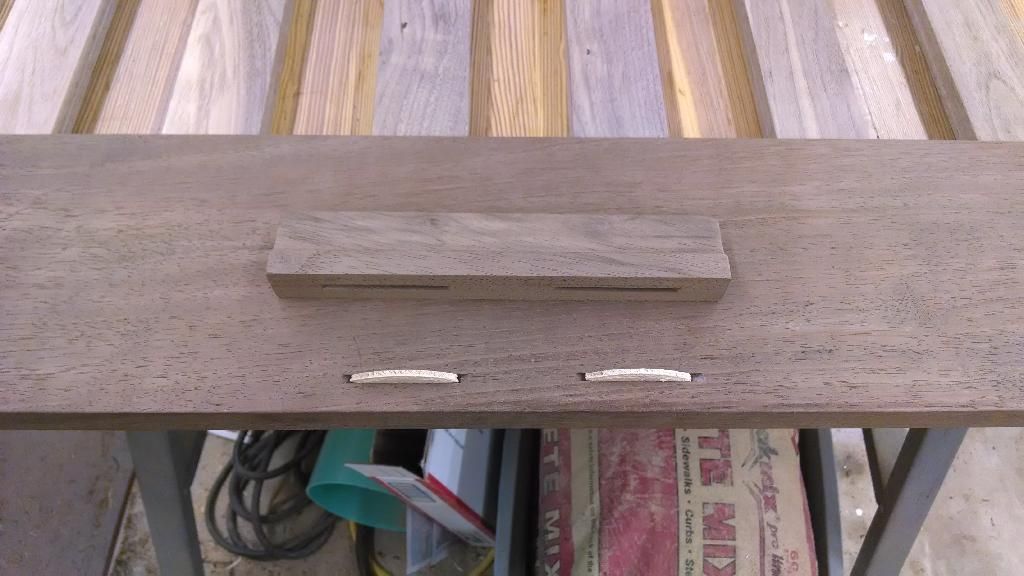
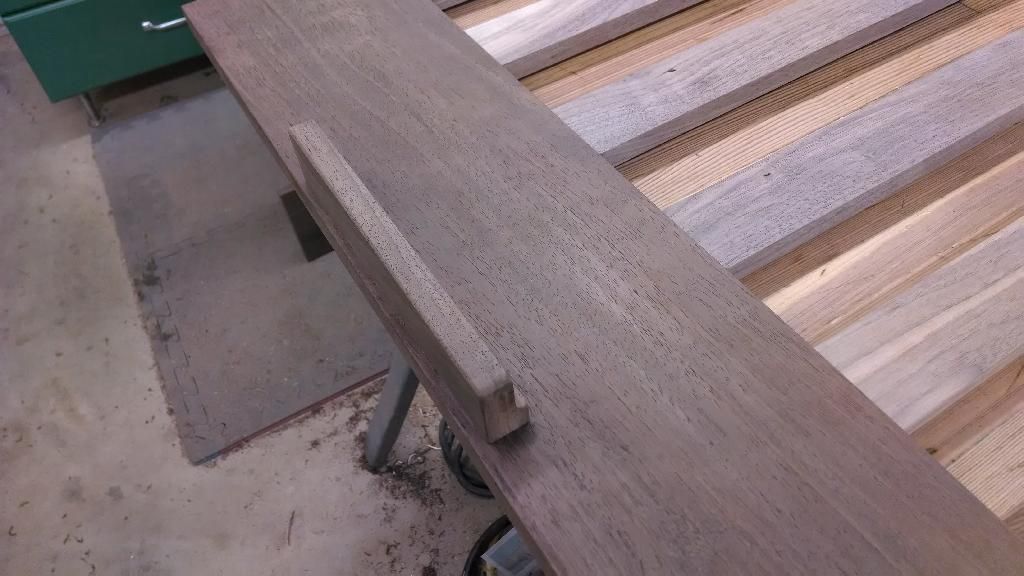
    And that brings us to adding the cap. I used biscuits to help locate it on the top rail, than just glue.


    Got the rest of the slats cut and created the shoulders for the tenons. Than got the legs cut to final dimensions. Lots of work, but not much to show for it...


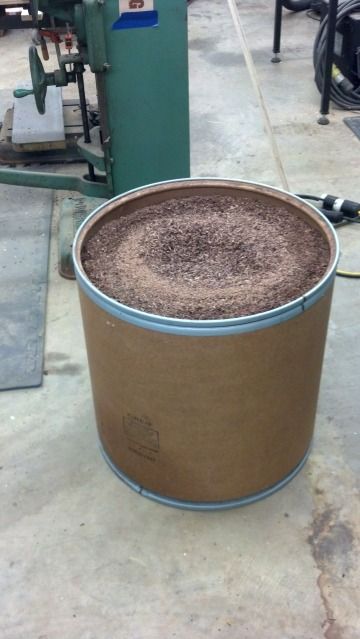
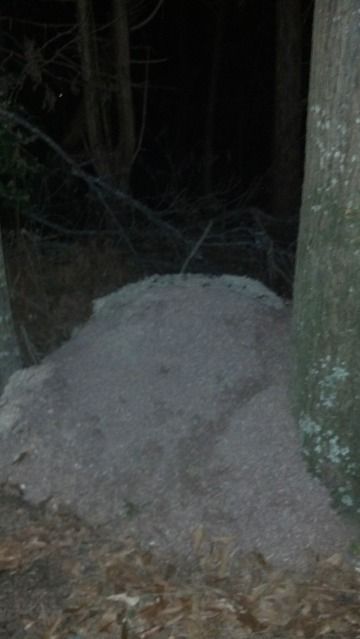
    Ohh, and sawdust, lots and lots of sawdust. Funny as the only time I ever empty my cyclone is at 10pm at night walking back to my forest in the pitch black...


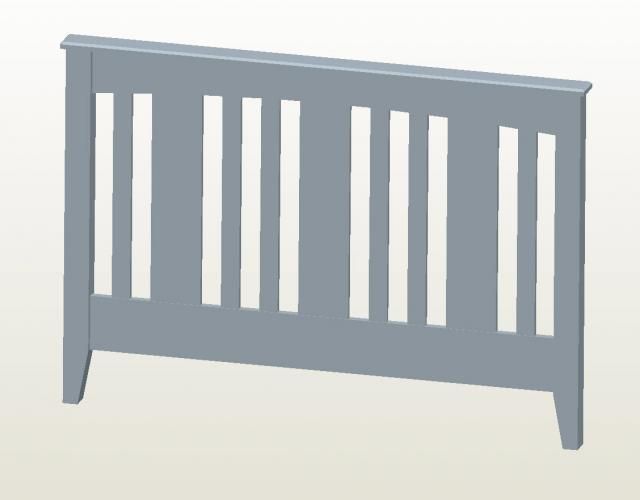
    Here are some better screen captures so people see where this is going, Crib:


    Toddler Bed:


    Headboard for Full Bed:


    Ben

  3. #3
    Join Date
    Aug 2007
    Location
    Greenville, SC
    Posts
    750
    After making the legs, I decided that I didn't like how they came out. The walnut had too much verigation in it and it would have totally detracted from the rest of the project. So I decided to cut some of the air dried Walnut as veneer and veneer them ala quadrilinea A&C style. Quite a difference already...


    I also had to toss together a quick tapering jig for the legs.


    Veneering the edges.


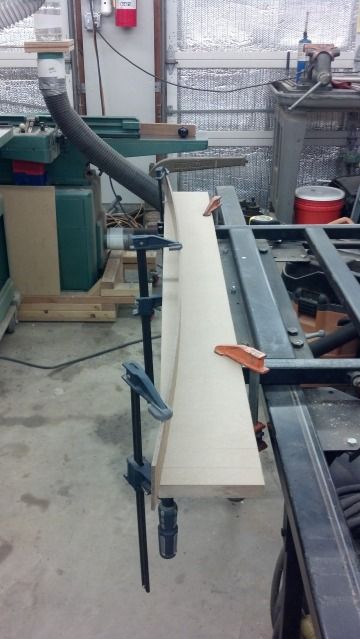
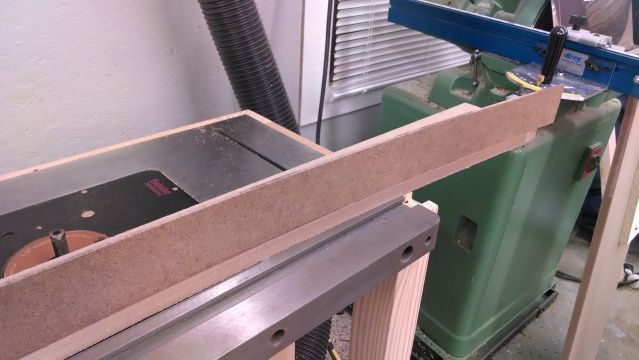
    I made the jig for the curve on the upper rails, I tried a new approach that I had in my head and it ended up working really well. I glued a piece of 3/16" hardboard to my 3/4" piece of MDF. I was than able to route to the hardboard and get a perfect curve without having to deal with any sanding. Now I am just waiting the spiral flush trim bit I ordered from Holbren to cut the curves.


    And than just broke the hardboard off after.


    And than more mortises, lots and lots of mortises...


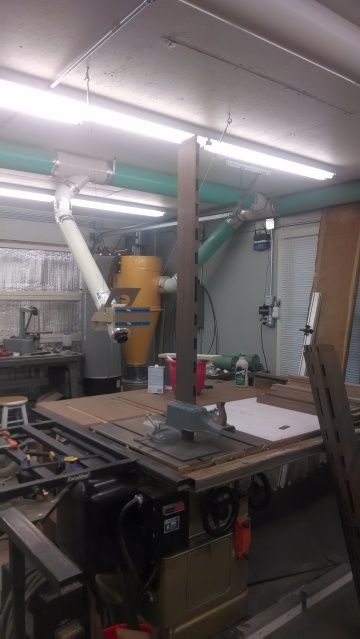
    And than tenons, the Delta 1172 is a great jig. Luckily I had enough ceiling height to do the upper and lower rails and it worked really well. I was able to cut the end tenons by removing the clamp and holding the pieces by hand while carefully pushing through the blade. Sounds/seems sketchy but worked really well, I cut 2 at a time.


    I think I have now had to empty the dust collector bin 3 times..


    Ben

  4. #4
    Join Date
    Aug 2007
    Location
    Greenville, SC
    Posts
    750
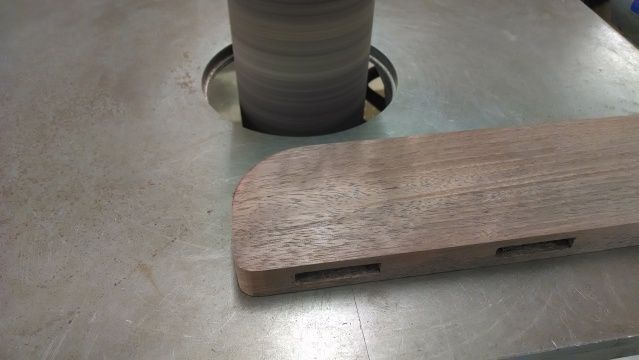
    Here is how I will be doing my M&T joints on the upper curved rail, a mortise the size of the entire slat, not requiring a shoulder...


    I really like using the State OSS to sand to a outside curve, I prefer it over my belt or disc...


    A quick layout of the toddler bed.


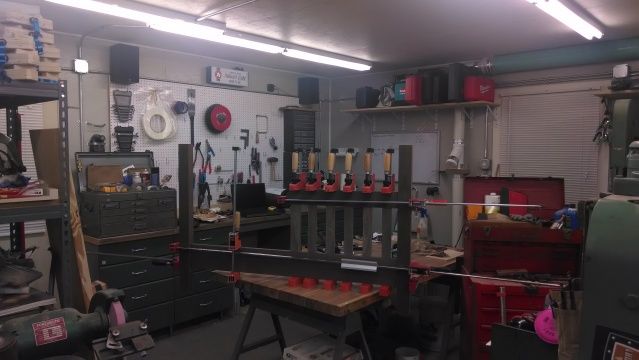
    And than some glue. Luckily I had a friend over as it got a bit dicey, but worked out in the end...


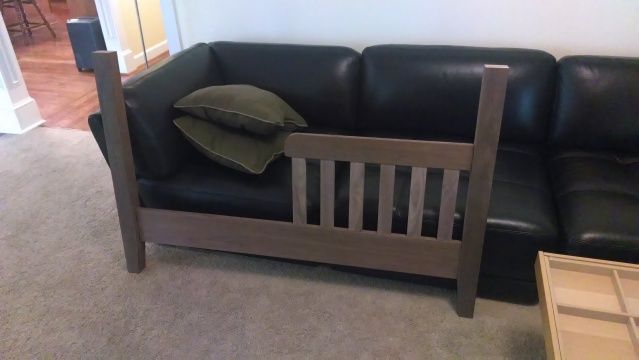
    And than the finished product, I think it looks great, I have been really happy with how this is coming out so far. All of my joints are nice and tight, seems that my extra time spent on machine set-up and jigs is really paying off!


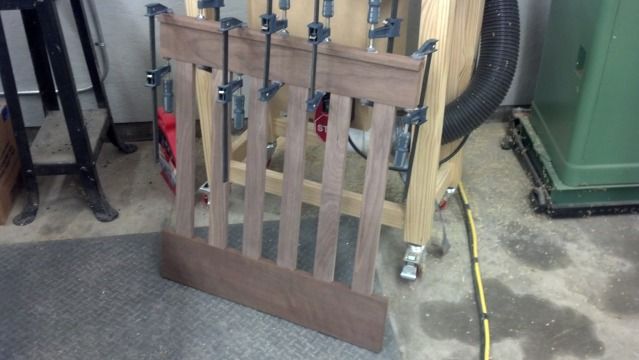
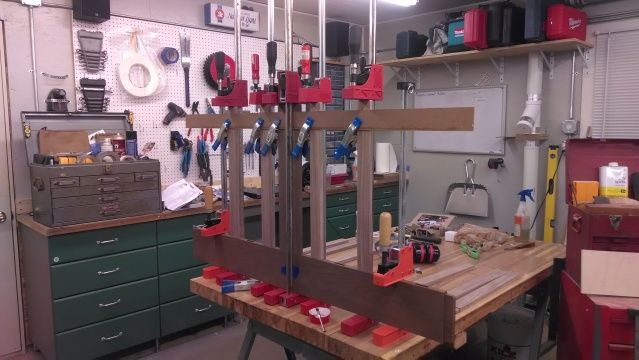
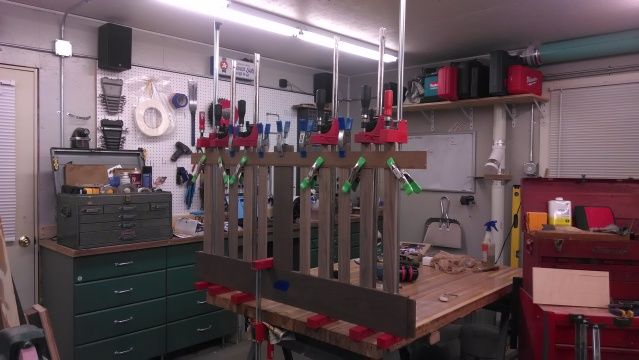
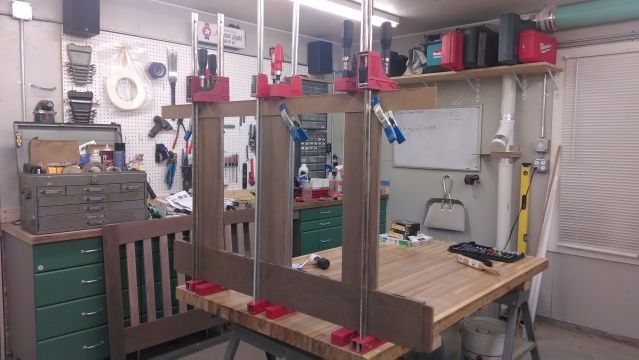
    On to the footboard, all parts are sanded at 150 than 220. I am having to "pre glue/assemble" the slats into the lower rail since my upper M&T joint doesn't have a shoulder. I am using the piece of hardboard cross ways to ensure they all stay in the same plane and don't let the clamps bow them out of shape.


    And rough cutting the curves in the upper slats...


    And that gets us to present! Sorry for the multiple/long posts!

    Ben

  5. #5
    Join Date
    Jul 2003
    Location
    Winterville, NC (eastern NC)
    Posts
    2,367
    Looking good. Thanks for the tutorial and build photos. Love that grown-up mortiser you got. Makes my benchtop P'matic look like a toy.

  6. #6
    Join Date
    Apr 2010
    Location
    Columbia, TN
    Posts
    535
    Looking really good, Ben! Excited to see it finished.
    For even the Son of man came not to be served, but to serve.

  7. #7
    Join Date
    Aug 2007
    Location
    Greenville, SC
    Posts
    750
    Quote Originally Posted by Mike Wilkins View Post
    Looking good. Thanks for the tutorial and build photos. Love that grown-up mortiser you got. Makes my benchtop P'matic look like a toy.
    Thanks Mike! I lucked into that 1959 Powermatic 10 mortiser when a friend went to look at a planer on eBay and the guy also had the mortiser. Knowing that I loved older Powermatic stuff he told the seller I would be interested in it. It had sat outside of a bit of time, but nothing a little elbow grease couldn't take care of. It came out of the wood shop in the Engineering department at Northwestern University up North of Chicago.

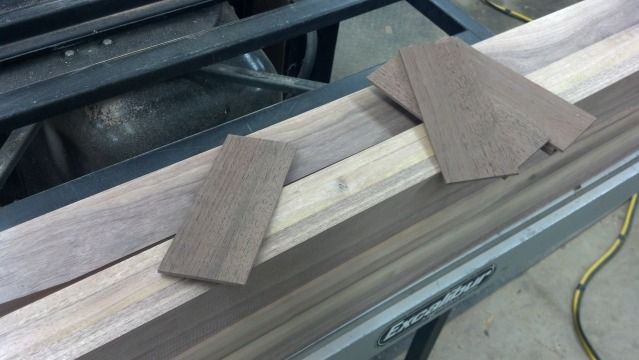
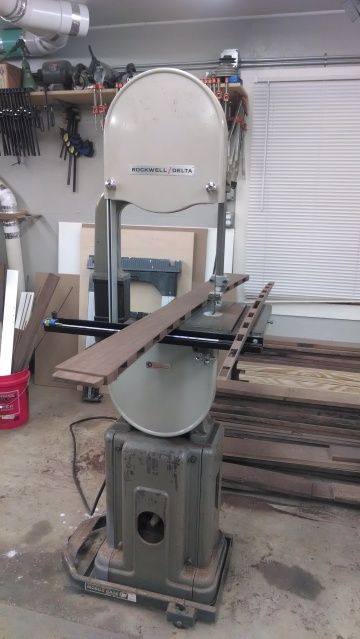
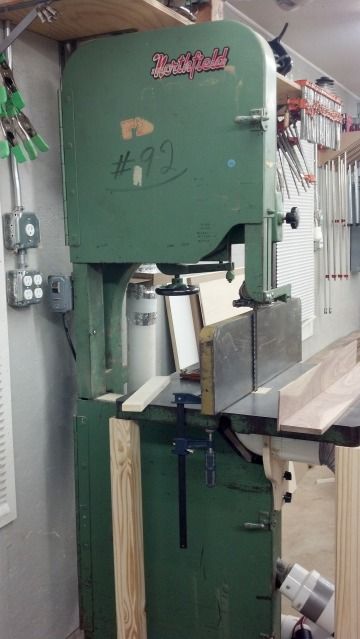
    Hmm, just realized that I didn't include pictures of cutting the veneer for the legs. Here are some shots of my 20" Northfield with a 1" 2TPI resaw blade, worked very well! This was my latest tool acquisition. Runs very well! And yes, that is a spare table saw extension wing I am using for the fence. Was looking around the shop for something and it did just the job!


    Ben

  8. #8
    Join Date
    Aug 2008
    Location
    Southern California
    Posts
    179
    This is going to be an awesome bed for the little one Ben. I am enjoying reading every step you are posting. Subscribed.
    How do you compare working with walnut to QSWO? It sure looks great.

  9. #9
    Join Date
    Aug 2007
    Location
    Greenville, SC
    Posts
    750
    Quote Originally Posted by Mike Leung View Post
    This is going to be an awesome bed for the little one Ben. I am enjoying reading every step you are posting. Subscribed.
    How do you compare working with walnut to QSWO? It sure looks great.
    Mike,

    To me, you just can't beat the smell of White Oak when you saw it. There is just something really pleasing to me about it. The Walnut does work very nice though, and similar to the White Oak. I think that it is easier to machine and especially in mortises I didn't get the bit stuck as much as you do with QSWO (this makes sense because it is softer). Most people do find the smell of the Walnut pleasing, and I agree, just not as much as the White Oak! In other news though, I have found that spending too much time working with either still turns my skin blue which might be a minor allergic reaction, not sure...

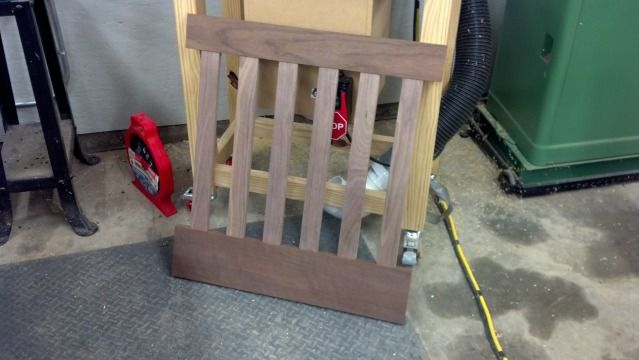
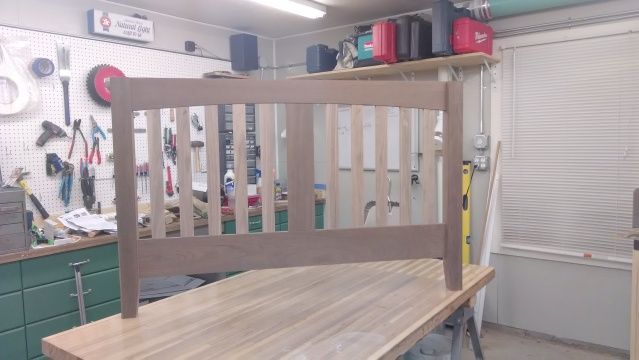
    And on to some progress, the footboard came out of the clamps and is coming out nicely. Next step is to glue up the headboard and attach the caps to both pieces.


    "Pre" glue up of the headboard to seat the lower M&T joints.


    Ben

  10. #10
    Join Date
    Aug 2007
    Location
    Greenville, SC
    Posts
    750
    Ok, need to bring this thread up to current! Been a while since I updated it!


    Adding the cap to the footboard, I used biscuits to help position it.


    Sparing the same redundant details, I completed the head board.


    And than did a trial fit up of the crib and the mattress support. I had to modify the way the mattress support was supposed to be mounted to the crib. The way the frame came, the adjust mounts would be visible, I wanted to re-orient them so they would be hidden and also make them easier to install post glue-up.


    I won't be able to use the adjustable arms on the mattress frame to put the mattress in the lowest position, so I am using some wooden supports, similar to how I held the seat frames on my Morris Chair.


    And I also did some trial finishing. I was planning on using Arm-R-Seal, but it muddled the grain of the Walnut much more than I wanted, so I decided to go with a Satin lacquer. This will be much easier for me to lay down with my HVLP!
    (Arm-R-Seal bottom, Satin Lacquer top)


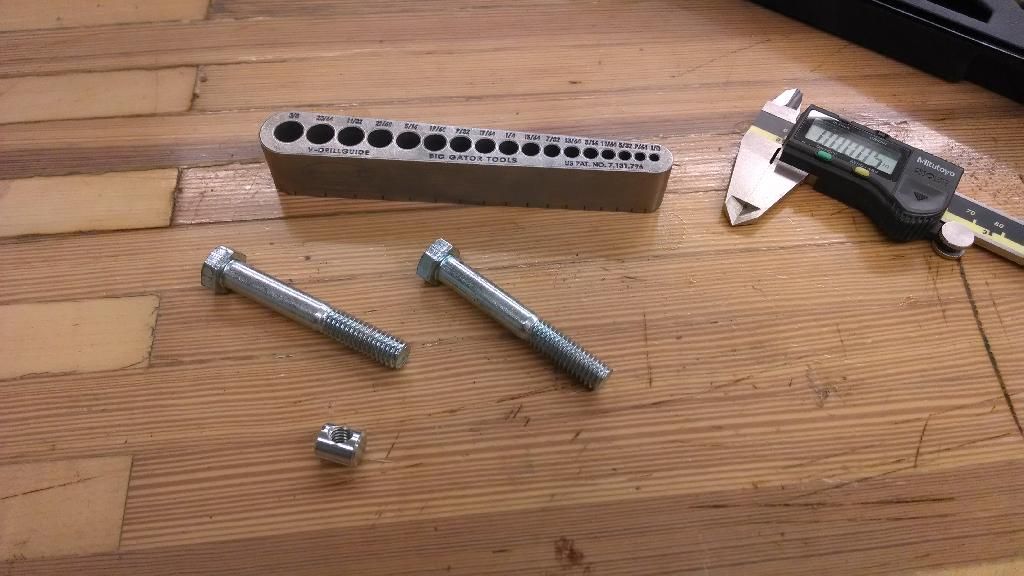
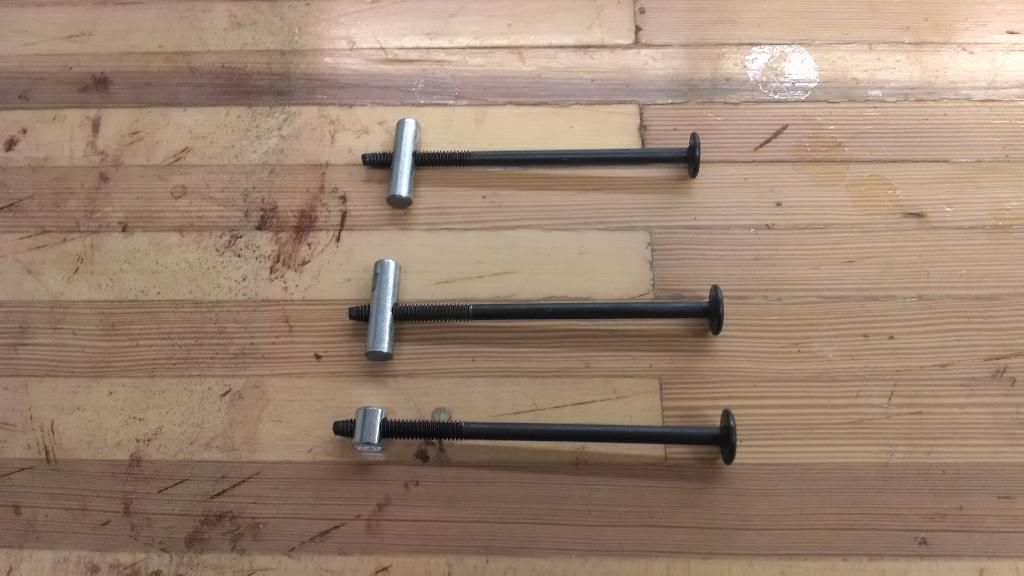
    Last night I started laying out the RTA-style connector bolts and barrel nuts. Unfortunately since I didn't drill these connections prior to glue-up the upper connection is quite close to the rail.


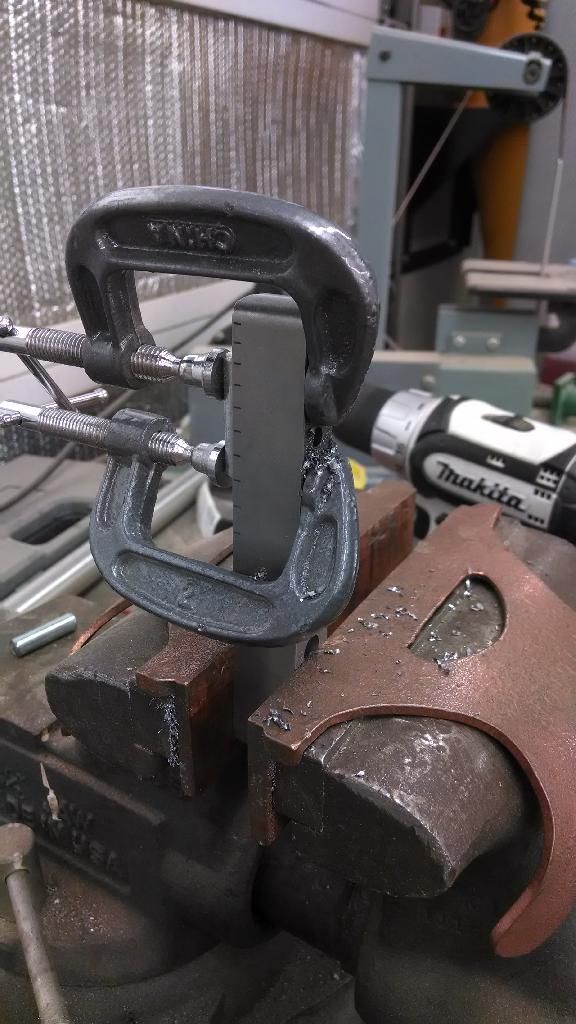
    So I decided with some extra long barrel nuts I could have a much stronger bolted joints. Luckily, the shank of a 3/8" bolt was perfect size. So with a little bit of metalworking, I got some extra long barrel nuts made.


    Drilling and tapping a bolt is about as easy as it sounds, took a lot of work. And I ran out of 3/8" bolts to cut down and use, so need to grab some more at the BORG.


    Thanks for looking!


    Ben

  11. #11
    Join Date
    Jun 2013
    Location
    Neither here nor there
    Posts
    3,846
    Blog Entries
    6
    Wow, amazing work. Congrats on the new arrival.

  12. #12
    Great effort on the post & pics! I really like the resaw fence (tablesaw ext wing) now I know mine will work fine too! I thought of it..then put it away in my mind..ill use it now that ive seen someone else do the same thing 24" pm 2415 bandsaw (why do they come with such small fences?)

  13. #13
    Love those copper vise jaw pads...homedade or purchased somewhere? Thanks for the entertaining coffee time today btw, I am Ronald. I live in Vancouver b.c. Ive rediscovered sawmillcreek again!

  14. #14
    Join Date
    Aug 2007
    Location
    Greenville, SC
    Posts
    750
    Quote Originally Posted by ron holmbeg View Post
    Love those copper vise jaw pads...homedade or purchased somewhere? Thanks for the entertaining coffee time today btw, I am Ronald. I live in Vancouver b.c. Ive rediscovered sawmillcreek again!
    Thanks for the kind words Ron! The copper jaws are from Wilton, I got them off eBay for a deal. My vise is a 6" and the jaws are only 5.5" but I make them work.

    I spent 4 years of my life living in Oakville, Ont. not a day goes by that I don't miss Canada! Unfortunately didn't make it out West, but spent 3 weeks in a RV touring everything between Toronto and PEI! My wives Uncle lives in Seattle and we had a trip planned, but than relocated to SC and had to cancel. Maybe can make that a trip with the baby when she (found out it's a girl!) is old enough to make the trip!

    Ben

Posting Permissions

  • You may not post new threads
  • You may not post replies
  • You may not post attachments
  • You may not edit your posts
  •