Originally Posted by
David Wong

To conclude this thread...
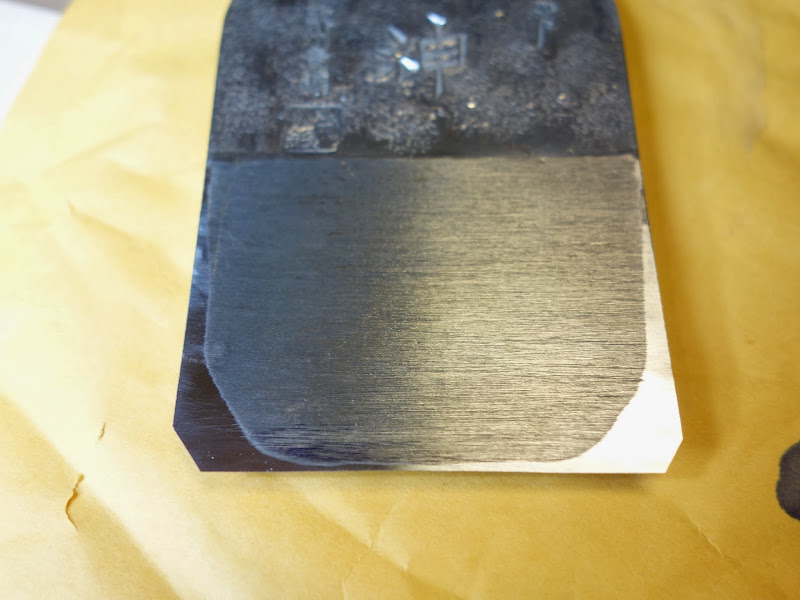
While grinding the plane blade down, I uncovered a defect (or two) in the blade. As I ground the blade down near my scribe line, I noticed a black smudge on the ground part of the blade. I assumed it was just metal filings and water, as I just quenched the blade. I made another pass and found the black spots still there. On closer inspection, they are voids in the hard layer of steel. I am making the assumption that these voids right at the base of the crack line, caused the fracture.
Hi David,
Where did you get your plane?
giant Cypress Japanese tool blog, and more


 Reply With Quote