Page 1 of 3 123 LastLast
Results 1 to 15 of 73

Thread: Trestle table build

Hybrid View

Previous Post Previous Post   Next Post Next Post
  1. #1
    Join Date
    Aug 2013
    Location
    Princeton, NJ
    Posts
    7,298
    Blog Entries
    7

    Trestle table build

    Good evening!

    Before I get started, I just want to say the bed build is complete, but I need to shuffle around some furniture in the house before I take final photos. The cabinet will resume shortly, but at the moment this build is taking priority and should be a quick one.

    This table is being built for a friend of mine, he's an artist and will be using this to spread out paints and so forth.

    it's being built to dining table height, but the breadboard ends will be shaped like wings to capture any rolling paints. The long sides will be grooved for the same purpose. If ever it needs to actually function as a dining table the breadboard ends can be changed and it will be able to comfortably seat two. By that point I hope it has earned itself an interesting patina having spent time in the artist's studio.

    While I do enjoy building things that are cherished and left mostly unchanged in years of use, this is particularly interesting for me to build something that will be put to use functionally. I feel that the things we truly cherish are those that become part of our intimate surroundings. So it is an honor to build a piece that will be included in the life of a friend in such a way.
    Bumbling forward into the unknown.

  2. #2
    Join Date
    Aug 2013
    Location
    Princeton, NJ
    Posts
    7,298
    Blog Entries
    7


    Bumbling forward into the unknown.

  3. #3
    Join Date
    Aug 2013
    Location
    Princeton, NJ
    Posts
    7,298
    Blog Entries
    7


    Bumbling forward into the unknown.

  4. #4
    Join Date
    Aug 2013
    Location
    Princeton, NJ
    Posts
    7,298
    Blog Entries
    7
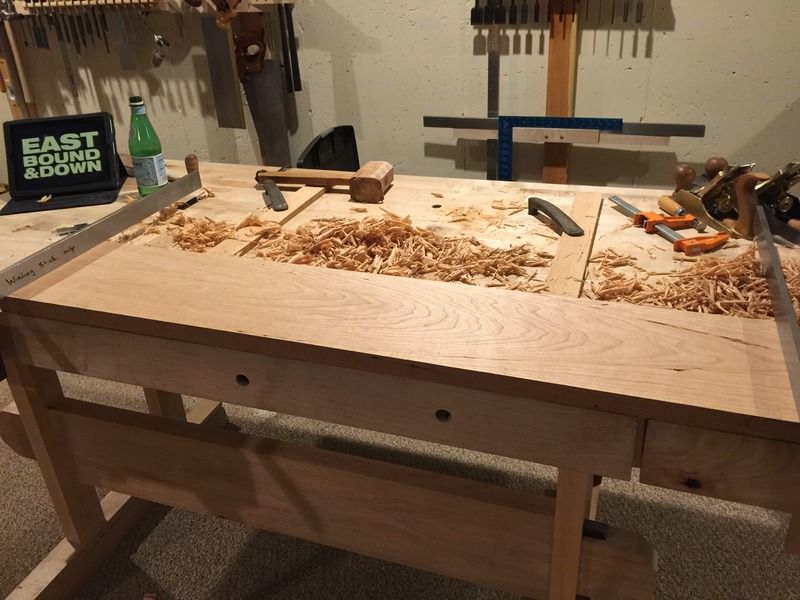
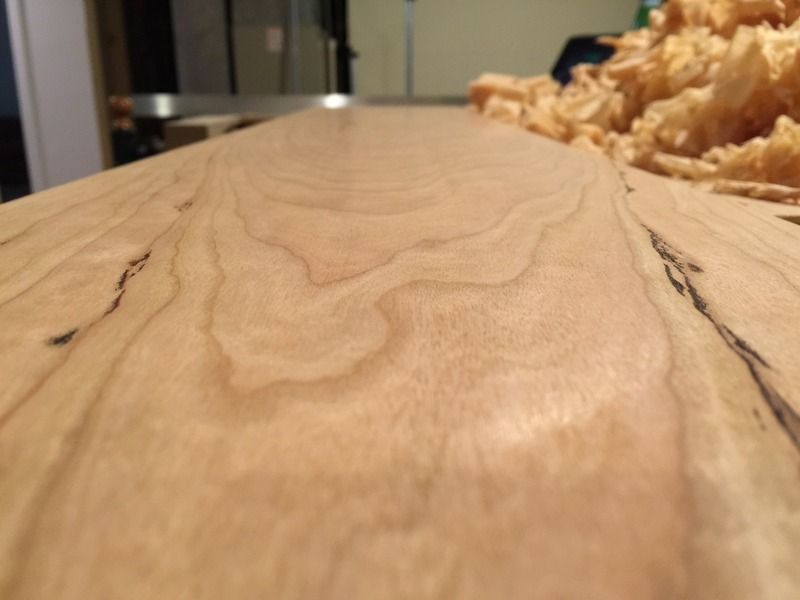
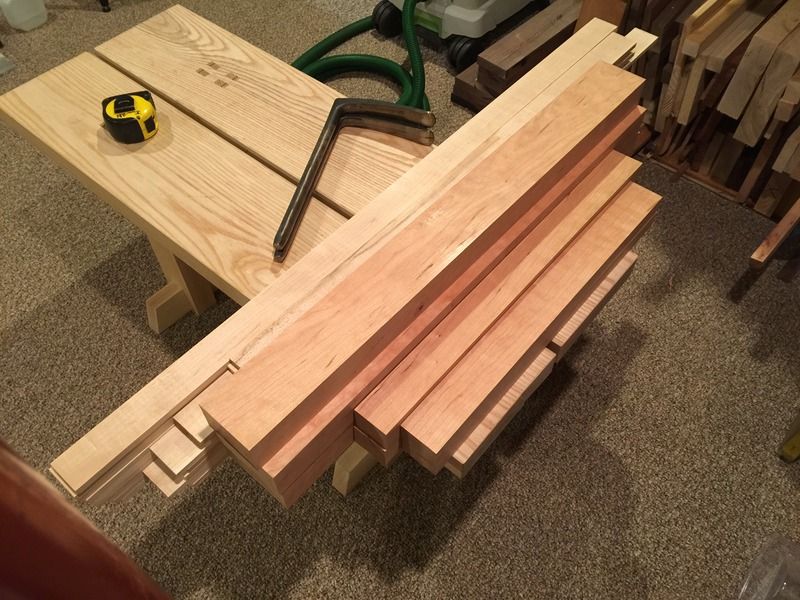
    This is all handtools with a few exceptions. For the sake of time I have been rough sawing with my festool track saw, beyond that 100% of the dimensioning is with hand tools. Sometimes I'm sure that seems a little crazy, but there is a wonderful benefit....it's all ready for finish right off the plane. The boards in the pile of stock are all gleaming, I will cut the joinery on them, make a few more finish passes, miter the edges and they will be ready for oil finish.

    I truly do not miss sanding.

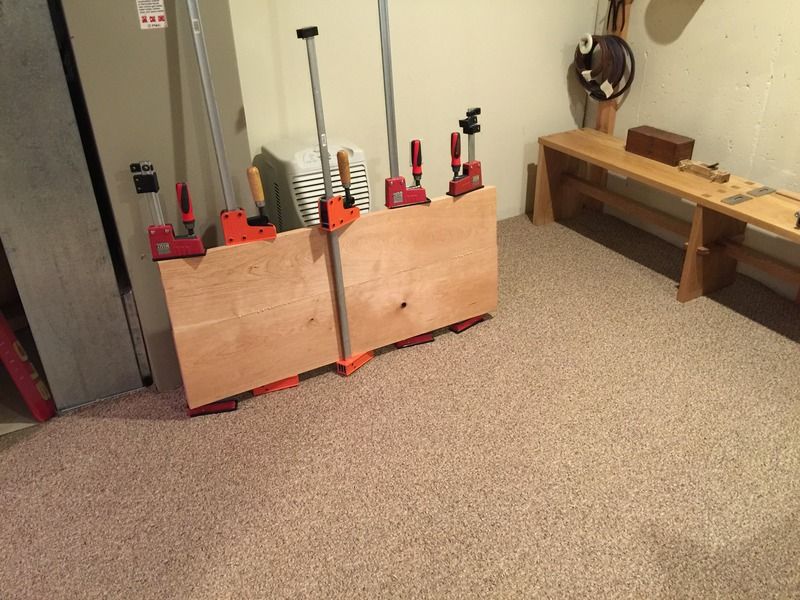
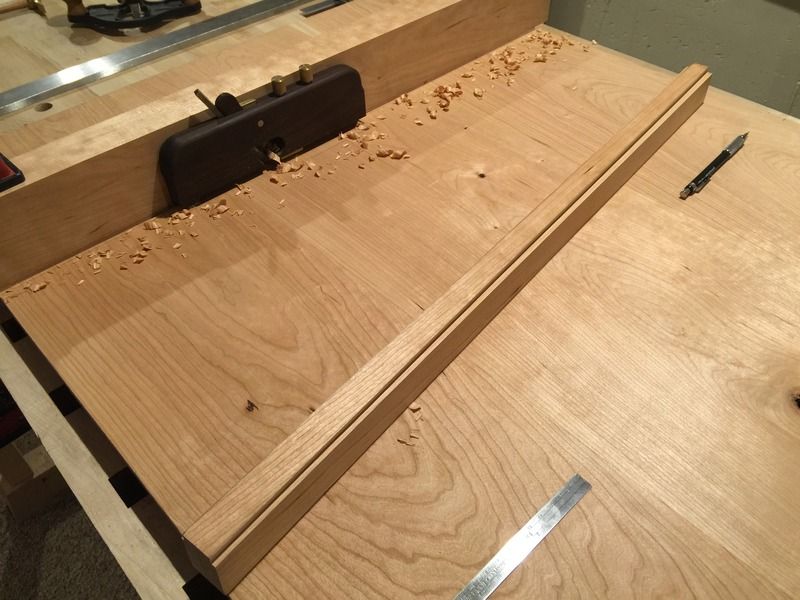
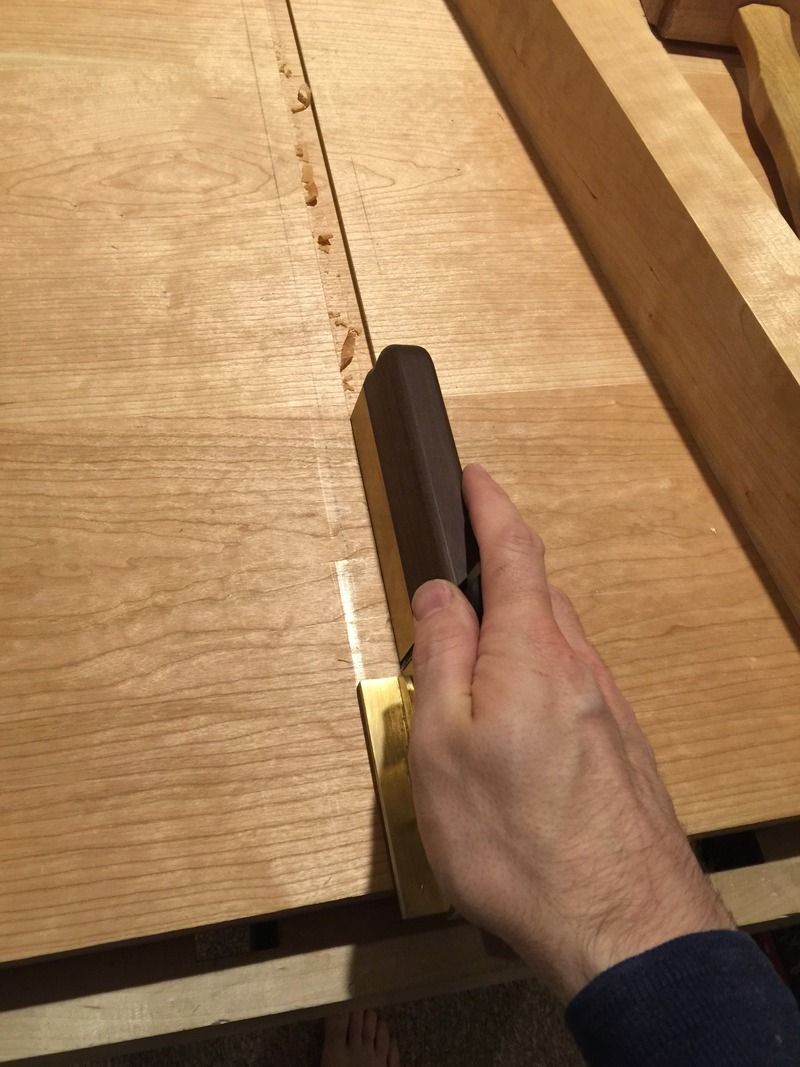
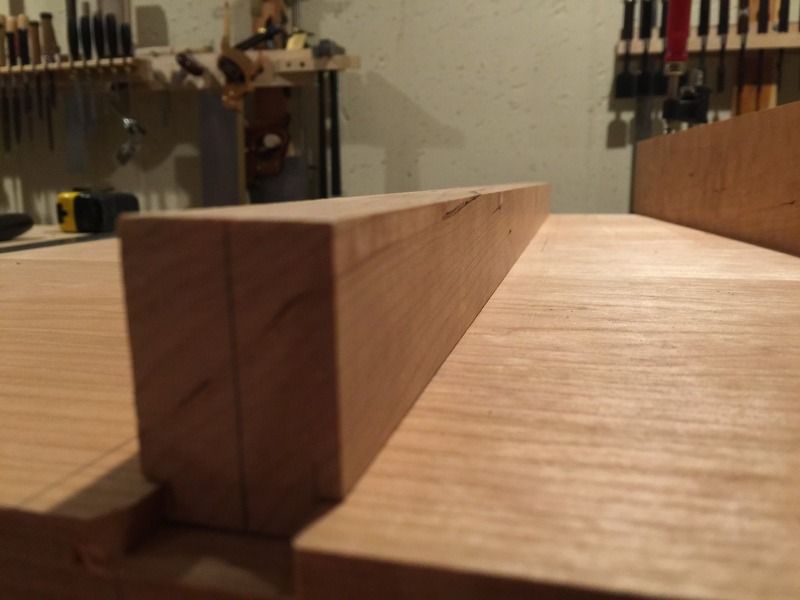
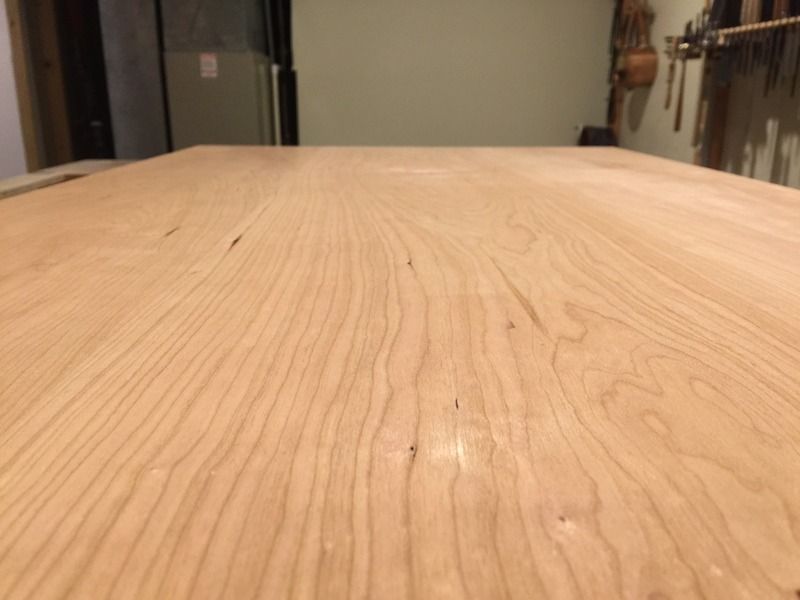
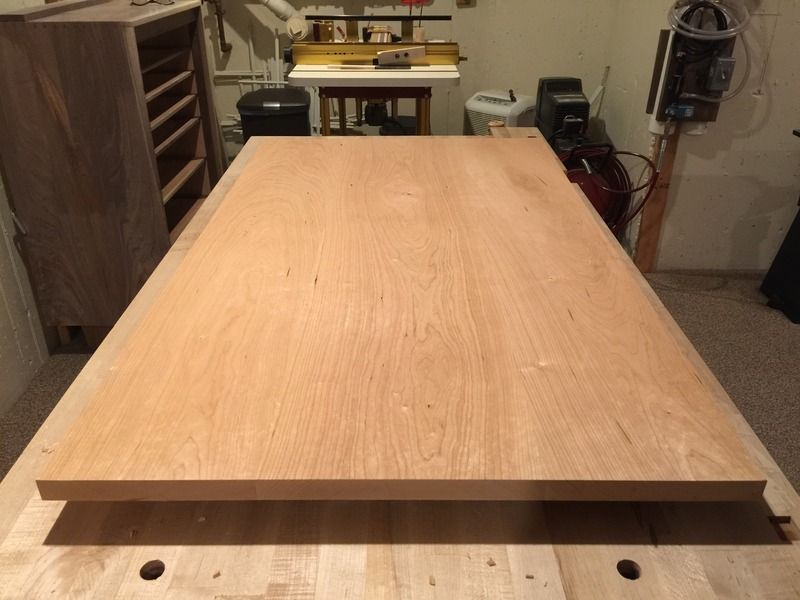
    The first photos in the group are the beginnings of the top, I started by jointing the backs, then the sides, then gluing up the panel one joint at a time. I revisited the jointed surface to bring it back to flat after gluing then flipped the panel over and cut it to thickness.

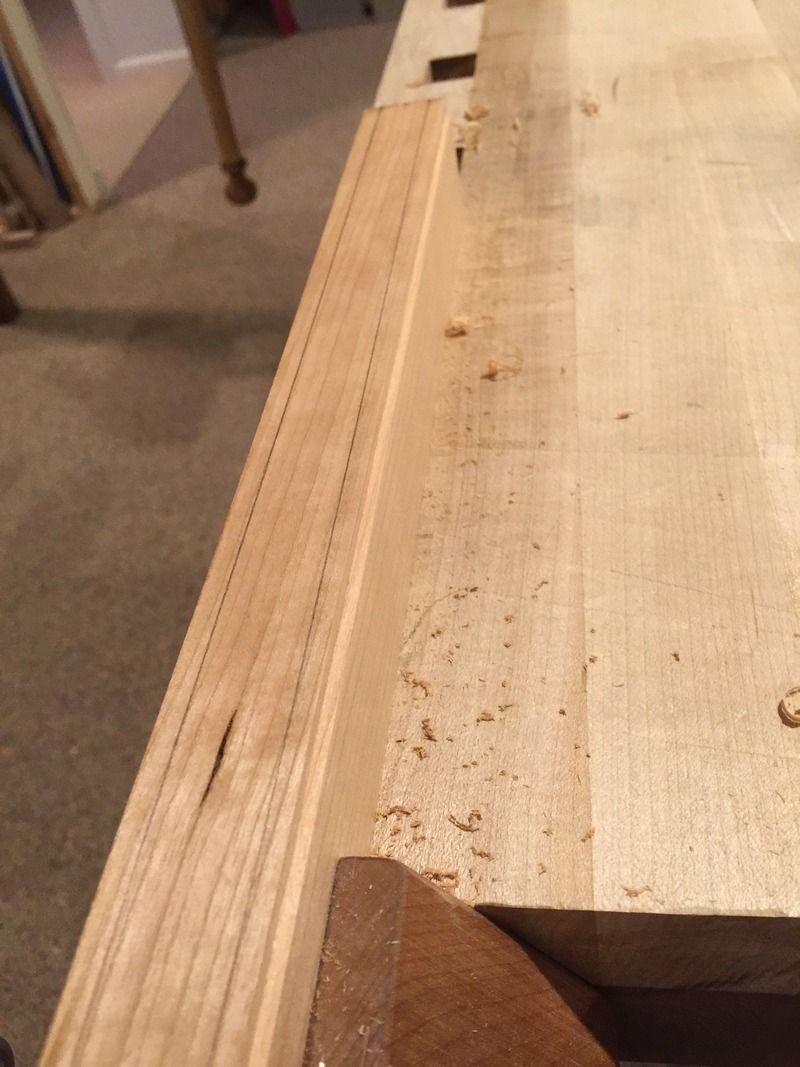
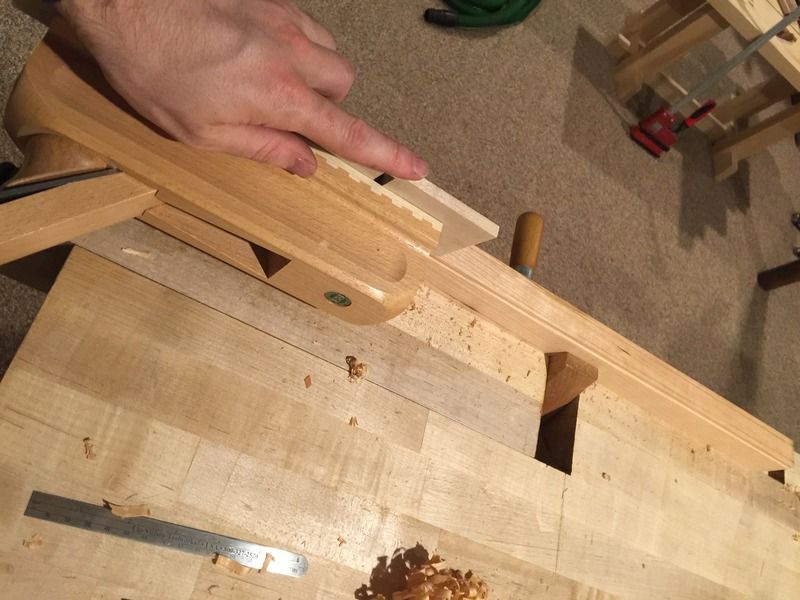
    Afterward I dim'd the battens, then followed up by cutting the joinery. The housings were cut out with a dado plane and then the sides cut with side rabbet planes that has a dovetail fence.

    The same side rabbet plane can be used for cutting the male ends, but I actually prefer that ECE plane with the modified fence. It has a nicker built and cuts a sharper inside corner because of that.

    Next I will create the breadboard ends and attach them....or I will cut the quad tenons which will be exposed on the top side of the table. I debated hiding this joinery, but since this piece will be put to such practical use I decided to display them.
    Last edited by Brian Holcombe; 08-07-2015 at 8:01 AM.
    Bumbling forward into the unknown.

  5. #5
    Join Date
    Sep 2008
    Location
    N. Idaho
    Posts
    1,621
    Oooh, another build thread so quickly on the heels of the bed build! I admire your focus, especially with a young one in the house. I also agree that the patina of use increases the preciousness of an object and I'm sure this table will become a treasured item for your friend. And nice cherry. I'm a sucker for cherry...

    C
    "You can observe a lot just by watching."
    --Yogi Berra

  6. #6
    Join Date
    Aug 2013
    Location
    Princeton, NJ
    Posts
    7,298
    Blog Entries
    7
    Thanks Christopher! Believe it or not this is the first build that I've used cherry. I've ignored the wood for years but finally decided to give it a chance. It turns out to be a very enjoyable wood to work with and it really turns up a beautiful surface right off the plane.

    The tabletop needs more work with the finish plane but even in these early stages I can tell that it's going to turn up a wonderful shine.
    Bumbling forward into the unknown.

  7. #7
    Join Date
    Mar 2015
    Location
    SE Michigan
    Posts
    3,225
    Great work, as usual. Looking forward to seeing the completed bed build.
    I promise I will not divert this thread, but at some point-a separate thread perhaps-could you post a full picture of your work bench. It seems you use no vises.. Just holdfasts and clamps and cleverly placed mortises in the top. Perhaps you have in a past thread you could direct me to. Given your accomplished hand tool experience, I'd appreciate a bit of reference for my workbench project.
    And now back to the table project....

  8. #8
    Join Date
    Aug 2013
    Location
    Princeton, NJ
    Posts
    7,298
    Blog Entries
    7
    Thanks Phil! I'll post one up later today. I use a tail vise and a shoulder vise, however for so many operations I use holdfasts or battens.

    I plan to start using Japanese planes soon, so I will modify the far end of my bench to take a drop-in planing stop.

    I like my LN planes, but I will begin to relegate them more strictly to their best purpose, the #7 for instance I think is best for edge jointing but for these large panels I'm starting to yearn for a more appropriate tool for face jointing.
    Bumbling forward into the unknown.

  9. #9
    Join Date
    Feb 2011
    Location
    Carlsbad, CA
    Posts
    2,230
    Blog Entries
    2
    [QUOTE=Brian Holcombe;2452610]This is all handtools with a few exceptions. For the sake of time I have been rough sawing with my festool track saw, beyond that 100% of the dimensioning is with hand tools. Sometimes I'm sure that seems a little crazy, but there is a wonderful benefit....it's all ready for finish right off the plane. The boards in the pile of stock are all gleaming, I will cut the joinery on them, make a few more finish passes, miter the edges and they will be ready for oil finish.

    I truly do not miss sanding.

    Brian, I always enjoy your build threads, with your outstanding hand tool work and great pics and am definitely looking forward to the rest of this one!

    I confess I too like dimensioning my stock with hand tools; using hand tool friendly woods, you can move right along, get in a little exercise and as you correctly point out – end up with gleaming boards ready for finish right off the plane. Avoiding sanding in my book is a HUGE benefit. My mis-perception that one couldn't reasonably dimension stock with hand tools was the single biggest misconception that made me think I had to have a TS and Joiner to do any kind of woodworking.


    The housings were cut out with a dado plane and then the sides cut with side rabbet planes that has a dovetail fence.The same side rabbet plane can be used for cutting the male ends, but I actually prefer that ECE plane with the modified fence. It has a nicker built and cuts a sharper inside corner because of that.


    Like you, I use an ECE plane to cut the male part of the sliding DT, but I've never tried to make the female part of the sliding dovetail with hand tools ( I bite the bullet and use an electric router), but I would like to give it a try. I read your thread about sliding dovetails for the trestle table battens and the related link to the same subject on Derek's site with great interest. I would very much appreciate your advice/suggestions on the best tools for the job; I have a Stanley 73, but I struggle with adjusting the depth of cut and being able to use it cross grain to cut the angled wall for the dovetail housing. I notice you using what look like HT Gordon side rabbit planes – how would you compare them to the Stanley 73 for this job?

    Thanks in advance for your thoughts and for taking the time to post your build pics here in the cave.

    All the best, Mike

  10. #10
    Join Date
    Aug 2013
    Location
    Princeton, NJ
    Posts
    7,298
    Blog Entries
    7
    Thanks fellas! Nice catch Phil!

    Mike, my pleasure! After having cut a bunch of these with electric routers I find the hand planes much more enjoyable to use. The trouble I have with the electric router is that it's a very coarse adjustment and you generally have to take a full length pass. I noticed that on wide panels I could not get a batten close enough to the cut when using a router, so I would need to back of the batten and then the cut is not dead flat unless the board is perfectly flat...that would result in fit issues that were difficult to overcome.

    When you are cutting with hand planes you can relieve the housing where it's tight. I'll knock the board into the housing then wiggle it to see which areas are tight and adjust and area around them with the side rabbet.

    It used to take me a good long while to cut the housings with the router and it was nerve wracking, this is a cake walk. I set the depth on my dado plane, then transfer those depths to a router plane and to the side rabbet plane. If I notice I'm not getting the extreme bottom corner with my side rabbet, then I can follow up with the router plane and sharpen up the corner.

    I haven't used the stanley 73, but I can say that the HNT gordon side rabbet is wonderful to use.

    I have to say I nearly gave up on using this joint until I converted the entire process to handtools.
    Bumbling forward into the unknown.

  11. #11
    Join Date
    Sep 2008
    Location
    N. Idaho
    Posts
    1,621
    Brian,

    I continue to be inspired by your approach and techniques and am thinking about how to start incorporating sliding dovetails into some upcoming pieces. I'm realizing that you must use a few marking and mortise gauges and that's something i'm limited on right now. Would you share a photo or two of your stable and a few thoughts on how you use them in a project? Could be here or a separate thread.. Oh, and you could reveal you secrets for productivity in what must be a very busy life outside the shop.

    Thanks,
    grasshopper
    "You can observe a lot just by watching."
    --Yogi Berra

  12. #12
    Join Date
    Aug 2013
    Location
    Princeton, NJ
    Posts
    7,298
    Blog Entries
    7
    Thanks Christopher! Looking forward to seeing what you build!

    I have four gauges; a matsui, a kinshirou, a blue spruce and a LN panel gauge. My favourite is the matsui, it's the smoothest of them. I may add a few more matsui's to the stable, I like them that much. I bought the Kinshirou because of how famous it was, but truth be told the matsui is a smoother operating gauge and just as finely finished.

    A typical day in the workshop for me is 12-15 hours, but I think the trick to getting a lot of work done is planning, if you work out the details on paper then when you are in the shop you're going to be focused on process rather than planning. I work toward process efficiency on a constant basis, so in my down time I will spend time working on my tools to make sure they're ready and fine tuned. That ECE plane, for instance, required a lot of work but now it cuts like a dream. I add things to the stable to speed up workflow, for instance; a chamfer plane cuts a clean consistent chamfer in seconds, where as using a finish plane takes longer and does a poorer job.

    Time on the tools is important, you learn the ins and outs of every tool once you have done some problem solving on it. My absolute hair pullers have been the LN planes, specifically the A2 blades.

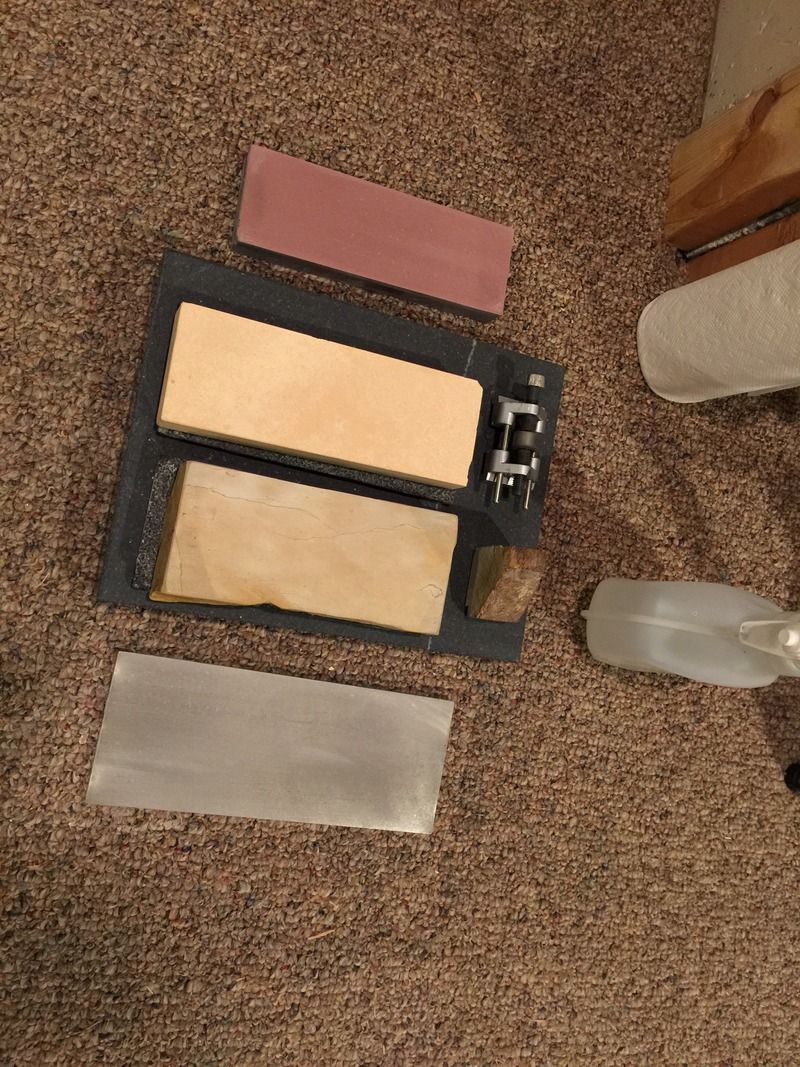
    I think it's wise to have a go-to sharpening procedure so that you're not spending all day at the stones. Have quick checks for failure. IE if your plane is not cutting well, tear it down and check everything. Sticky planes will slow your efforts down a lot, so as soon as I'm working through a pass and the plane is not taking clear easy cuts, I tear it down and sharpen.

    My thinking has evolved quite a bit over time with regard to tools. I believe it was Warren who said it best, ( apologies for my paraphrase) that we come from a machine tool way of thinking, in context he was referring to planning but actually I think it is everything from tool choice on through the project. My thoughts have turned toward the workers of yesterday and how they approached their work and what choices they made for tooling....and how quickly they were able to work with 100% hand tools because their choices were good ones and because they were expert in using those tools.


    Last edited by Brian Holcombe; 08-08-2015 at 12:51 AM.
    Bumbling forward into the unknown.

  13. #13
    Join Date
    Jan 2009
    Location
    Williamsburg,Va.
    Posts
    12,402
    Great work!!

    Back in the 60's I became thoroughly enamored with cherry to the extent that I was even using it to make flamenco guitars instead of the traditional Spanish cypress. They sounded fine. I made quite a few cherry guitars. Spruce tops,of course.

  14. #14
    Join Date
    Aug 2013
    Location
    Princeton, NJ
    Posts
    7,298
    Blog Entries
    7
    Thanks George! The wood is truly addictive, it works beautifully, I don't know what it is about it but my wife saw the freshly planed cherry and said that she wanted me to make her something from it as well.

    Those guitars sound awesome, I know chances are probably slim but if you happen to have a photo of one of them I'd love to see it.
    Bumbling forward into the unknown.

  15. #15
    Join Date
    Aug 2012
    Location
    Missouri
    Posts
    2,152
    Brian Well done. Did you size the battens to fit your tool set up or did they just work out well with your ECE plane. I like cherry also. Wife likes oak so I don't get a chance to work with cherry often. It is nice of you to share all of this. I know it takes a lot of time.
    Jim

Posting Permissions

  • You may not post new threads
  • You may not post replies
  • You may not post attachments
  • You may not edit your posts
  •