
I've wanted a small mitre box for sawing mouldings forever. The Miller's Falls #74 I have is a HUGE beast, a carpenter's tool. Had my eye on a Miller's Falls #15 1/2 several years ago, but then it got Schwarzed, and I watched the prices climb. Finally I just built a small mitre box, the Steam Punk Mitre box, which was fun and functional, but I doubt that it has the fortitude to take it into the next century.
I kept an eye on eBay, and a #15 1/2 would come up every now-and-then, but starting at silly money. Damn The Schwarz.
Finally one came up that was reasonable, not cheap, but reasonable (with low shipping - that is the killer to Oz) .. and there looked to be little interest from others. Not too surprising as it had issues. I put in a snipe bid, and won it. Of course the Seller miscalculated shipping costs, but was good for the amount .. however sent it on a slow ship. It arrived ... eventually.
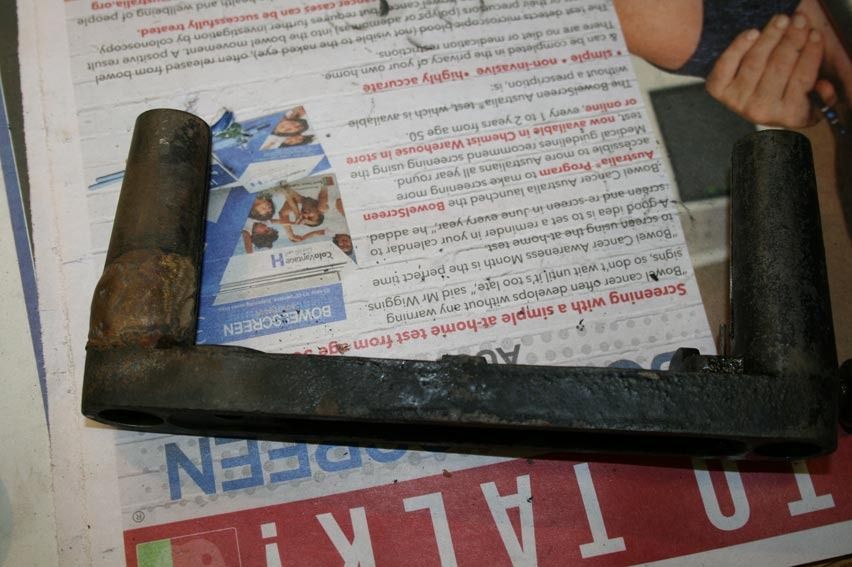
It looked like this ..
The # 15 1/2 is 12" long. Here it is with the #74C and its 28" long x 5 1/2" deep saw ...
The issues? Well, the rear guide had broken off (must have been dropped) and been brazed. It was a good job insofar being straight ...
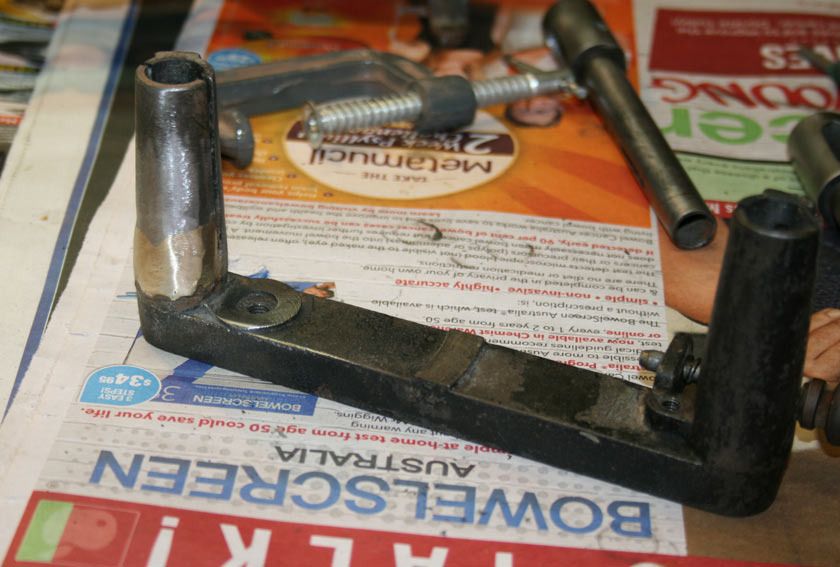
The shell was stripped down, and one of the repairs was to smooth over the weld before repainting ...
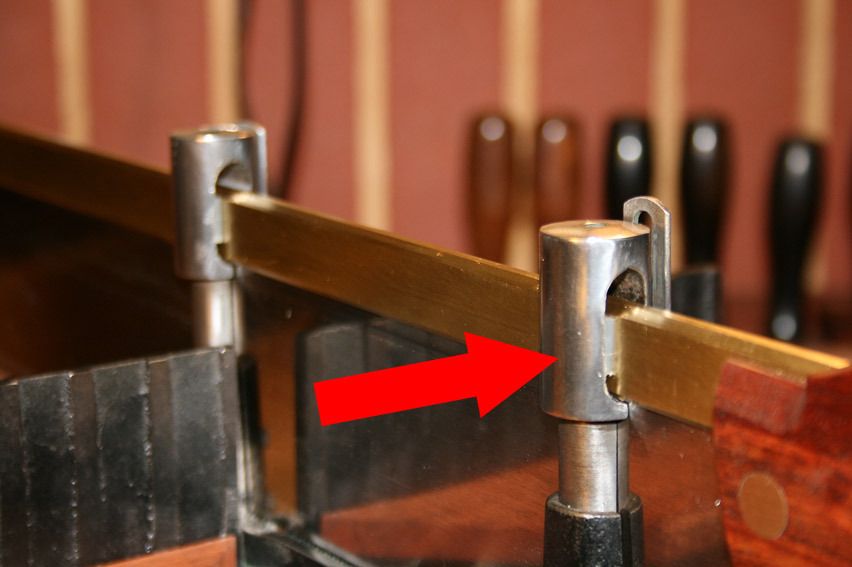
I discovered that the blade holder (that runs inside the guide) had also been welded at the lower end, and then the weld carefully filed flush. However it removed some of the steel, and now the fit was a little sloppy.
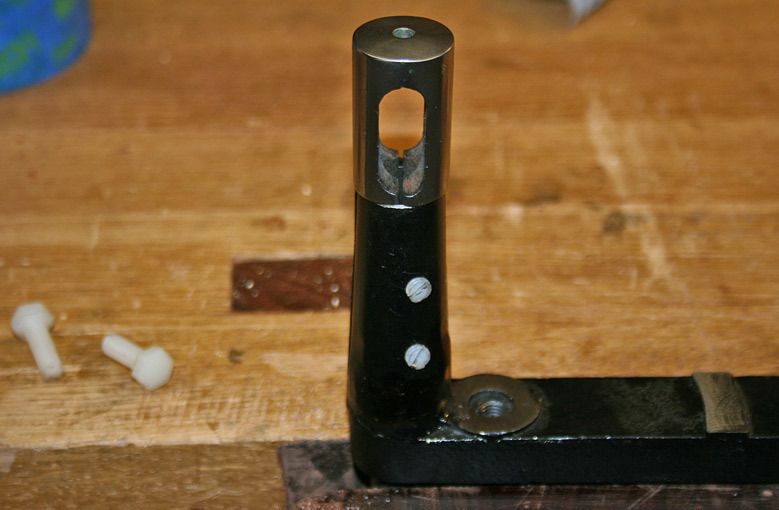
To tighten this up, I tapped both sides of the guide and made set screws in nylon ..
The other modification I made was to add more nylon inside the blade holder, where the saw back runs, to create tighter tolerances and a smooth action. It works really well ..
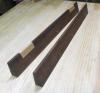
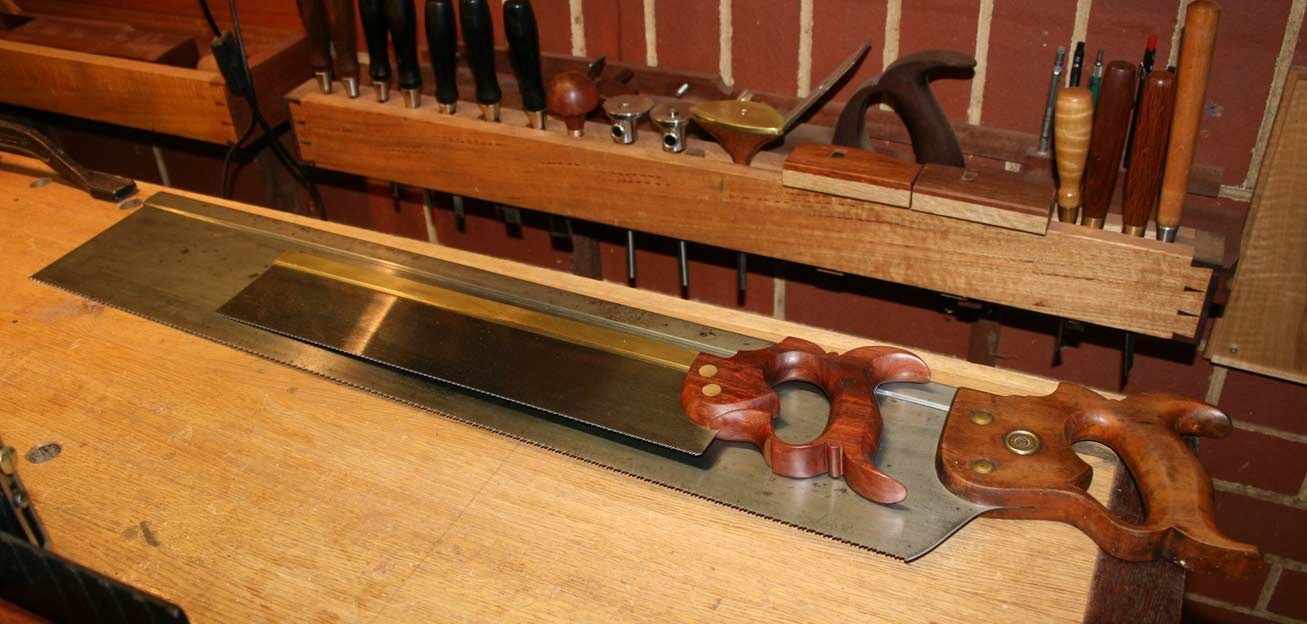
Now I needed a saw. The original saw was 16" long with a depth of 2 1/2". Here is the one I made - more info in a short while - together with the 28" beast for comparison ...
The saw plate and brass back came from Isaac Smith (Blackburn Tools). The plate is filed 13 tpi crosscut, and is 0.20" thick. The brass back just needed draw filling and polishing. I chose not to go with a folded back as like the clean look of the slotted back, as well as it being a more reliable construction. Isaac does a fabulous job. The saw cuts as cleanly as a Japanese saw.
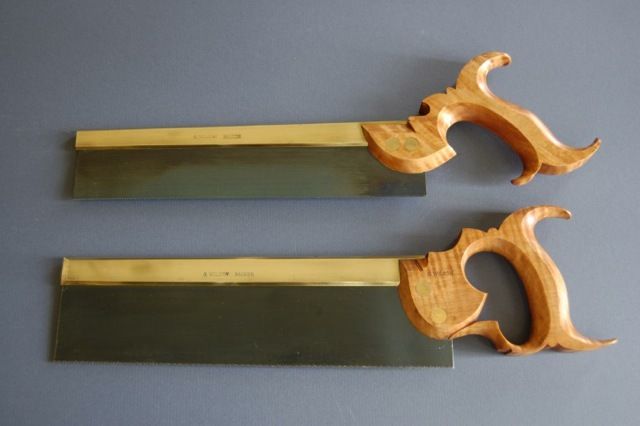
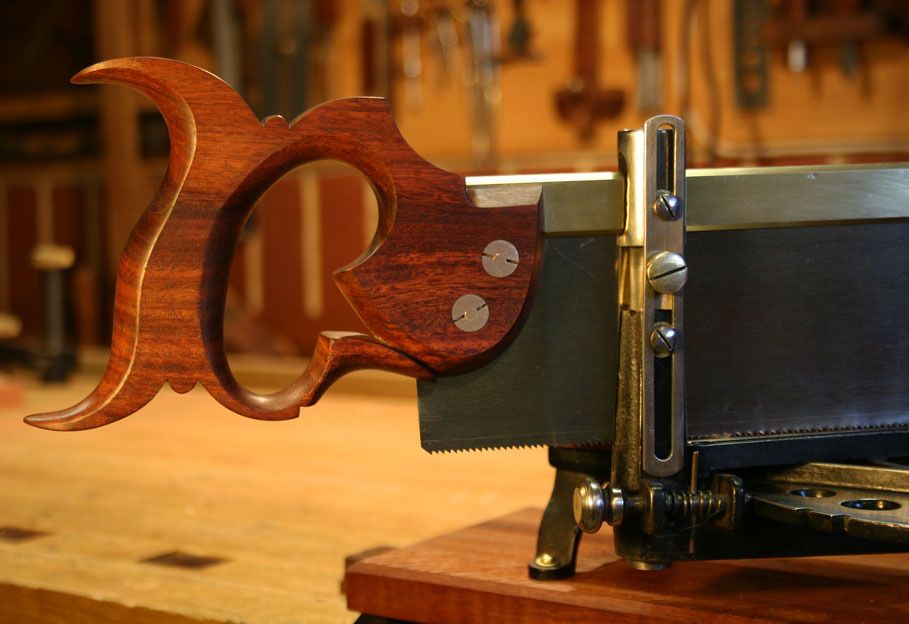
The saw handle was inspired by a Grove tenon saw handle made by George Wilson, whom I consider to be one of the finest craftsmen around, whether tools or musical instruments. George built the saws for Colonial Williamsburg. Here are two of his saws, a dovetail and the tenon saw in question ...
The detailing on these handles is exceptional, in particular the crisp, defined lines. This was my aim (only, of course, the proportions for a mitre saw will be slightly different).
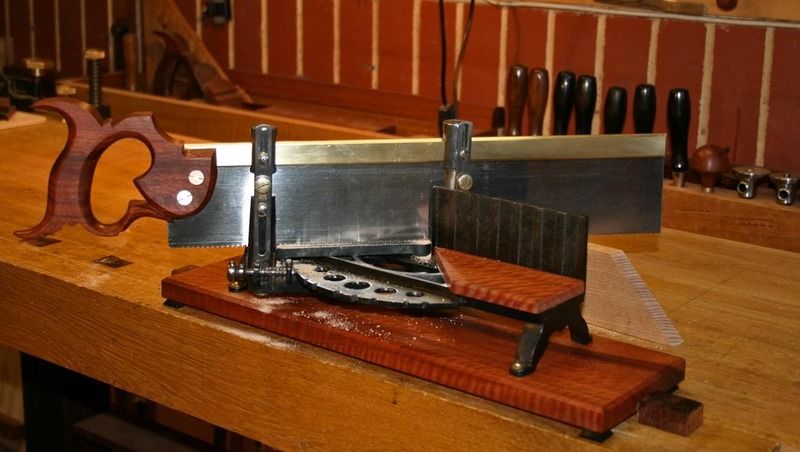
This is the boring shot of the completed mitre box and saw ...
The wood used throughout is Fiddleback Jarrah. I had a few scrap pieces left over from the Wegner Chair build. I should have remembered that carving it was a nightmare: beautiful but hard and brittle, especially brittle at the edges. A lot of careful work went into the shaping here.
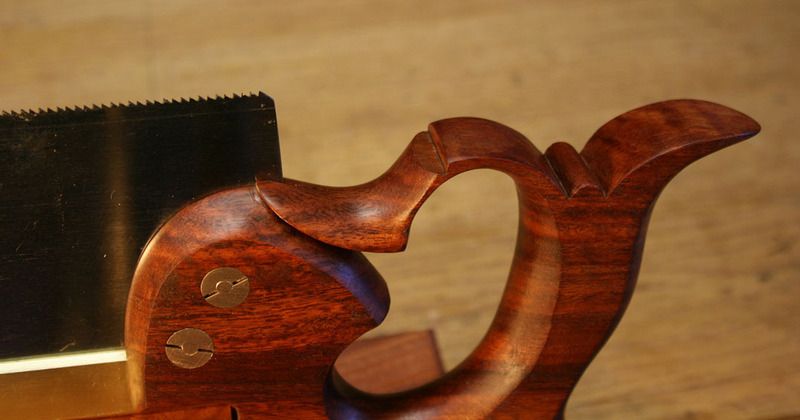
This is the money shot ...
The last issue was that there was a missing depth stop. Consequently, I made two new ones from brass. I thought that would help in matching to the brass in the saw.
I had never made a lamb's tongue like this one before. In looking at photos on the Internet I became aware that no one posted a picture of the underside. So here is mine ...
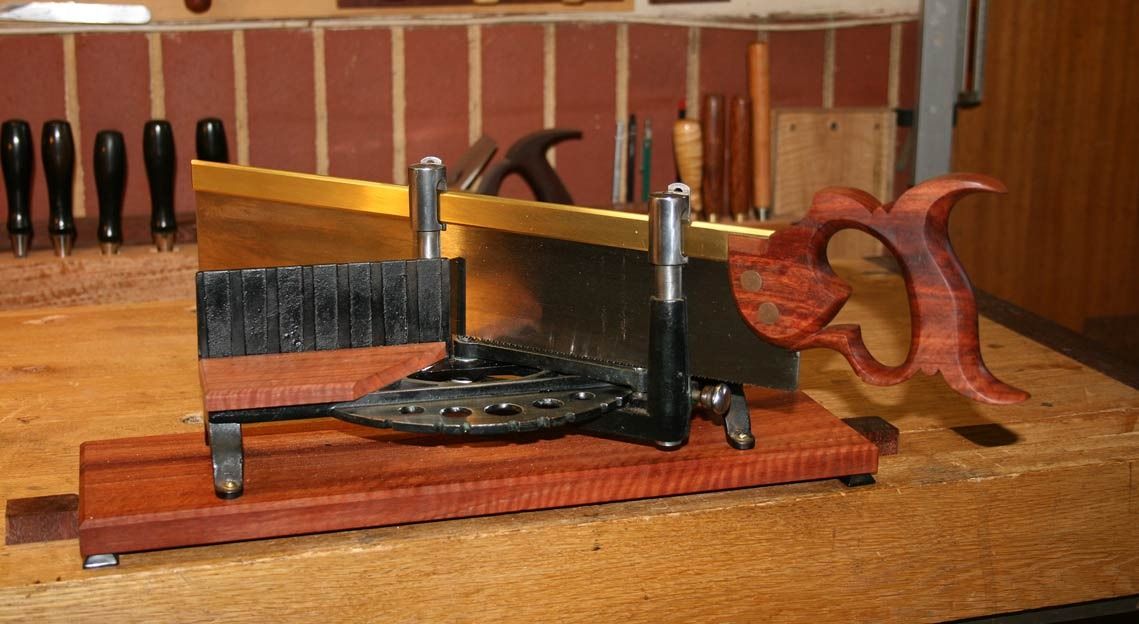
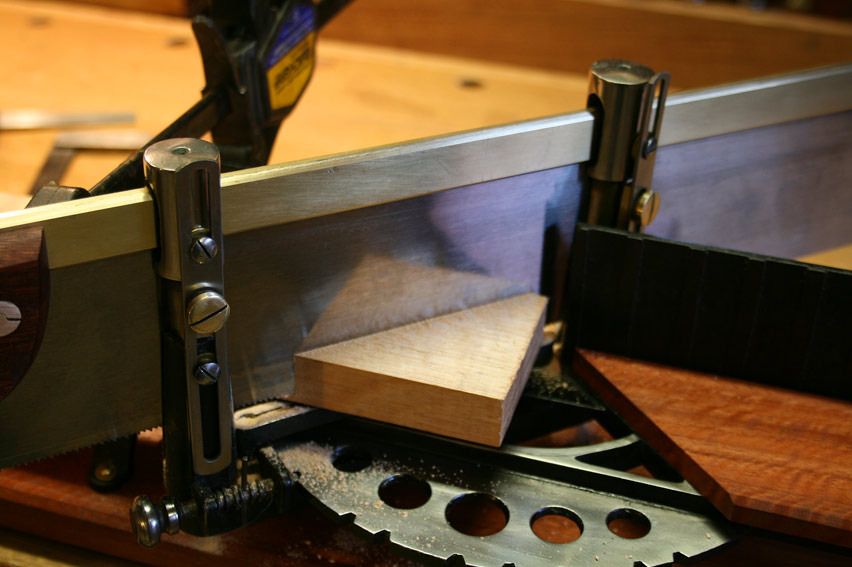
One other modification was allowing sone of the cast iron to remain unpainted at the front. Here is the combination sawing a mitre. It performs as well as hoped ..
Thanks for looking.
Regards from Perth
Derek


 Reply With Quote