Page 2 of 4 FirstFirst 1234 LastLast
Results 16 to 30 of 49

Thread: Project: Buffet/Hutch - Completed

  1. #16
    Join Date
    Mar 2003
    Location
    SE PA - Central Bucks County
    Posts
    65,918
    So I wish I would have left two more placeholder posts to cover today's activities, but alas, I did not. So I'll just start from here and remove the one remaining placeholder above. (that you'll not be able to see now 'cause it's gone. LOL)

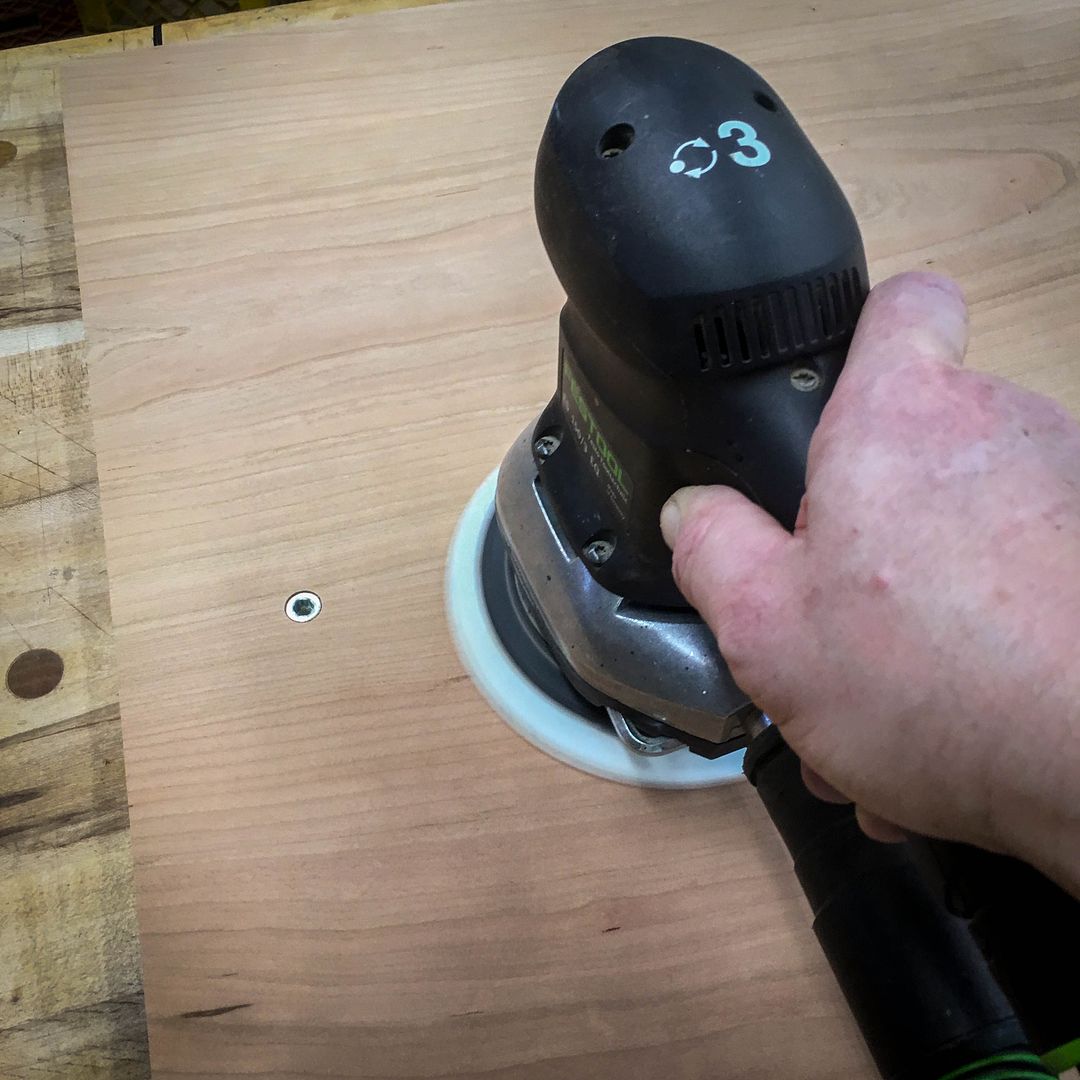
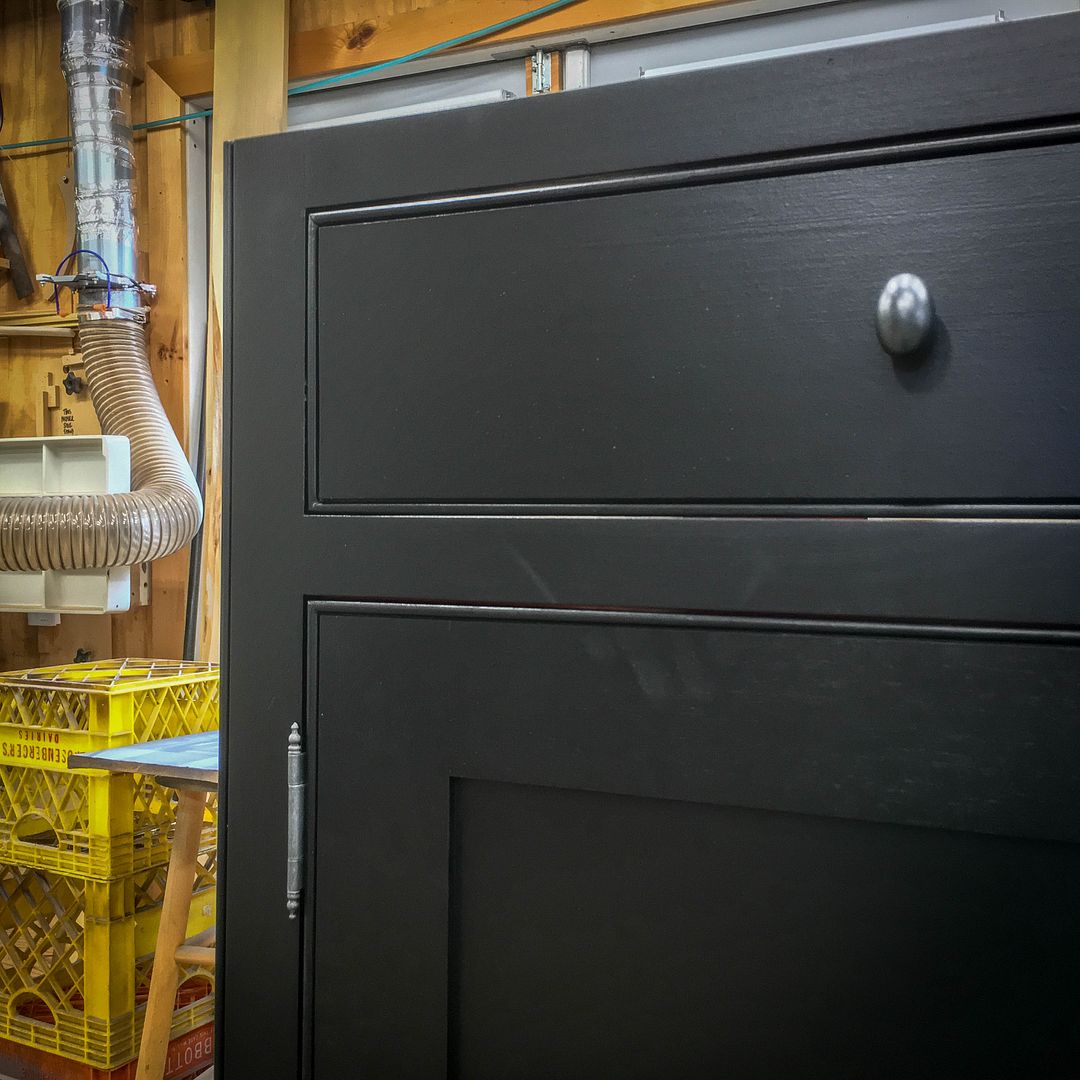
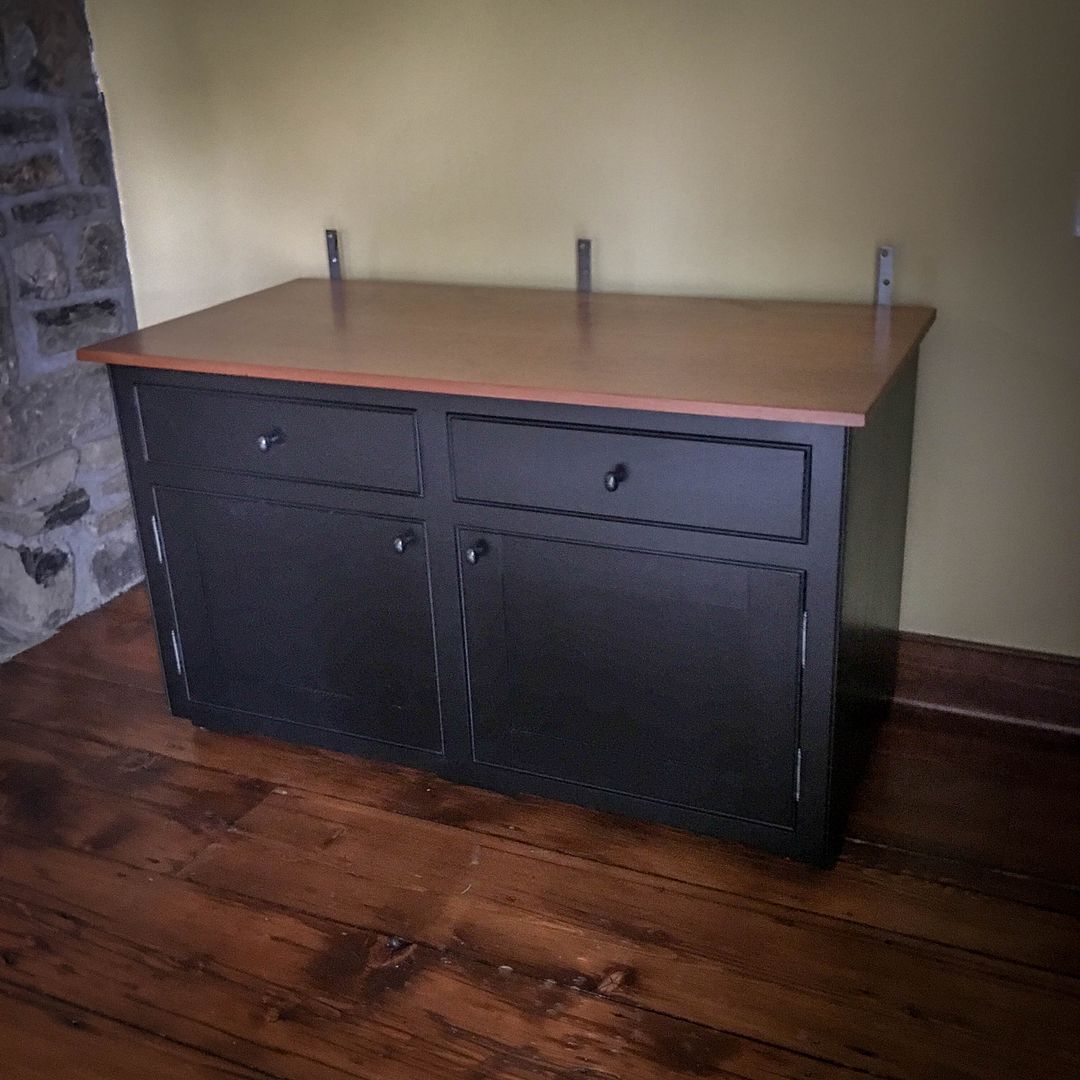
    Today's work focused on two things: 1) sizing and sanding the cherry buffet top and 2) creating the mechanisms for fastening the soon to be built upper hutch portion so that it would be absolutely secure and "one with the buffet" once installed in the house. While this isn't a terribly wide piece, it's going to be quite tall. (and yes, it will need to be fastened to the wall for safety once positioned so it cannot tip)

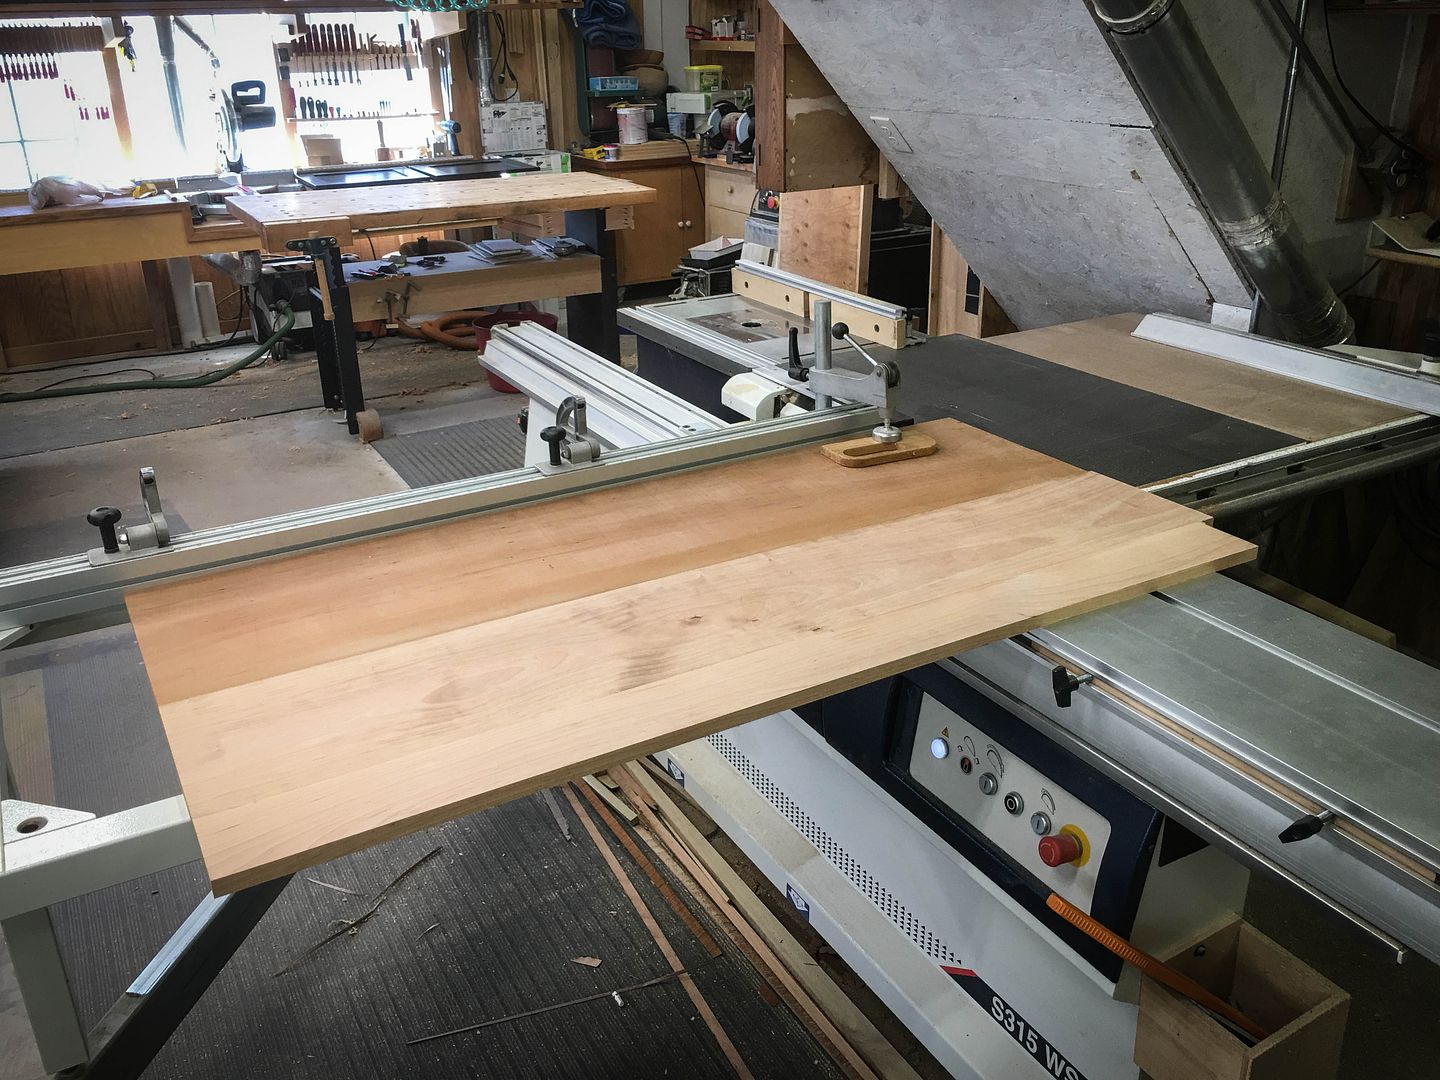
    We begin by crosscutting the cherry panel to length. It's already been sanded smooth on top and one end trimmed relative to the front face. After measuring for length (52" in this case) the other end is crosscut indexing on the same face. That required flipping the panel over.


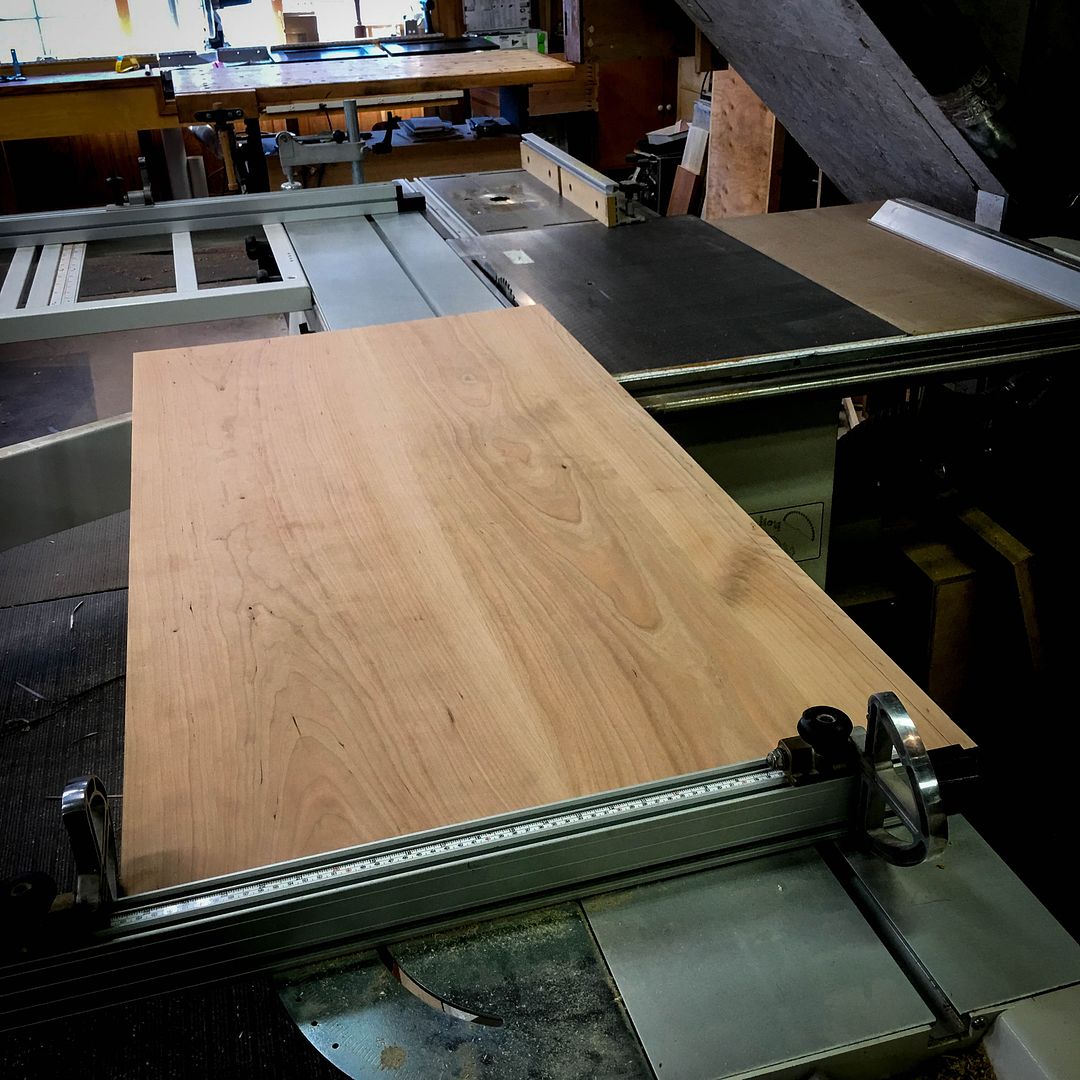
    Similarly, the panel needs to be ripped to width (26" in this case) to get to final dimension


    While the cuts are clean, it's a good practice to work the end-grain edge a little with a sharp block plane so that subsequent sanding is easier and the end result is close to "burnished"


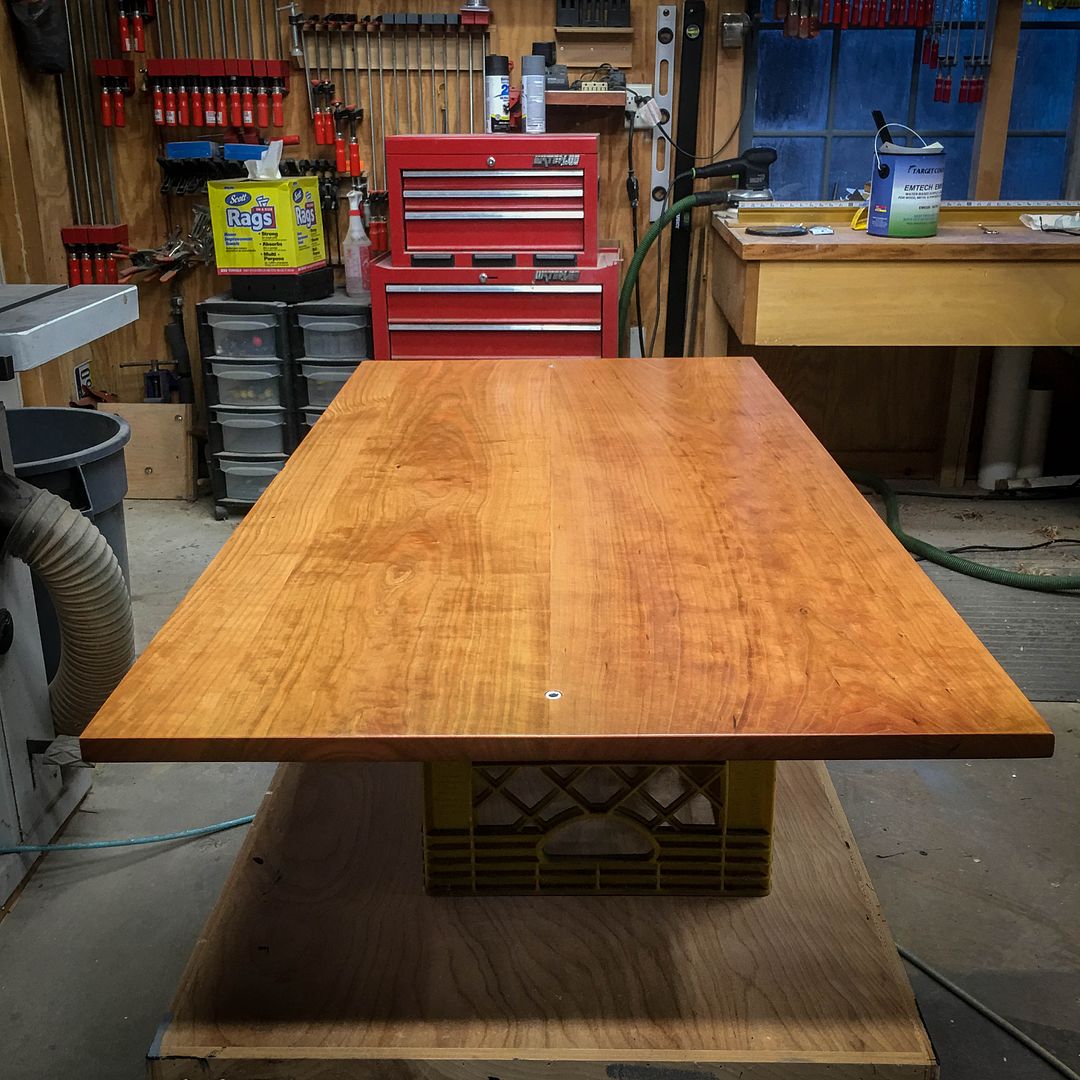
    And we pause to admire things as they stand in the moment...


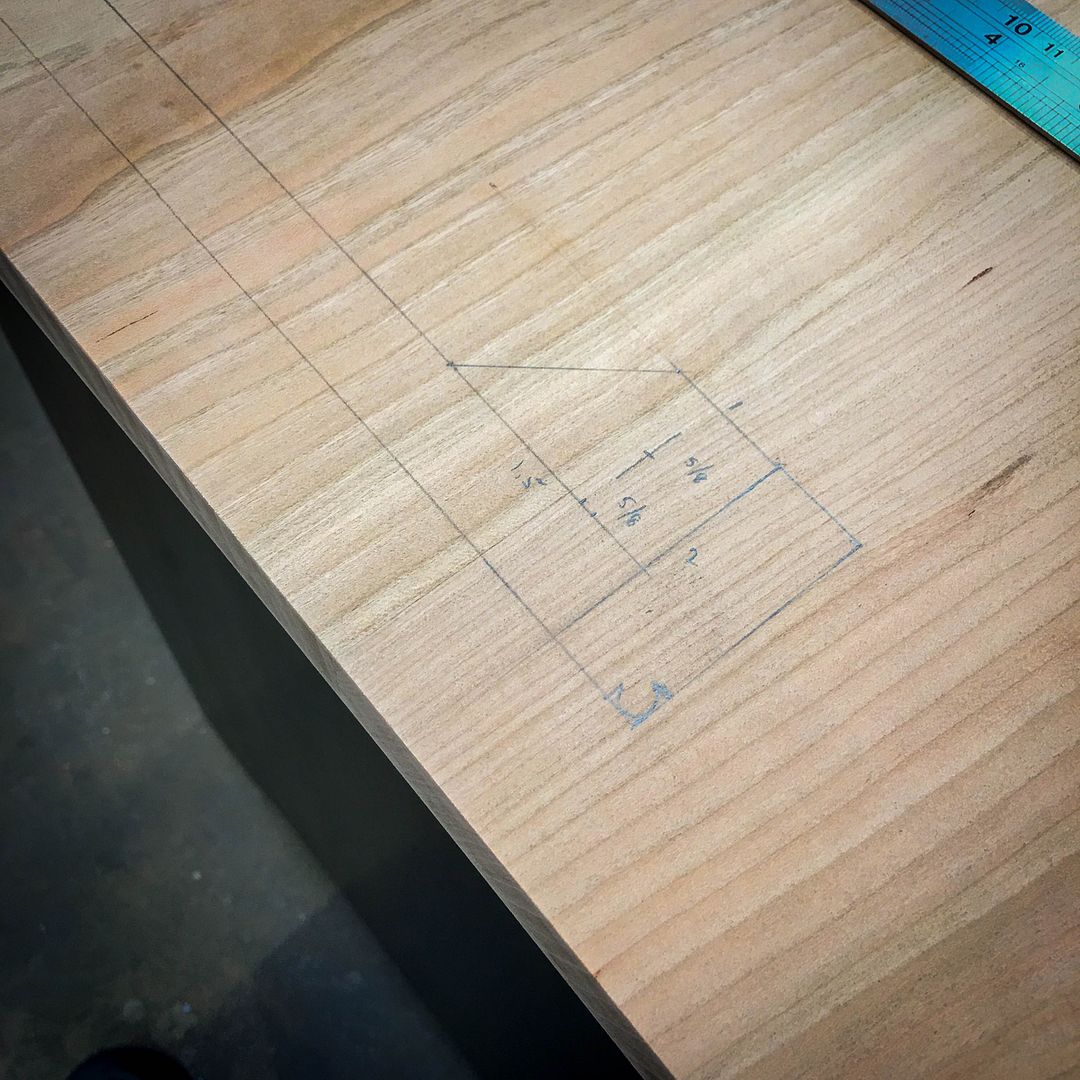
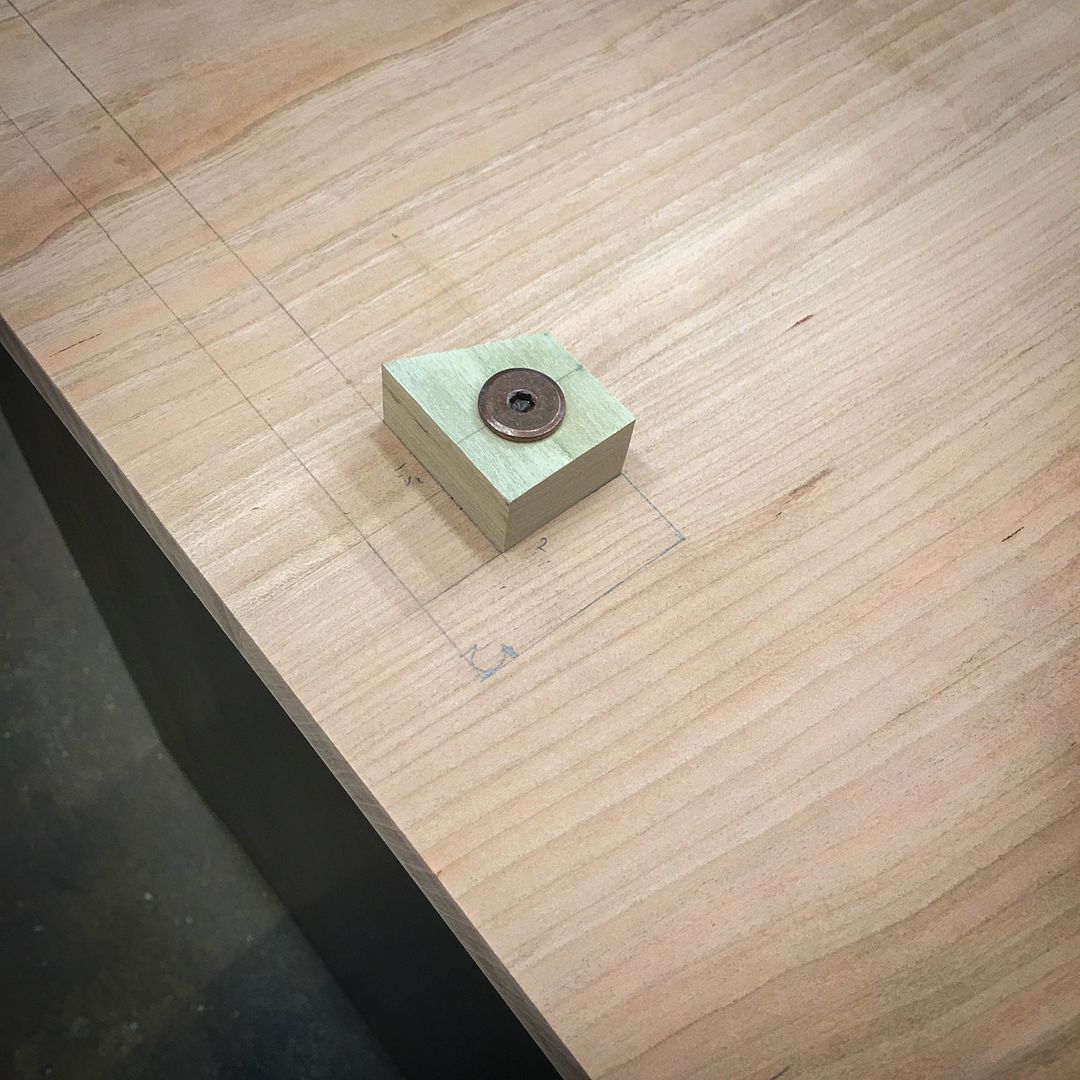
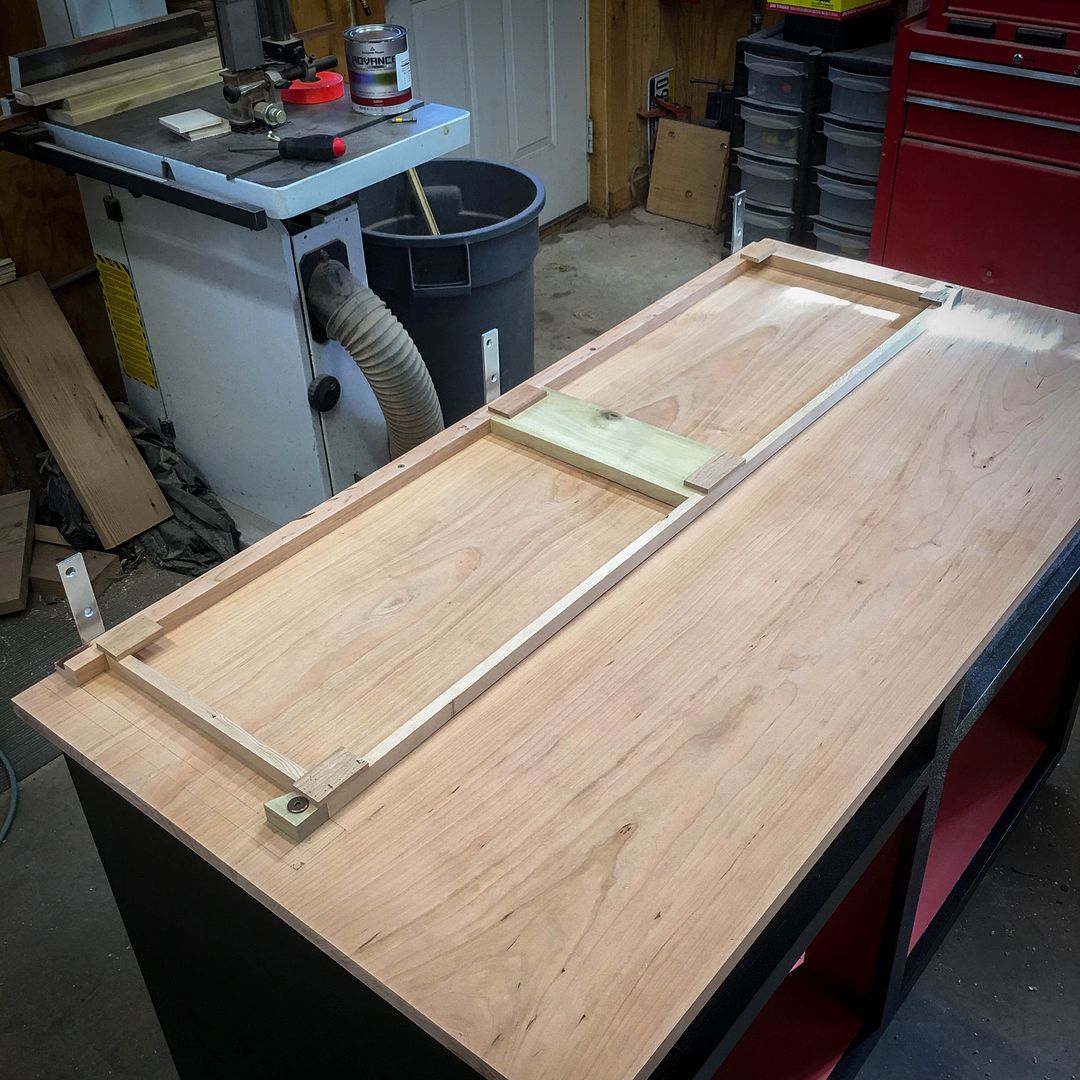
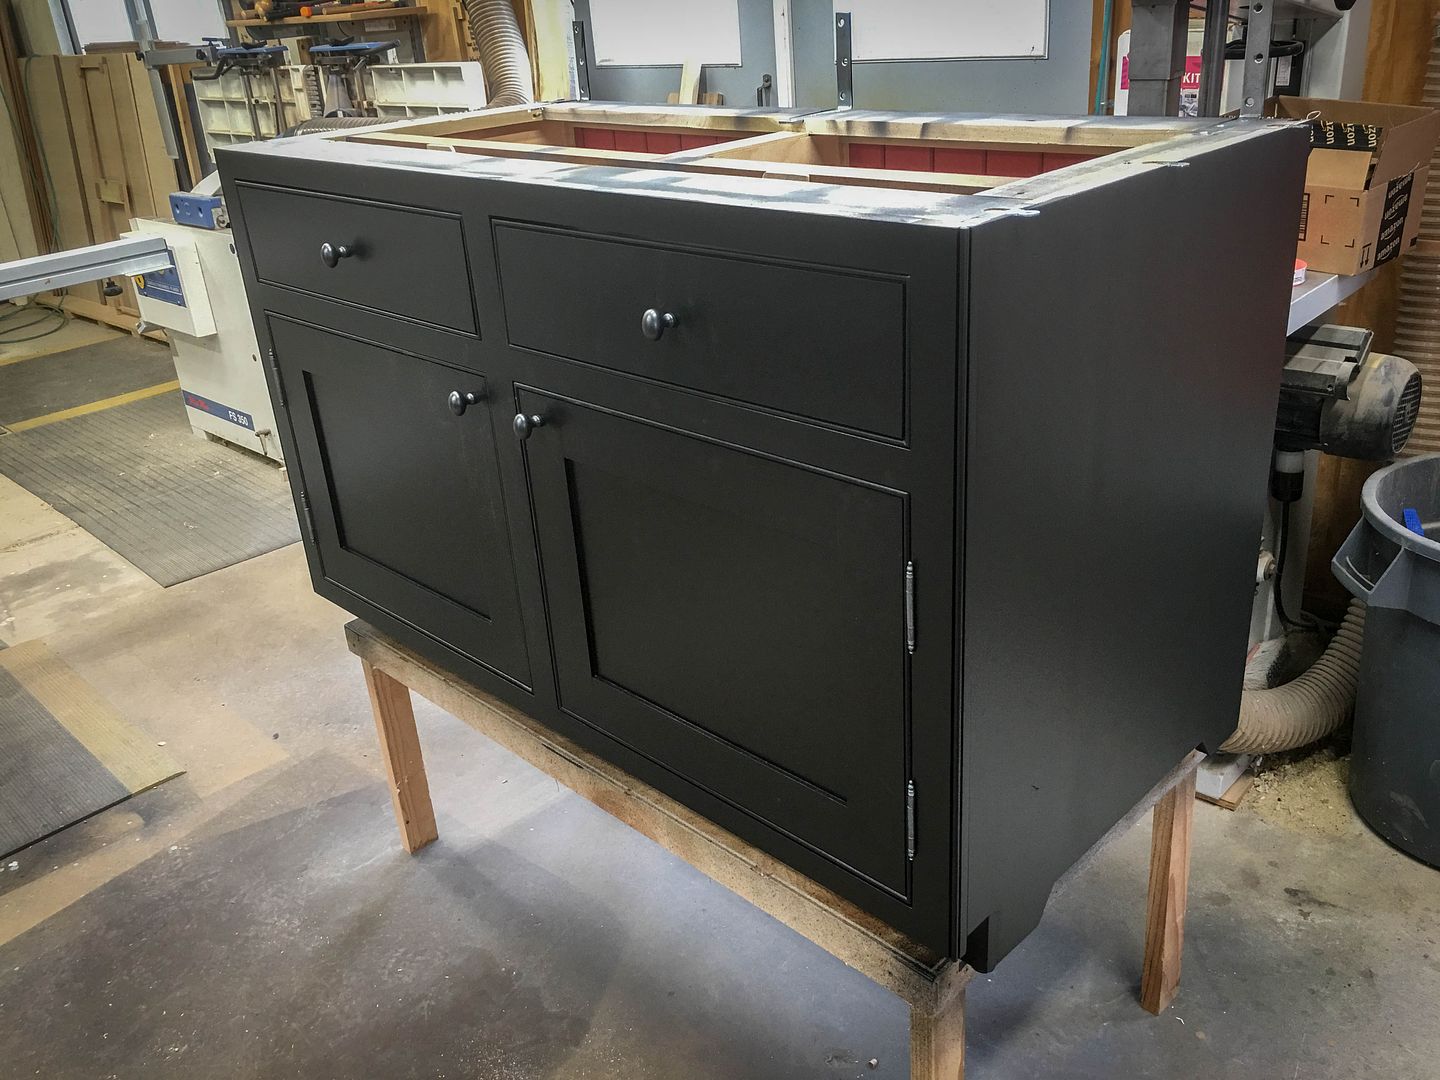
    In addition to what I'm going to be showing you soon, I chose to equip this piece with some strong angle supports at the back. Perhaps it's overkill, but I'd rather have that than the alternative. Using a router, I countersunk a slot so that the brackets were flush with the carcass surface.


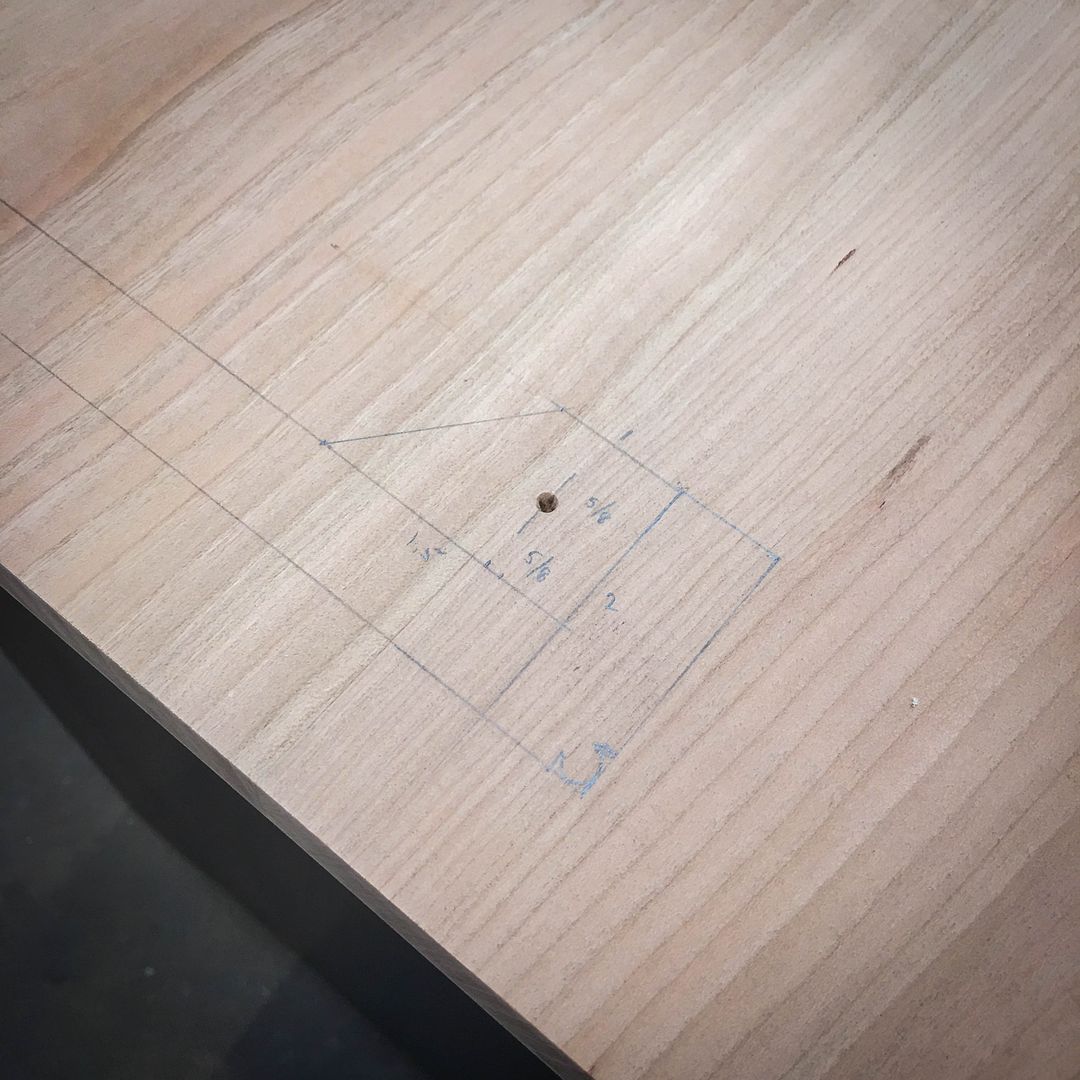
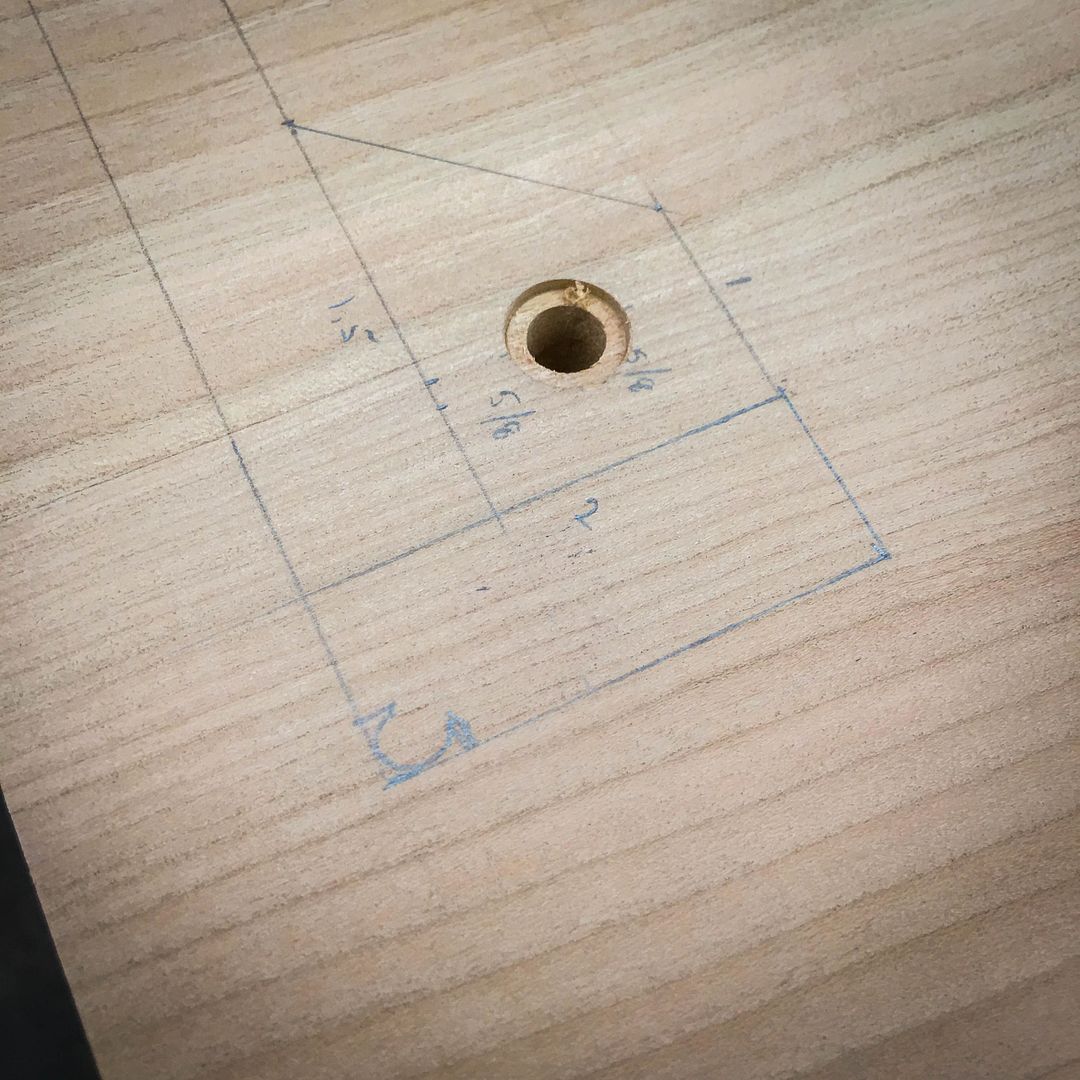
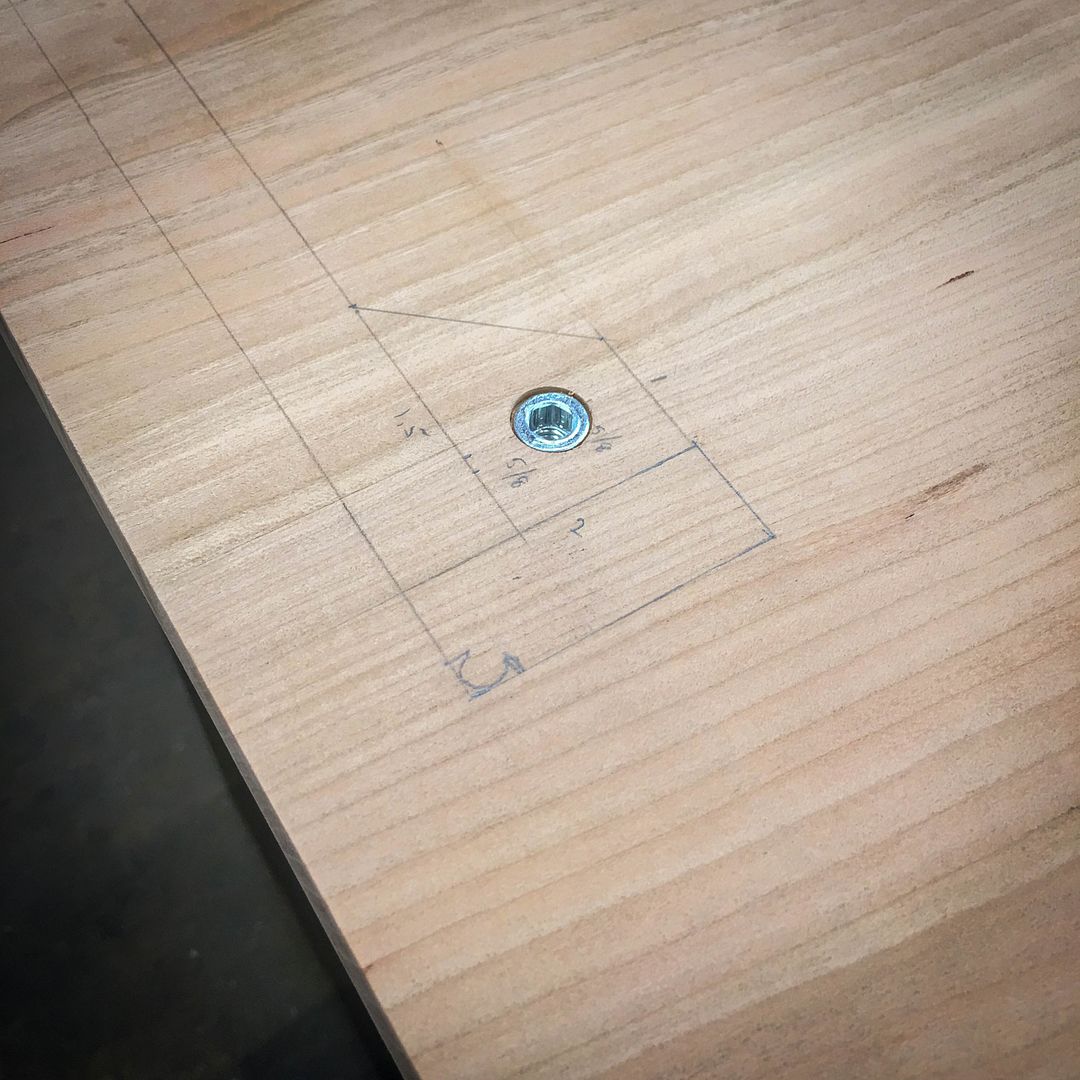
    A board temporarily clamped on helped to line up the brackets so that they would be flush with the back of the case. I drilled for and installed one screw in each to hold that position at this point.


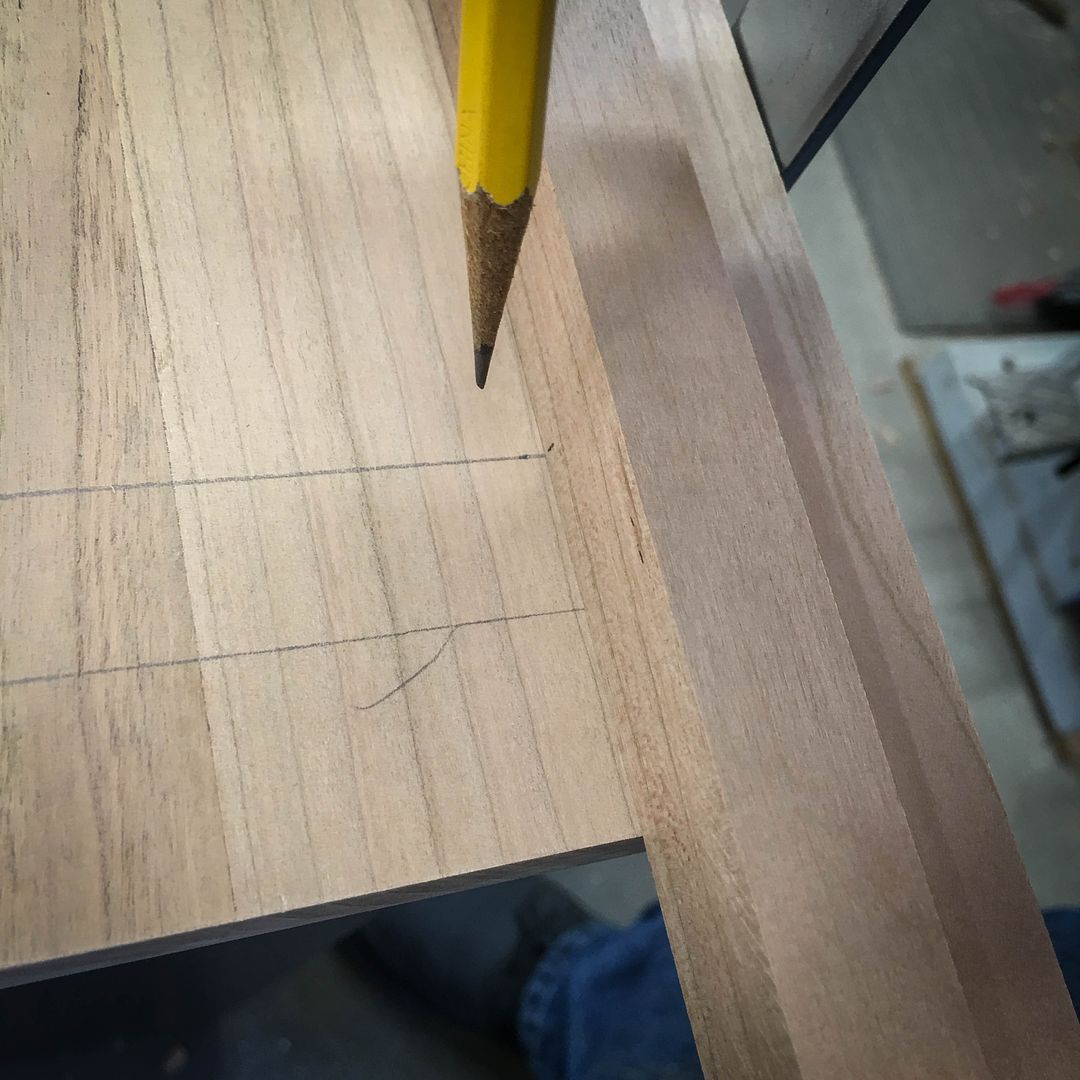
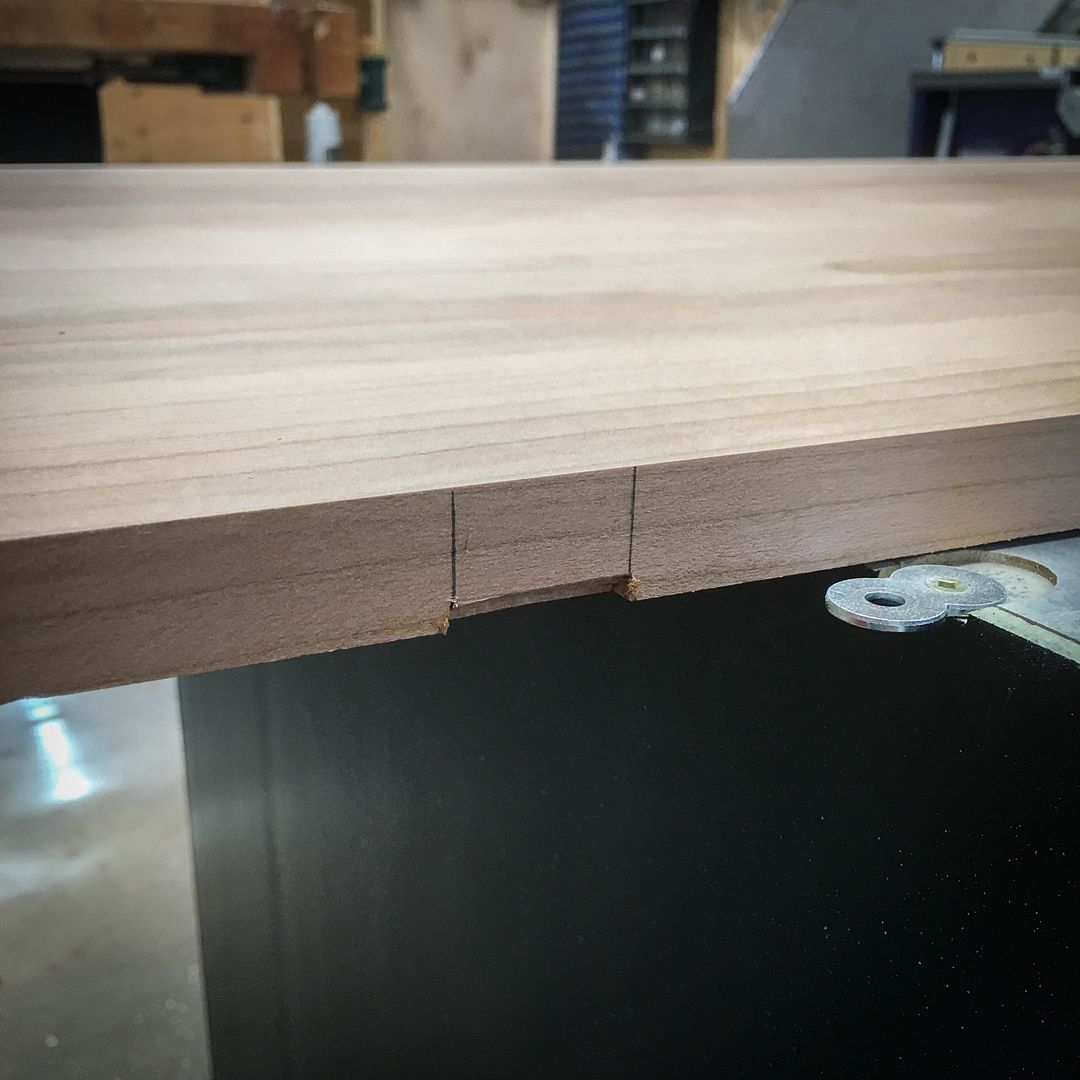
    The slight curve in the bracket requires relieving the bottom of the cherry top to insure the top will go back flush. Here, the position is marked...


    ...and the deed is done...


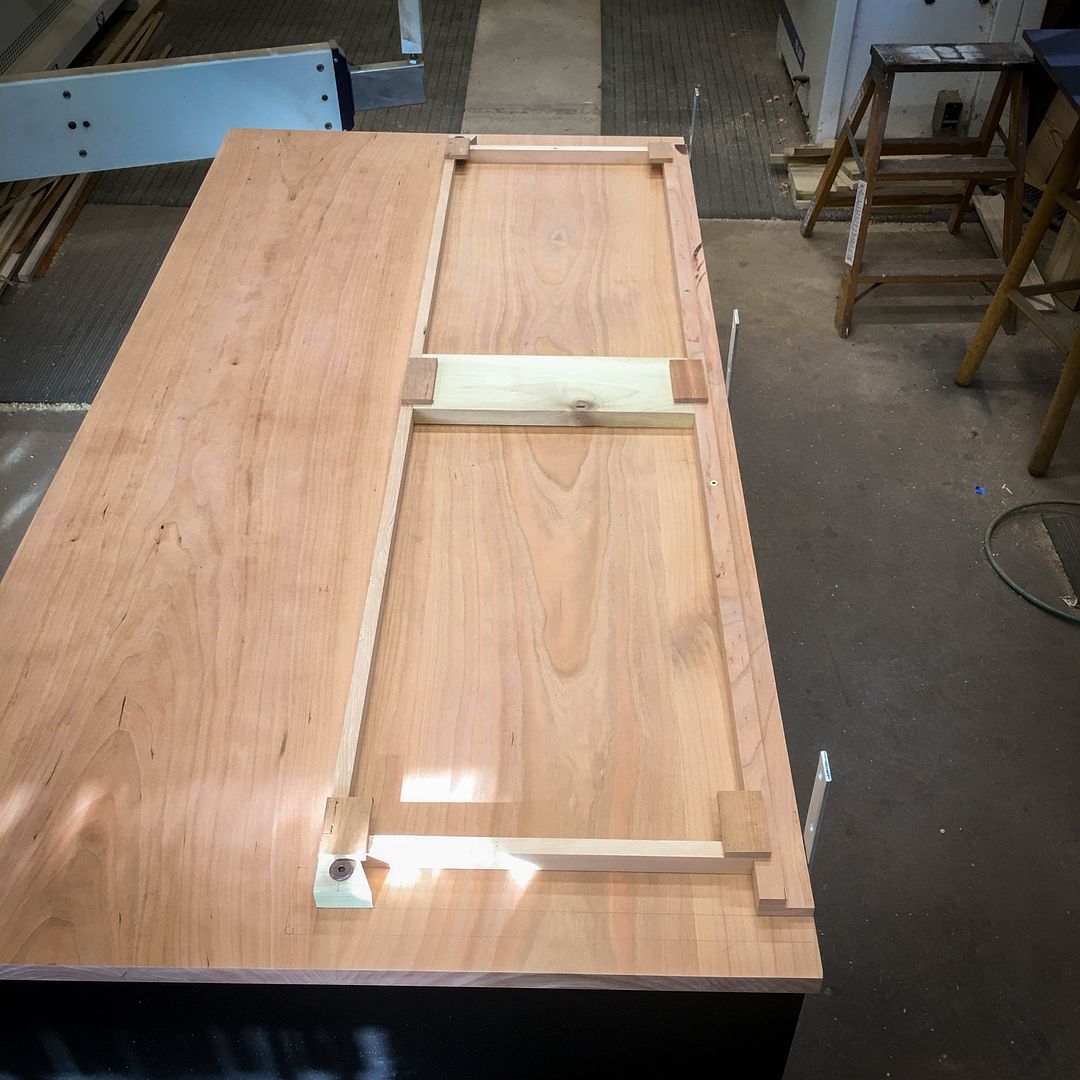
    At this point, I fully installed the cherry panel and fastened it down for the next interesting exercise.
    --

    The most expensive tool is the one you buy "cheaply" and often...

  2. #17
    Join Date
    Mar 2003
    Location
    SE PA - Central Bucks County
    Posts
    65,918
    Remember I mentioned doing take-offs on the actual project? We're going to get into that seriously at this point. The hutch portion that will sit on top of the buffet bottom needs to be able to be securely fastened as I mentioned in the previous post. Coincidentally, I also need to be able to build that hutch portion without the buffet being in the shop.

    With the cherry panel all fastened down security, I began by laying out the exact positions where the hutch sides will engage the bottom piece. This design retains the overlap of the surface, so things can be drawn directly on the cherry panel as illustrated here...and in mirror on the other side. The side panel and face frame is self explanatory. The little piece with the angled end will be used to fasten the front edge of the hutch sides/face frame to the surface using a captive nut in the surface and a hex-key furniture bolt through that little piece.


    Clearly, the spot for the captive nut is pretty important, so after the measurement and layout, a quick tap on a center punch provided "that spot" for the next few steps


    The captive nuts I'm using have a lip on top, so I very carefully used a 3/8" forstner bit to relieve the surface down so that those nuts end up flush or slightly below the surface.


    Using the same "spot" as reference, a 5/16" hole is drilled with a brad-point bit. There is a frame member just below the top at that point and I carried the hole through that piece so that the bolt would have clearance under the buffet top when everything was fastened down.


    The captive nut is then installed using an Allen wrench and is quite snug in that hole.


    Here's a clear view of the type of bolt that will hold things down. These are very flat and will not be all that visible...especially once I paint them black


    I next created those blocks that will provide a surface for the bolt to hold things down. These will be fastened to the hutch side panels and face frame securely later. For now, I've tightened those bolts down, the reason for which you'll see shortly.


    I then created the piece that will be at the bottom of the hutch back to support the T&G panel at the rear. For whatever reason, I just happened to use a piece of scrap cherry for this. The rebate was made on the saw this time, rather than setting up the router table. Two cuts and some cleanup with a rabbit plane and it was time to measure length as illustrated here. Once again, that measuring is indexed to the layout on the cherry panel.


    At this point, we have two little blocks of wood and that rebated lower back piece securely fastened to the cherry panel. What to do now? Well...I need to be sure that the hutch carcass EXACTLY matches the layout I drew on the surface...hmmmm....


    And the winner is... (it's Grammy night while I'm typing this...) ... make a temporary frame to hold those three components in exactly the same position they are fastened down and that will serve as the template for sizing and building the hutch. No glue here...just 23 gage pins and a couple staples with some scrap wood.


    --

    The most expensive tool is the one you buy "cheaply" and often...

  3. #18
    Join Date
    Mar 2003
    Location
    SE PA - Central Bucks County
    Posts
    65,918
    Finally, attention is turned back to that nice cherry panel...with a lot of sanding from 100 through 320...


    And...it's been "Earled"...


    I absolutely love the silky feel of that panel about 15-20 minutes after the oil was applied and wiped down to remove excess.

    The remaining steps for this portion of the project include some additional coats of paint on the drawer fronts and doors, getting shellac applied to the drawer boxes and spraying finish on that nice cherry panel. Once that's all done, it will be time to move it into the house and "final assemble" things. I'm going to do that inside simply because it will be easier to carry (less weight) without drawers, doors and cherry panel attached.
    --

    The most expensive tool is the one you buy "cheaply" and often...

  4. #19
    Join Date
    May 2005
    Location
    SE South Dakota
    Posts
    1,538
    Really been enjoying this thread!!!!

    I have to ask though, where did you get the "milk crates"?? I seen them holding up the carcass! You laid your soul bare about everything else but, where did you get the milks crates??

    VERY fun to follow this project.

    Bruce
    Epilog TT 35W, 2 LMI SE225CV's
    CorelDraw 4 through 11
    CarveWright
    paper and pencils

  5. #20
    Join Date
    Mar 2003
    Location
    SE PA - Central Bucks County
    Posts
    65,918
    Quote Originally Posted by Bruce Volden View Post
    I have to ask though, where did you get the "milk crates"?? I seen them holding up the carcass! You laid your soul bare about everything else but, where did you get the milks crates??
    I've had them for decades and couldn't tell you where they originally came from...I have no idea! They do come in handy for a variety of things. I was actually sitting on one while painting that carcass in this project. The other table surface the carcass was sitting on is one of two platforms I had quickly built for the guinea pigs that were pets in our home. Brisco, the last one, passed away two weeks ago, so I have re-purposed these nominal 2'x4'x18" or so high platforms for use in the shop. I'm still working out how to store them, but they will come in handy I'm sure.
    --

    The most expensive tool is the one you buy "cheaply" and often...

  6. #21
    Join Date
    Jan 2006
    Location
    Grand Forks, ND
    Posts
    2,336
    Great write up Jim! Looking forward to more posts. Thanks for taking the time.
    A bus station is where a bus stops. A train station is where a train stops. My desk is a work station.

  7. #22
    Join Date
    Feb 2003
    Location
    Leesville, SC
    Posts
    2,380
    Blog Entries
    1
    Great project..... Looking forward to seeing more pictures.

    A lot of people think of poplar as a secondary wood, but I love working with it.
    Army Veteran 1968 - 1970
    I Support the Second Amendment of the US Constitution

  8. #23
    Join Date
    Mar 2003
    Location
    SE PA - Central Bucks County
    Posts
    65,918
    Quote Originally Posted by Von Bickley View Post
    Great project..... Looking forward to seeing more pictures.

    A lot of people think of poplar as a secondary wood, but I love working with it.
    Yea, and for me, "the price is right". It was all cut and milled on our property.
    --

    The most expensive tool is the one you buy "cheaply" and often...

  9. #24
    Join Date
    Apr 2006
    Location
    Tucson, Arizona
    Posts
    855
    Thank you for sharing, Jim. I am enjoying the build process.
    Lori K

  10. #25
    Join Date
    Mar 2003
    Location
    SE PA - Central Bucks County
    Posts
    65,918
    Today, while I was working on other things on the property (preparing for Professor Dr. SWMBO's bee-keeping setup), I got the finish sprayed on the cherry drawer boxes and the cherry buffet top. Two coats of de-waxed shellac went on first with light rubbing with 400 wet and dry between coats and then three coats of EM6000 with a white pad between coats. Silky smooth and nice!


    This is after the first coat of EM6000 was dry...what a nice looking top!
    --

    The most expensive tool is the one you buy "cheaply" and often...

  11. #26
    Join Date
    Mar 2003
    Location
    SE PA - Central Bucks County
    Posts
    65,918
    I actually ended up doing six coats of the EM6000 on that top to get it where I liked it; three on Saturday and another three on Sunday while I was working on some landscape things. It's really, really nice...photos just don't do the job. Next step is another coat of the black on the doors and drawer fronts and I'm seriously considering another coat on the cabinetry...I'm not totally happy with it.
    --

    The most expensive tool is the one you buy "cheaply" and often...

  12. #27
    Join Date
    Mar 2016
    Location
    Parkersburg, WV
    Posts
    2
    Great thread. It's nice to see the process and order of thoughts of other craftsmen. Enjoyed the pics. Good job.

  13. #28
    Join Date
    Mar 2003
    Location
    SE PA - Central Bucks County
    Posts
    65,918
    So today was the final day for this project to be in my shop. It "should" have been completed a week ago, but some other things intervened to take my time. The final activity was pretty much to do final fitting/hinging of the doors and install the hardware. That only took about 30-45 minutes or so with distractions. At that point, I got some assistance from Professor Dr. SWMBO to move the unit into the house and then I installed the top and drawers and put it in place where it will live going forward. I do need to shim up the front about 1/2" due to the uneven wide pine floor (originally barn wood) to get it level...no way do I want the tall hutch piece that comes next to be in any way tilting forward!!! In hindsight, perhaps adjustable feet would have been a good idea, but it is what it is!

    At any rate, here are a few "final" pictures for this half of the total project...I'll post a new thread for the top hutch once I get on that piece, but I have a few smaller projects that need done first as well as some spring landscaping work.

    Doors installed and drawer fronts just sitting in the openings so I could get a feel for the final look...


    And in the great room placed after getting the top attached and the drawer fronts installed on the drawer boxes...


    And of course, getting Tosca's approval.
    --

    The most expensive tool is the one you buy "cheaply" and often...

  14. #29
    Please tell me that bird is named after the opera!

    Nice piece of furniture, as well!

  15. #30
    Join Date
    Mar 2003
    Location
    SE PA - Central Bucks County
    Posts
    65,918
    Quote Originally Posted by Will Boulware View Post
    Please tell me that bird is named after the opera!

    Nice piece of furniture, as well!
    Yup...Tosca is a 21 year old Senegal Parrot and considers us to be slaves.

    And thanks!
    --

    The most expensive tool is the one you buy "cheaply" and often...

Posting Permissions

  • You may not post new threads
  • You may not post replies
  • You may not post attachments
  • You may not edit your posts
  •