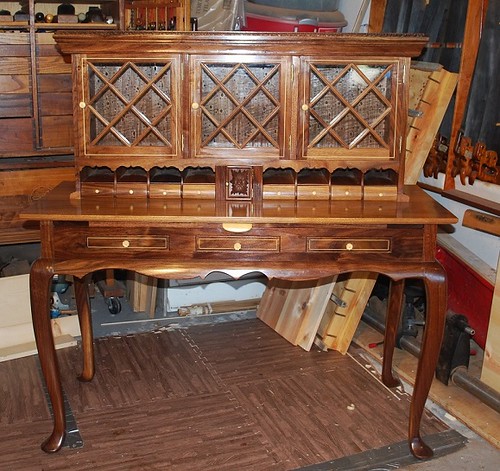
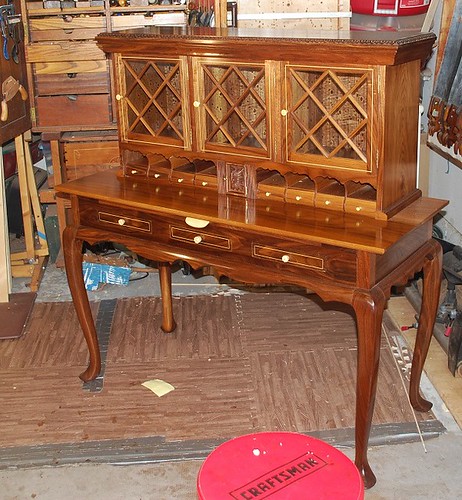
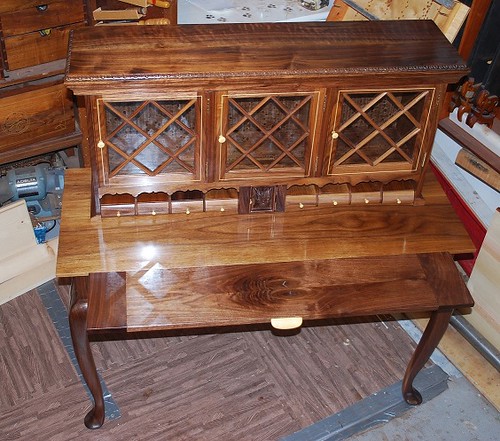
This is the last part of a series of build threads for a Walnut Secretary Ive been building as a place to keep my some of my woodworking books handy for quick reference/comparison when thinking about new projects.
The rest of the build is covered in previous threads. The last couple steps described here were really more details, as compared to significant elements of the construction.
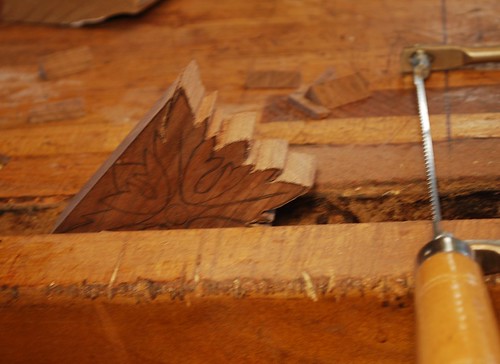
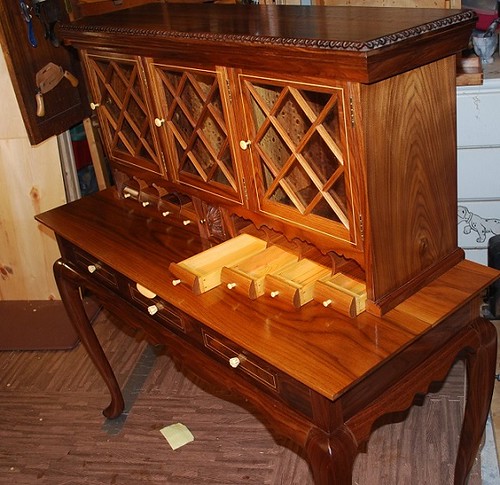
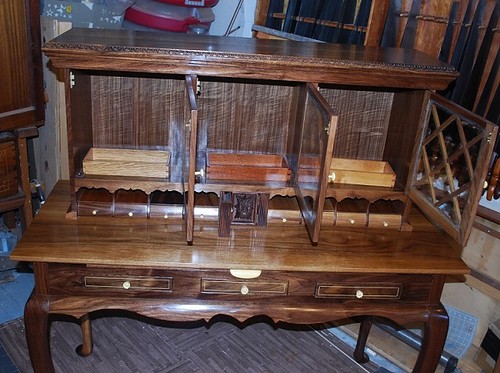
The secretary has an upper bookshelf section with 3 doors. I turned Holly pulls for these doors. Both results and process were not very satisfying; I couldnt keep the knob/pull stock solemnly engaged in the jaws of the chuck on the lathe, and when I did I ended up breaking several blanks. Consequently, for the lower desk section that has 3 drawers in the front apron, I went with something a little more hand tool friendly and easier to execute carved pulls. Here are some pictures of the blank with layout lines for the 3 pulls I needed, plus an extra because God knows Im bound to screw at least one of them up!
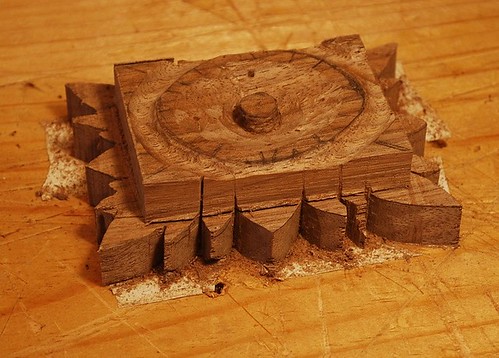
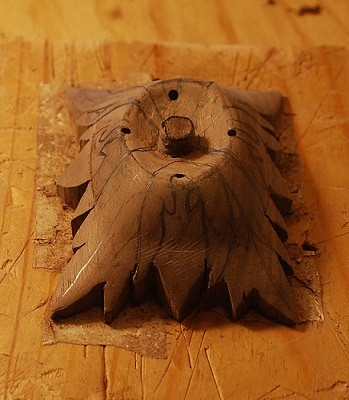
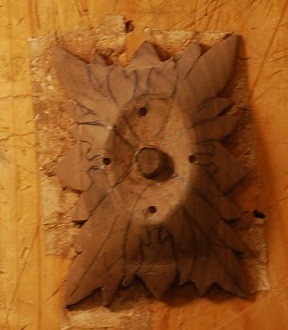
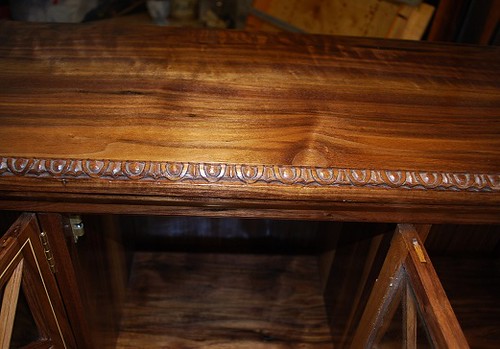
For me, carving the polls was much easier and/more satisfying than turning. Rough shape was sawn into the blank and then face was dished with gouges. The flutes on the perimeter were started with a V tool and then blended into a curve with shallow gouges. I was going for something vaguely floral, but not sure I got there.
1 by Mike Allen, on Flickr
2 by Mike Allen, on Flickr
3 by Mike Allen, on Flickr
4 by Mike Allen, on Flickr
5 (2) by Mike Allen, on Flickr
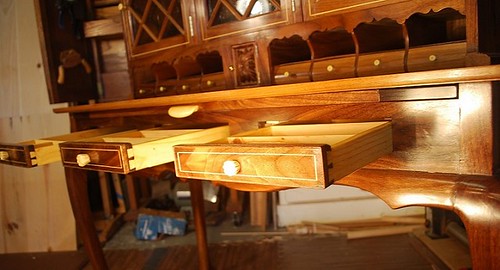
Heres a picture of the runners/kickers. You may notice the notches in the center of the drawers/front apron those are for the guide rods on the slide out extra writing surface.
6 by Mike Allen, on Flickr
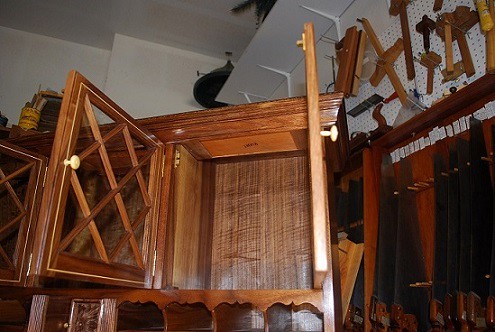
This shows the underside of the desktop; cleats center the desktop in the apron, allowing for easy disassembly into 2 parts for moving. Felt strips protect the upper surface of the slide out writing service, and 3 sockets to capture the guide rods of the slide out writing surface, and hopefully keep everything aligned
8 by Mike Allen, on Flickr

 Reply With Quote