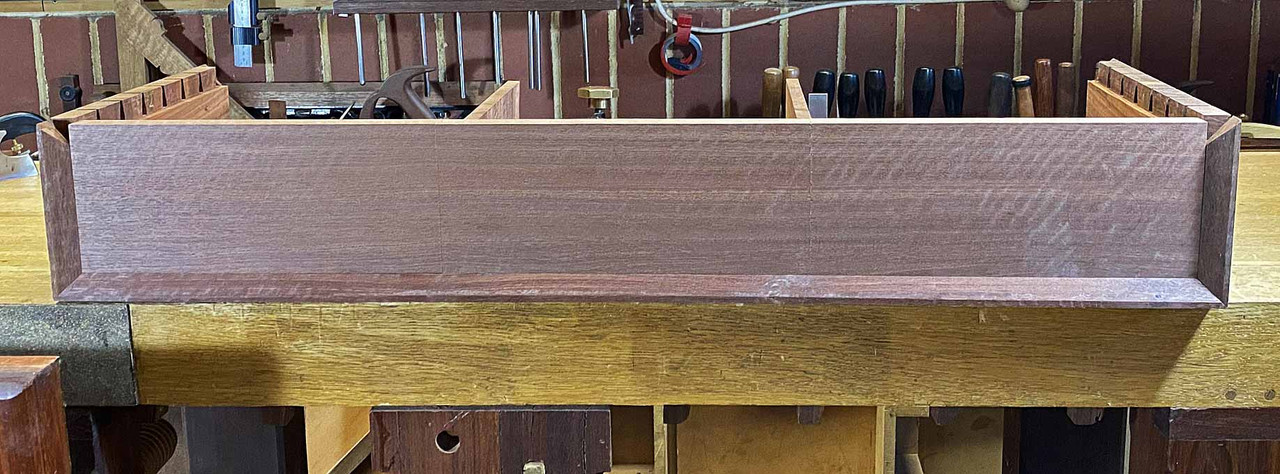
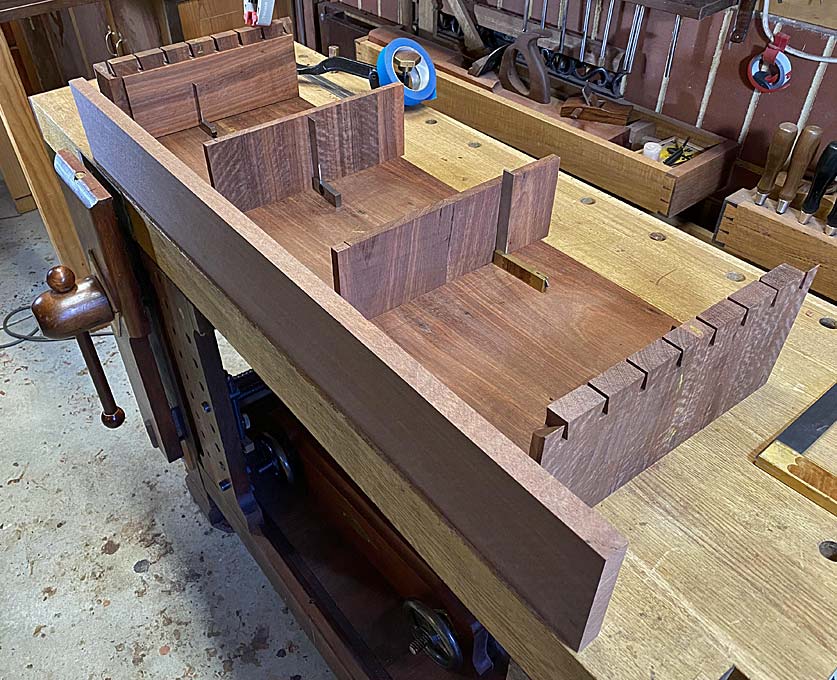
We ended the last session with the drawer dividers installed ...
Everything was nice and square, but the more I thought about what I had done, the unhappier I became. Such an elementary oversight. I cannot believe I did it, and also that no one pulled me up for it. What was it? Two items:
The first was that the grain for the drawer dividers runs the wrong way. Although the boards are as close to quarter grain as possible, which adds to stability, they will expand vertically. That could cause them to buckle, and then the drawers will not run nicely.
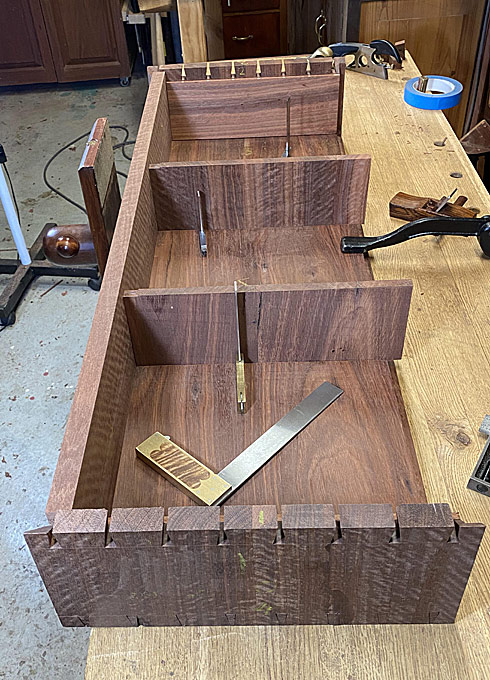
The second is that I could have built in a way to close up the drawer dividers against the back of the (to-be-built) side lipped drawer fronts ... this is to be used as a drawer stop ... at this stage it would be necessary to add a filler. Not good.
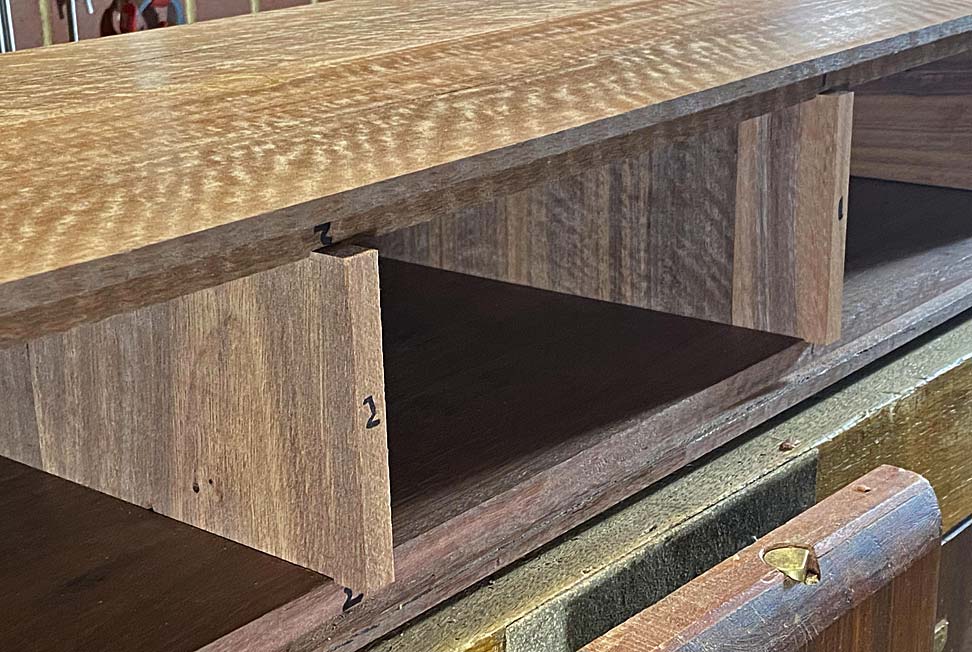
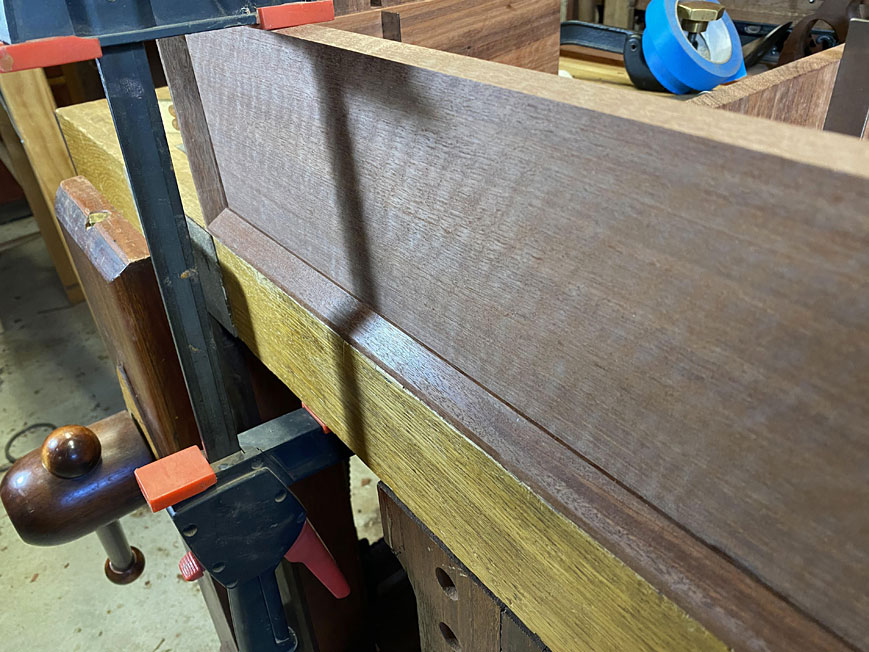
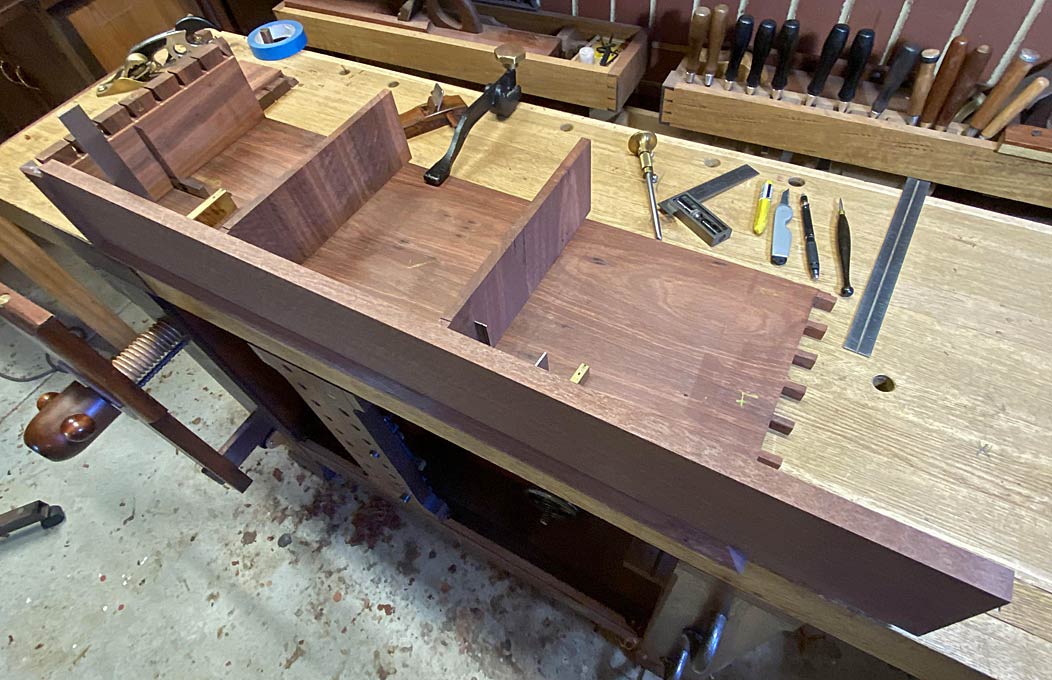
So I re-did the drawer dividers. Here is the rear of the case. The drawers are left long on purpose ...
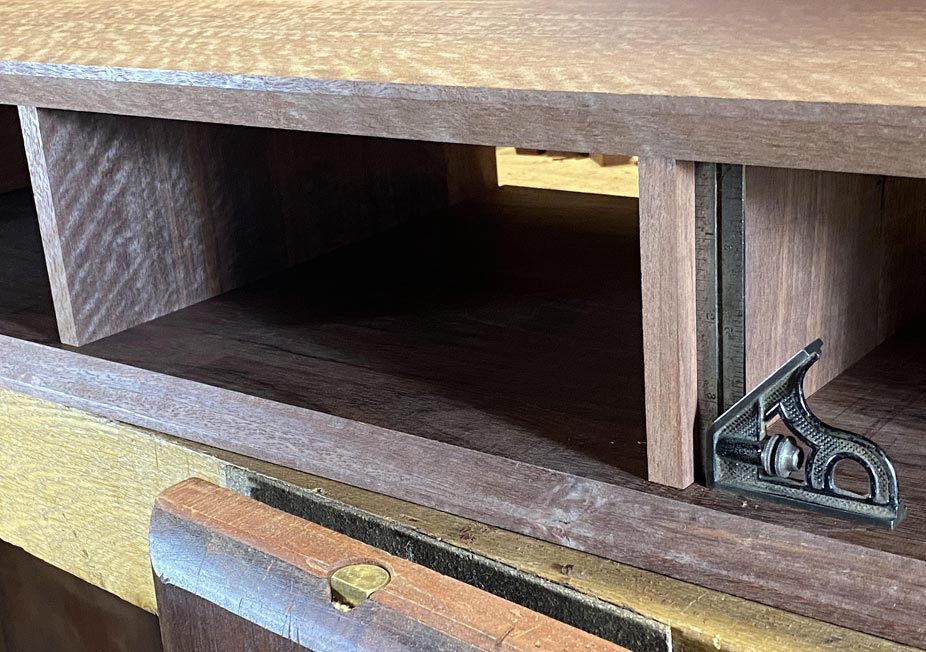
Provision is made for the dividers to be adjustable in length (to close up with the back of the drawer front). They are given rebates to slide further forward ... it will be necessary that they move around 15mm forward (to within 5-6mm of the opening).
The rebate is 2mm deep (the depth of the dados), and largely created with a cutting gauge. The blade slices away end grain, and the resulting splitting away makes it easy to chop the remainder.
Here are the dividers, further forward than before, and capable of moving a little more still ...
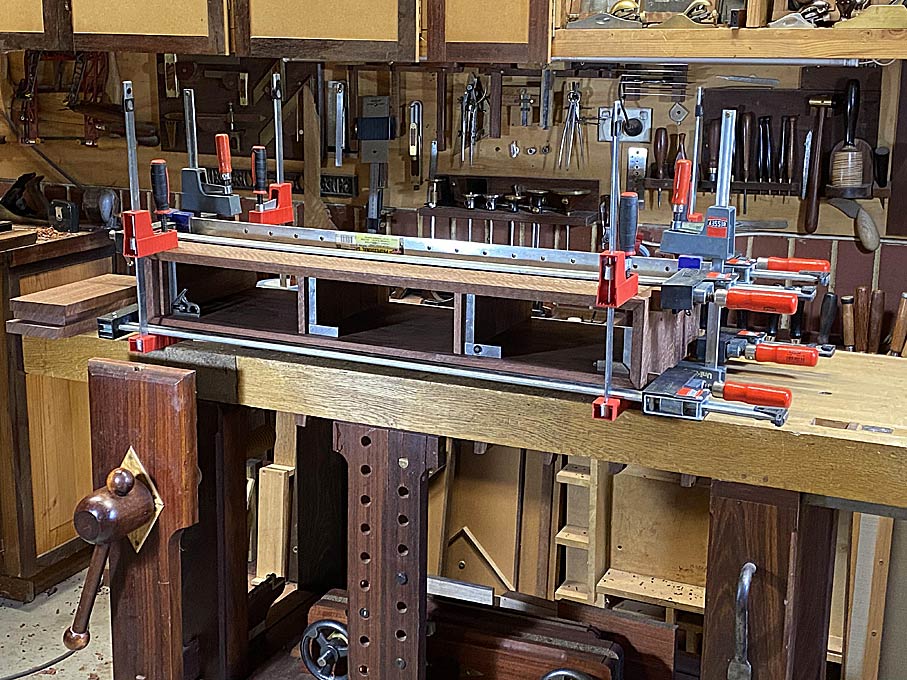
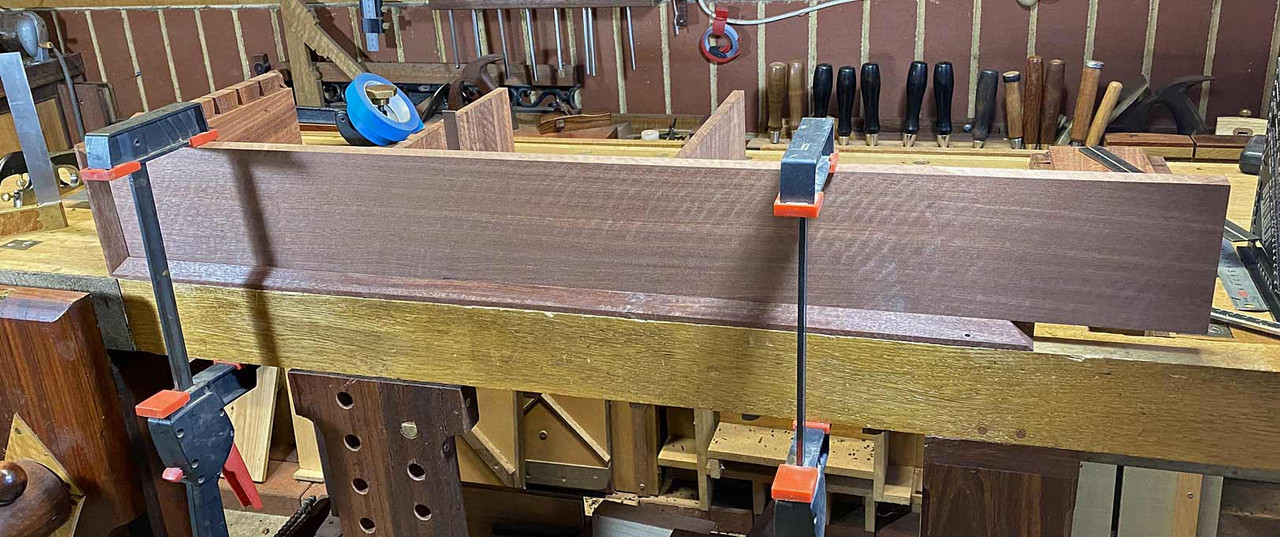
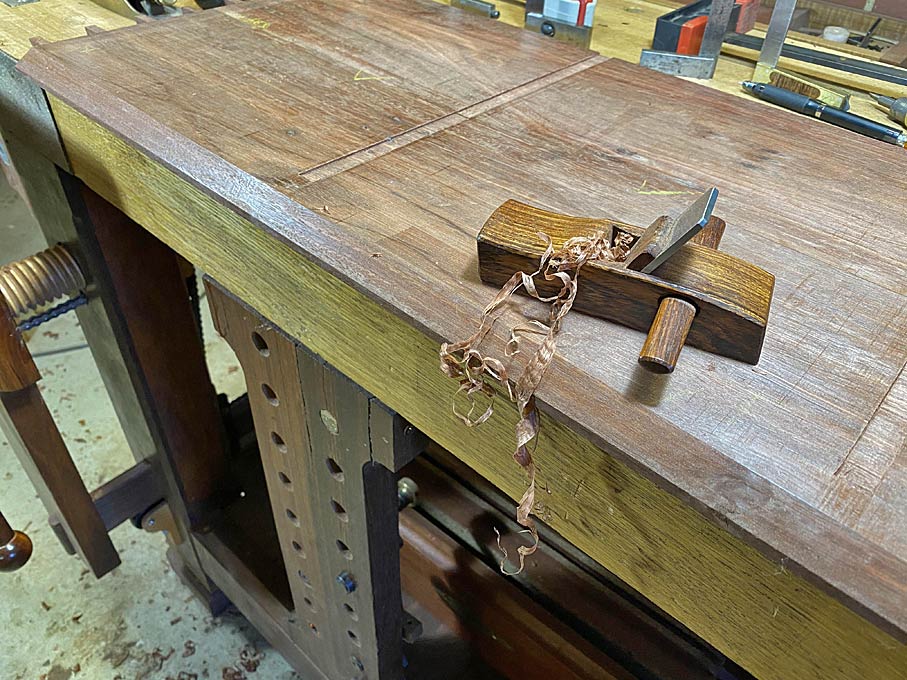
The plan was to glue up the case. However, before this is done, it is wise to fit the drawer fronts across the width (the height will be done at a later date).
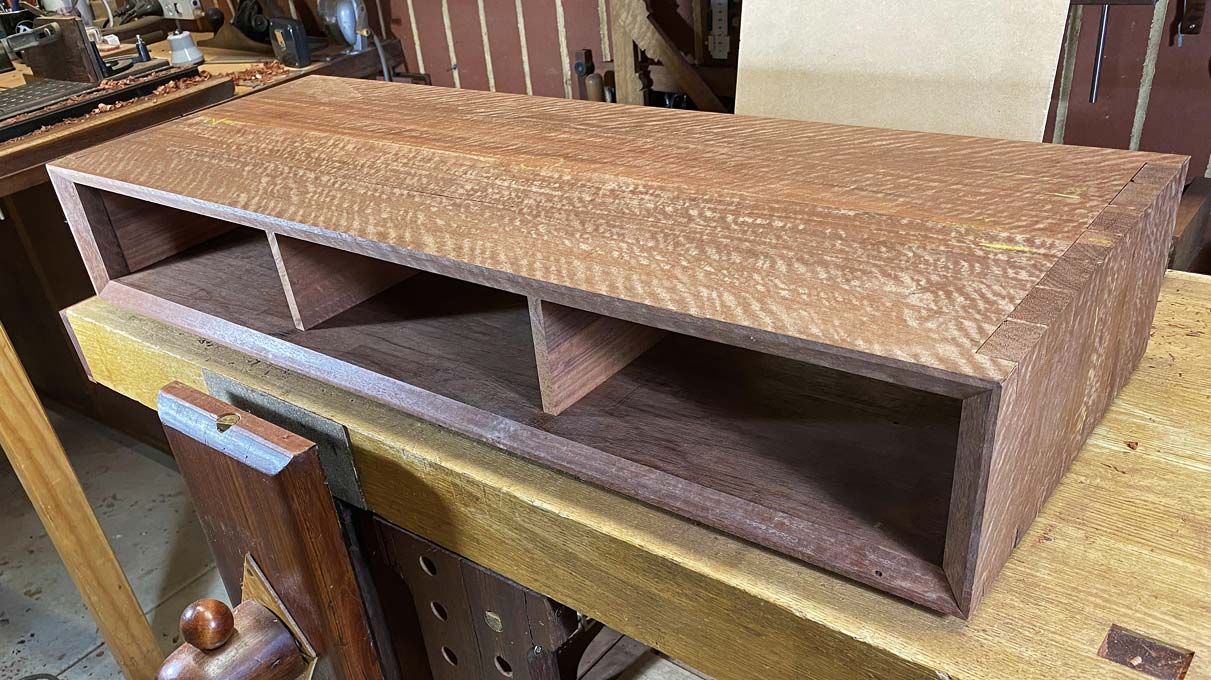
This is the board for the three drawers.
Removing one end, the board is set on the case ...
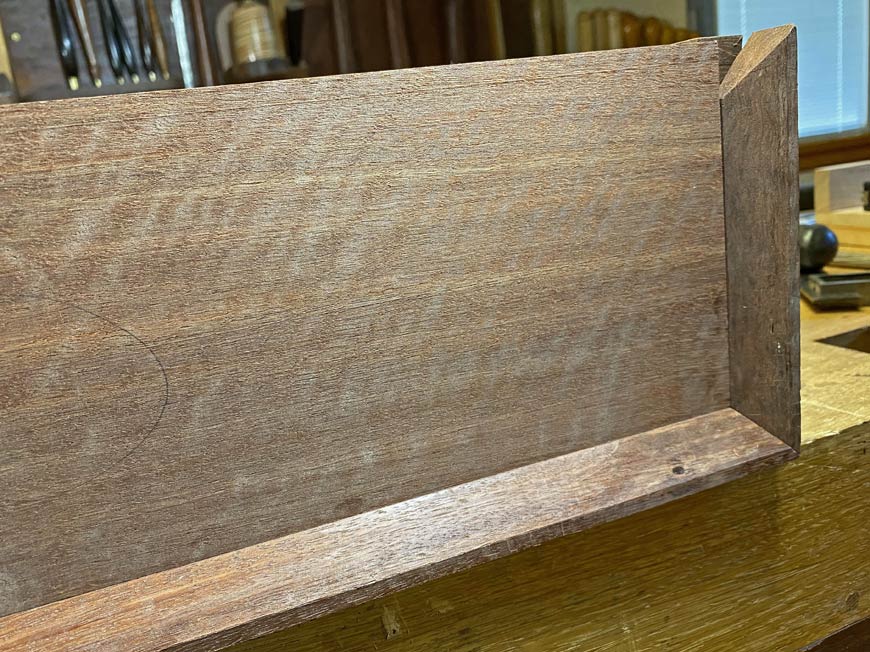
It is now apparent that the front of the bevel, where it meets the drawers, is not straight. It is possible to see a small amount of flat ...
This is especially noticeable in this corner ..
This is fairly easy to remedy ... mark with a pencil, and then plane away the pencil marks ...
Perfect now ...
The other end needs no more than a smidgeon removed ..
The upper side is now treated the same way. Interestingly, this needs no work at all.
Time to saw the drawer fronts to size.
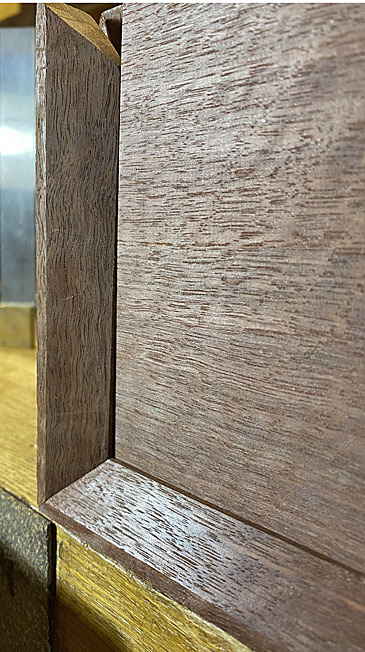
First step is to mark the middle point of each divider (since the lips will share the divider). The mark can be seen in the rebate ...
The drawer board across the front ...
Transfer the mark, and then saw the drawer front ...


 Reply With Quote