Page 1 of 2 12 LastLast
Results 1 to 15 of 20

Thread: Walnut Jewelry Box Build Thread

  1. #1
    Join Date
    Feb 2011
    Location
    Carlsbad, CA
    Posts
    2,230
    Blog Entries
    2

    Walnut Jewelry Box Build Thread

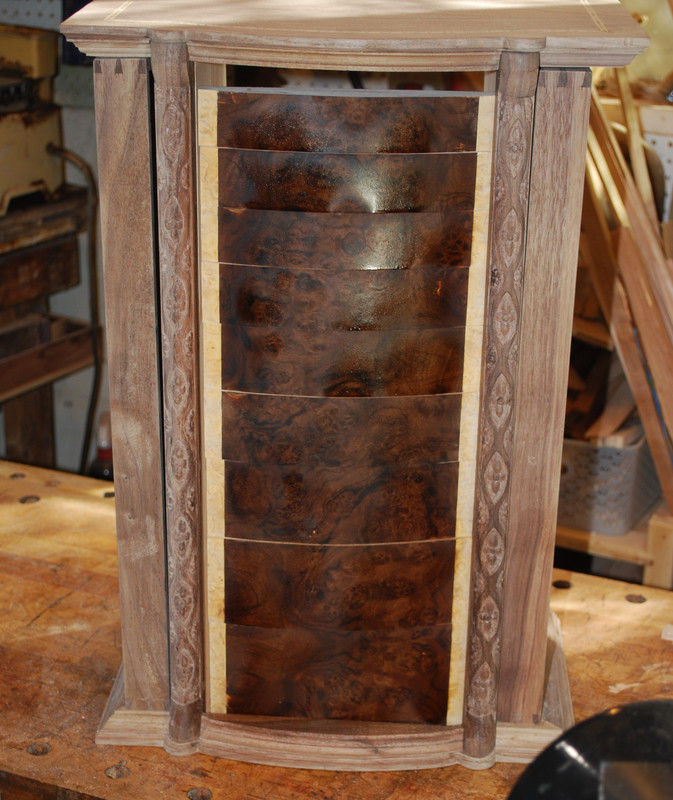
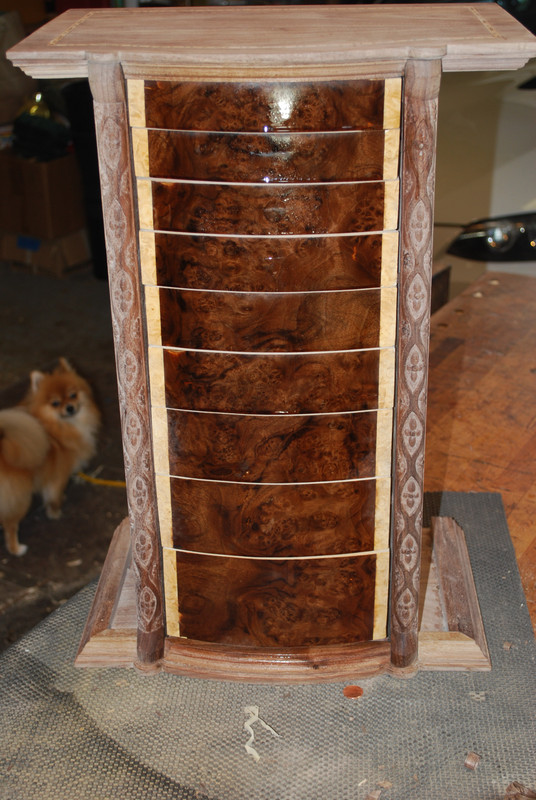
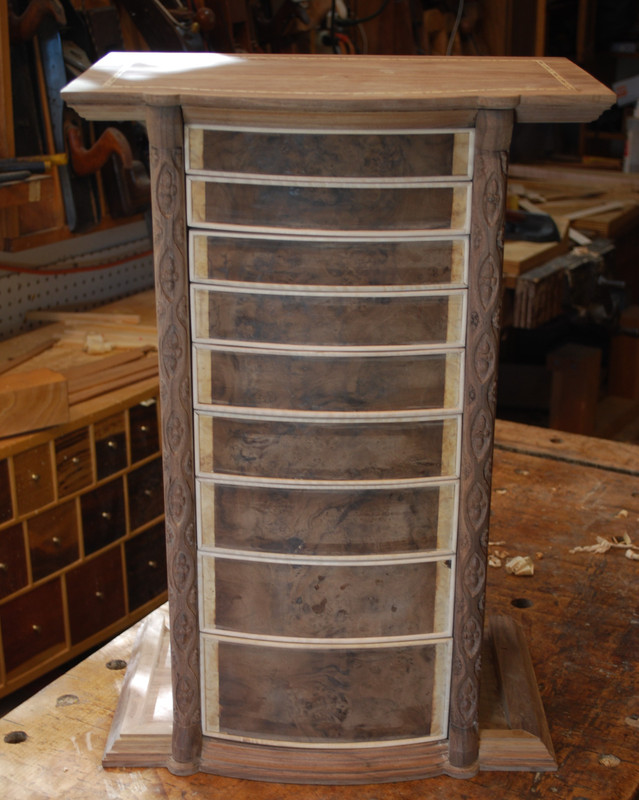
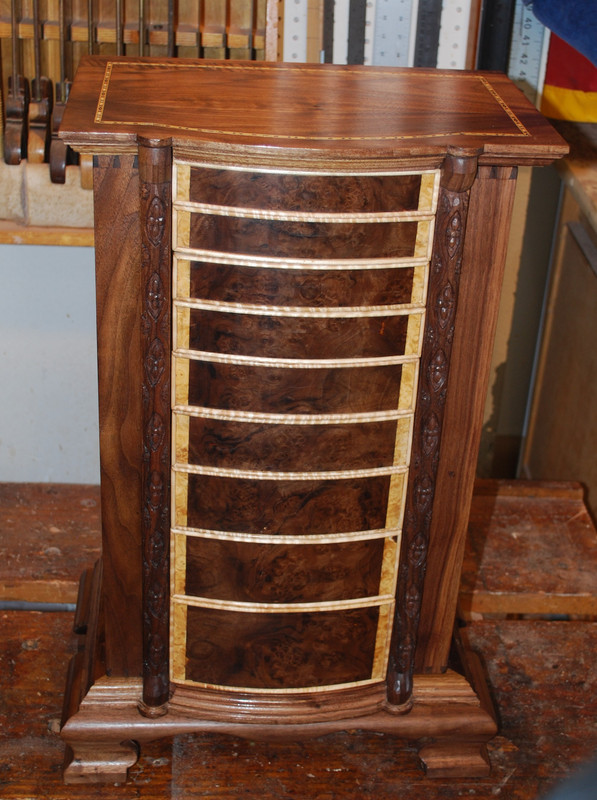
    This is a build thread for a black walnut jewelry chest that’s roughly 26” high by 16” wide by 11” deep. I hadn't planned on posting so some of the build I didn’t take any photos. I hope this thread covers most of the interesting stuff.

    The LOML is a big jewelry fan and several years ago to my surprise and disappointment she bought a jewelry box similar to this design to arrange her stuff. I thought “Really? You didn’t even mention this is something you’re interested in. Goodness knows I would’ve made it for you”. Naturally I took her decision to buy something off the shelf as a lack of confidence in my ability. This build is my attempt to correct this mistake.

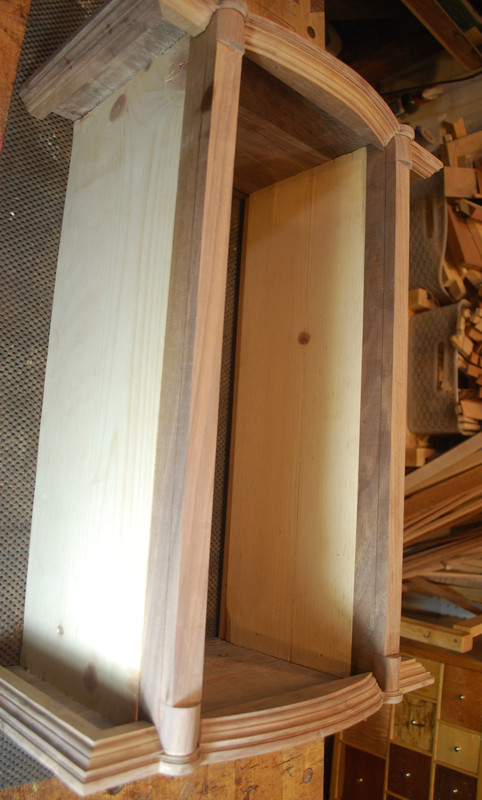
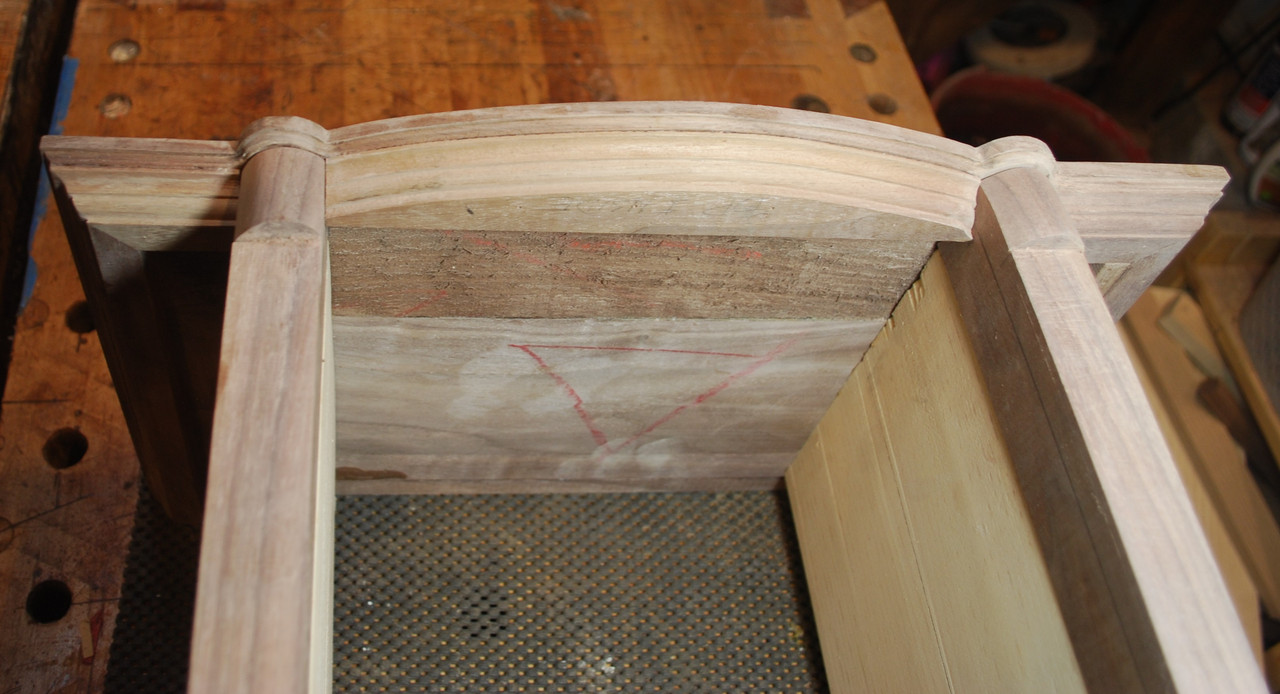
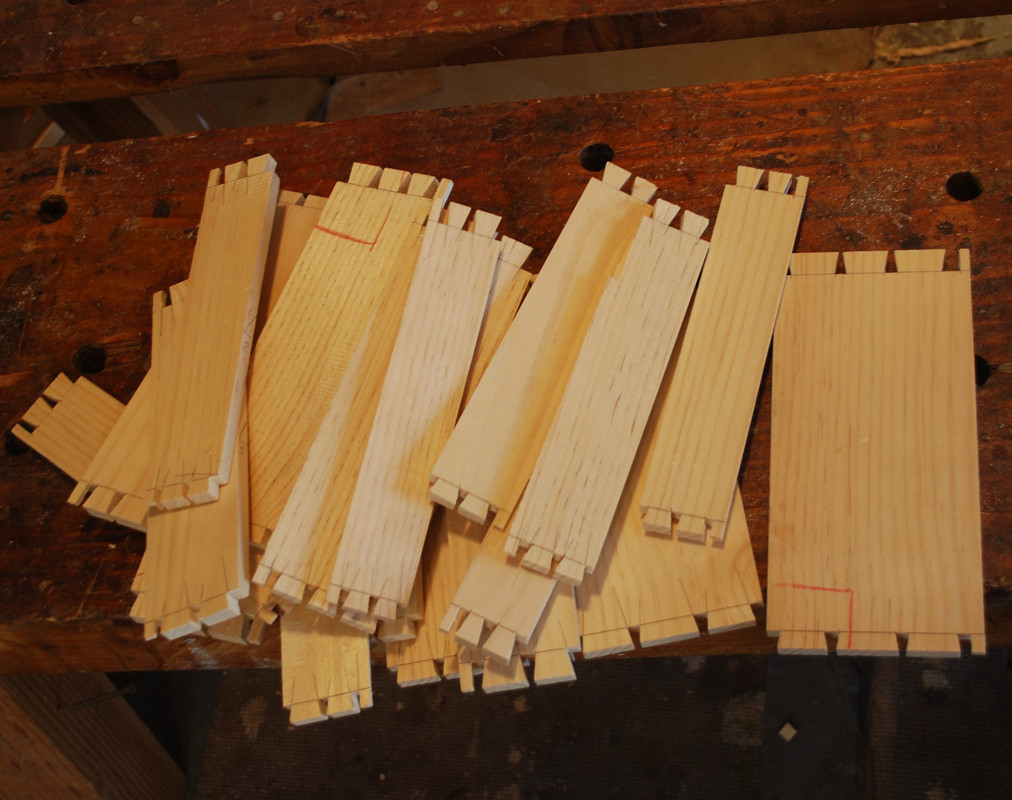
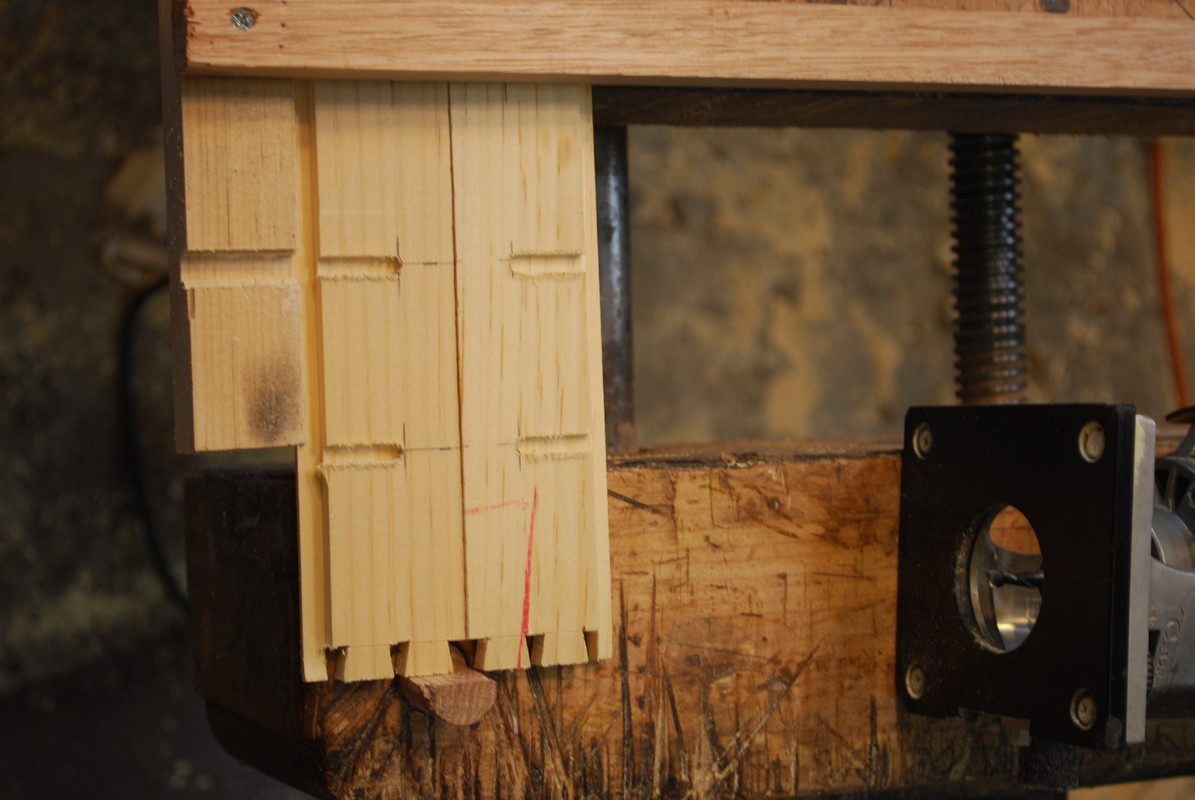
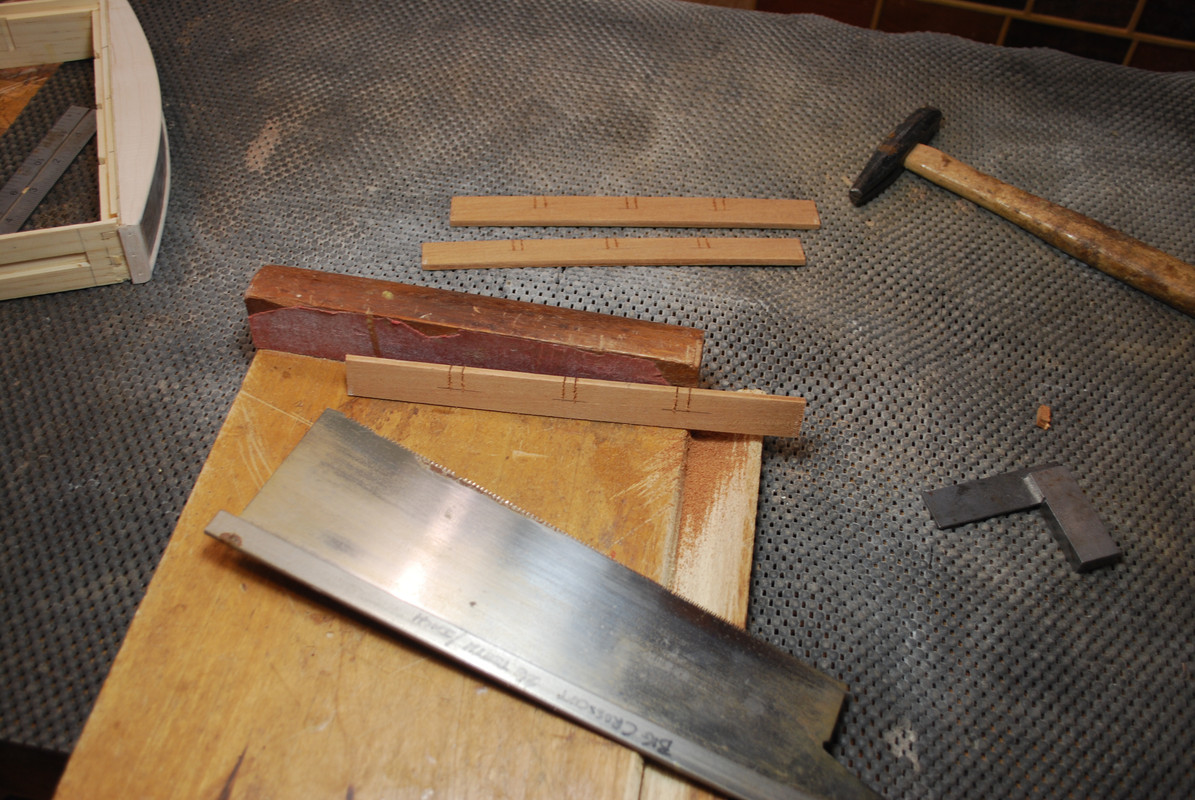
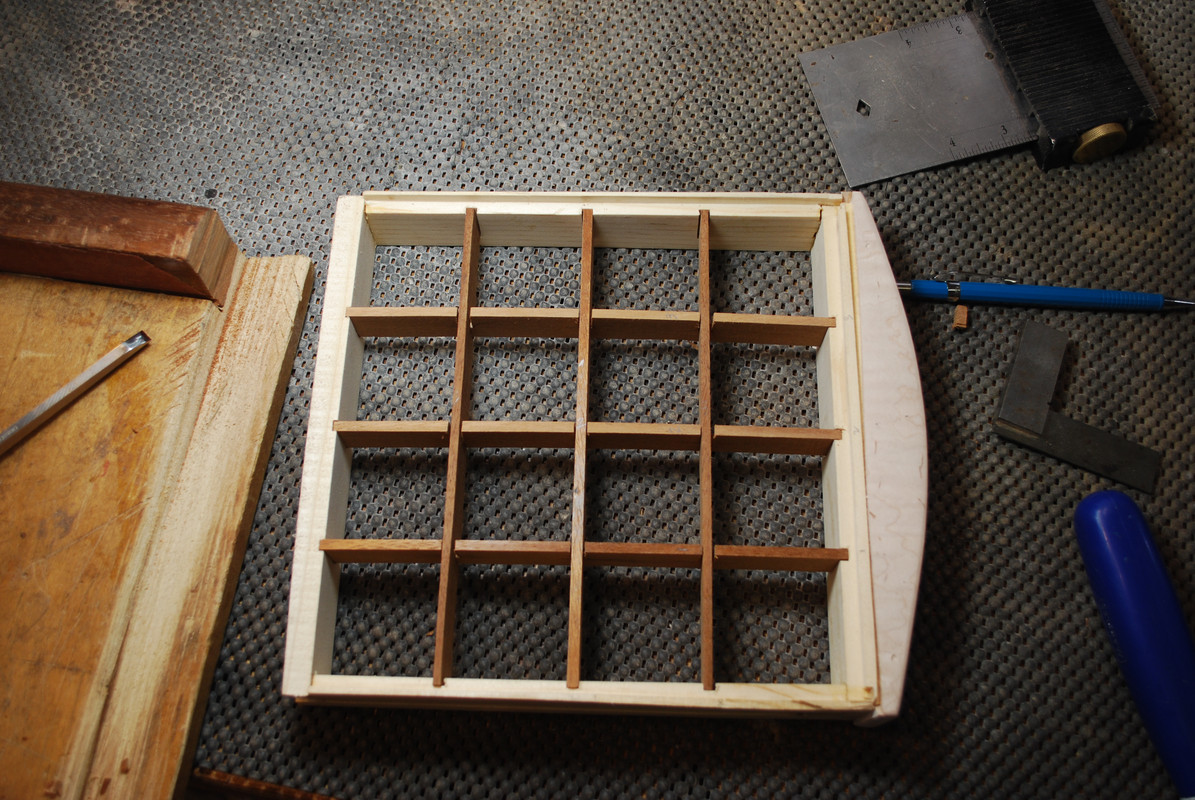
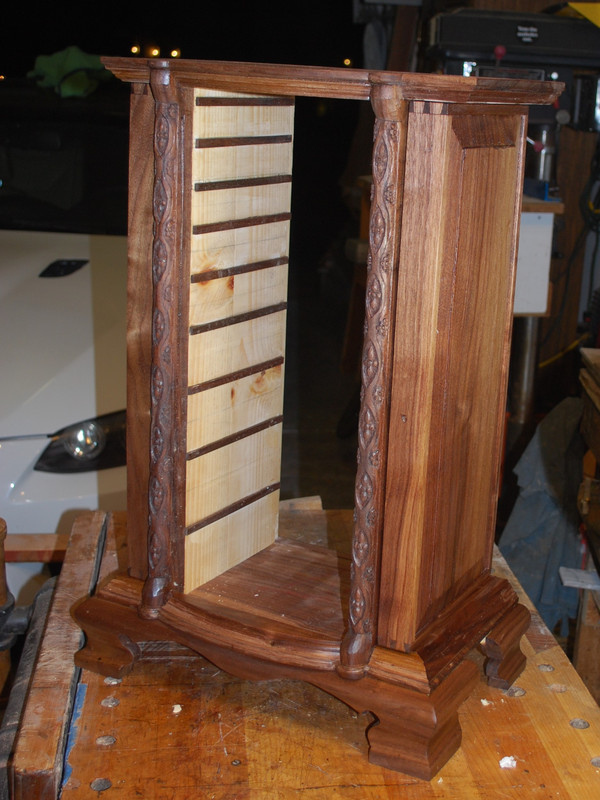
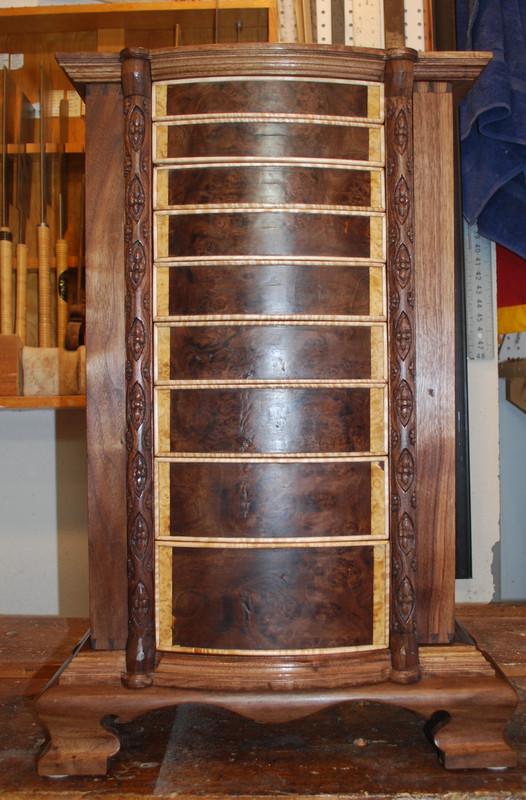
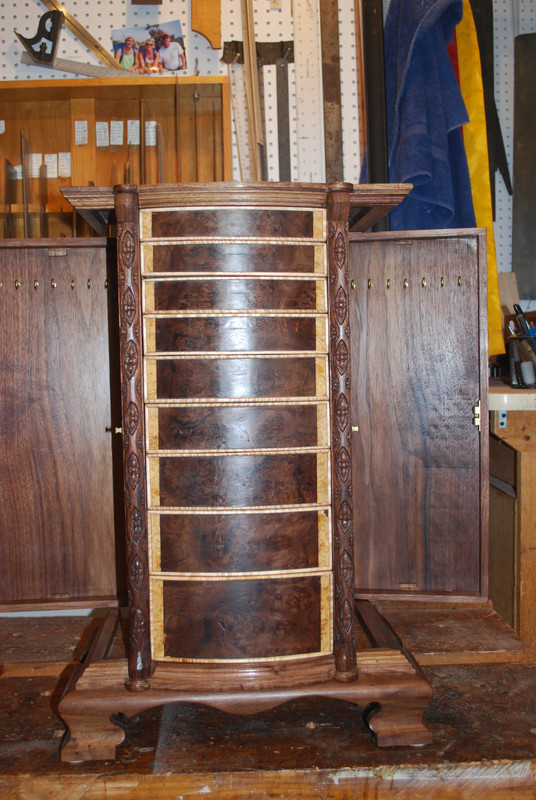
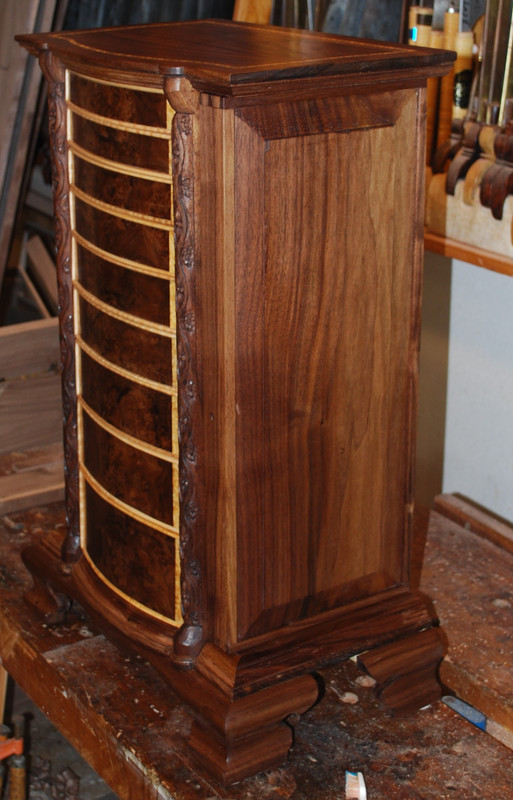
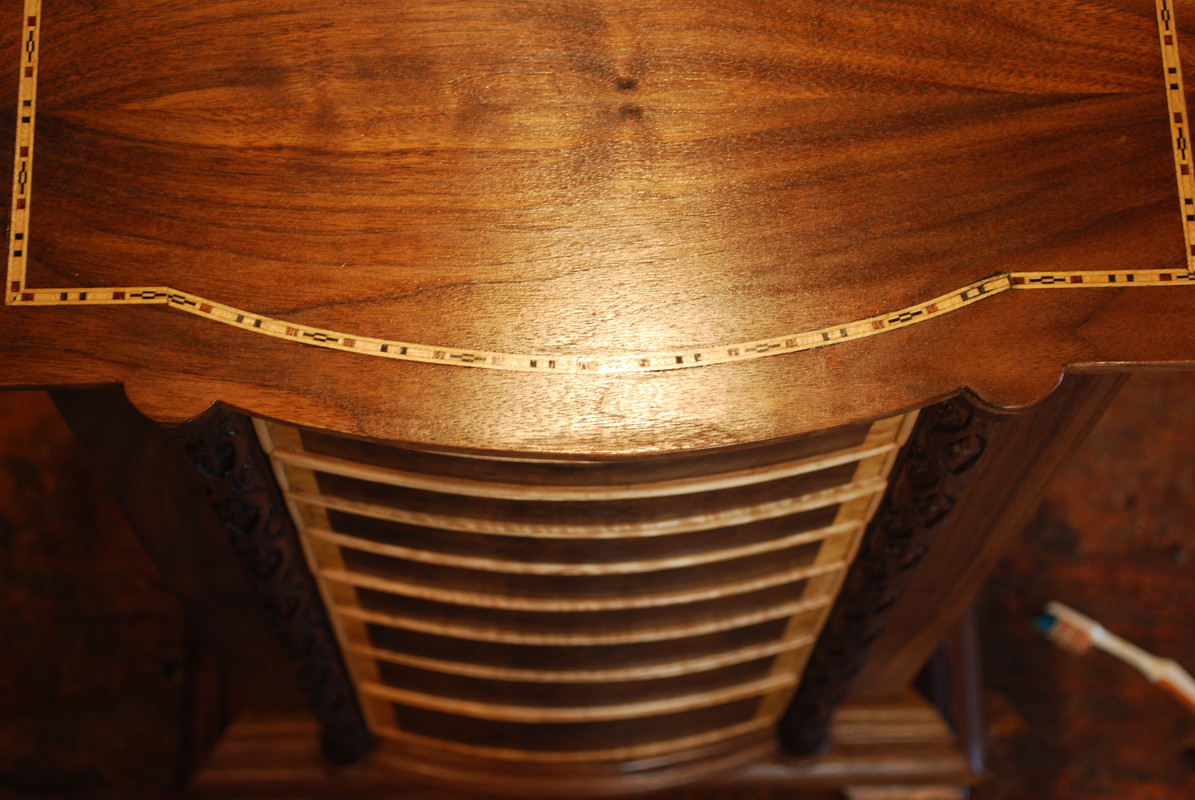
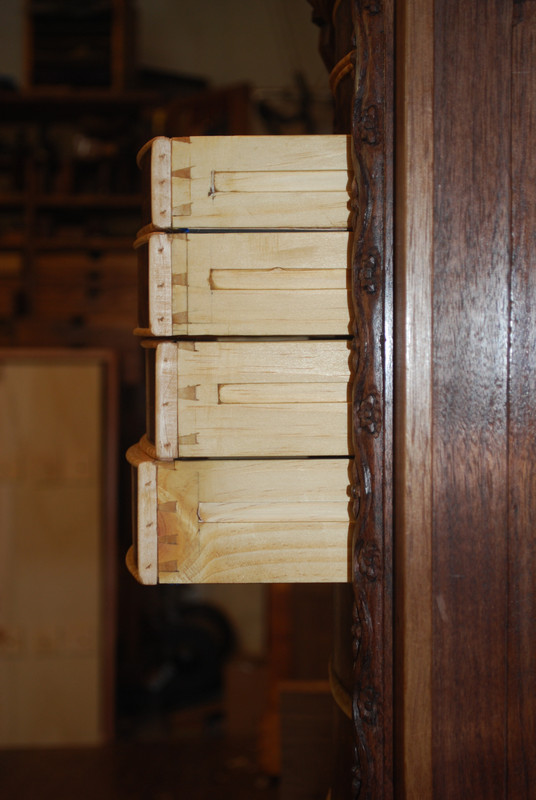
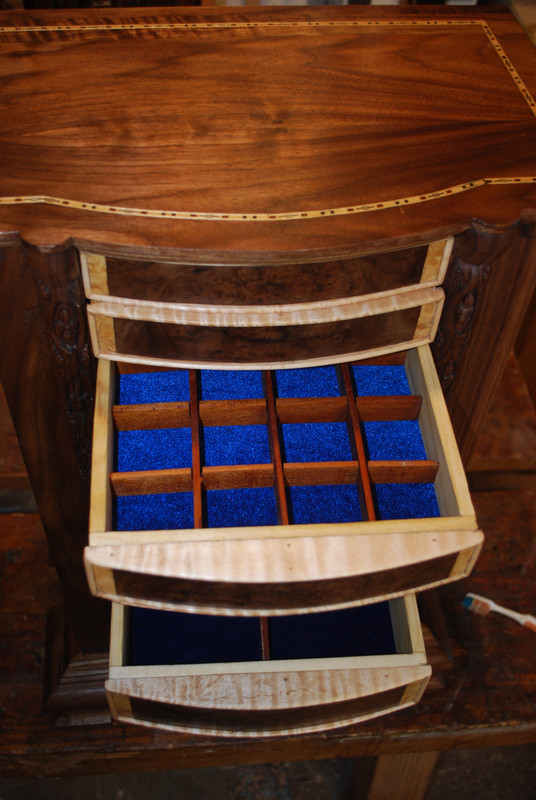
    The design is simple: top and bottom with curved fronts and moldings and solid pine vertical dividers to capture column of graduated with drawers and 1 ½” deep frame and panel sides that are hinged at the back of the vertical dividers to foldout and contain hang stuff like, I don’t know necklaces maybe.


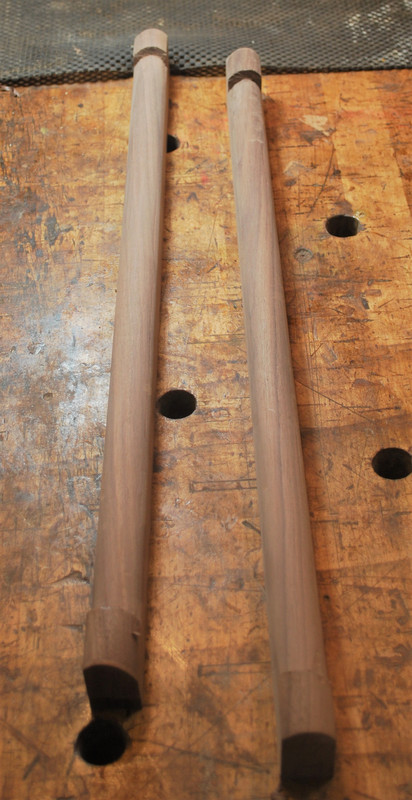
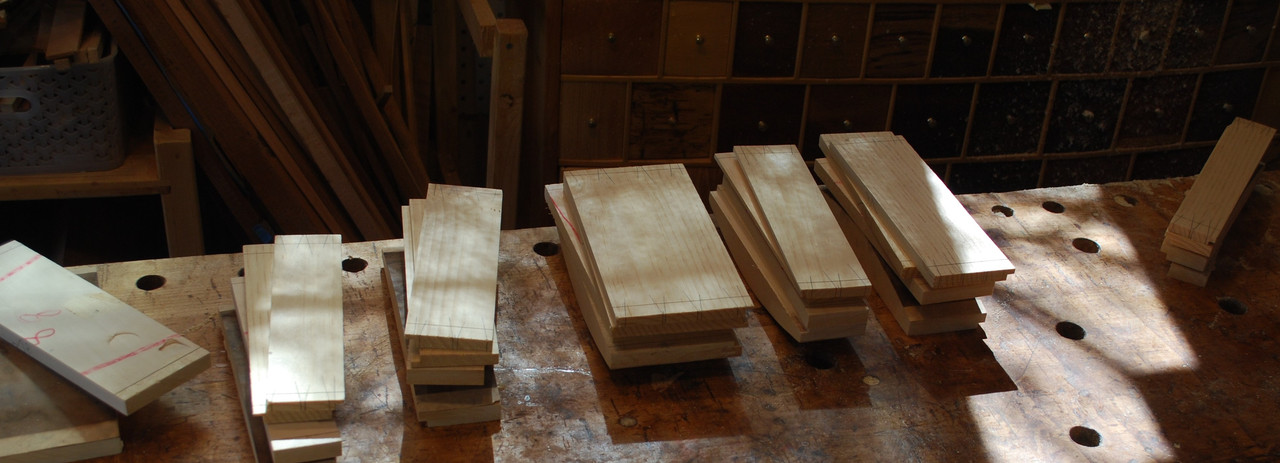
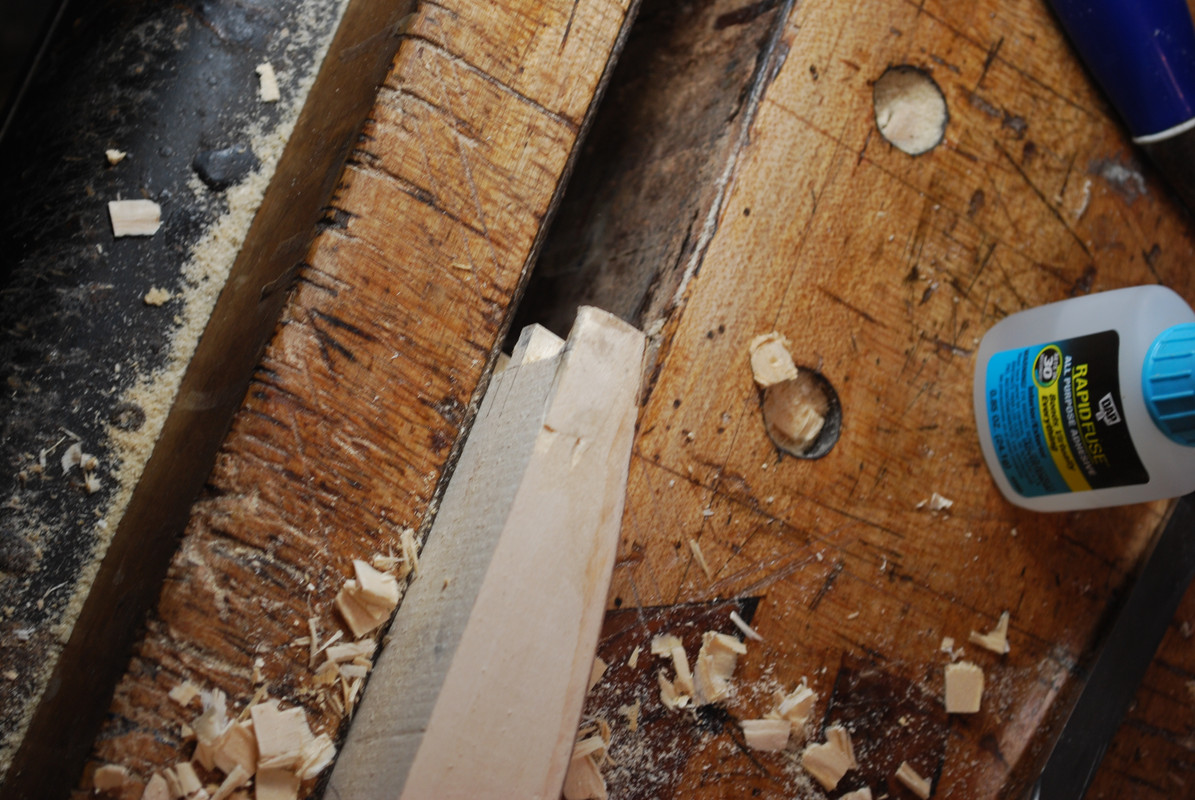
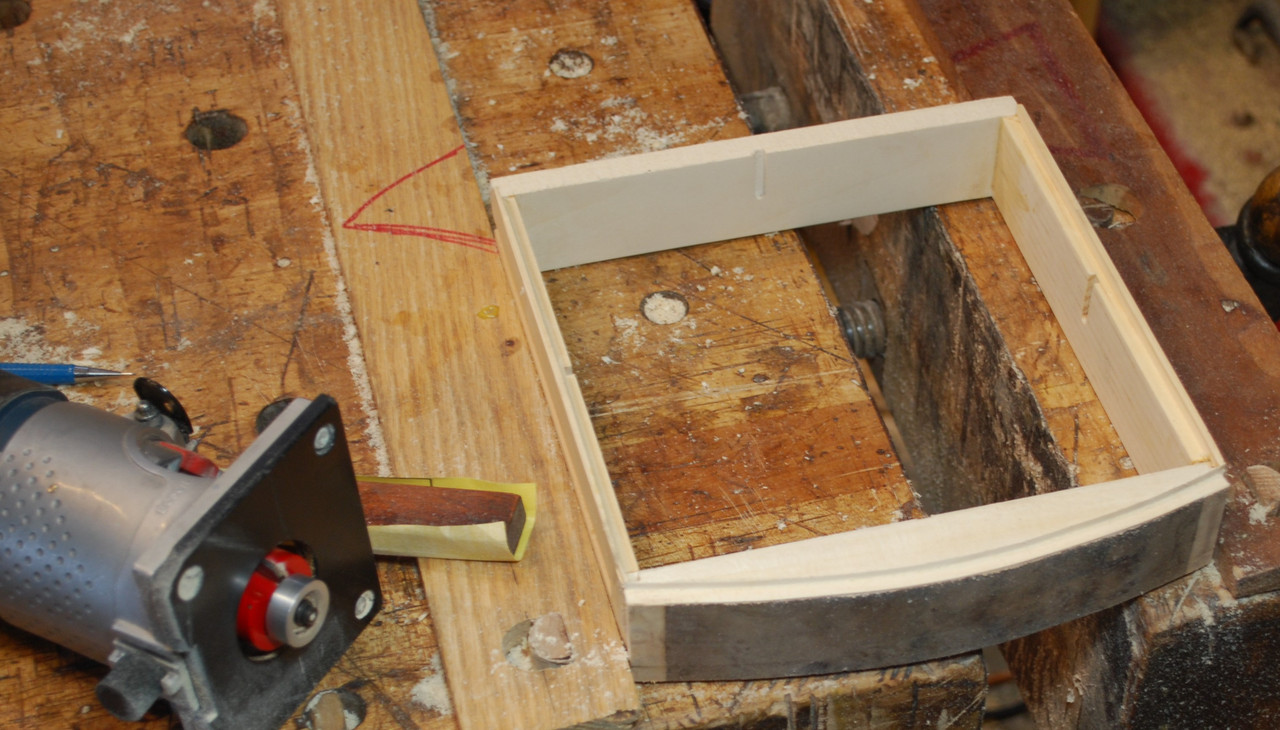
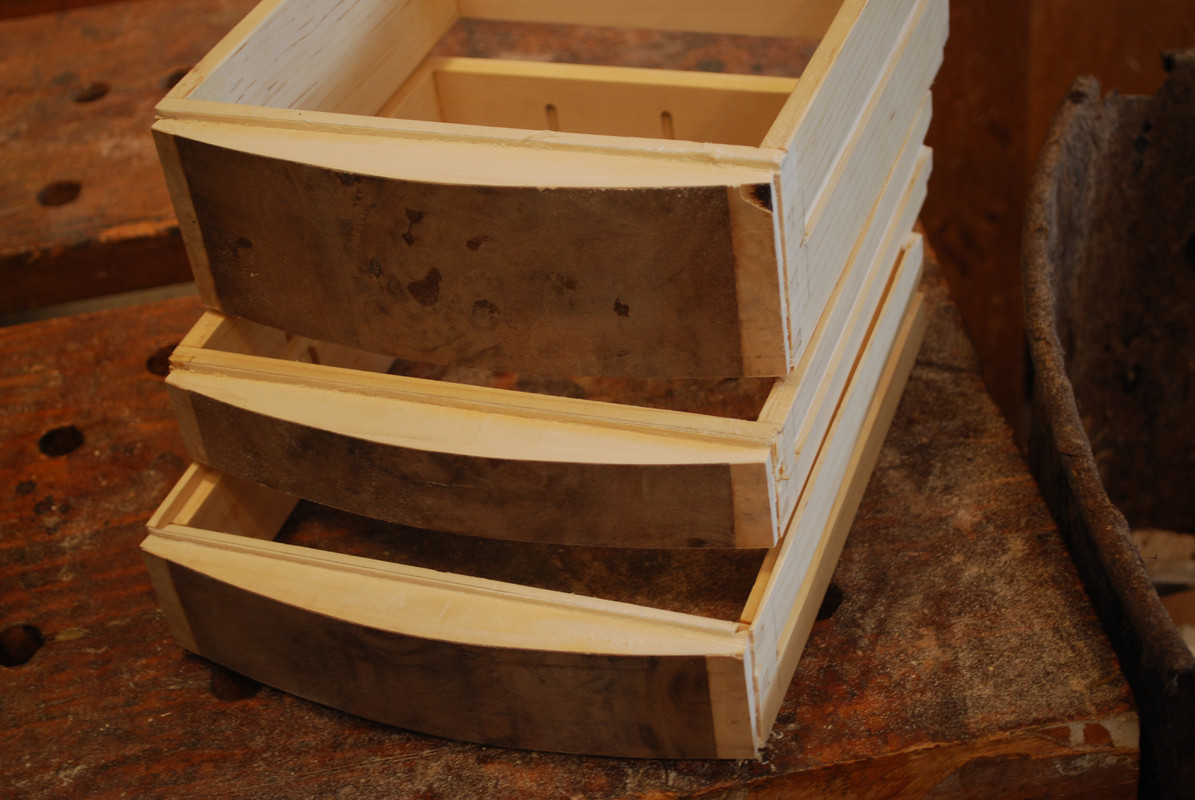
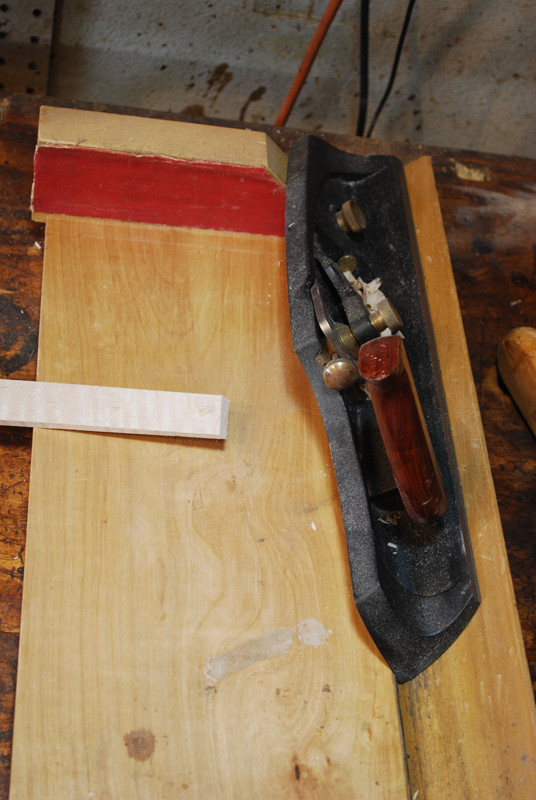
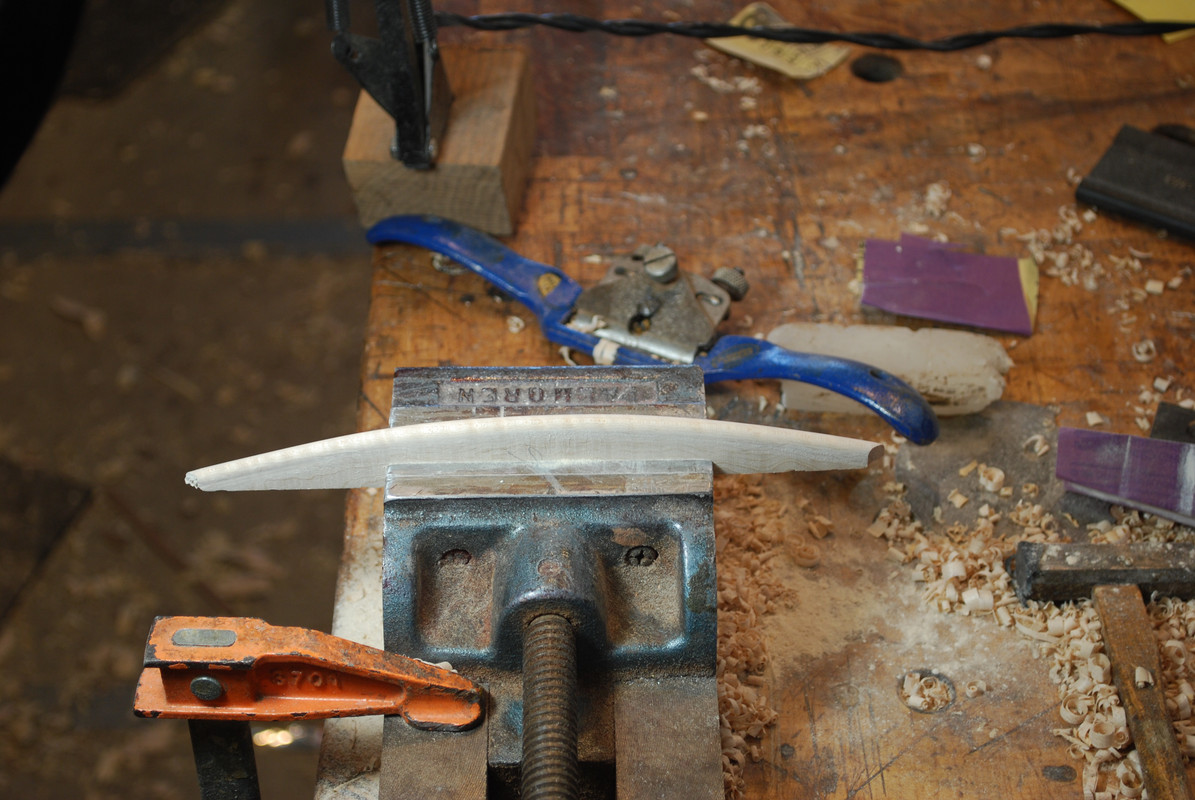
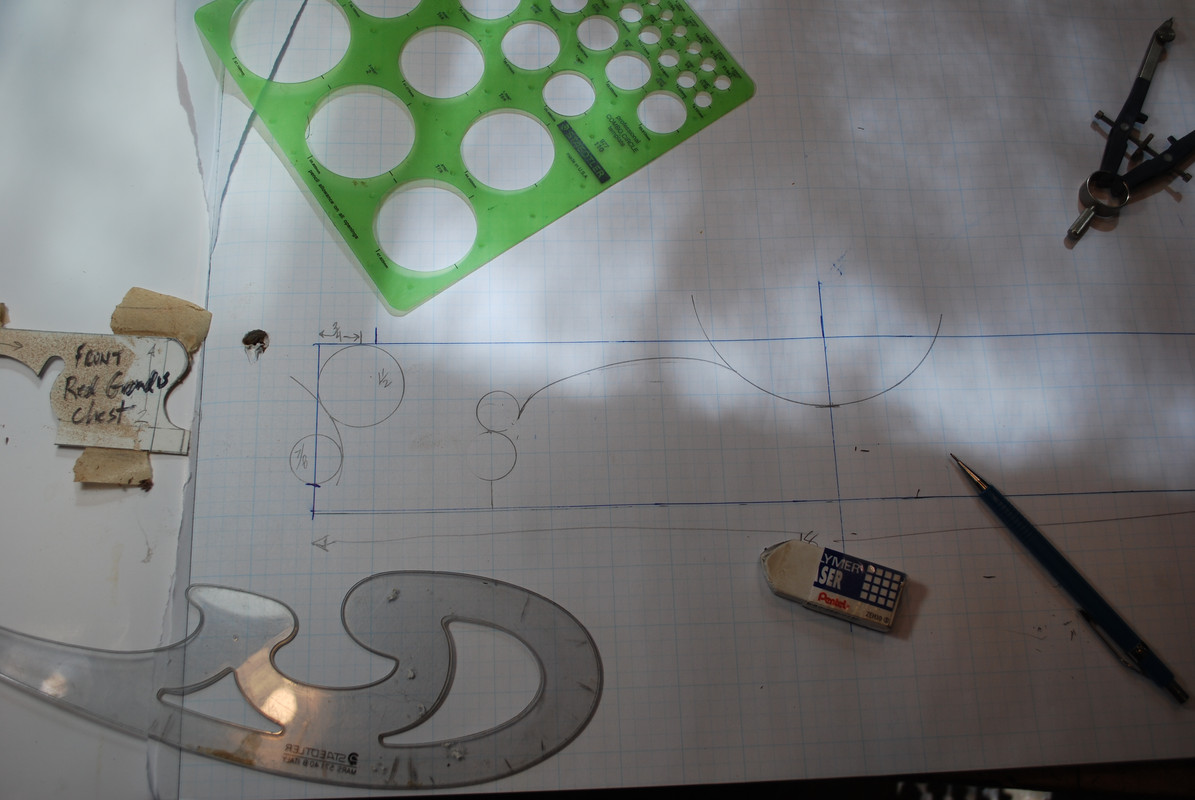
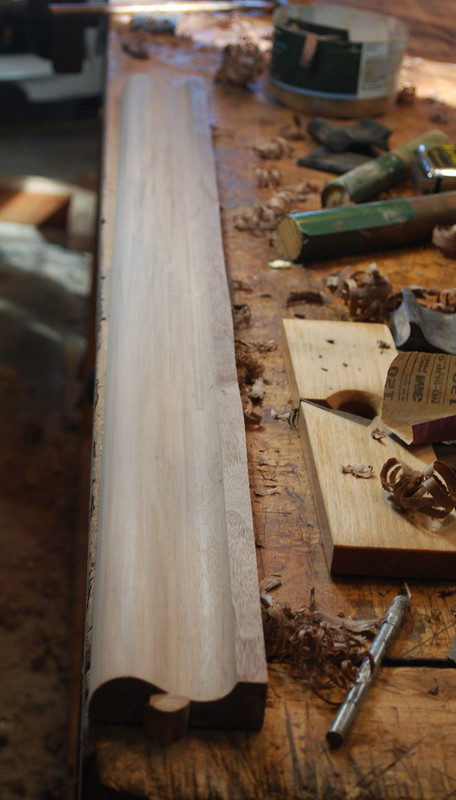
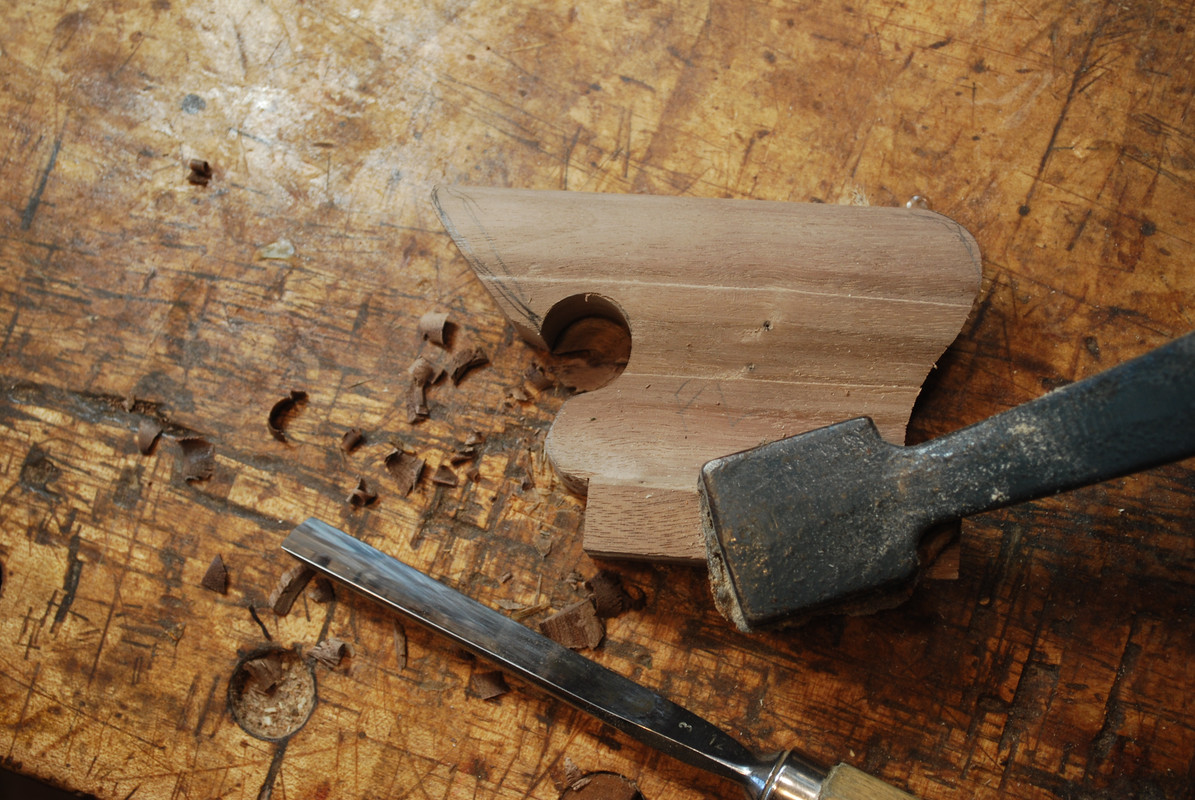
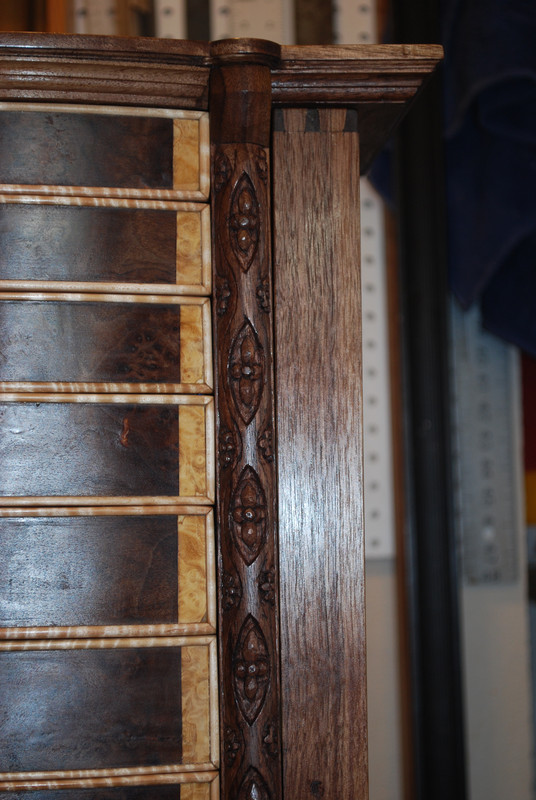
    I thought it would be cool to incorporate some carved columns to face the pine dividers. First step was creating the curved front using scrapers, spoke shaves and these rubber sanding blocks I find super helpful.


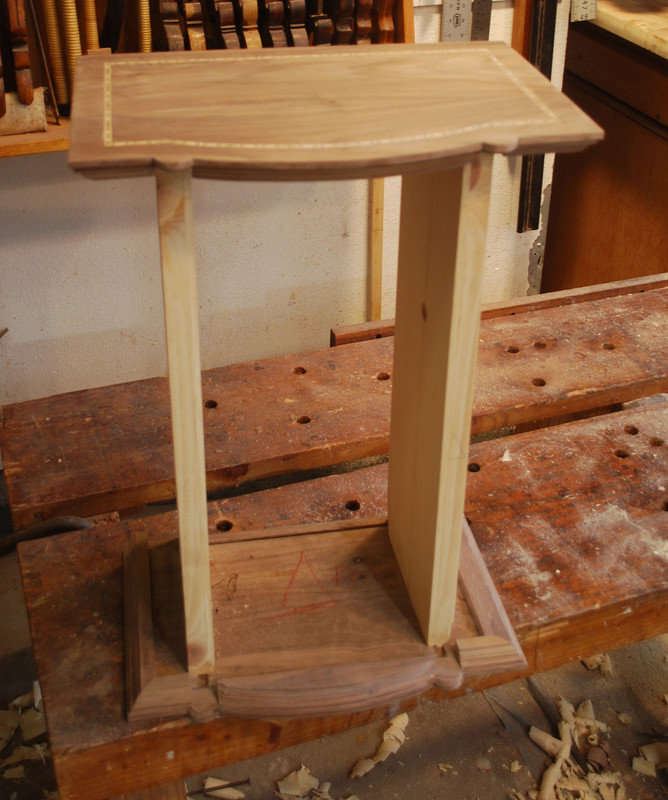
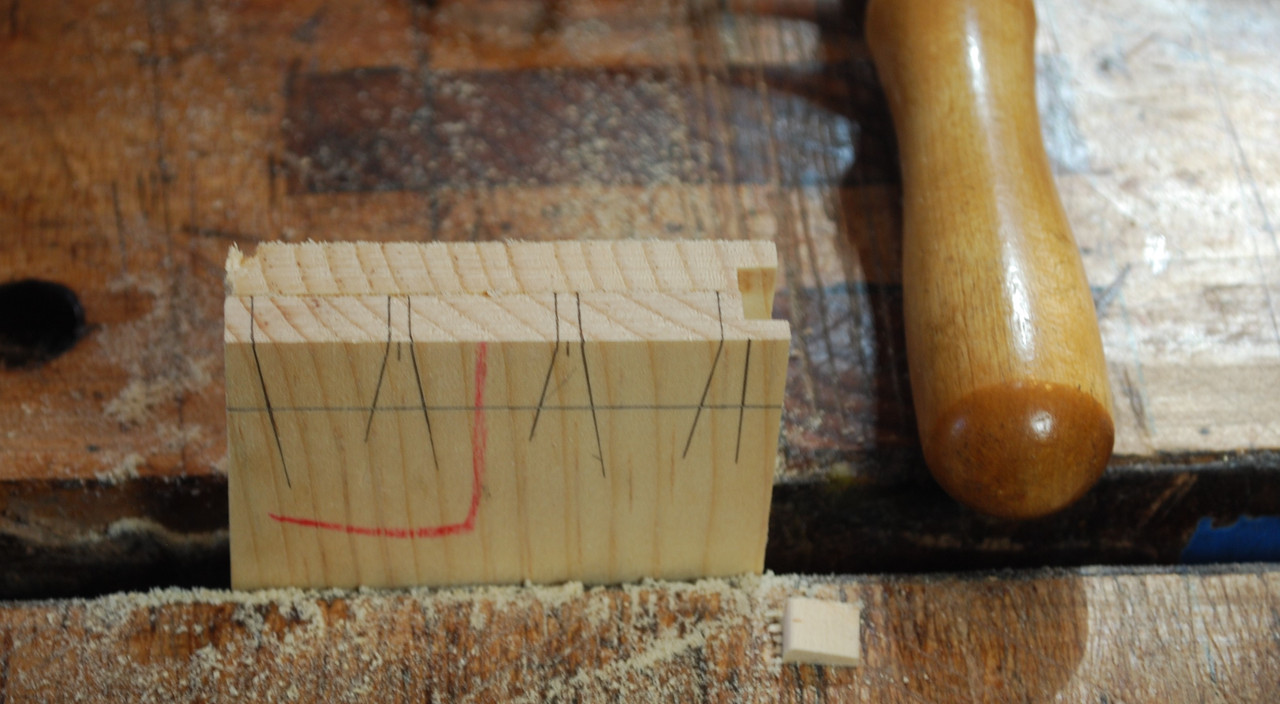
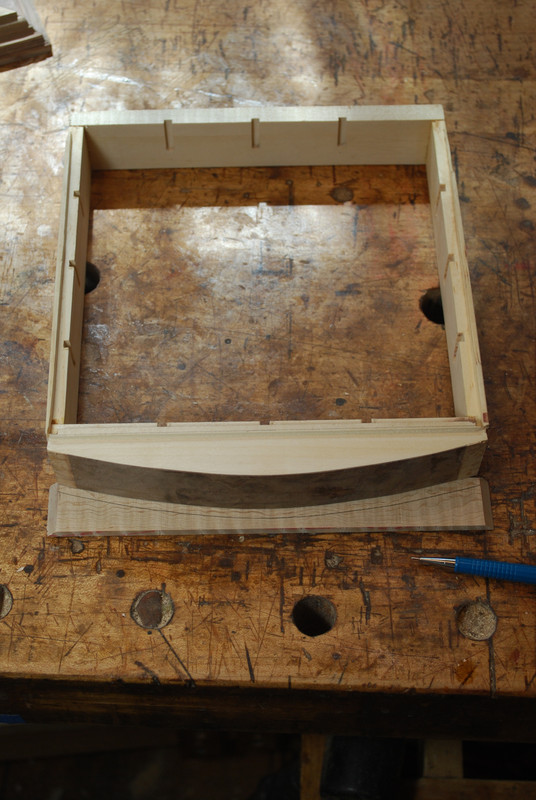
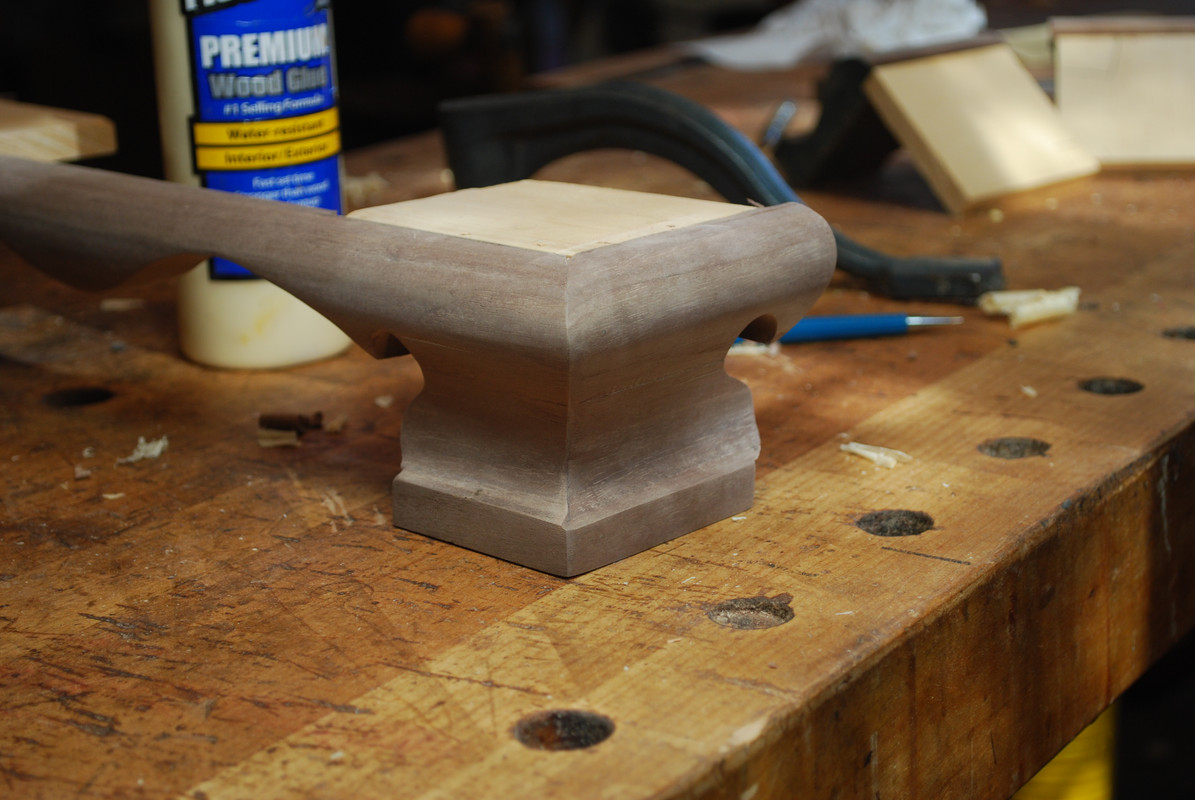
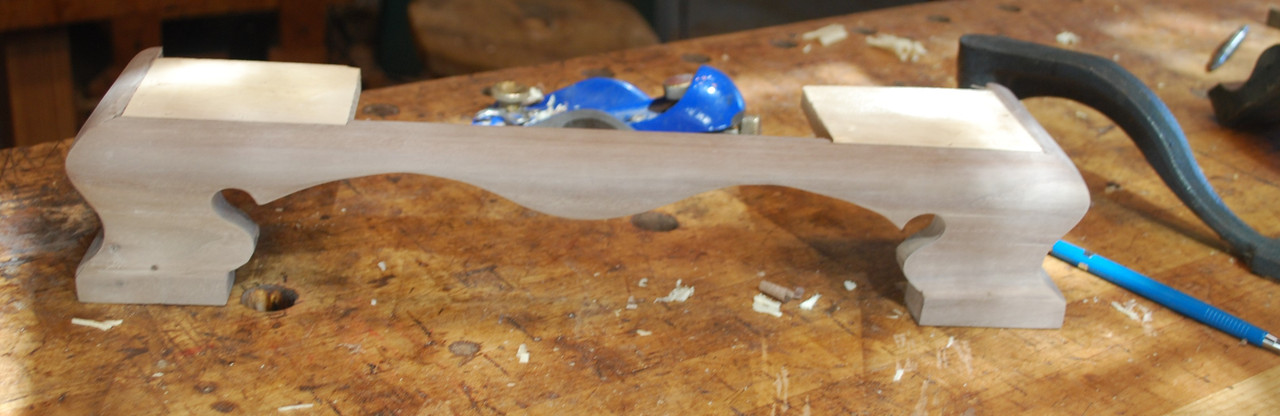
    Here’s the rough “setting in ” of the basic design.


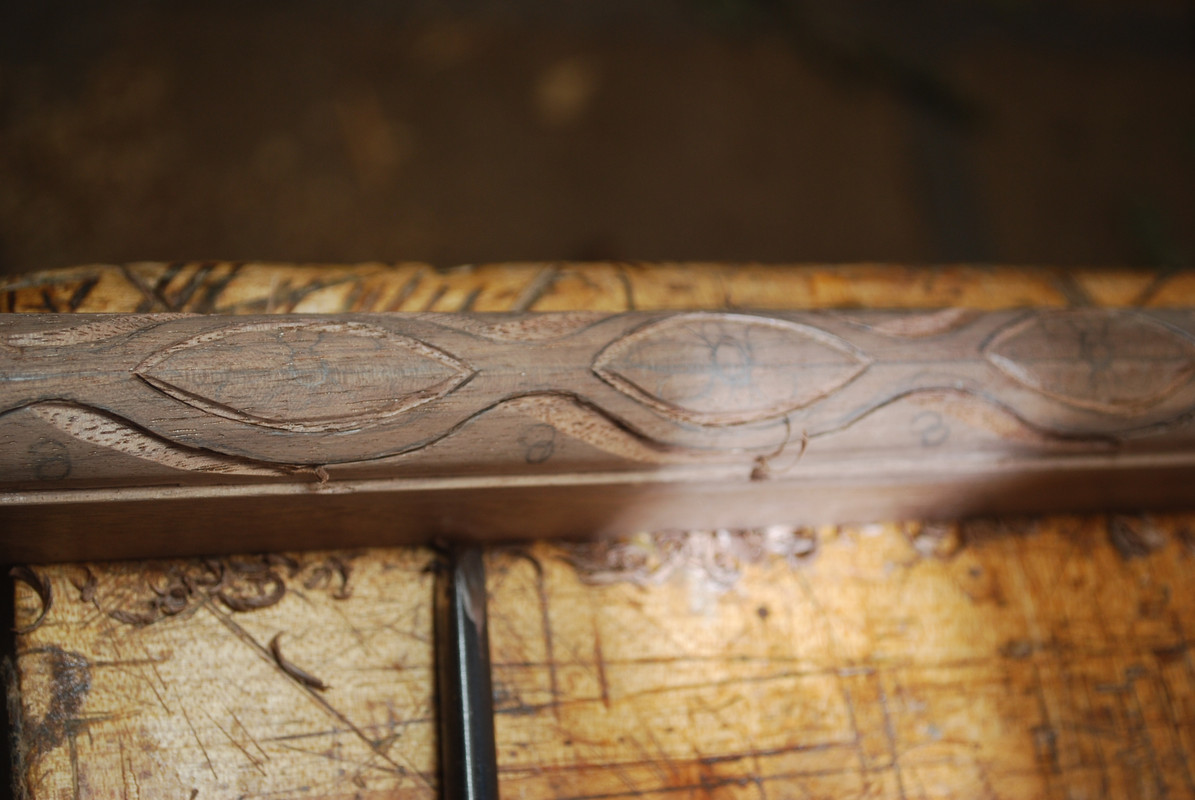
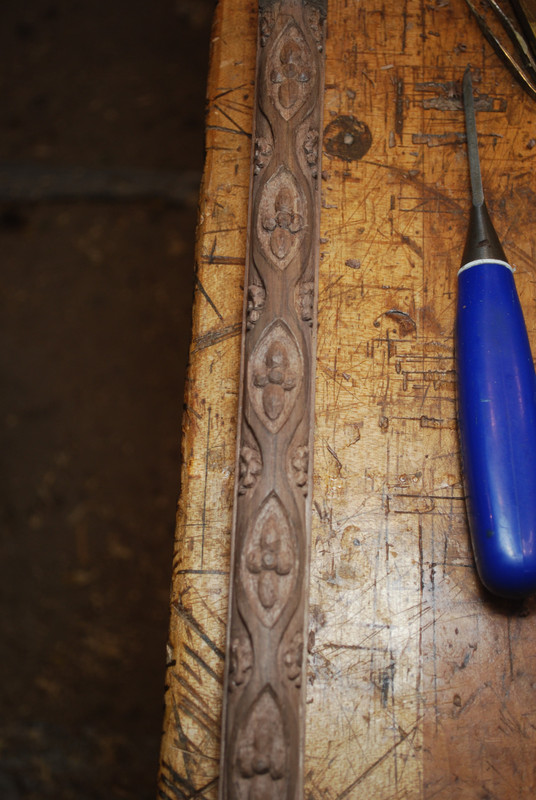
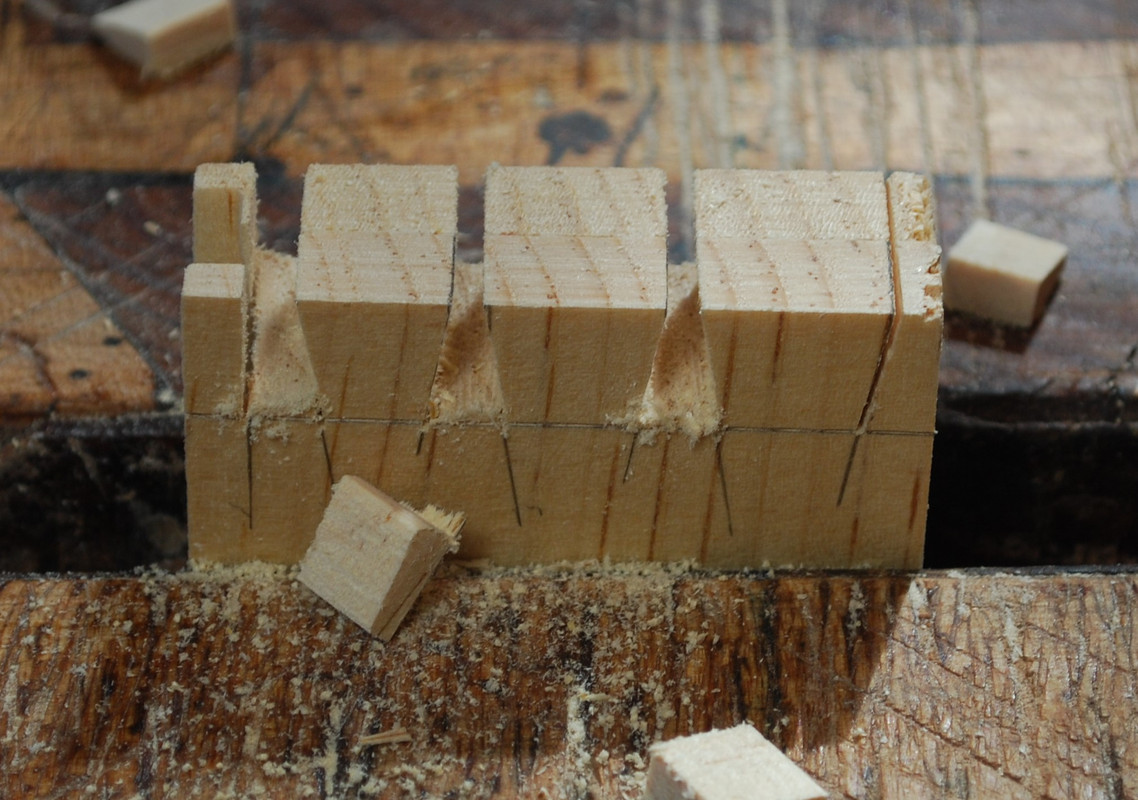
    Used a V tool to remove background for front and side surfaces where flower elements will be carved.


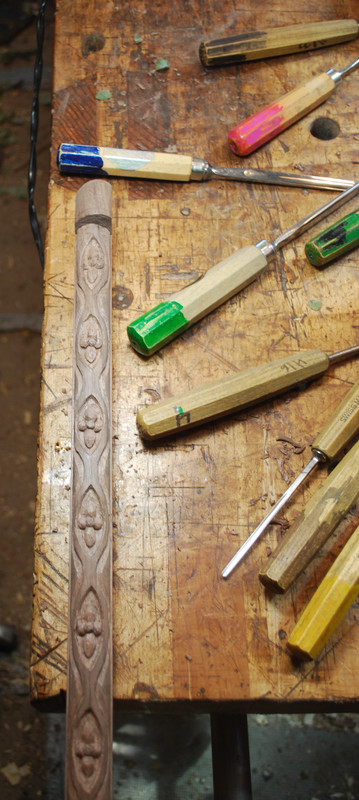
    Here are the hopefully “floral” designs for the face. I started with the round central element and then created the curved leaves based on gouge sweeps.


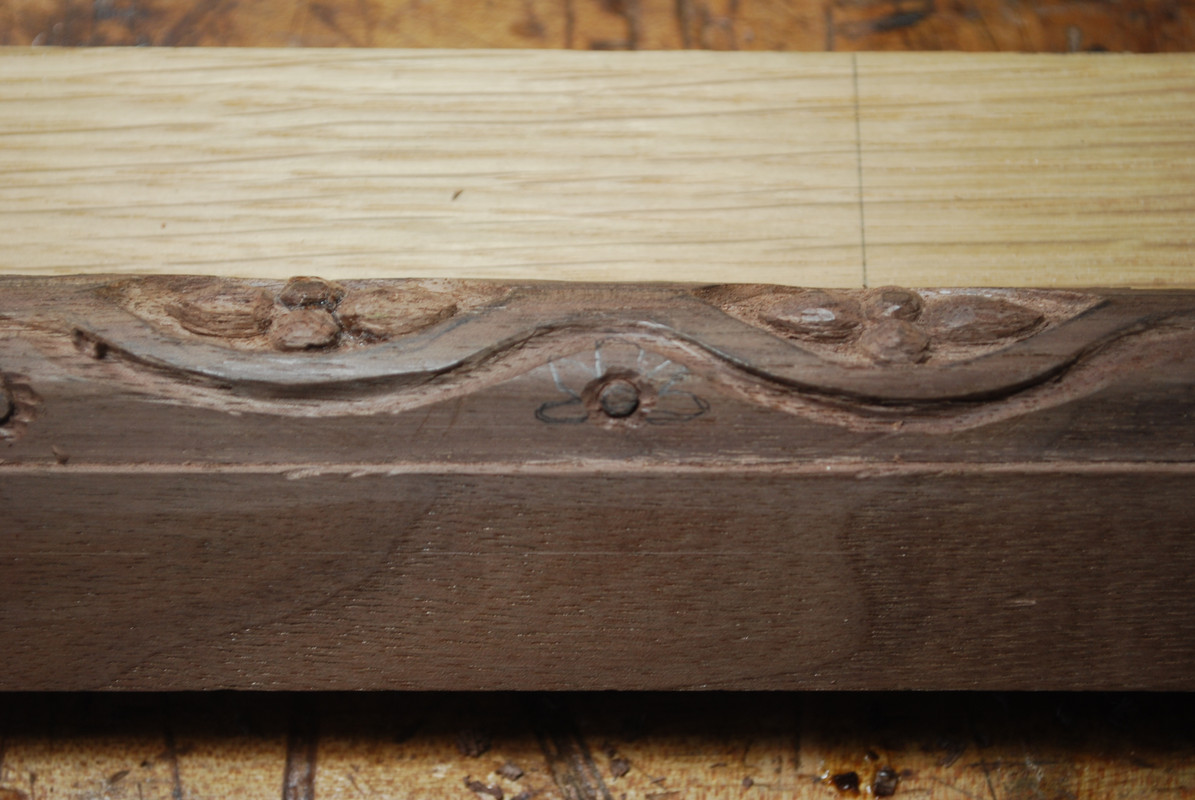
    Additional flowers were carved on the sides.


    If you’re interested in carving, one tip I might suggest is color coding the handles of your carving tools by sweep so there easier to recognize when they’re sitting on the bench – i.e. all the #3 curves gouges are green, #5 curves are blue etc.


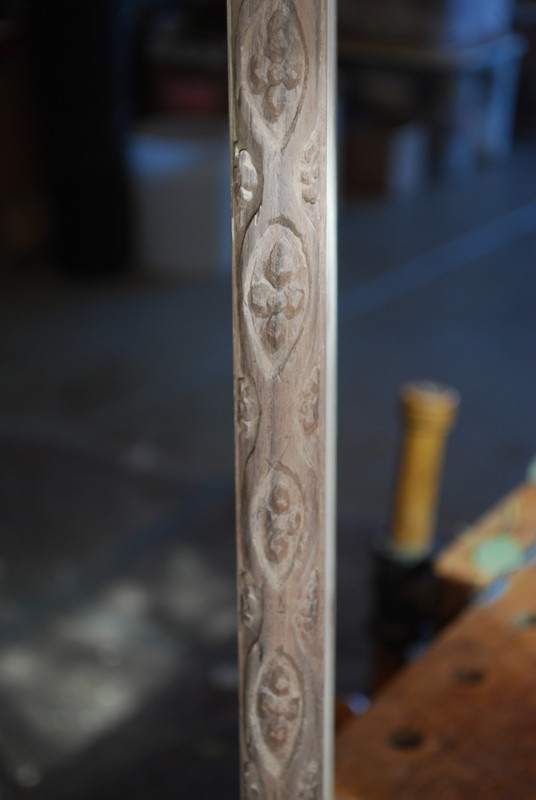
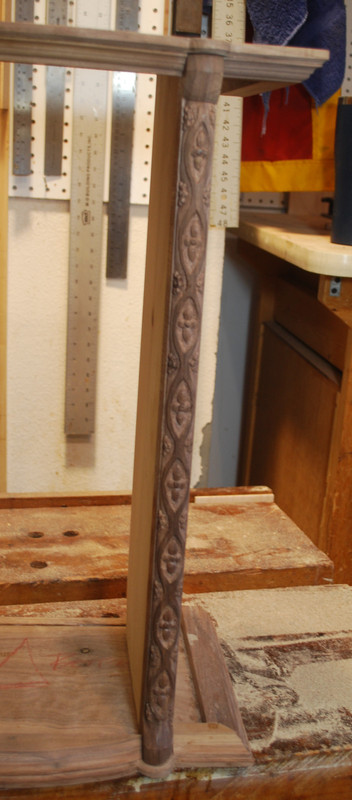
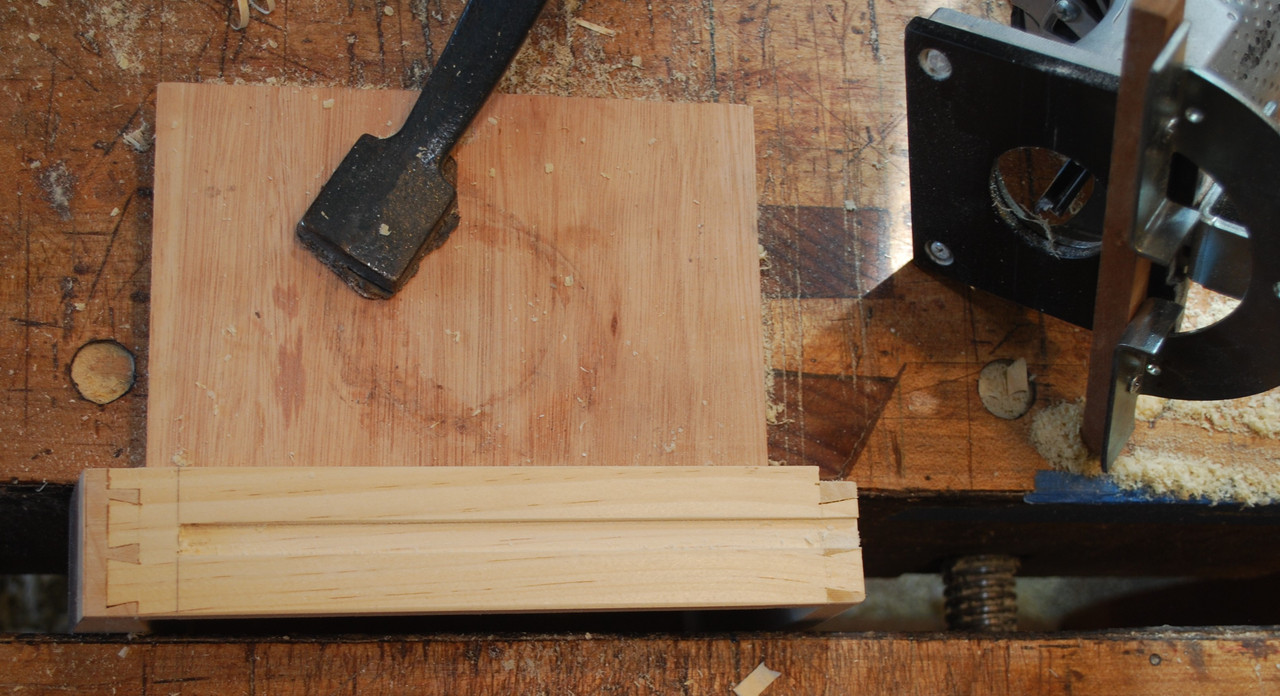
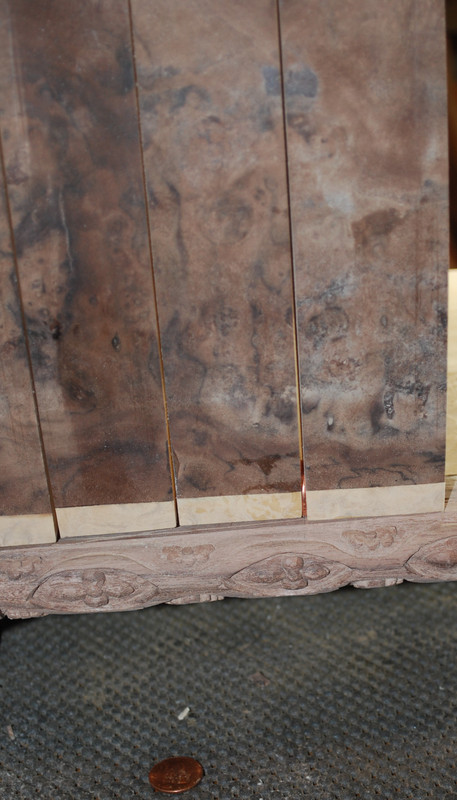
    Here is the finished column glued into the case.


    Last edited by Mike Allen1010; 03-15-2022 at 1:54 PM.

  2. #2
    Join Date
    Feb 2011
    Location
    Carlsbad, CA
    Posts
    2,230
    Blog Entries
    2
    The essential feature of the design are drawers with curved fronts that mimic curve of the top and bottom of the case, veneered with walnut burl. I highly recommend using some kind of “veneer softener” to keep fiddly veneers flat.


    Curved drawer fronts were made out of basswood which is super easy to shape. To get consistent curves and veneer match, I veneered a solid block of basswood drawer fronts and later cut them to individual height. I graduated the heights of the drawer fronts using a super cool online “drawer arithmetic calculator”. I’ve no idea how you do the math otherwise. My Walnut Burl veneer was exactly 1 inch too narrow to cover the entire drawer fronts so I added margins of Elm Burl veneer. Here’s the dry fit. You can see there’s a gap in the total height of the drawers because I’m going to add cock beading on the drawer fronts to make up the desired final height.


    Nine drawers meant lots of dimensioning sides/backs and dovetails. To speed the process, I laid out the dovetails on one drawer front and cut both of them together. This is where accurate sizing drawer components pays off.


    Half blind dovetails of the front are always a kind of PITA for me, especially in fragile basswood. Skew chisels are very helpful. Here you can see I blew out the edge of the dovetail socket on the right. Superglue was a solution.


  3. #3
    Join Date
    Feb 2011
    Location
    Carlsbad, CA
    Posts
    2,230
    Blog Entries
    2
    Before assembly I cut stopped dados on the interior drawer surfaces for dividers to be installed after drawer assembly. For me this is perfect task for trim router and T square quide.


    With so many narrow drawers, most practical solution was using side Hung grooves and rails. Given the small tolerances, this construction has the advantage of being easy to address the drawer fit with a quick pass of a block plane on the rails.


    To get uniform spacing the drawer heights I use pennies. Here’s the dry fit.


    Next step was creating small rabbits on the drawer fronts for curly maple cock beading. As much as I like this design element, it’s super time intensive, although the work is fun, basic sawing, shaping and planing with hand tools. Getting uniform thickness of the beading makes final fitting a lot easier. I fit the top and bottom first with miter corners and add side pieces last.


    I’m not gonna lie, there was plenty of planing, sanding, cursing etc. but finally ended up with decent fit and uniform reveal.


    Cutting half lap joints for mahogany internal dividers. For small delicate stock like this I think the Japanese dozouki is super helpful.


    Last edited by Mike Allen1010; 03-15-2022 at 2:02 PM.

  4. #4
    Join Date
    Feb 2011
    Location
    Carlsbad, CA
    Posts
    2,230
    Blog Entries
    2
    Here’s laying out the Cabriolet feet for the pedestal. I’ve always struggled with laying out any kind of design with curves. My only tip is divided by whole number units – 1to 3, 1-4,etc. and circles are the basic element of most curves.


    I shaped the exterior curve of the Cabriolet feet with molding planes, scrapers and sanding blocks after removing the bulk of the waste with multiple passes on the router table using the Cove bit.


    Because my cheesy, homemade miter guide is too small, ended up laying out and freehand sawing the corner miters. Tote on this shop made miter saw is Mexican Kingwood, which is beautiful but incredibly hard. Don't think I've ever used it again.


  5. #5
    Join Date
    Feb 2011
    Location
    Carlsbad, CA
    Posts
    2,230
    Blog Entries
    2
    Here’s some pictures of the finished piece.


    I’m pleased with how it turns out. Just have to get the hardware and I’m done. I hope the Boss likes it. Truth is she probably keep the one she already has, but at least I'll feel a little bit better about it.


    Thanks for looking!

    All the best, Mike

  6. #6
    Join Date
    Dec 2019
    Location
    The old pueblo in el norte.
    Posts
    1,906
    Beautiful work Mike! Nice recovery on the half-lapped dovetail blow out. I'm having to redo a drawer (and consequently drawers) because of a similar issue.
    ~mike

    happy in my mud hut

  7. #7
    Join Date
    Sep 2007
    Location
    Longview WA
    Posts
    27,489
    Blog Entries
    1
    Looks great, hope she likes it.

    jtk
    "A pessimist sees the difficulty in every opportunity; an optimist sees the opportunity in every difficulty."
    - Sir Winston Churchill (1874-1965)

  8. #8
    Join Date
    Aug 2012
    Location
    Missouri
    Posts
    2,152
    Great work Mike. All of the design elements make the piece, carving, veneer, cock beading and cabriolet feet what’s not to like.
    Jim

  9. #9
    Join Date
    Feb 2011
    Location
    Carlsbad, CA
    Posts
    2,230
    Blog Entries
    2
    Thanks guys! Appreciate your feedback. So far only made it into my office; still waiting to see if the Boss moves it upstairs to put it in use.

  10. #10
    Join Date
    Feb 2011
    Location
    Carlsbad, CA
    Posts
    2,230
    Blog Entries
    2
    One thing I learned from this build that I thought might be helpful to my fellow Creekers is using spray glue to attach felt/velvet to the drawer bottoms. In the past, I folded the fabric over and stapled it from the bottom. Spray glue is a lot faster and leaves a smoother show surface.

    Cheers, Mike

  11. #11
    Join Date
    Jan 2019
    Location
    Fairbanks AK
    Posts
    1,566
    Do you have a pic of the sides swung open for necklace hangers? Maybe? I reloaded twice and got more images both times. From the text it seems like the boxes left and right should swing open... I do have to be careful to not view this thread while my wife is looking. I don't have the chops for this today and she will want one tomorrow. Oh wait, now I see the pic I asked for in post 5. Must close thread, I hear her stirring.

  12. #12
    Join Date
    Feb 2011
    Location
    Carlsbad, CA
    Posts
    2,230
    Blog Entries
    2
    Scott, you made me laugh hard! Thanks 🙂

  13. #13
    Join Date
    Feb 2004
    Location
    Perth, Australia
    Posts
    9,497
    Mike, you never cease to amaze me ... constantly raising the bar. There are so many great ideas there, both for design and execution. The level of detail is incredible!

    Regards from Perth

    Derek

  14. #14
    Great work, and great documentation. Thanks for the level of detail, esp on the carving!

  15. #15
    Join Date
    Feb 2011
    Location
    Carlsbad, CA
    Posts
    2,230
    Blog Entries
    2
    Thanks Derek you’re far too kind. I’m a huge fan of your work and very much appreciate you for all the insight, experience and expertise you’ve shared over the years. I’ve certainly learned a lot from you and I’m grateful.

    BTW, I think I got that teaching job we corresponded about. Thank you very much for your generous support!

    I say “think“ I got it because the level bureaucracy, in this my first exposure to the world of academia, is positively Byzantine. Honestly I’m not sure if I’m hired or not. Apparently trustees need to sign off and they’re only available irregularly. Sounds to me like the private sector equivalent of Board of Directors? I think my first class is in June - hope I find out for sure before then. Thanks again for your help!

    Cheers, Mike

Posting Permissions

  • You may not post new threads
  • You may not post replies
  • You may not post attachments
  • You may not edit your posts
  •