Results 1 to 10 of 10

Thread: Nightstands: Fiddling all the way to the end

  1. #1
    Join Date
    Feb 2004
    Location
    Perth, Australia
    Posts
    9,497

    Nightstands: Fiddling all the way to the end

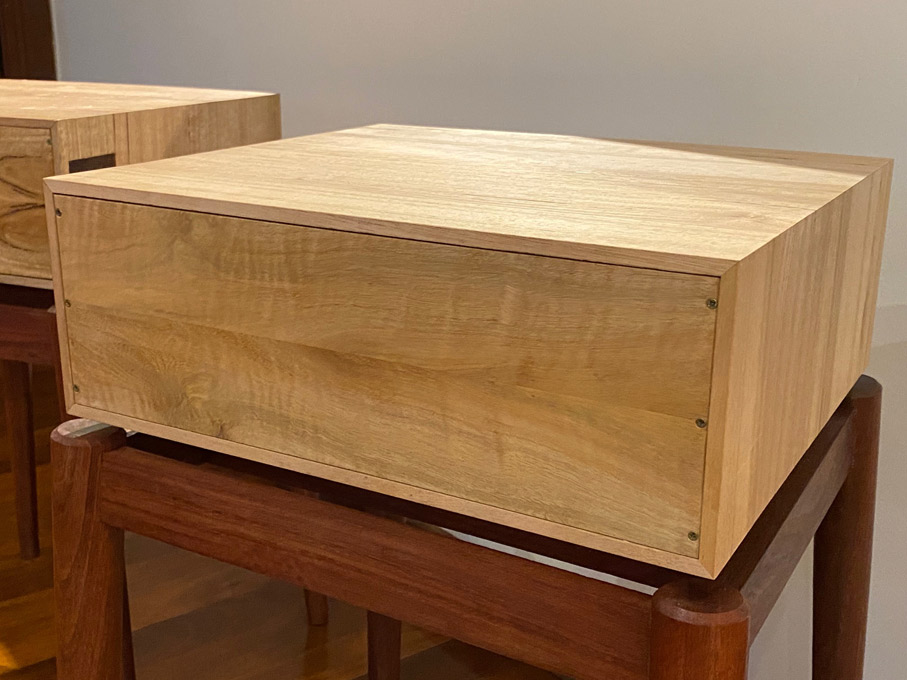
    Time to put this build to bed ... or at least next to a bed.

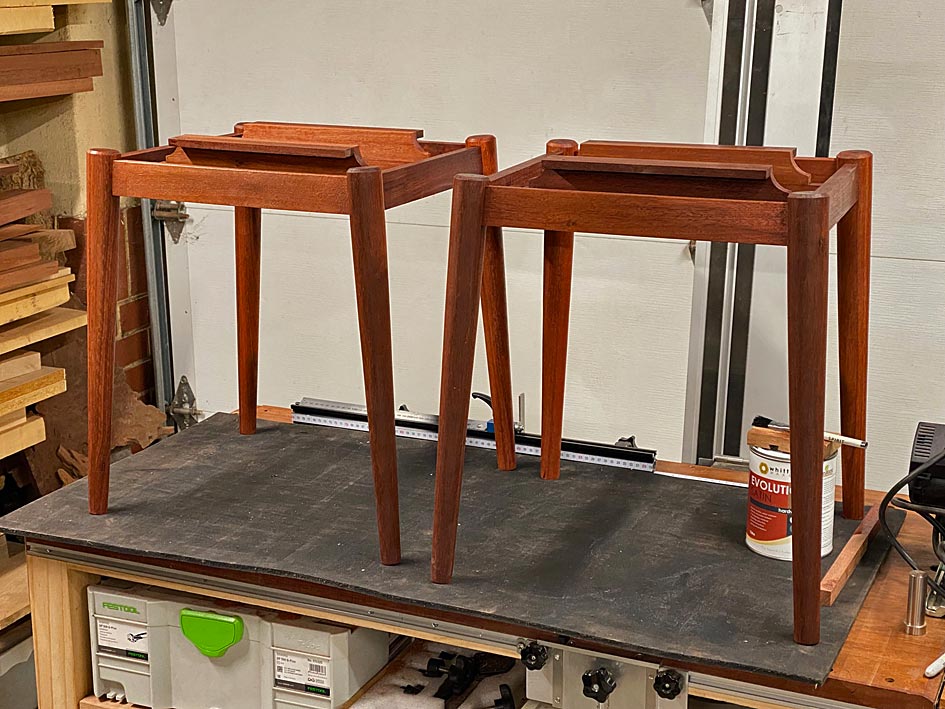
    The Jarrah bases are complete with two coats of hard wax oil ...


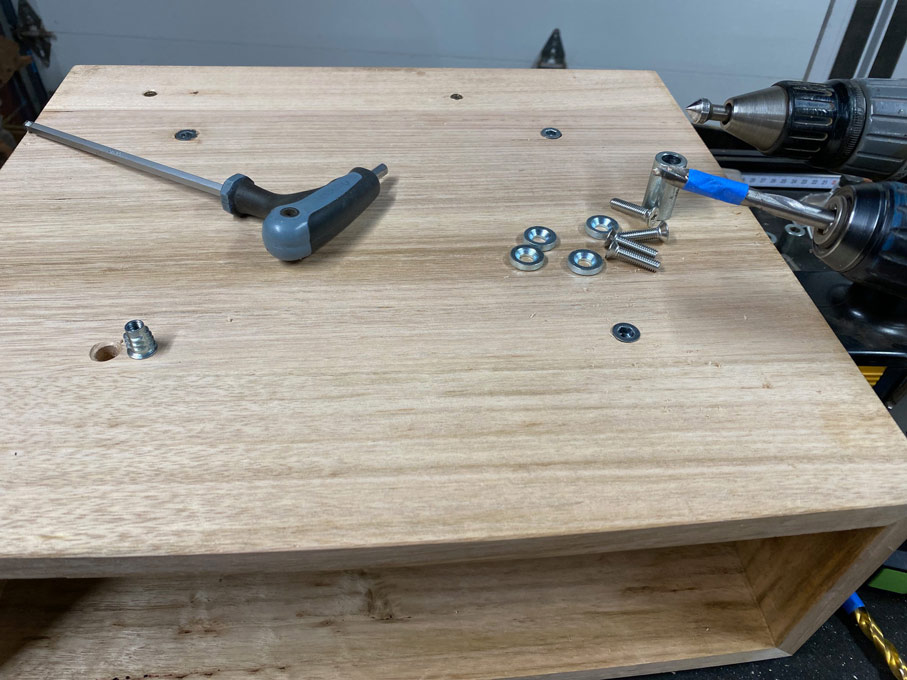
    The plan is to bolt each drawer case to its base. The reason for this is it will make it possible to transport the nightstands more easily should this be in the future (there is a possibility I may enter them in the furniture competition put on by my club, which takes place in about 6 weeks - I doubt that anyone would take nightstands seriously). Transferring the holes to the case ...


    Inserts are sunk into the case for the M6 bolts ...


    ... and bolted down ...


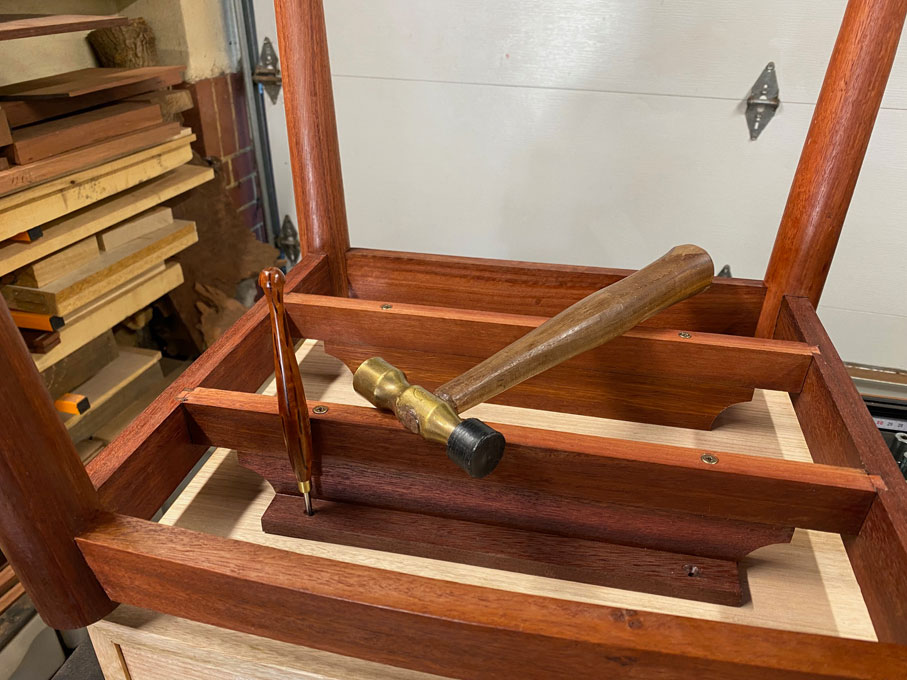
    Time to make drawer pulls. My wife suggested going without anything to retain the clean lines. That would have been nice, just not possible. So the next best idea was to try and make the pulls blend in and be as unobtrusive as possible.

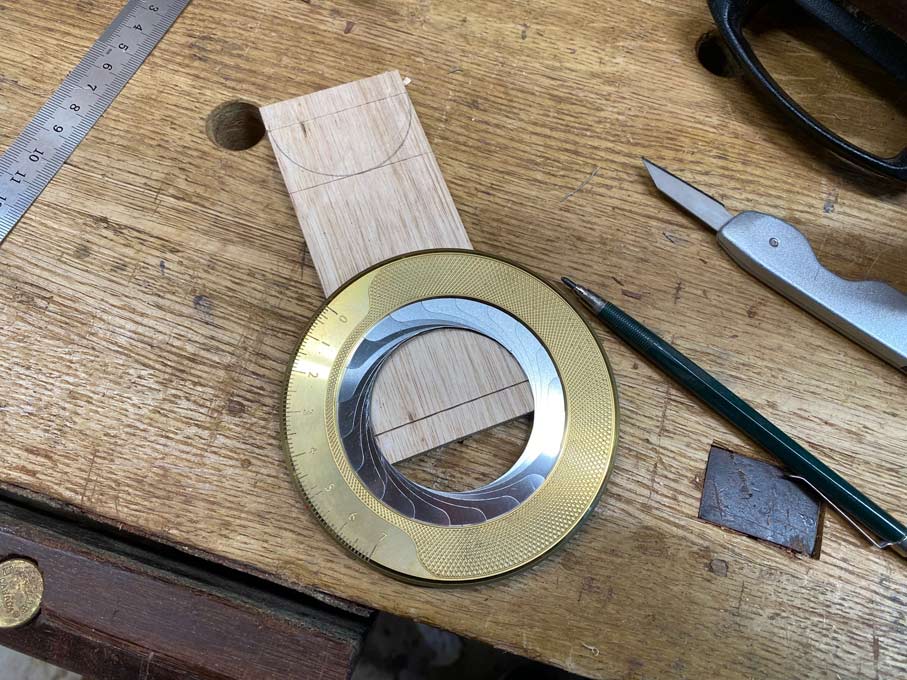
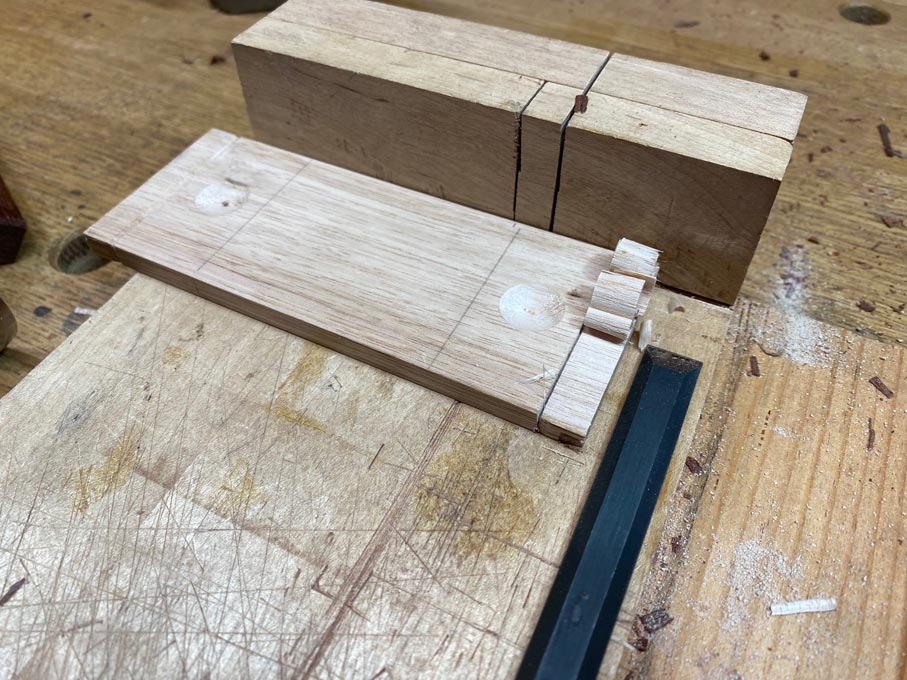
    The Tasmanian Oak drawers receive a similar pull. Here the plan is drawn out ...


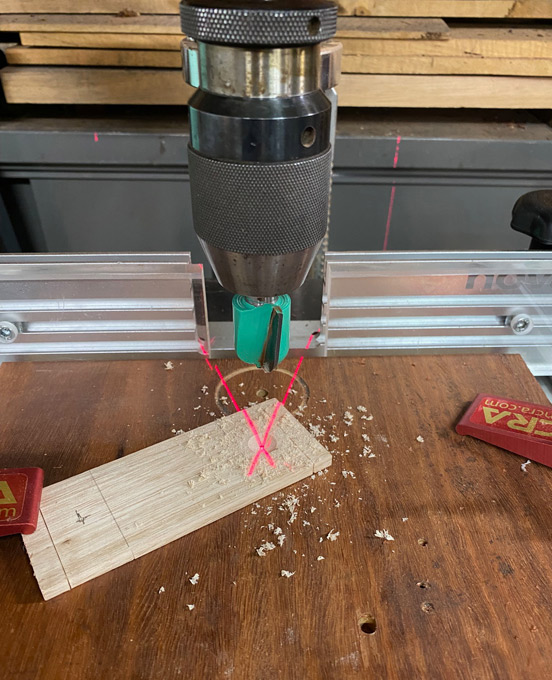
    The underside of the pull receives a "dimple" for grip ...


    Before cutting out the shape of the bandsaw and shaping with rasps and files, the tenons are pared away ...


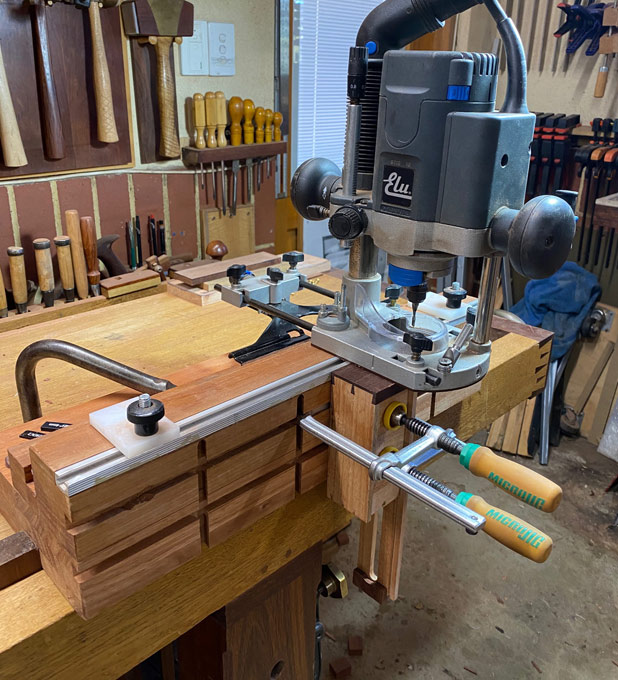
    Here the tiny drawer is being morticed for its tiny pull ...


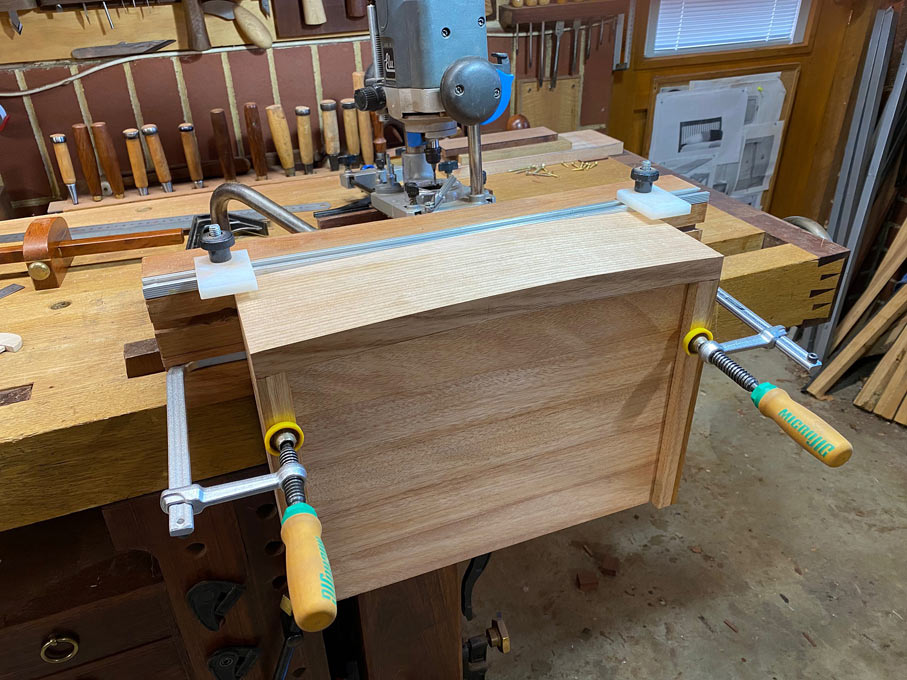
    This is repeated with the larger drawer ...


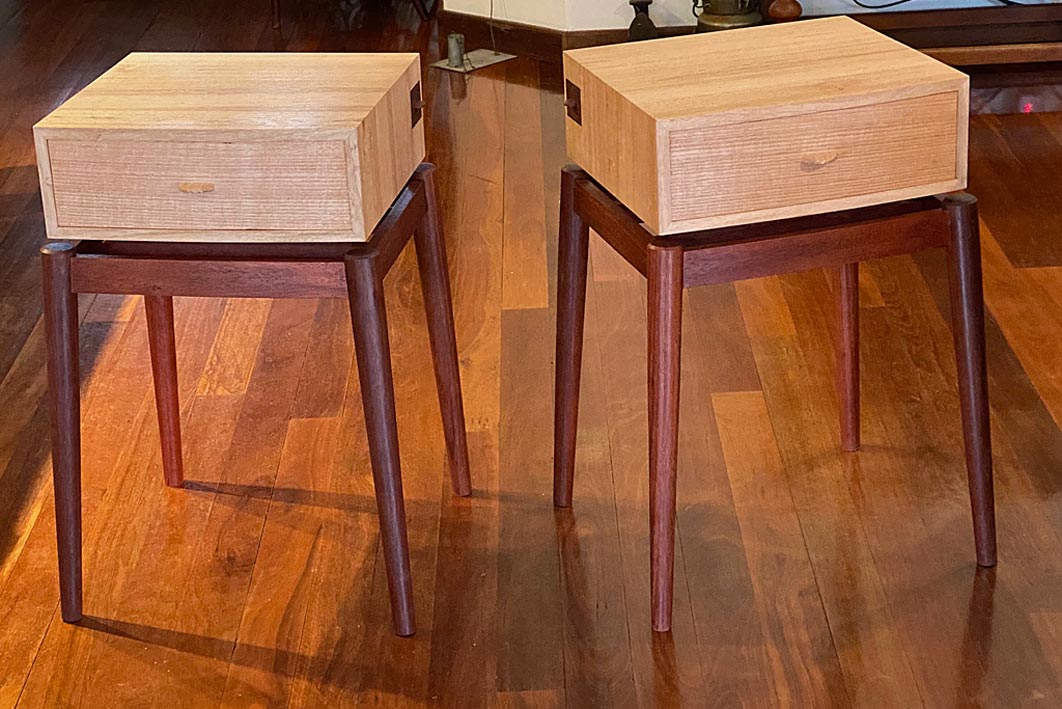
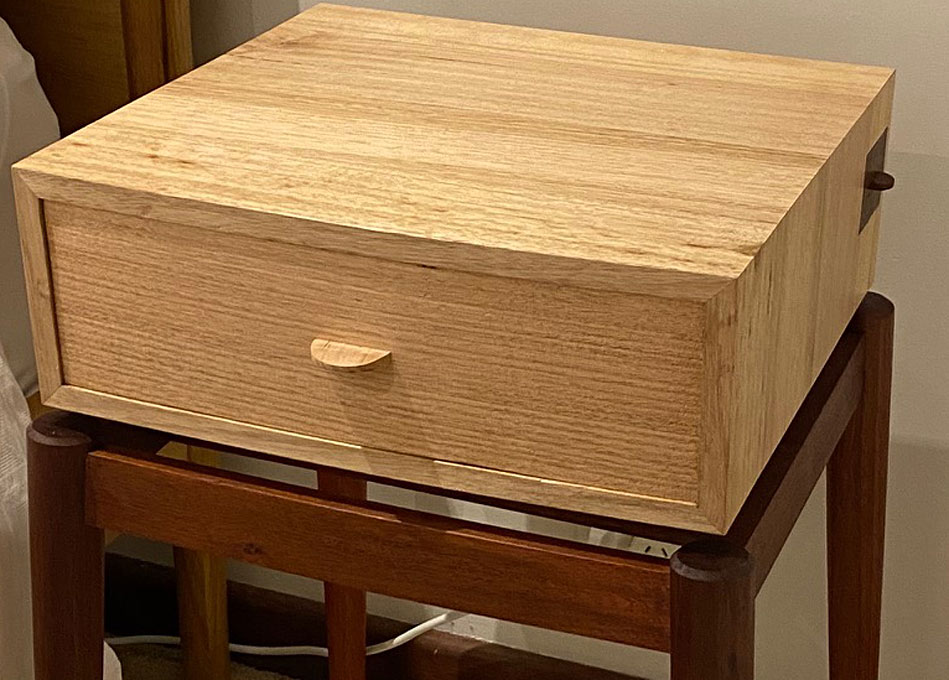
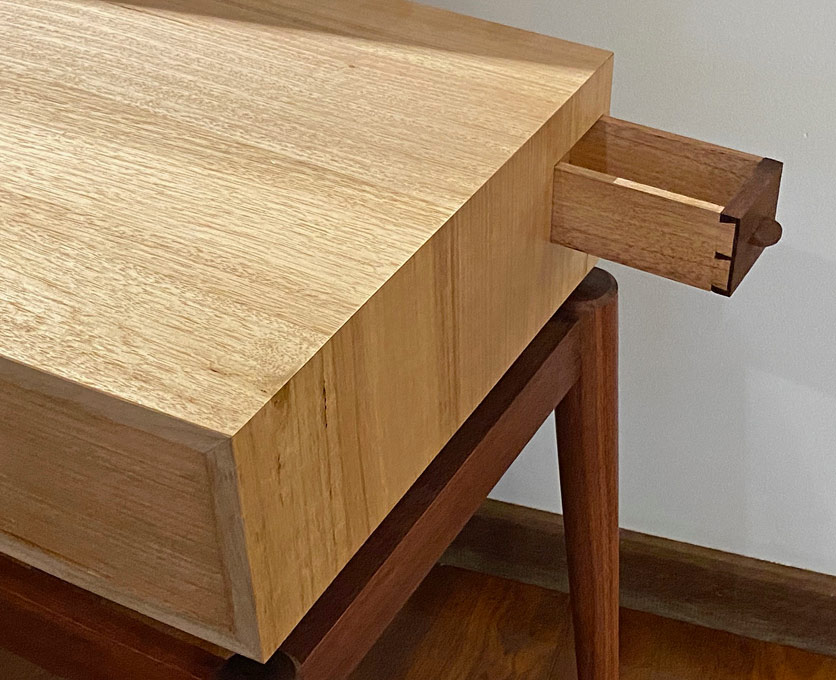
    Before the pulls can be fitted, they each need to coped to match the curve of the drawer. But finally ...


    Note that the pulls are the same diameter as the top of the legs.

    The pull on the tiny drawer is a tinier version ...


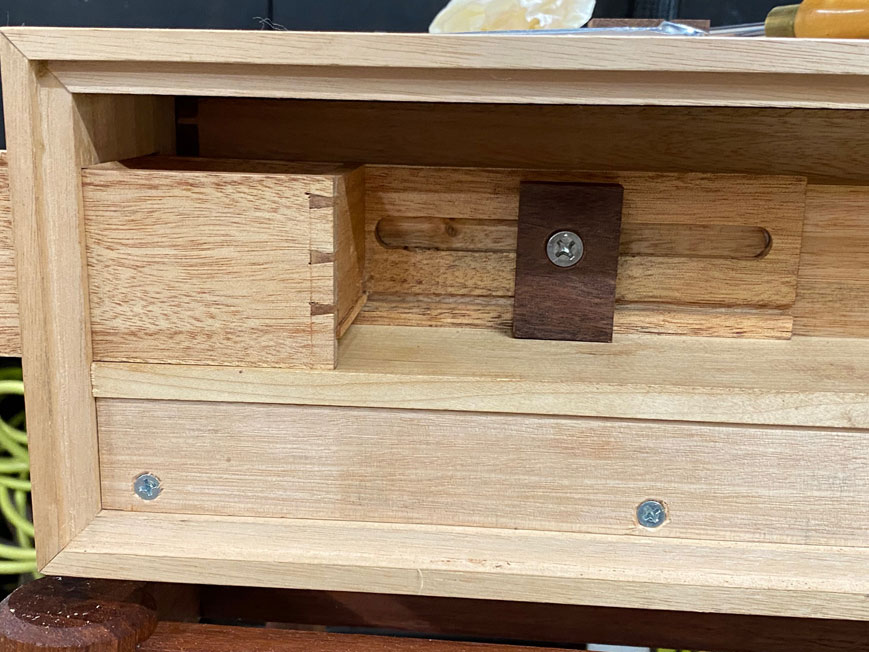
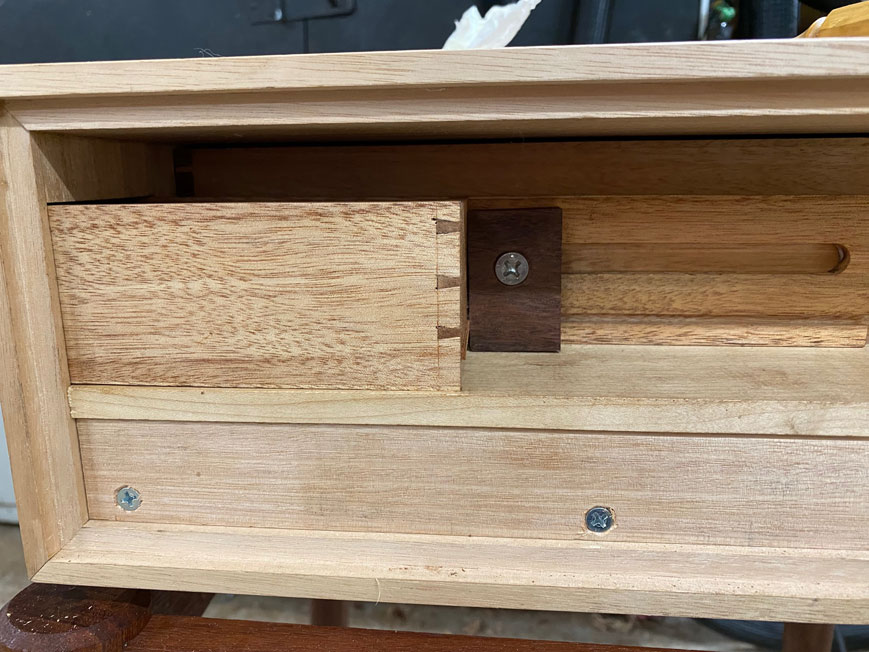
    Inside the drawer, I finalised the mechanism. This doubles as a guide and a drawer stop.

    Closed ...


    Open ...


  2. #2
    Join Date
    Feb 2004
    Location
    Perth, Australia
    Posts
    9,497
    The back can now be closed up. Each has a book-matched panel (mainly because I had run out of wood scraps), and is screwed down at the ends. Movement across the grain is permitted by the outer screw holes being elongated.


    And, last but not least, two completed nightstands ...


    I hope that you have enjoyed the journey with me.

    Regards from Perth

    Derek

  3. #3
    Congratulations, I hope they turned out the way you wanted them to.
    It's been interesting to see how others go about such a project, thanks for letting us have a look into your process.

  4. #4
    Join Date
    Mar 2003
    Location
    SE PA - Central Bucks County
    Posts
    65,910
    Stunning as usual!!! The angles, contrast and simplicity are outstanding!
    --

    The most expensive tool is the one you buy "cheaply" and often...

  5. #5
    Join Date
    Nov 2007
    Location
    Goleta / Santa Barbara
    Posts
    970
    Derek,

    Your build posts are always most educational and impressive. This one is no exception. Nicely done, sir.

    Best, Patrick

  6. #6
    Join Date
    Nov 2007
    Location
    NW Indiana
    Posts
    3,092
    I appreciate the time it took to post this and all the pictures. .it is a well done project as are all of yours.

  7. #7
    Join Date
    Feb 2004
    Location
    Perth, Australia
    Posts
    9,497
    Thanks all.

    Regards from Perth

    Derek

  8. #8
    Join Date
    Jan 2004
    Location
    Lewiston, Idaho
    Posts
    28,556
    Really like the contrasting woods and the simplicity of the design. Excellent execution! Well done, Sir!
    Ken

    So much to learn, so little time.....

  9. #9
    Join Date
    Apr 2013
    Location
    Kansas City
    Posts
    2,668
    Thank you very nice. So, those bolts holding the top to the leg assembly - are those going into threaded inserts?
    < insert spurious quote here >

  10. #10
    Join Date
    Feb 2004
    Location
    Perth, Australia
    Posts
    9,497
    Quote Originally Posted by Stan Calow View Post
    Thank you very nice. So, those bolts holding the top to the leg assembly - are those going into threaded inserts?
    Hi Stan

    Yes, bolts into inserts. That is shown here …


    Regards from Perth

    Derek

Posting Permissions

  • You may not post new threads
  • You may not post replies
  • You may not post attachments
  • You may not edit your posts
  •