These are probably some elementary questions, but I thought I would give it a try. I'm thinking/planning out my first real casework project with dovetails - a simple hanging tool cabinet. As I think about this build there are a couple of questions I'm hoping to get answered before I dive in.
1. How do you align the tails (assuming tails first) onto the pin board for tracing the pins with larger panels? I've done some dovetails with small boxes and drawers and have used the method with the plane on its side and a chisel to get things lined up. That seems like it will be much harder to do with a panel that is much wider.
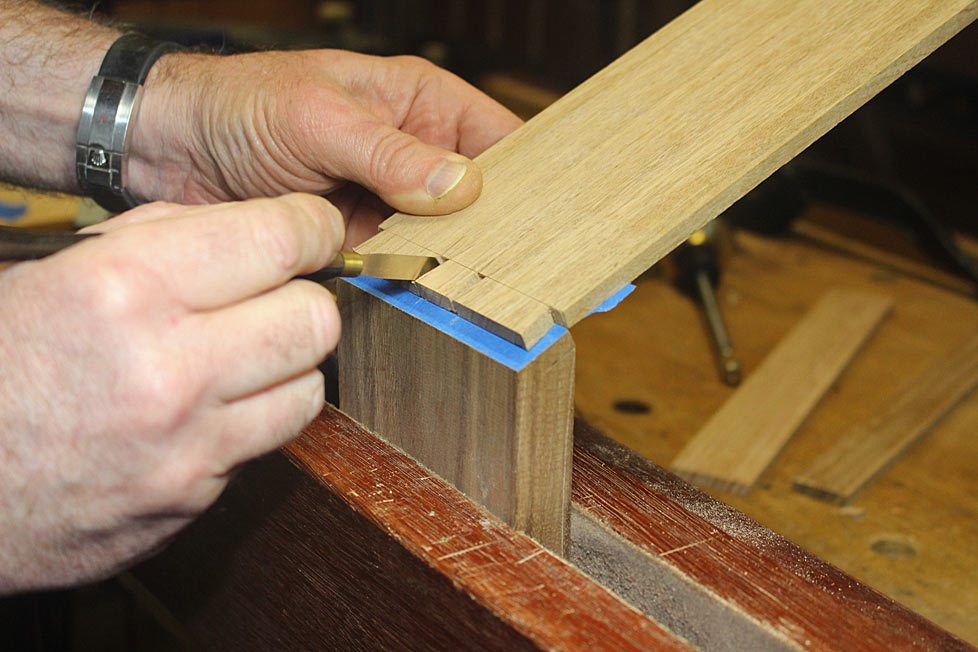
2. This is more of a curiosity than anything else, but the other day I happened across a video on youtube where someone was using a clamped board as a fence/guide for chopping out the waist to the baseline. I was curious about this so I dug through some books and found this picture illustrating the idea.
IMG_9422.jpg
I tried to put this into practice on a small box and found that (at least for the small piece), the fussiness required to get the fence to stay perfectly aligned while applying clamping pressure just wasn't worth the effort. As I would tighten the clamps, the fence would want to skate across the tailboard (slightly) throwing it out of perfect alignment. I haven't cut a lot of dovetails, but I know enough to know that this is a critical spot for avoiding gaps so I just gave up on the idea. I'm wondering if others use this technique and if there is any reason to prefer it vs just chopping to the baseline without it. If so, how do you get the fence aligned without it skating across the board when you tighten down the clamps.
Thanks in advance!

 Reply With Quote