Page 5 of 5 FirstFirst 12345
Results 61 to 75 of 75

Thread: Designing a dining carver chair

  1. #61
    Join Date
    Feb 2004
    Location
    Perth, Australia
    Posts
    9,497
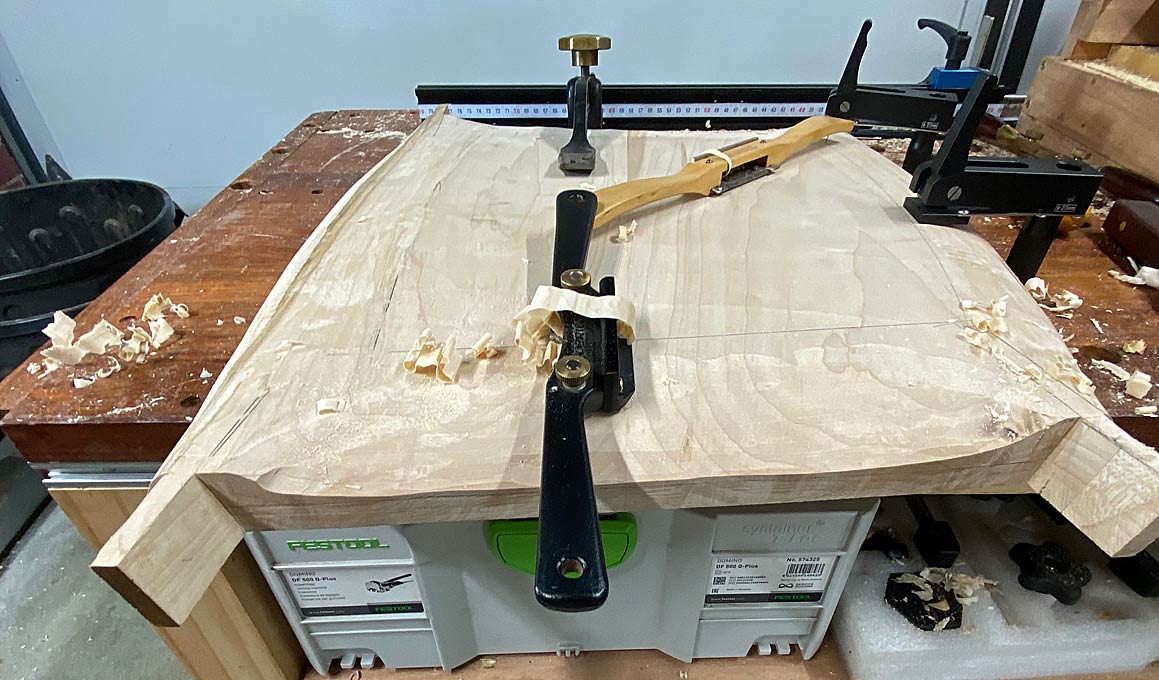
    Time to saw the tenons.


    I have gone back-and-forth on doing it this way. I can understand why so many builds use loose tenon joinery. Simply, it is easier to do so than creating integral tenons. It also makes it possible to shape the seat fully separately, especially the perimeter. The seats here have been roughly cut to shape, and only the top partially sculpted. It has been a very round-about way of building ... more steps that could have been avoided.


    So why build this way? Well, I want integral tenons as they will be stronger than loose tenons. It is also difficult to rout the mortices in the edge of the seat owing to the awkward angles involved. Lastly, adding mortices may not be possible owing to the reduced depth of the sculpting.


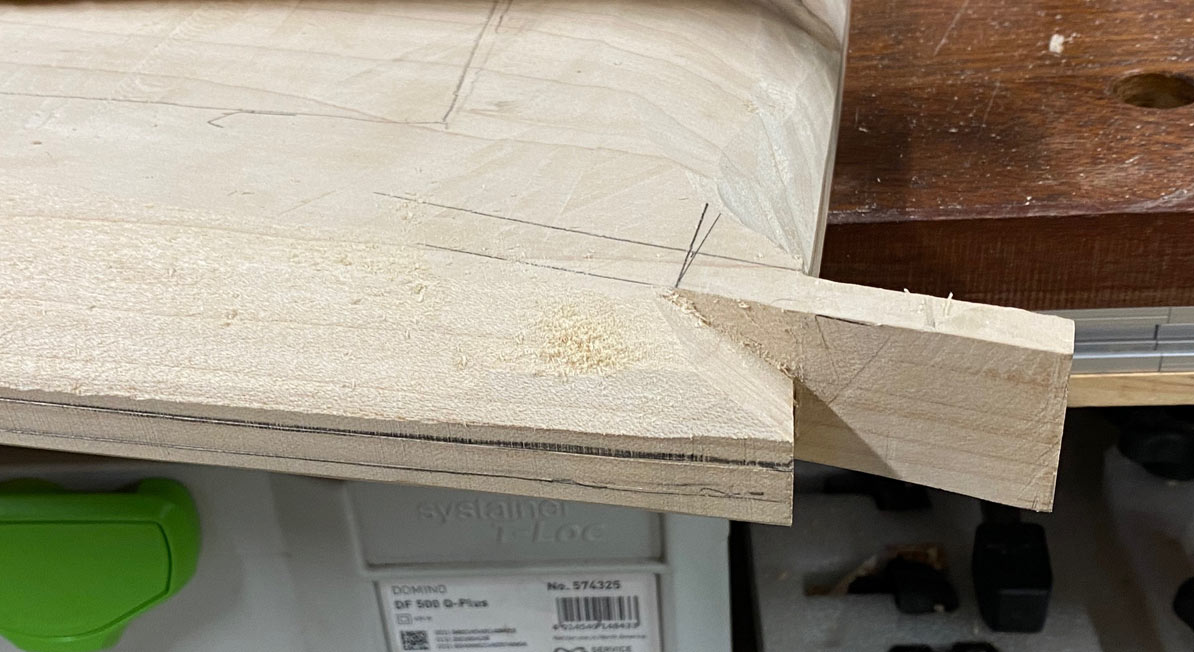
    The tenons are not straight-forward as they angle inward at 10 degrees, creating compound angles, as will be seen shortly ...


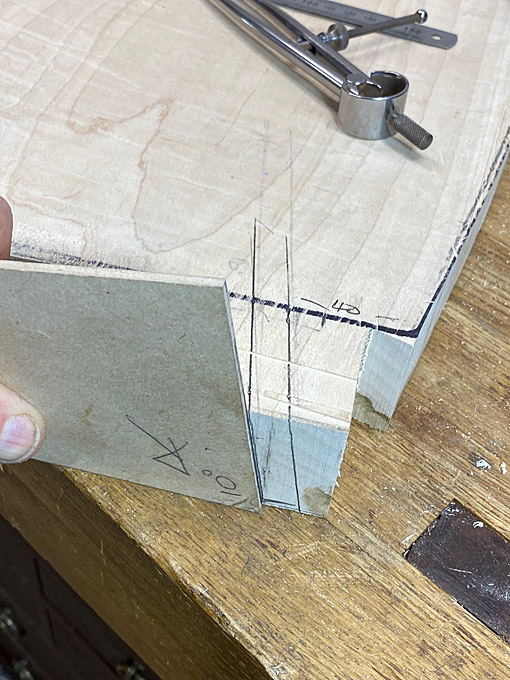
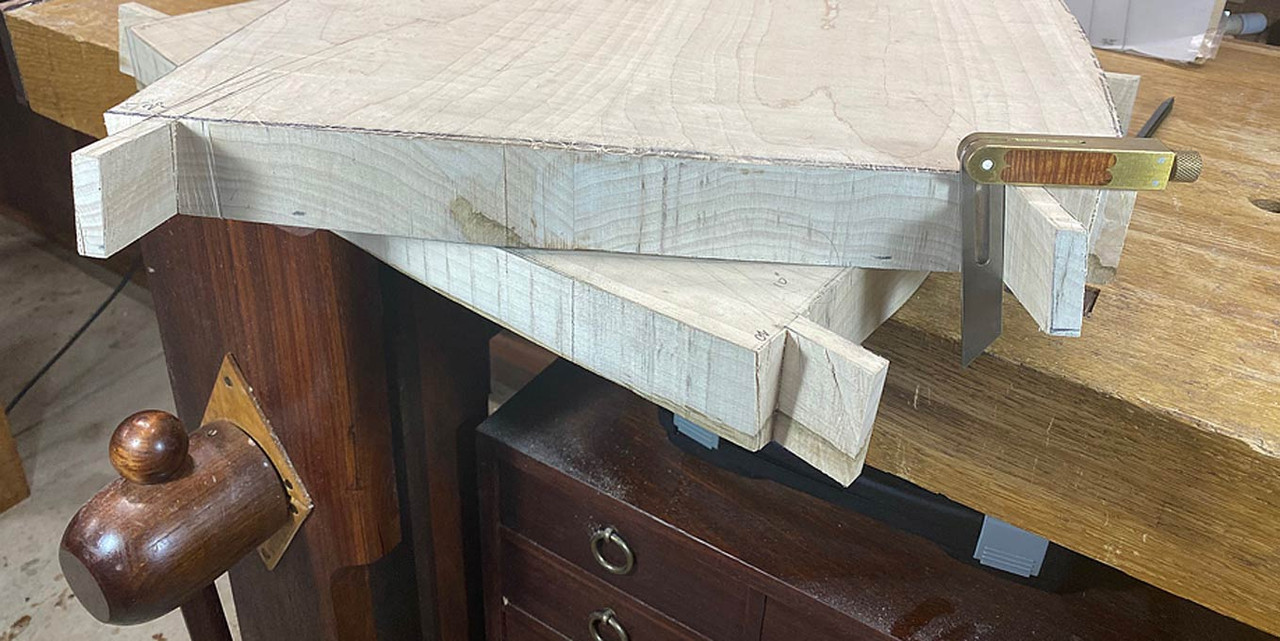
    Using a template for 10 degrees, the angles for the tenons were plotted on the ears ..


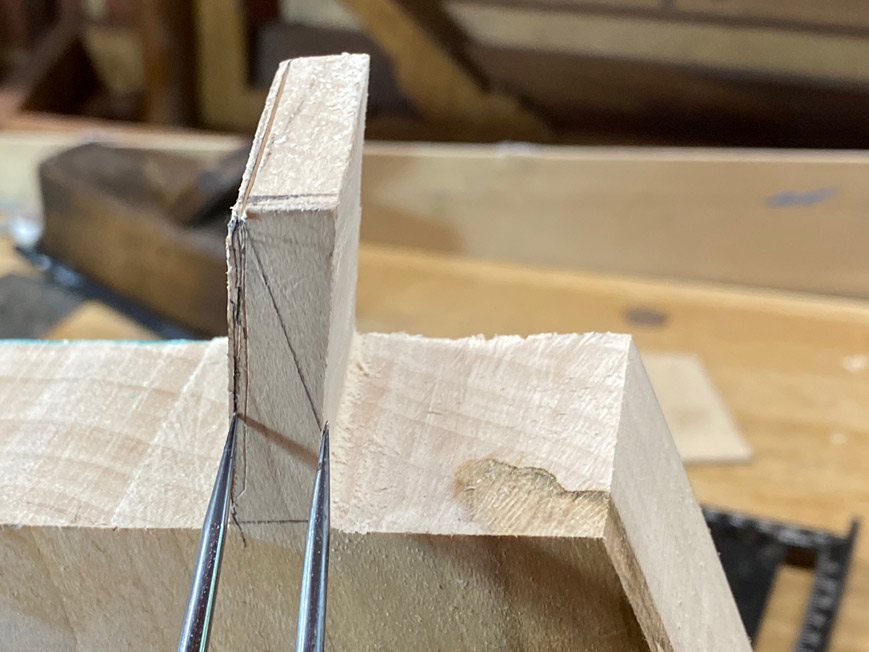
    Dividers are used to mark the 10mm width ..


    There is also a 10 degree splay angle to add ...


    At this stage my spatial-ability challenge came to the fore and I was in over-load with angles. Marking out the angles on the reverse side gave me the biggest headache, and I came so close to accepting loose tenon joinery!


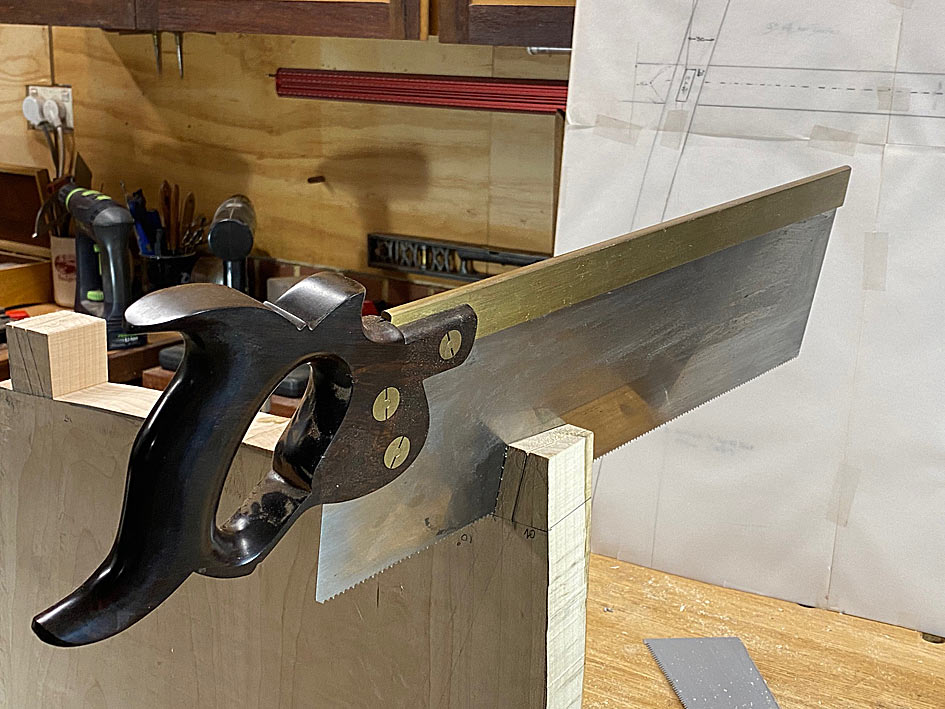
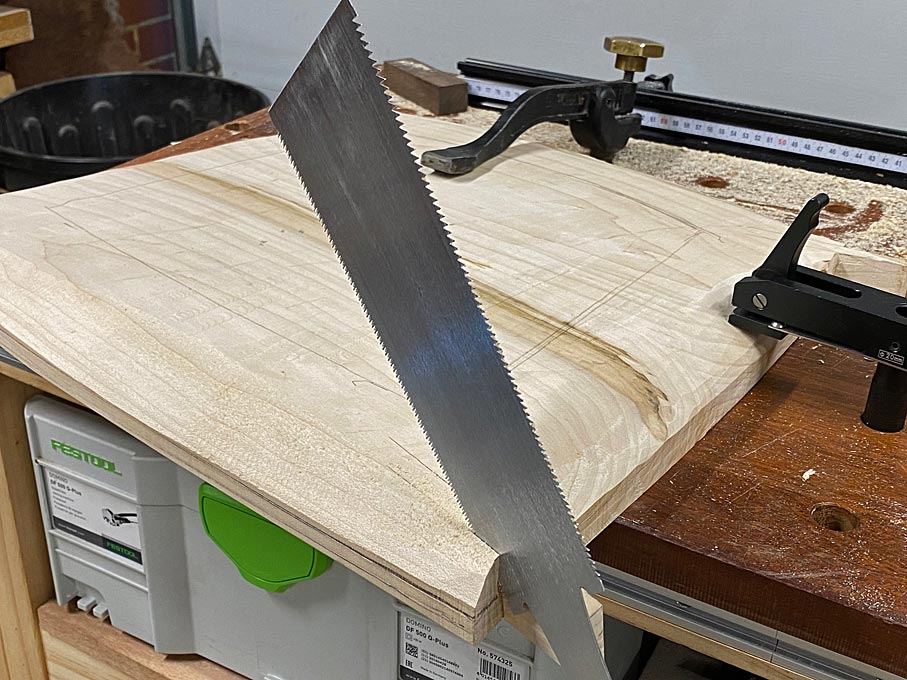
    I decided that loose tenon was always a backup, and so just go for it. The saw used is a 16" Wenzloff & Sons tenon saw (10 tpi rip). It is a HUGE saw, but worked really well here with its aggressive cut.


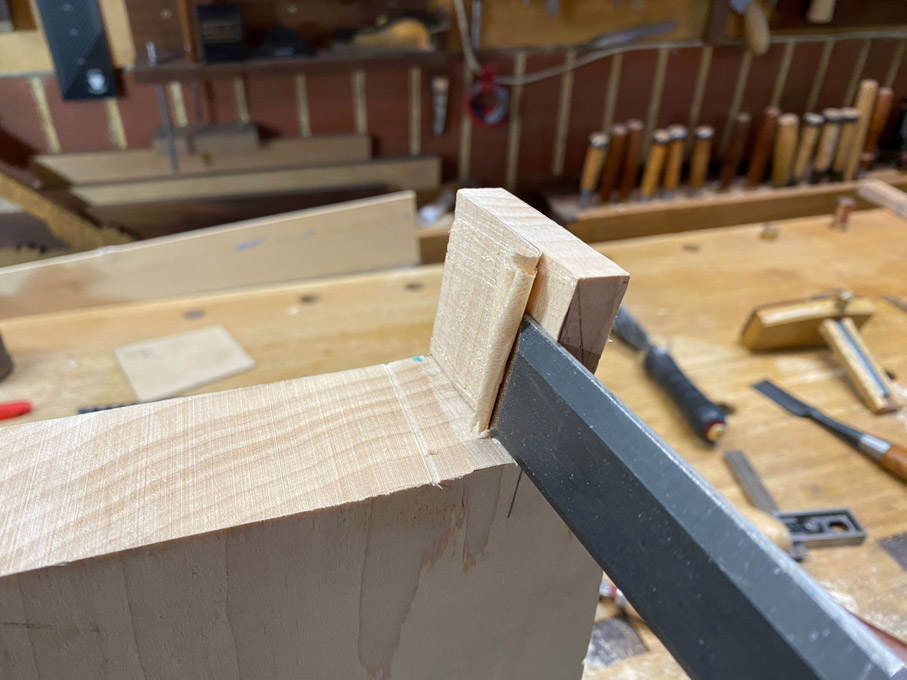
    Cutting to the line, which left just a smidgeon of waste.


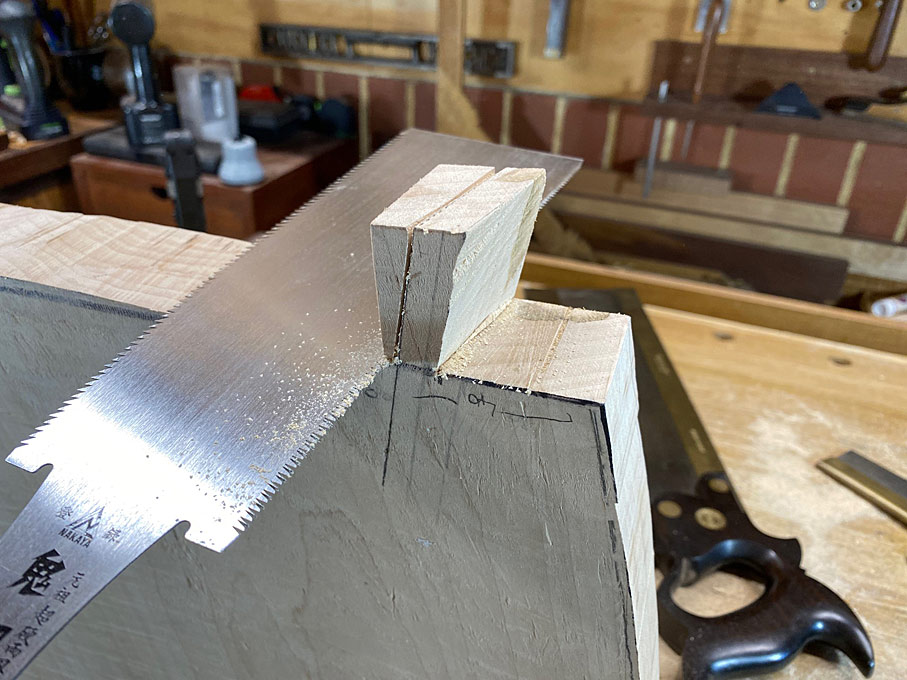
    Waste removed with a Ryoba ...


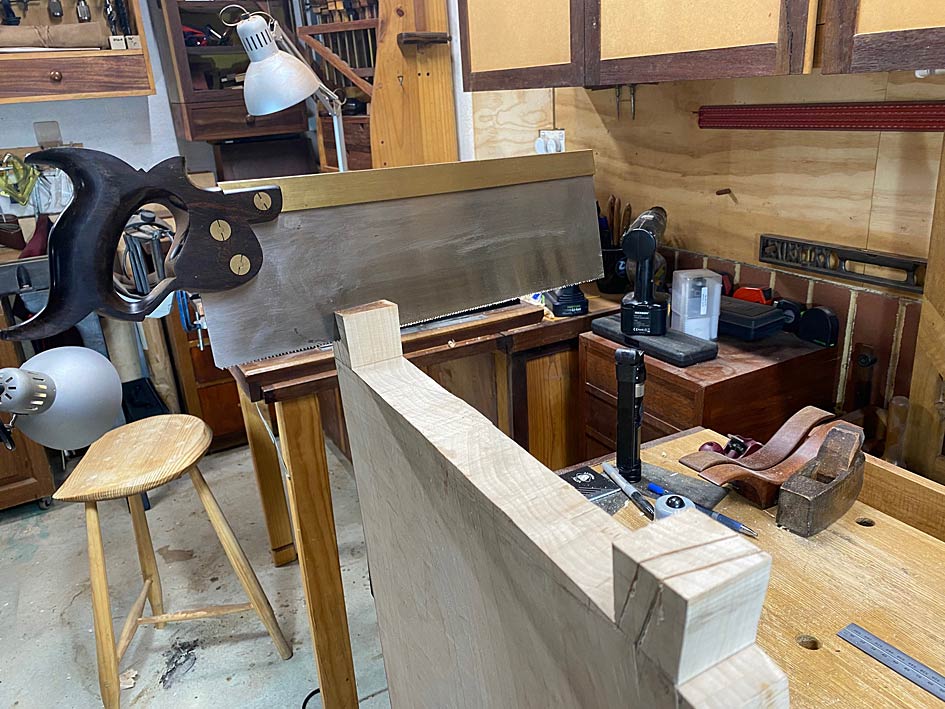
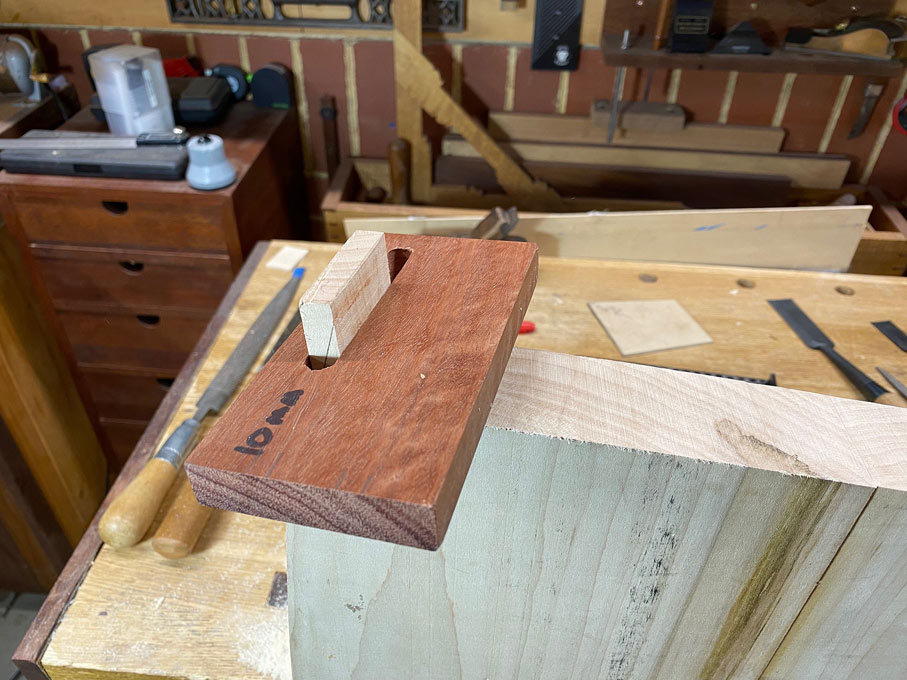
    All tenons cut ...


    I checked several and all were on the money at 10 degrees. I'm a happy camper ...


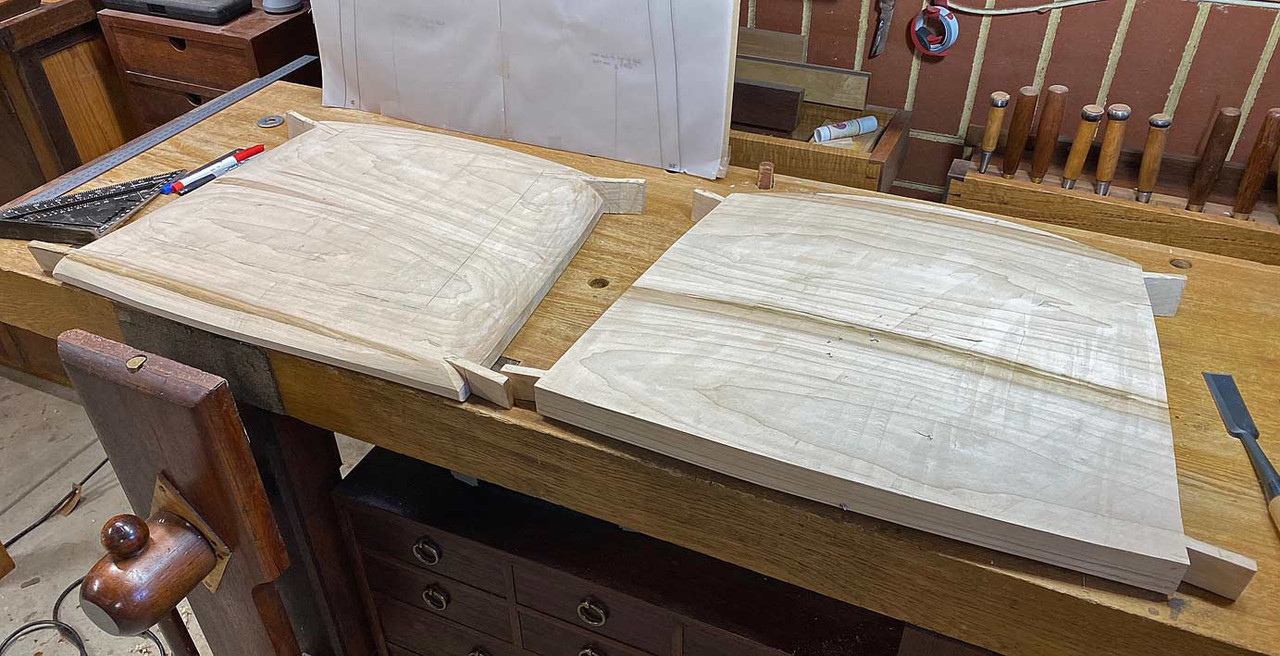
    Eight tenons and eight mortices ...


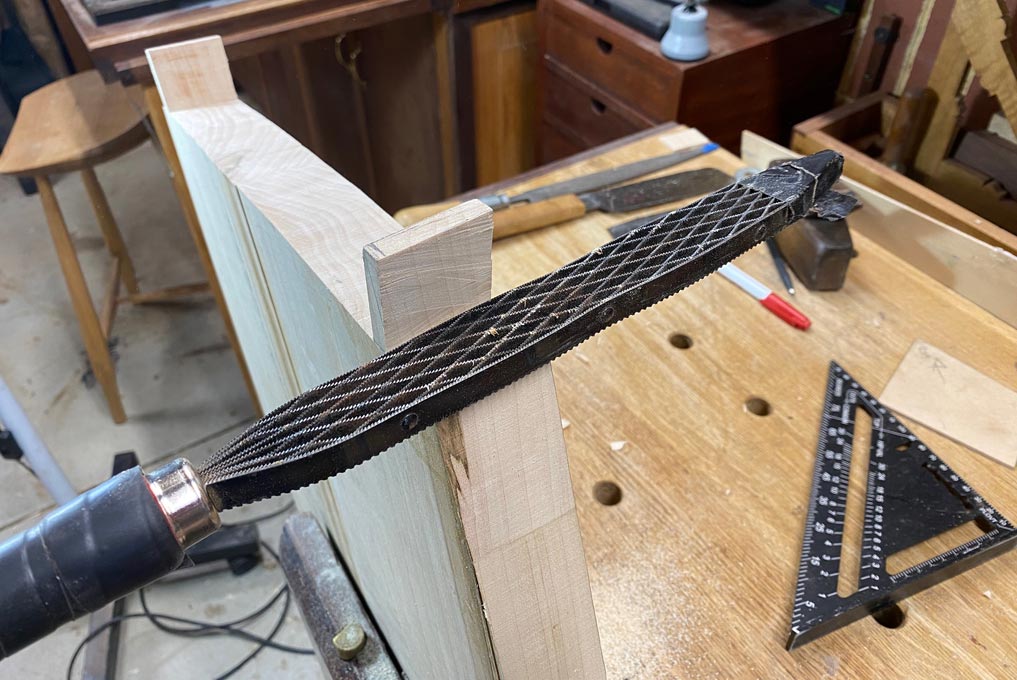
    Next on the agenda: rasp the perimeter to shape, finish the tenons while there is still a flat reference (under) side, and then shape the underside of the seat.


    Regards from Perth


    Derek

  2. #62
    Join Date
    Sep 2007
    Location
    Longview WA
    Posts
    27,475
    Blog Entries
    1
    Wow!

    jtk
    "A pessimist sees the difficulty in every opportunity; an optimist sees the opportunity in every difficulty."
    - Sir Winston Churchill (1874-1965)

  3. #63
    To the Bonehead who posted about buying & production has a very narrow minded view but that's his problem.
    Derek, thanks for posting up your chair builds, seeing some of your work in progress has given me ideas & direction on how to solve some basic chair construction. I also appreciate the full size drawings and design work. I haven't done a full size plan in over 40 years ! Right now I'm slugging my through a bent lamination bench, a full size drawing would have saved a lot of head scratching over the work bench !
    Anyway carry on & looking forward to seeing how your chairs progress.

  4. #64
    Join Date
    Nov 2009
    Location
    Ellsworth, Maine
    Posts
    1,810
    Very cool to see this one. Great work as always Derek.

    I am very jealous of the HNT Gordon spokeshave you have. I own a flat and curved sole HNT Gordon which are amazing, but they are the narrower soled versions. I feel like the wide sole version you have would be amazing to fair gentle curves. Any idea why he doesn't make the version you have anymore? Again, I really do love my 2 HNT's but I'm a bit of a spokeshave junky. I have the Boggs LN curved and flat, Veritas curved and flat, small bronze LN curved and flat, Caleb James low angle, and the HNT curved and flat. And I use all of them as each one excels at a slightly different task. I agree the Boggs LN shaves are amazing as the last shave for smoothing.

  5. #65
    Join Date
    Feb 2004
    Location
    Perth, Australia
    Posts
    9,497
    Hi Tony

    I do not know why Terry stopped making the wide spokeshaves. However they are amazingly good - like small, high angle planes. The grain direction does not bother them. Being large, however, means that they do not fit in smaller spaces.

    I have written some notes on the Veritas LA in the next post. It is a magnificent spokeshave (which used appropriately).

    Regards from Perth

    Derek

  6. #66
    Join Date
    Feb 2004
    Location
    Perth, Australia
    Posts
    9,497
    We ended up last time with the sides cleaned up and the tenons cut to angle ...


    The tenons were now sized to correct width ...


    ... pared ...


    .. and rasped to width ..


    I made a template to ensure each would later be a tight fit ...


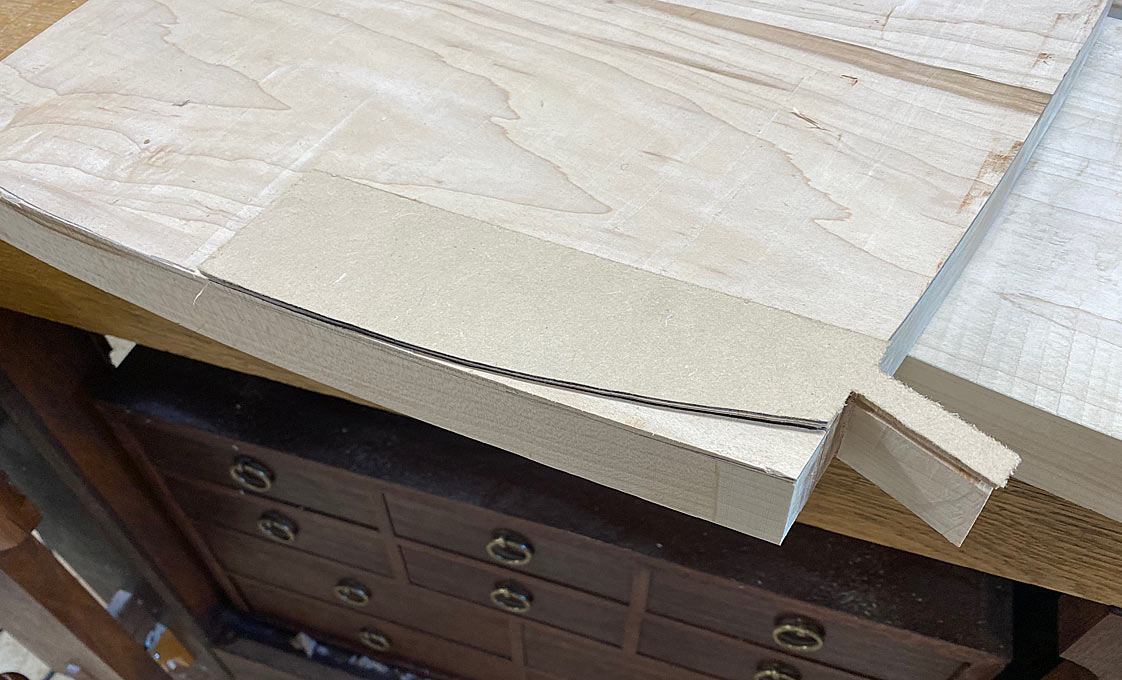
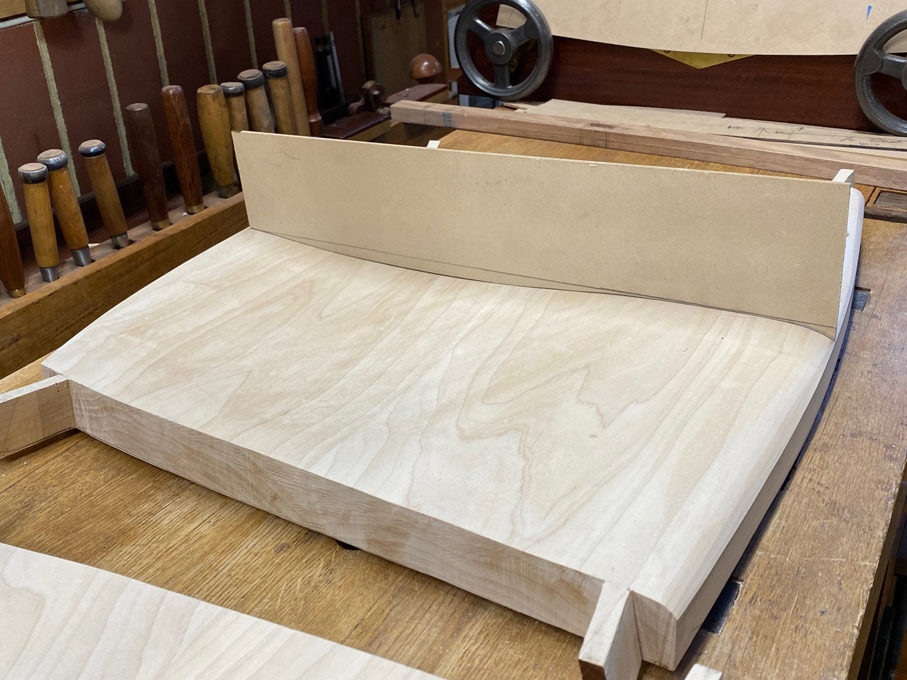
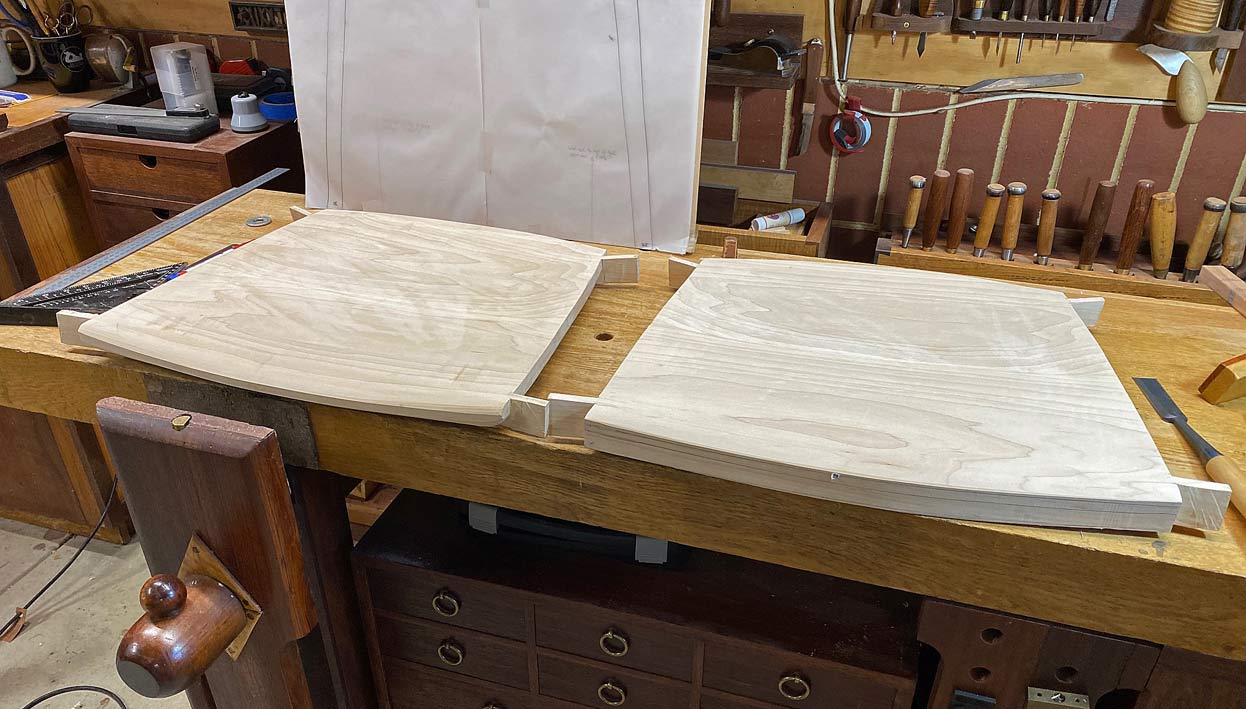
    So now we have two chair blanks with a semi-shaped outline, a profiled upper side and four sized tenons ...


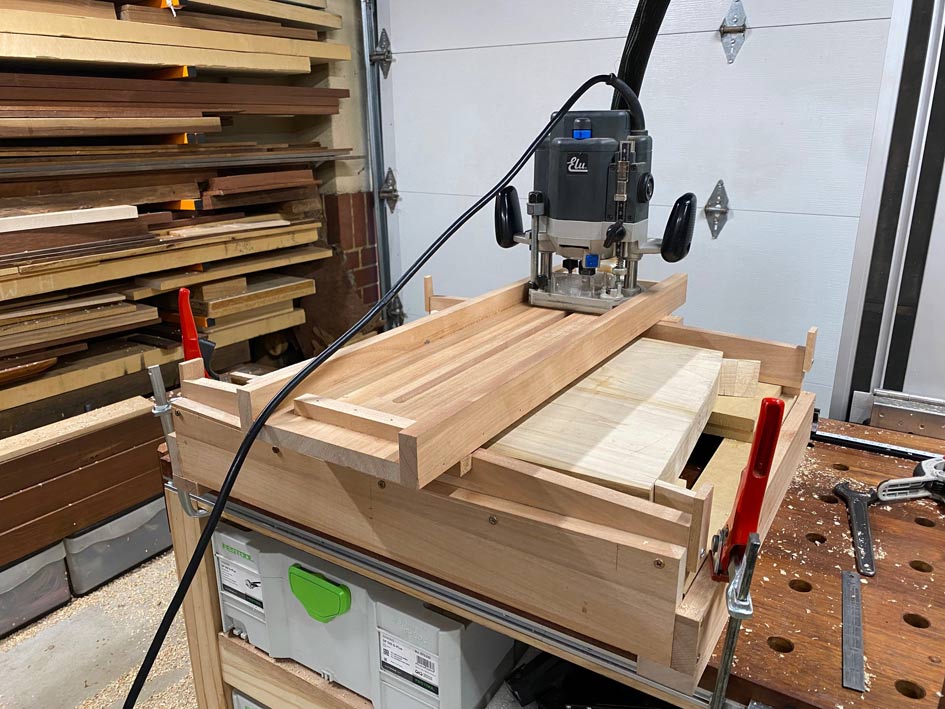
    Now it was back into the router sled to shape the underside, which was to curve in parallel to the upper side ...


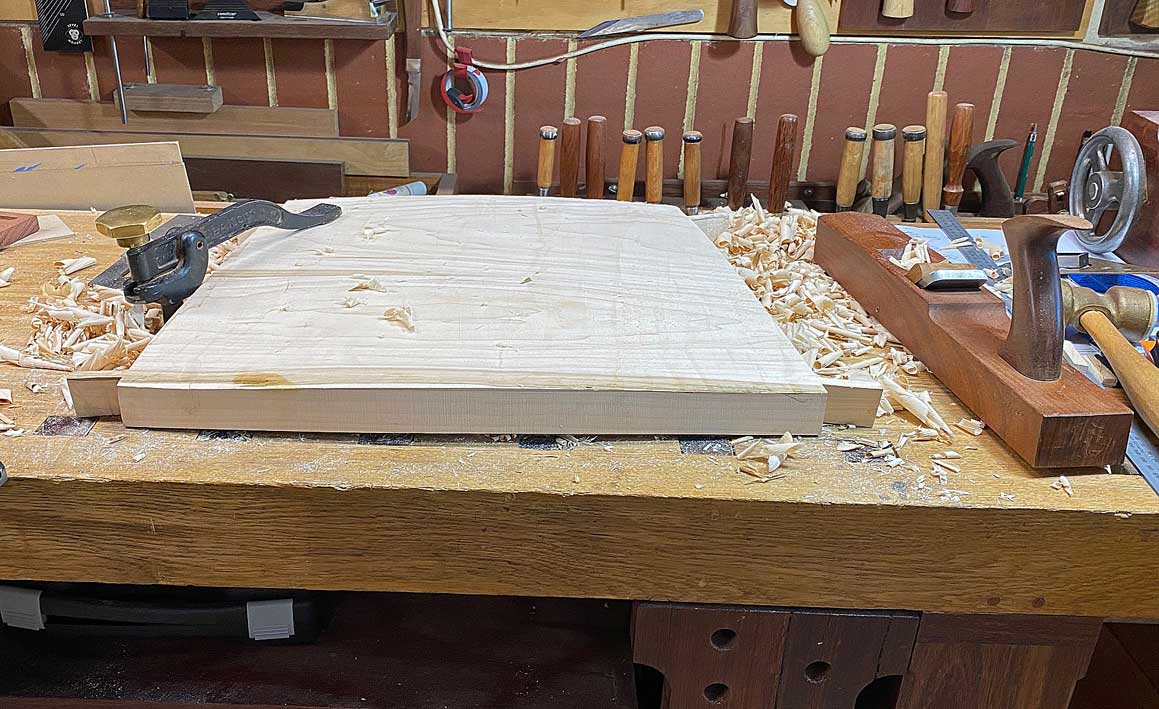
    The result was two of these, after some cleaning up with a jack plane ...


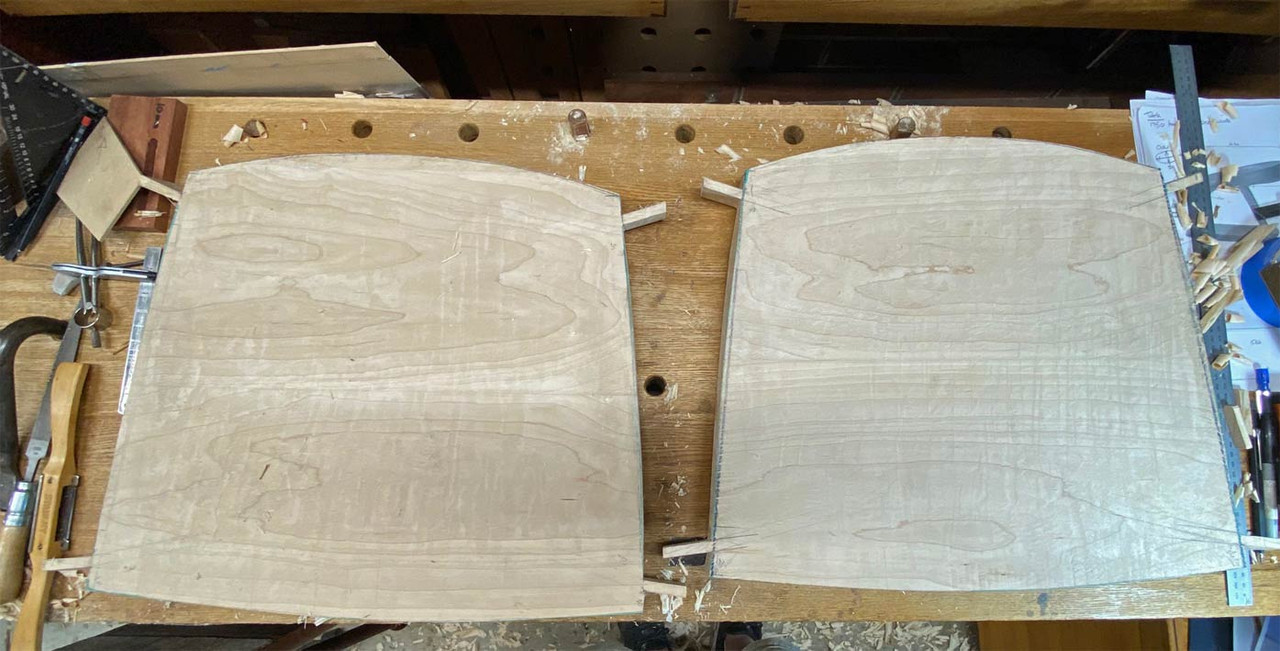
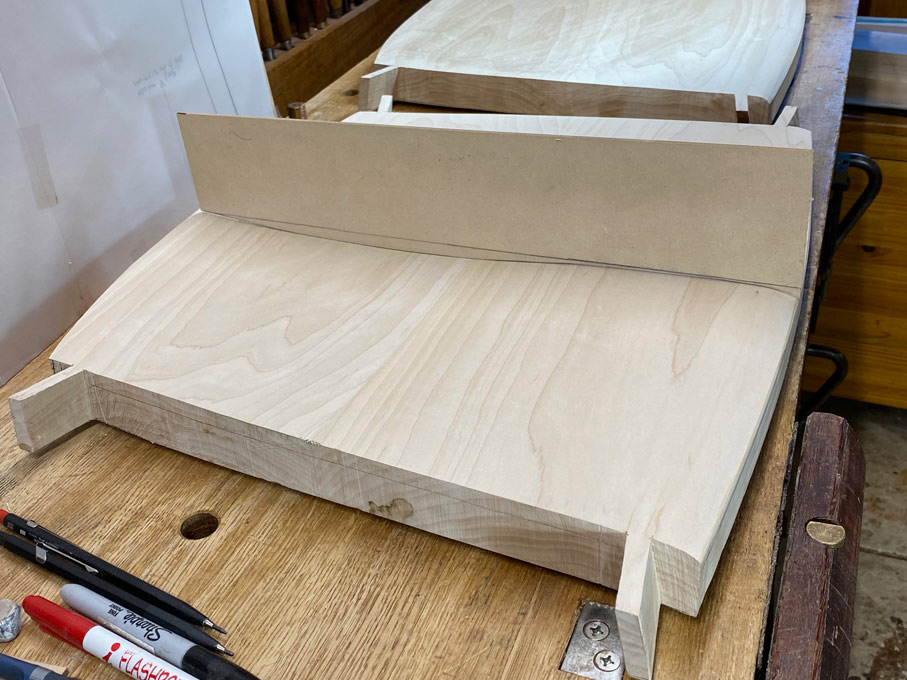
    Time to give the seats their final plan shape. The seats were flipped over ..


    And a template used to mark the new rear curve ..


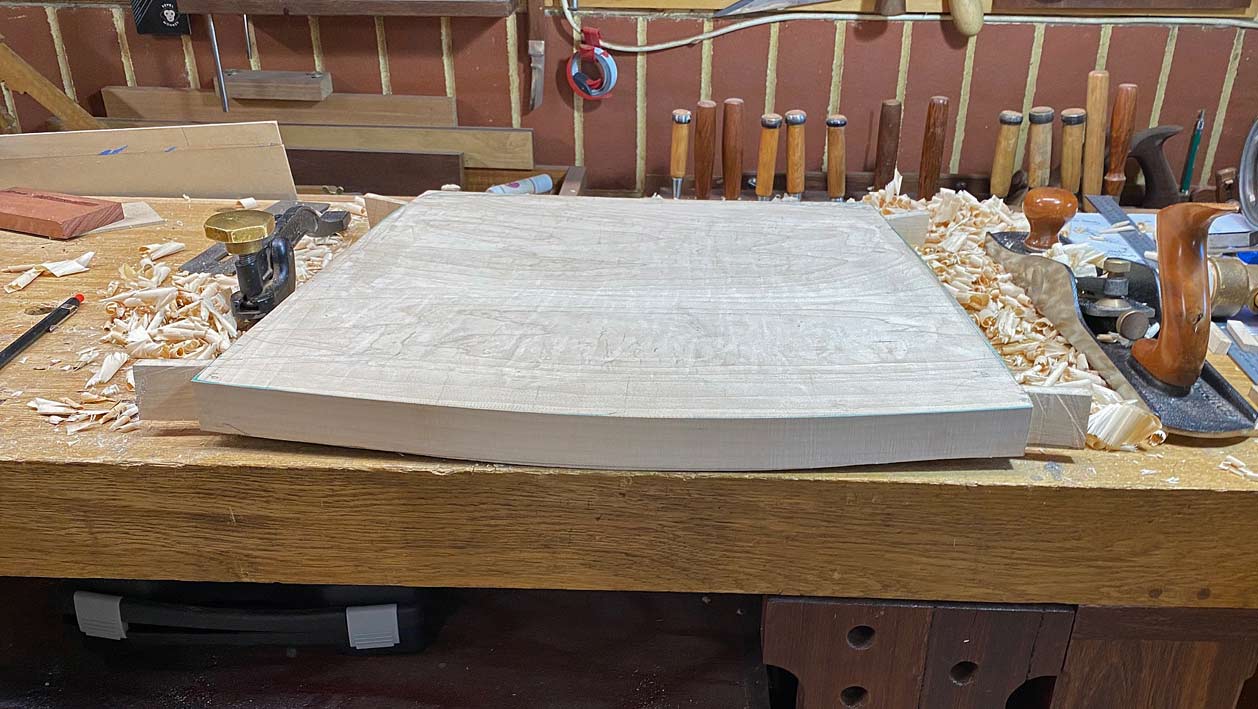
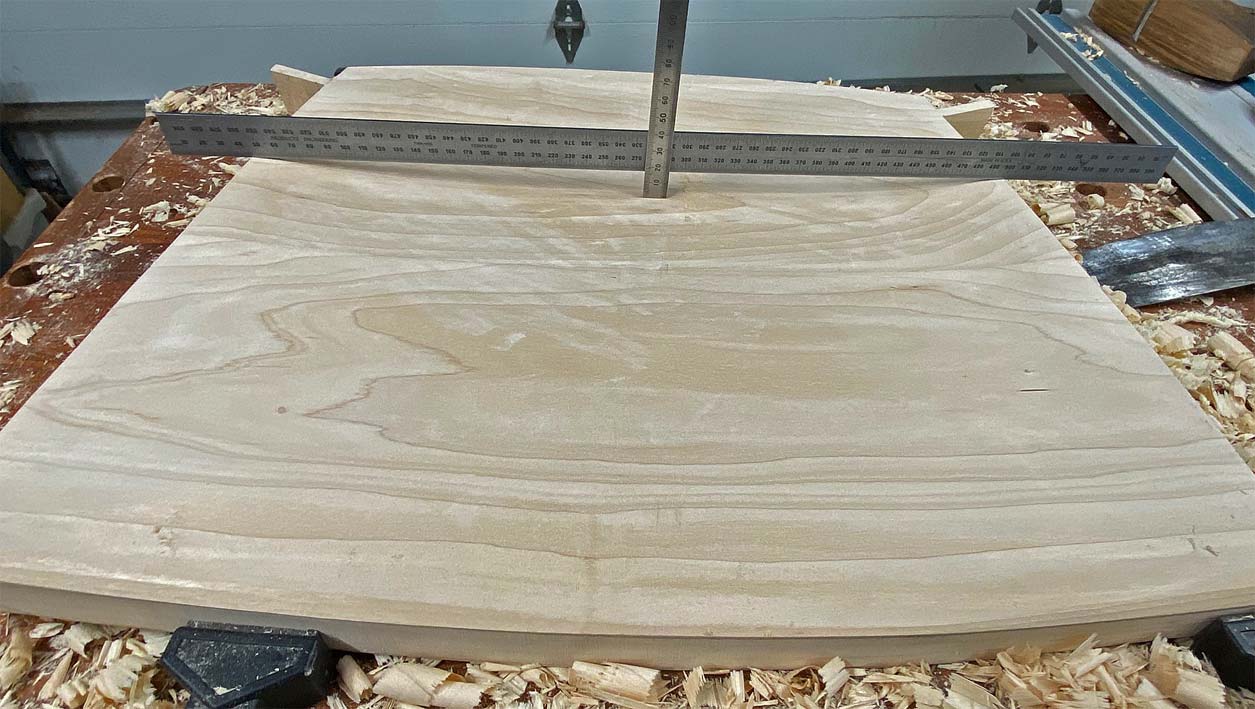
    One of the problems photographing this Rock Maple is that the light colour does not show details particularly well. Especially the seat hollows and internal curves. In addition to the upper curve, the seat is hollowed out to a depth of 18mm.


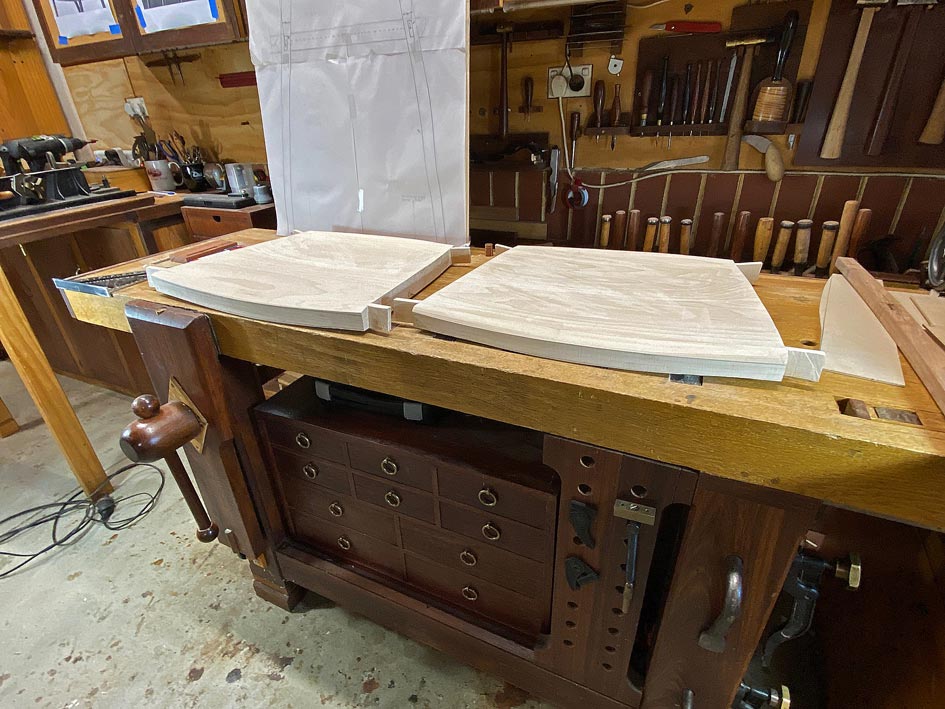
    Nothing to see here. But ... from the sides ... one then the other ...


    Note that the carved seat adds a 4 degree slope to the seat, which is what is in the design (however the original drawings missed it coming from carving seat, and adjustments had to be made).

  7. #67
    Join Date
    Feb 2004
    Location
    Perth, Australia
    Posts
    9,497
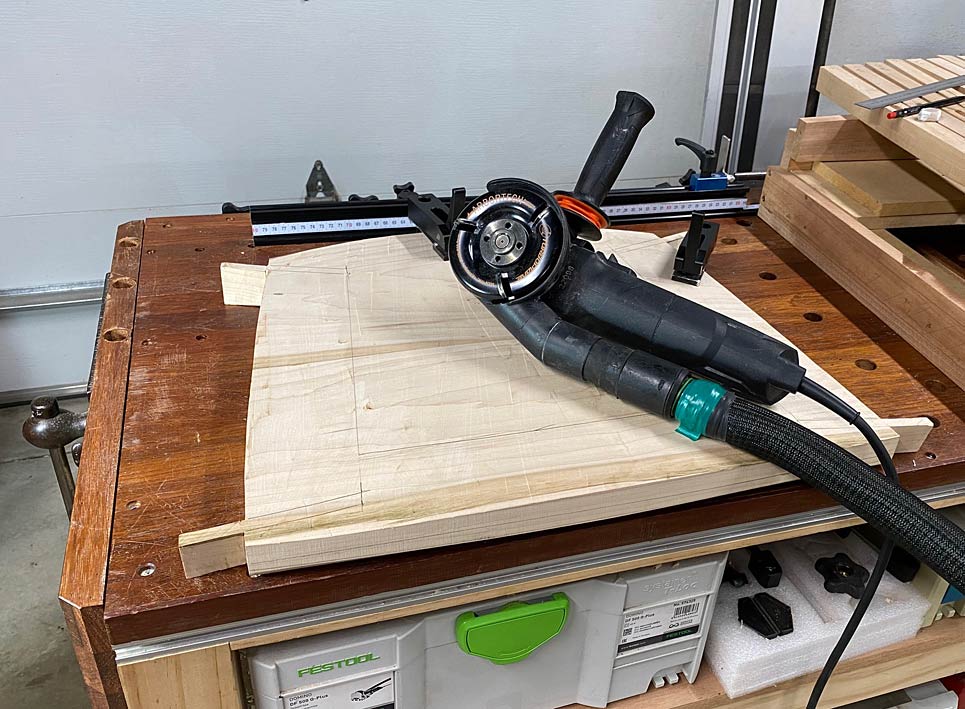
    We are closing in on the last lap for the seats - well, next to last lap (it seems to go on forever!). The undersides need to be shaped to remove the bulk (which was needed for the tenons), and create a sleeker presentation. Back to the Arbortech carver to remove the waste ...


    I frankly do not know how many hours this saved if I had been using hand tools. I did try a razor sharp drawknife, and the Rock Maple laughed at it. The Arbortech is terrific. It does take a little while to get the feel for gentle carving, as it can run away from you if you carve with a climb cut.


    Spokeshaves next, and the Veritas LA does a magic job ...


    To get the best out of this spokeshave (since many described it "diving" into the wood), it is important to understand that the toe is curved 4 degrees from the mouth (as is the Stanley). Think of this in the same way one uses a travisher, which has a similar toe: The angled mouth acts to open or close the mouth. Set the blade and then adjust the depth of cut when using the body - toe down and it cuts a fine shaving, pressure on heel and the shaving is thicker. I suspect that "diving" occurs when the shaving is thicker, and attention is not given to grain direction.


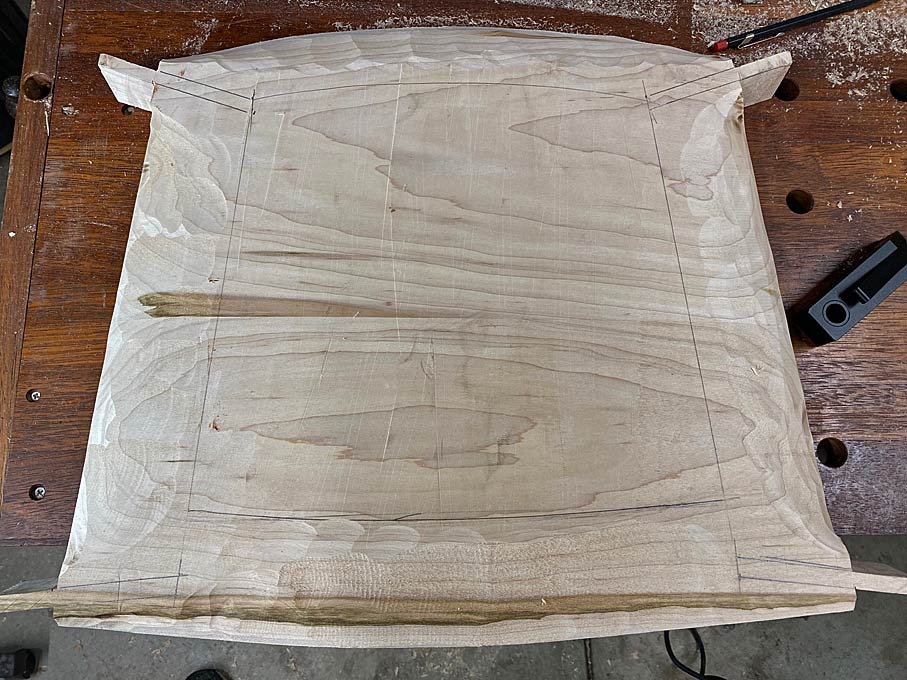
    The tenons are at the centre of the design. The seats started out at 50mm thick. They are down to 35mm at the centre, and will end up about 15mm thick at the surrounds. However the tenons must end up 30mm high.


    Here the tenons are being "extended" from the seat, with two saw cuts ...


    The spokeshaving of the first seat is done, and alongside an unfinished seat for comparison ...


    Working on the second seat at the close of the day ...


    Regards from Perth


    Derek

  8. #68
    Join Date
    Mar 2012
    Location
    Mid coast Maine
    Posts
    479
    Making good progress Derek. It’s wonderful seeing how all this comes together.
    Jim
    Ancora Yacht Service

  9. #69
    Join Date
    Nov 2009
    Location
    Ellsworth, Maine
    Posts
    1,810
    Derek, do you sharpen the LV low angle spokeshave at a higher angle to prevent chip out? Or do you just hold the shave at the correct cutting angle using the sole to do this? I have the Caleb James spokeshave that uses a similar theory of operation, but I still struggle a bit in hardwood planing with the grain. Using that shave on end grain cuts is where it really shines, taking cuts with the grain in temperamental hardwoods can give me some tear out.

  10. #70
    Join Date
    Feb 2004
    Location
    Perth, Australia
    Posts
    9,497
    I fitted the legs then decided that the seats made were not good enough. There was run out at the tenons which placed them at risk or breakage. So ... deep breath ... they are canned. The tenons will be re-made with loose tenon stock, where I can control the grain durection.

    Sometimes it is an ill-wind that blows good. I am now rather pleased I am remaking the seats as I have found better info on the original chair, and details of the seat design. I have the legs right but not the seat.


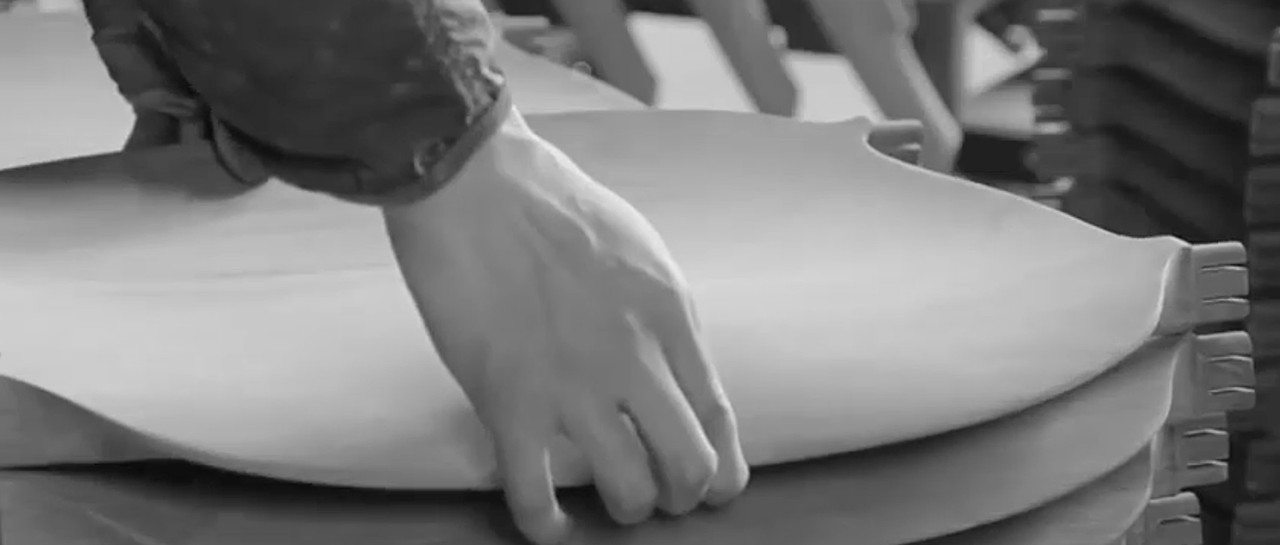
    In the mock up at the factory, the seat was screwed to the legs, but the final version used mortice-and-tenon. These joints are made very solid by a great deal of supporting mass around them. I plan to make the joints loose tenons for extra strength, but try and follow the original design in this regard. (At this stage it is a toss up whether I copy the arms or go with a design I think is more elegant).


    Here is a video I found of the build:


    The chairs are sold in Oz for $3600 each.


    Regards from Perth


    Derek

  11. #71
    Join Date
    Feb 2007
    Location
    Connecticut Shoreline
    Posts
    339
    That's a tough decision, but likely correct. Do you need to start over with the seats? Or can you just saw off the tenons and mortise the seats for the floating tenons?

    I have been faced with similar predicaments, where instinctively I knew that some part was wrong and that it should be done over, but lamented the investment in time already made, so pressed on. But then you must make accommodation after accommodation. Remaking the part(s) is usually the best plan.

    DC

  12. #72
    Join Date
    Feb 2004
    Location
    Perth, Australia
    Posts
    9,497
    David, the seats will be re-made from scratch. The original seats look like this. Note that how the area around the tenon is reinforced.


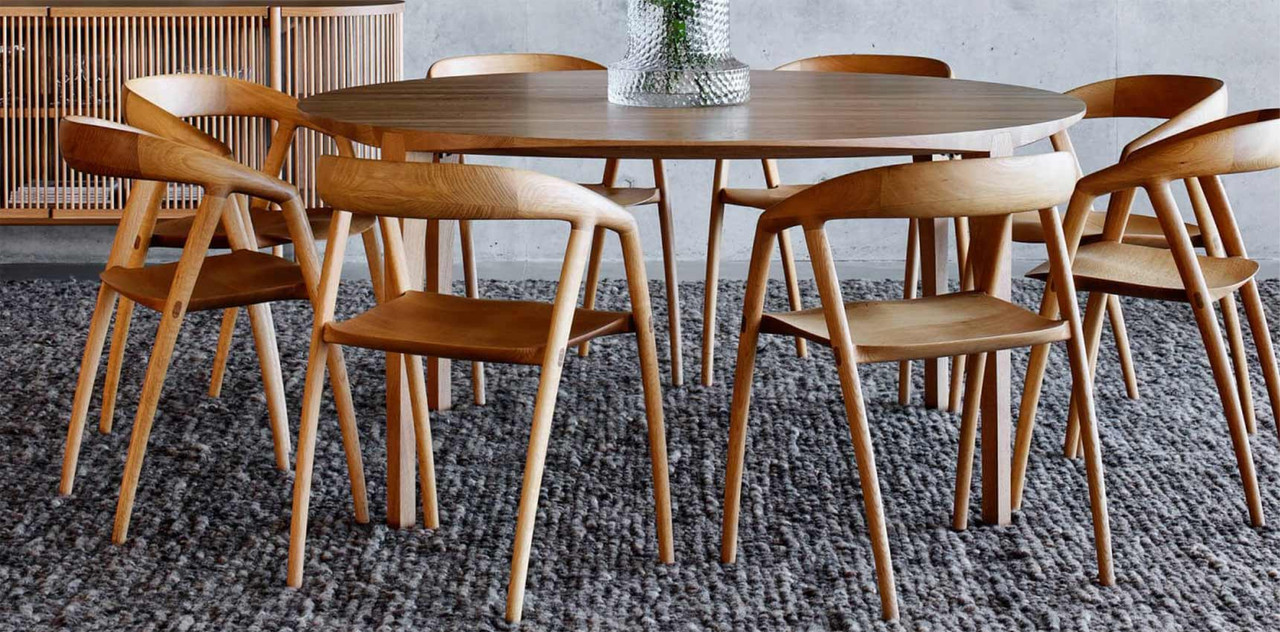
    Edit to add: just to be clear, the chairs I am building take elements from the DC09 chairs, designed by Scandinavian–Japanese duo Inoda + Sveje in 2011. Without a real model, it is impossible to get that close. I have built an exact replica before, Hans Weger's The Chair, but I had an original to work with. Now all I have are photos. So I am taking a little license here and there.

    Regards from Perth

    Derek
    Last edited by Derek Cohen; 01-24-2024 at 11:08 AM.

  13. #73
    Quote Originally Posted by Derek Cohen View Post
    I fitted the legs then decided that the seats made were not good enough. There was run out at the tenons which placed them at risk or breakage. So ... deep breath ... they are canned. The tenons will be re-made with loose tenon stock, where I can control the grain durection.

    Sometimes it is an ill-wind that blows good. I am now rather pleased I am remaking the seats as I have found better info on the original chair, and details of the seat design. I have the legs right but not the seat.


    In the mock up at the factory, the seat was screwed to the legs, but the final version used mortice-and-tenon. These joints are made very solid by a great deal of supporting mass around them. I plan to make the joints loose tenons for extra strength, but try and follow the original design in this regard. (At this stage it is a toss up whether I copy the arms or go with a design I think is more elegant).


    Here is a video I found of the build:


    The chairs are sold in Oz for $3600 each.


    Regards from Perth


    Derek
    Been enjoying the thread & was wondering (and didn't want ask) if you tracked your hours on the build. Because I just finished a bent laminated chair/bench build & it took me way way longer than I figured. Now seeing these chairs at 3.6K each tells me a lot !
    Also I ran into more than a few problem solving issues along the way in the joinery/strength dept. I ended up with loose tenons.
    Looking forward to seeing the finished chairs !

  14. #74
    Join Date
    Feb 2004
    Location
    Perth, Australia
    Posts
    9,497
    Iou, I only very loosely track my hours. Results are very relevant, but so is the journey of discovery and the problem-solving. It is not a race - which is why I am prepared to re-do the seats.

    Regards from Perth

    Derek

  15. #75
    Join Date
    Feb 2004
    Location
    Perth, Australia
    Posts
    9,497
    Another video of the DC09 chair by the Scandinavian–Japanese duo Inoda + Sveje in 2011.


    https://vimeo.com/438408781


    Regards from Perth


    Derek

Posting Permissions

  • You may not post new threads
  • You may not post replies
  • You may not post attachments
  • You may not edit your posts
  •