
-
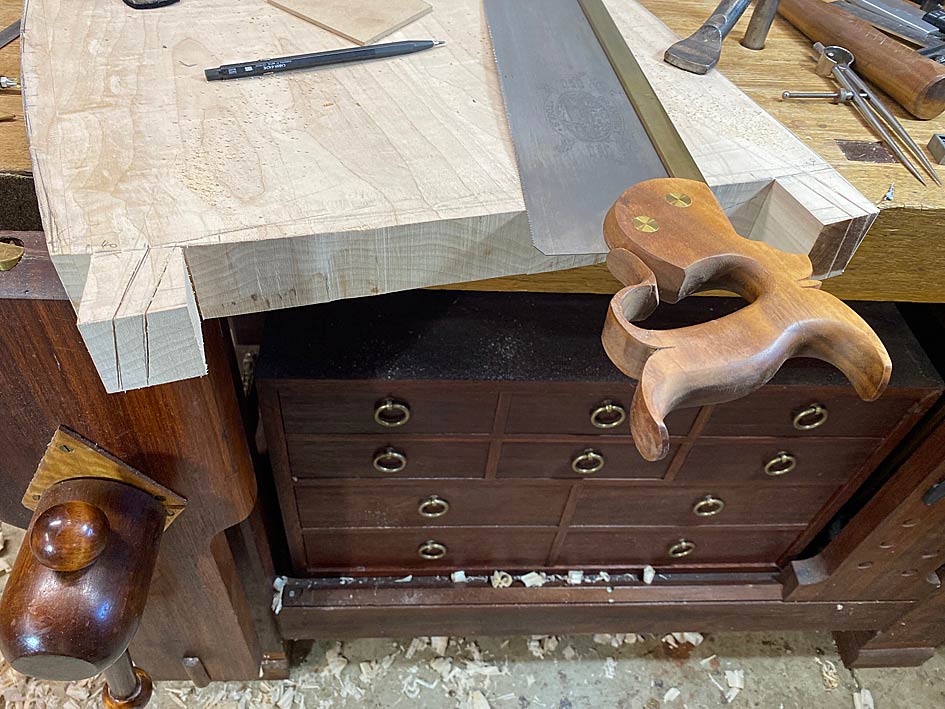
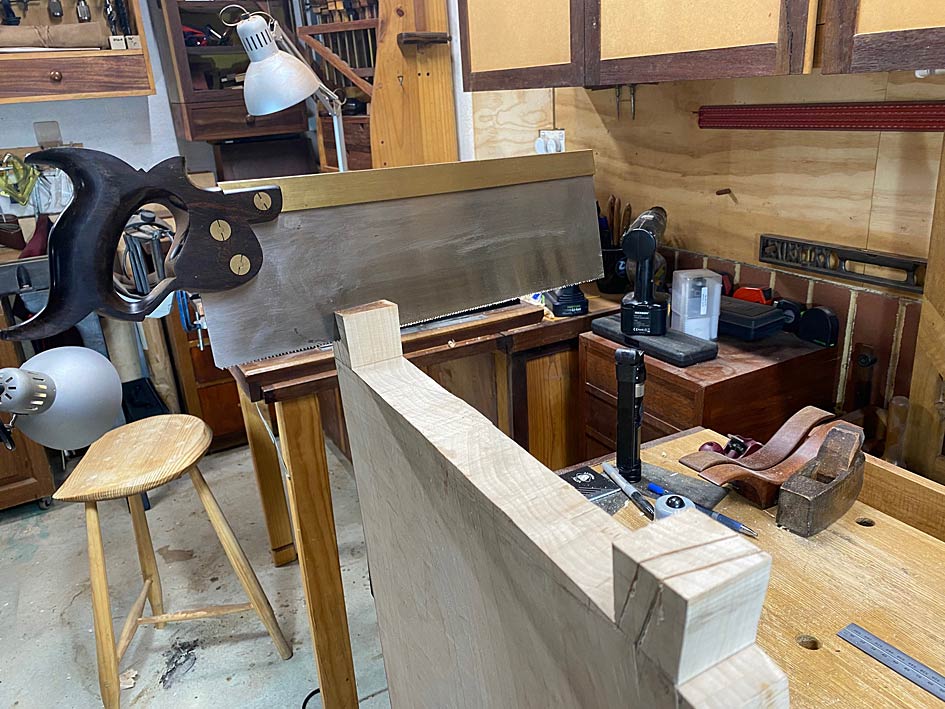
Time to saw the tenons.
I have gone back-and-forth on doing it this way. I can understand why so many builds use loose tenon joinery. Simply, it is easier to do so than creating integral tenons. It also makes it possible to shape the seat fully separately, especially the perimeter. The seats here have been roughly cut to shape, and only the top partially sculpted. It has been a very round-about way of building ... more steps that could have been avoided.
So why build this way? Well, I want integral tenons as they will be stronger than loose tenons. It is also difficult to rout the mortices in the edge of the seat owing to the awkward angles involved. Lastly, adding mortices may not be possible owing to the reduced depth of the sculpting.
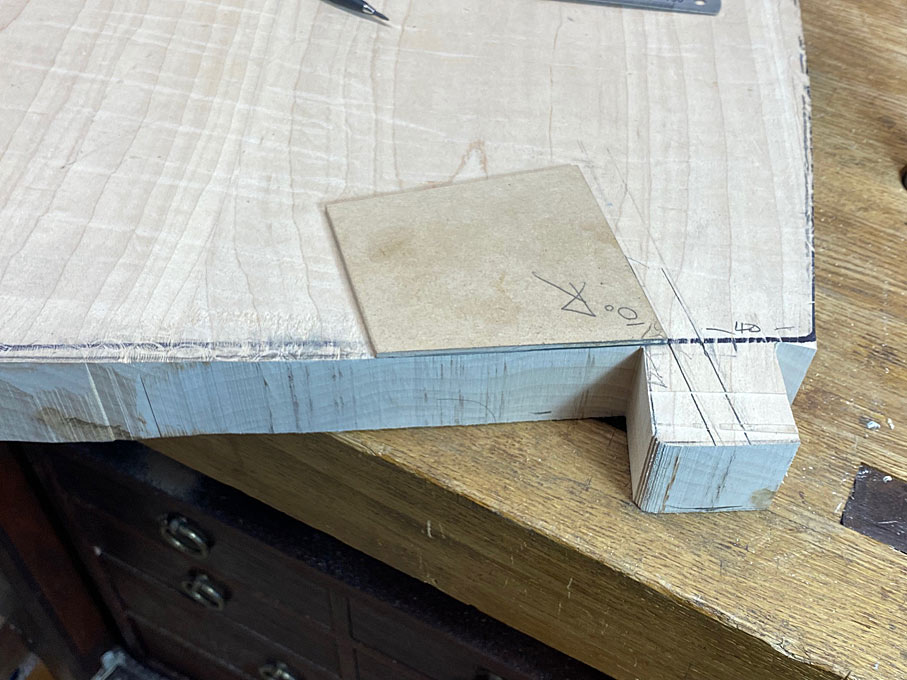
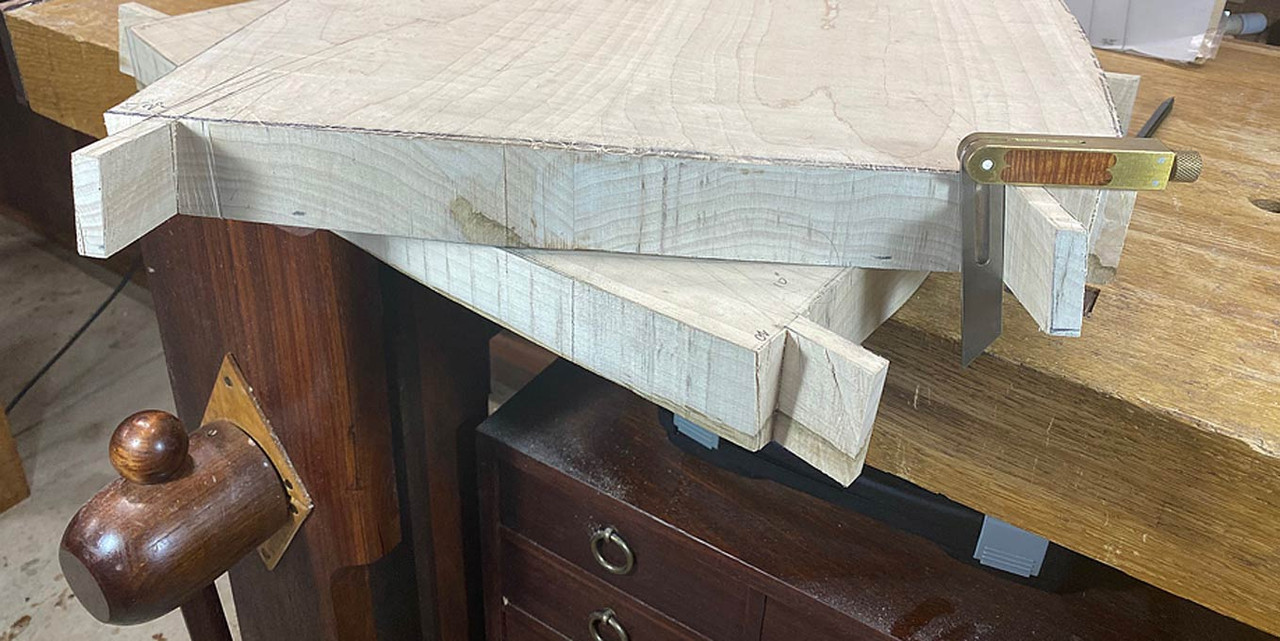
The tenons are not straight-forward as they angle inward at 10 degrees, creating compound angles, as will be seen shortly ...
Using a template for 10 degrees, the angles for the tenons were plotted on the ears ..
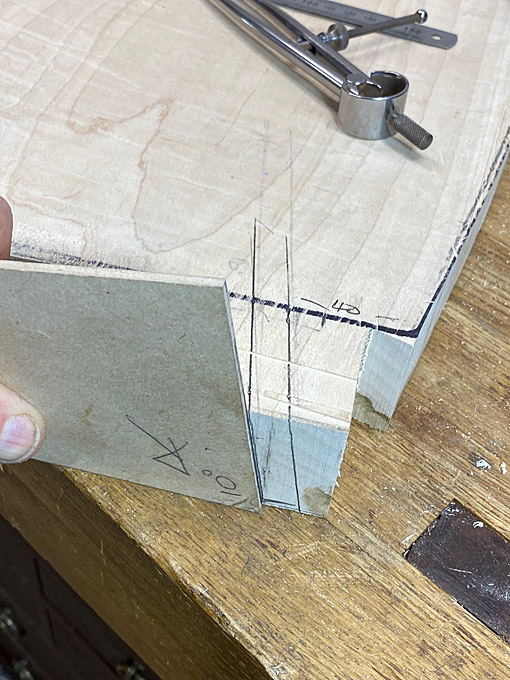
Dividers are used to mark the 10mm width ..

There is also a 10 degree splay angle to add ...
At this stage my spatial-ability challenge came to the fore and I was in over-load with angles. Marking out the angles on the reverse side gave me the biggest headache, and I came so close to accepting loose tenon joinery!
I decided that loose tenon was always a backup, and so just go for it. The saw used is a 16" Wenzloff & Sons tenon saw (10 tpi rip). It is a HUGE saw, but worked really well here with its aggressive cut.
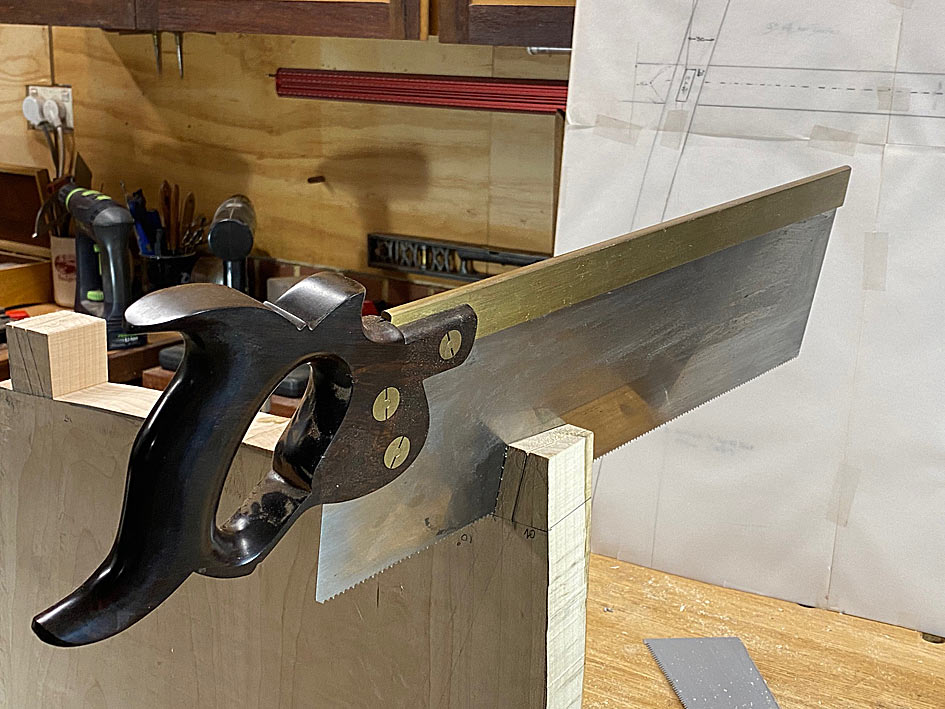
Cutting to the line, which left just a smidgeon of waste.
Waste removed with a Ryoba ...
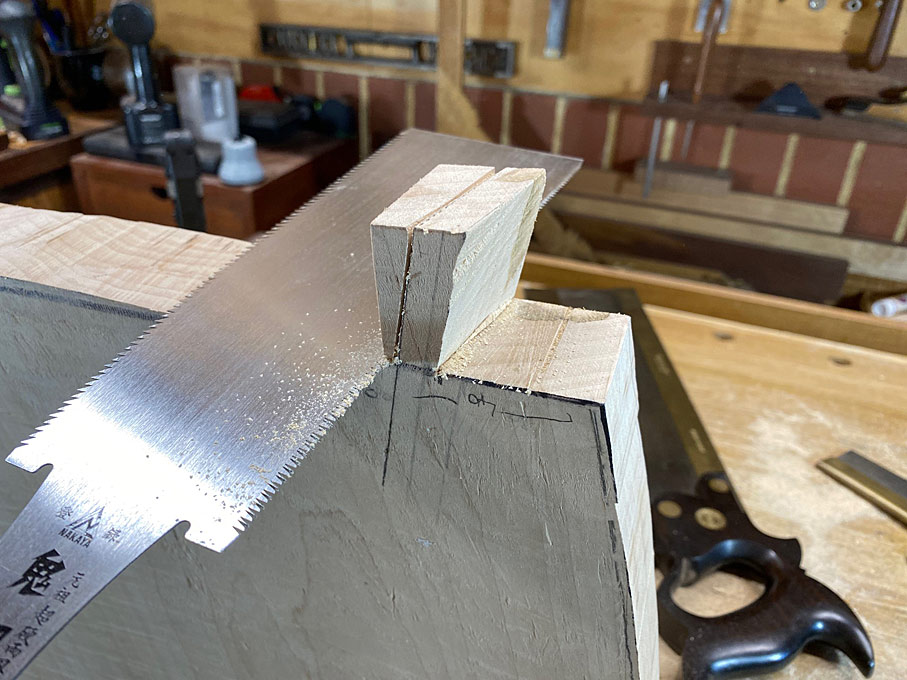
All tenons cut ...

I checked several and all were on the money at 10 degrees. I'm a happy camper ...
Eight tenons and eight mortices ...

Next on the agenda: rasp the perimeter to shape, finish the tenons while there is still a flat reference (under) side, and then shape the underside of the seat.
Regards from Perth
Derek
 Posting Permissions
- You may not post new threads
- You may not post replies
- You may not post attachments
- You may not edit your posts
-
Forum Rules


 Reply With Quote