Andy, on the WoodHaven forum, left a message which was remarkably predictive of what I had planned to write.
For me, the interest is in the problem solving. To make a single chair, with all parts curved, would be a challenge. But to make a matching set, you are going to need a tight system of reference edges and surfaces, to be removed only when all shaping is complete. Your methods so far make sense - of course they do! - I just mean that it sometimes takes me a minute to catch up and see why you are making a part the way you are. I'll be happily admiring the rest of the build.
Andy, spot on! In fact, you preempted the very topic I planned to write.
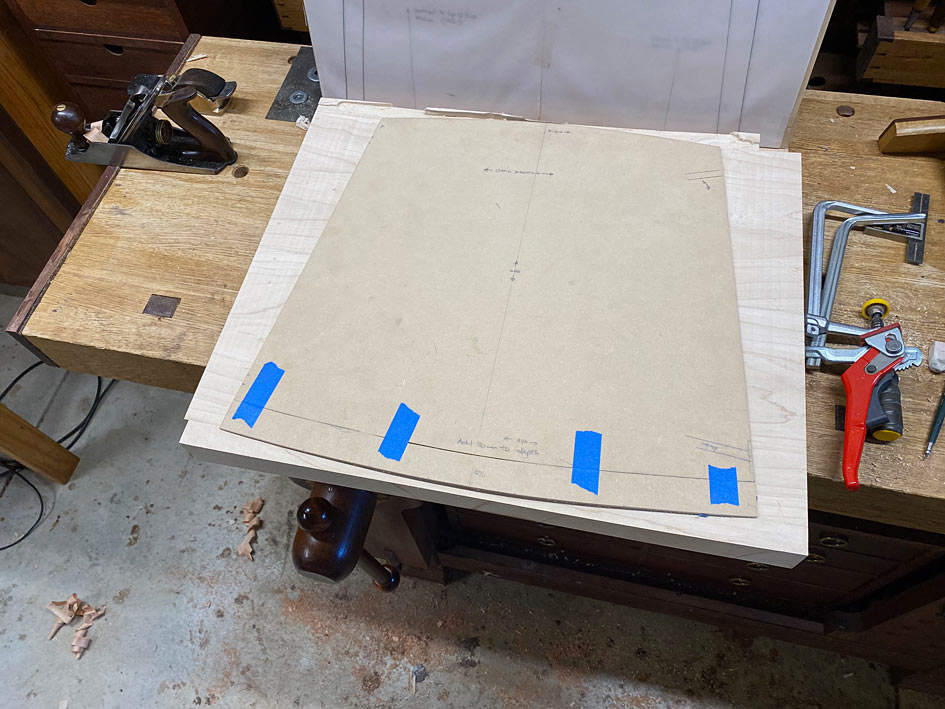
Everything in furniture building requires forward planning. This is even more the case where, as here, these chairs have not been built before, do not come with plans, and are based on sketches I have made. One sees chair builds on YouTube where the Maker lays out a template, cuts it out, finishes it with a template router, and then starts glueing parts together. If only ...
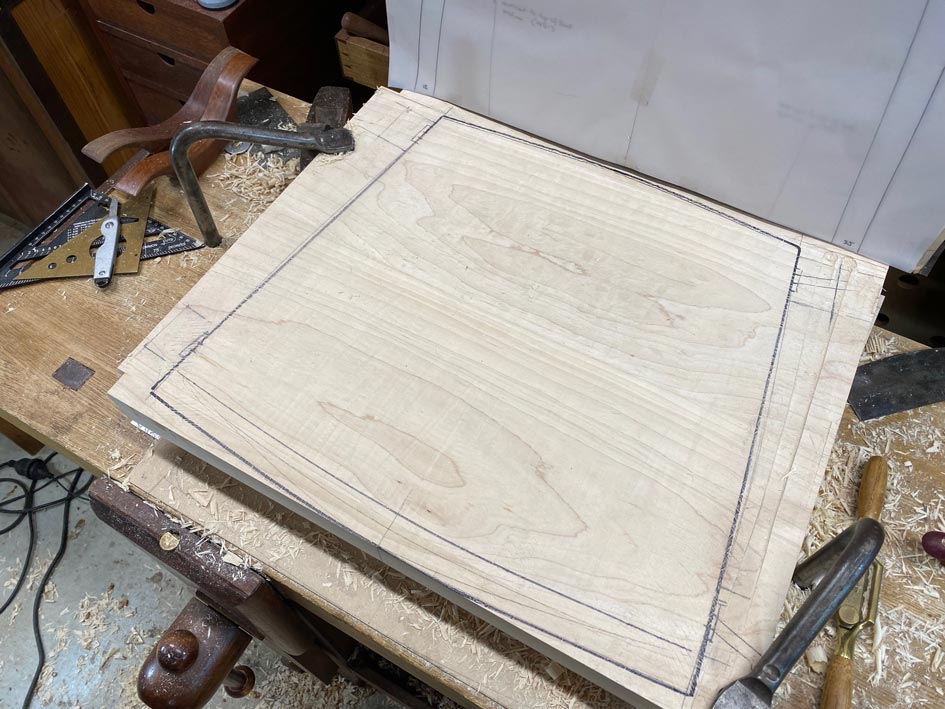
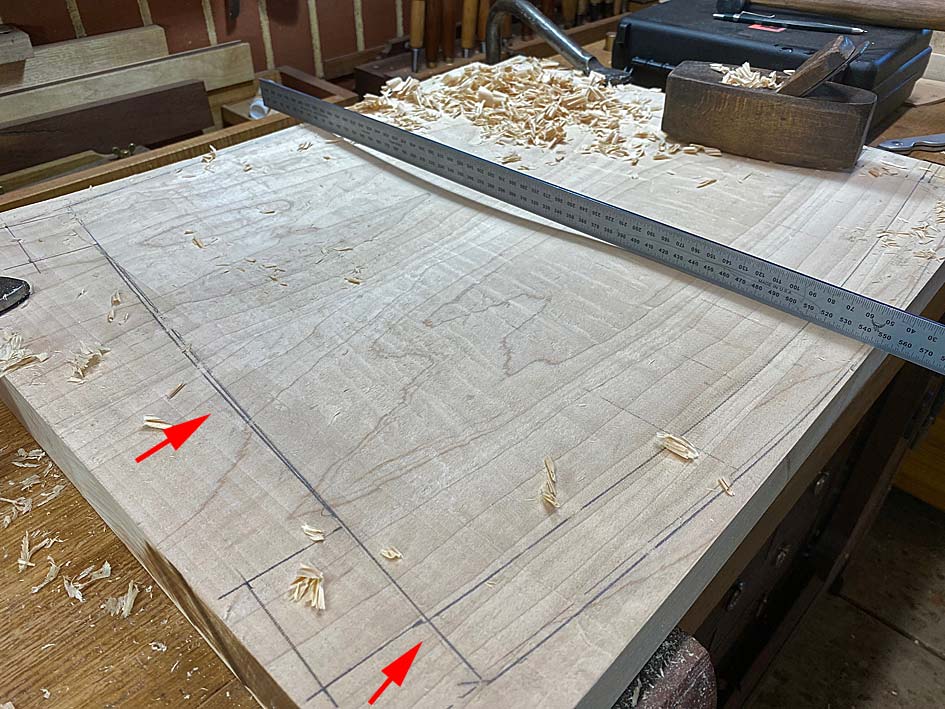
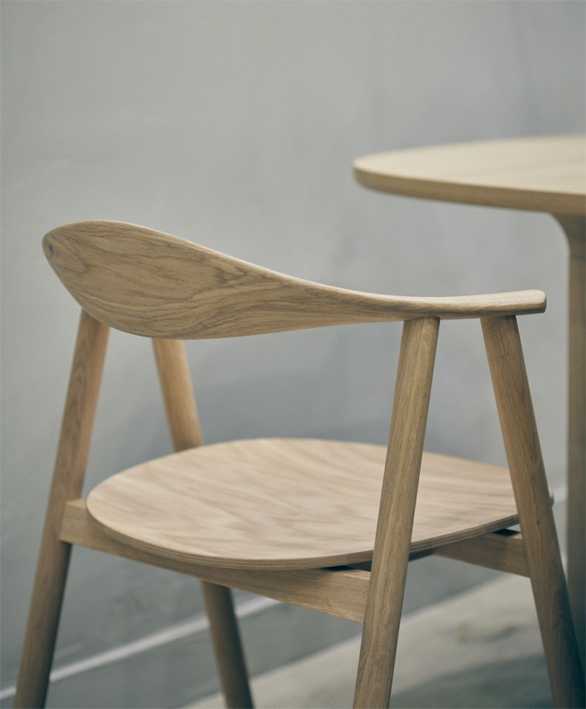
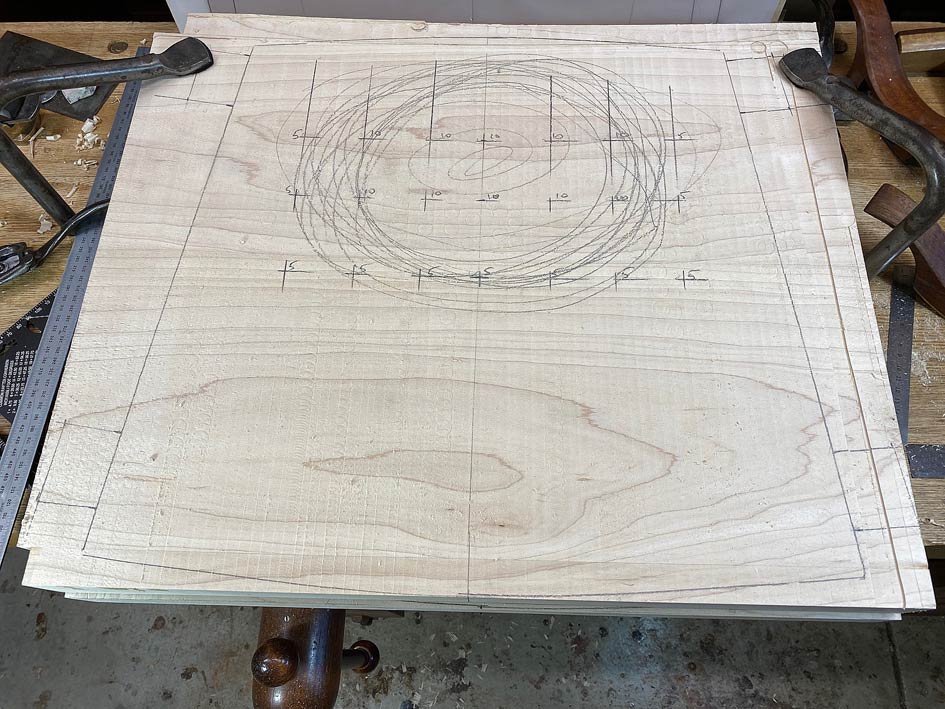
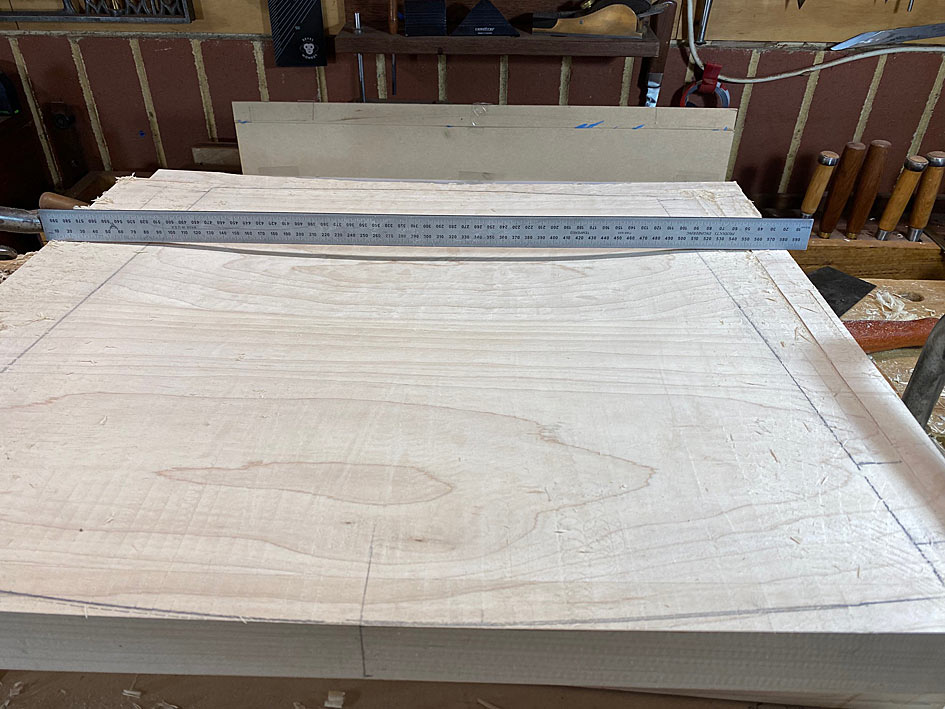
When one looks at the chair design, attention is taken by the arms and back. Yet these are aspects which will be approached last. Far more important is the seat, since this creates the plan for the arms. But, building a seat like the one envisioned is complex as it has two shaped sides, a top side and a bottom. Most seats are carved only on the top, with the underside being left flat.
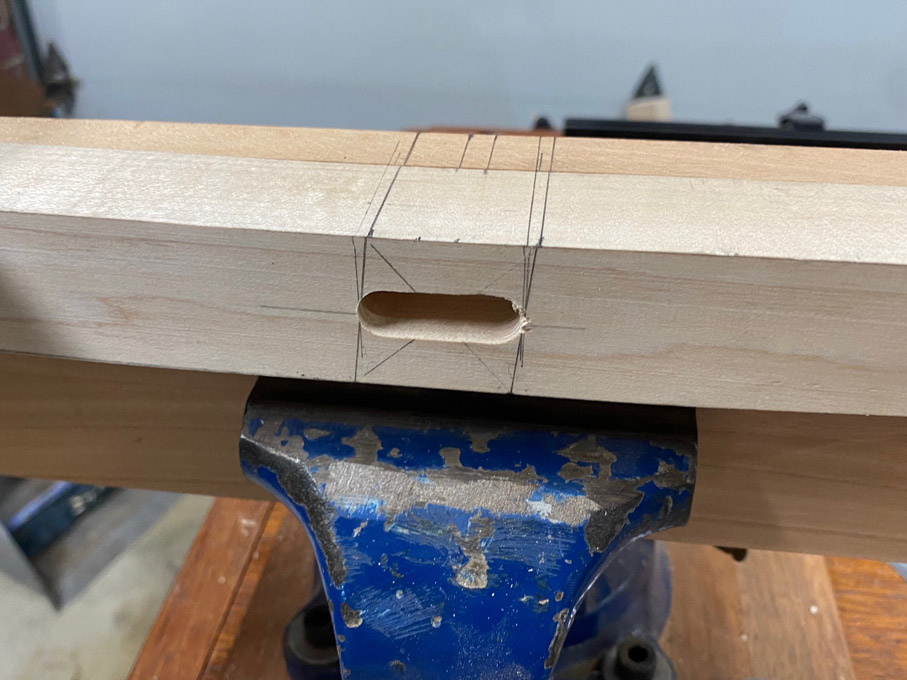
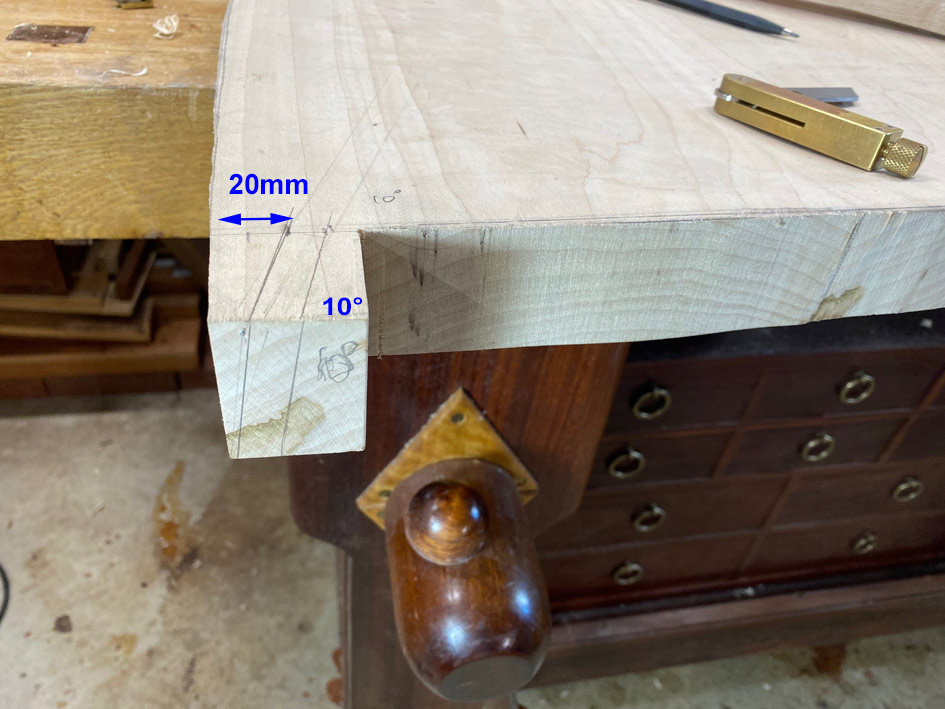
In addition, I have seen very few seats which are attached directly to the legs. Almost all rest on stretchers, with the stretchers morticed to the legs (e.g. The Chair). The latter is easier to construct as you build two sides, and then link them. With integrated tenons in the seat, one has to make allowance for the tenons, and these need to be cut at the correct angle before the underside of the seat can be shaped. The reason for this is that we need a flat reference edge to mark the tenon angles (which come from the drawing).
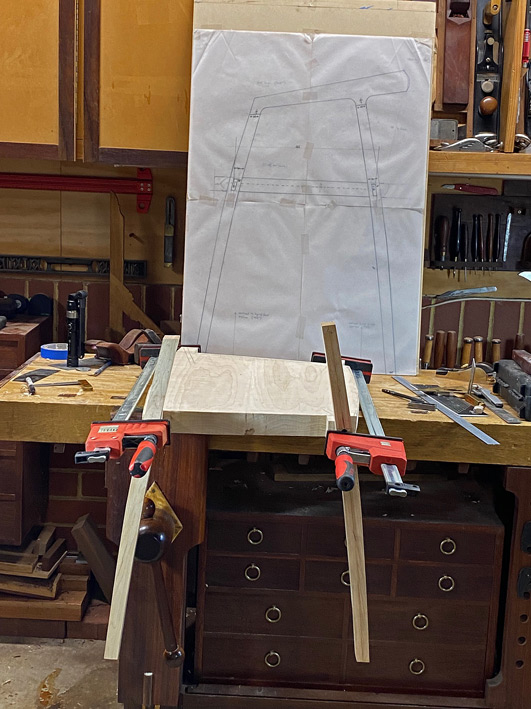
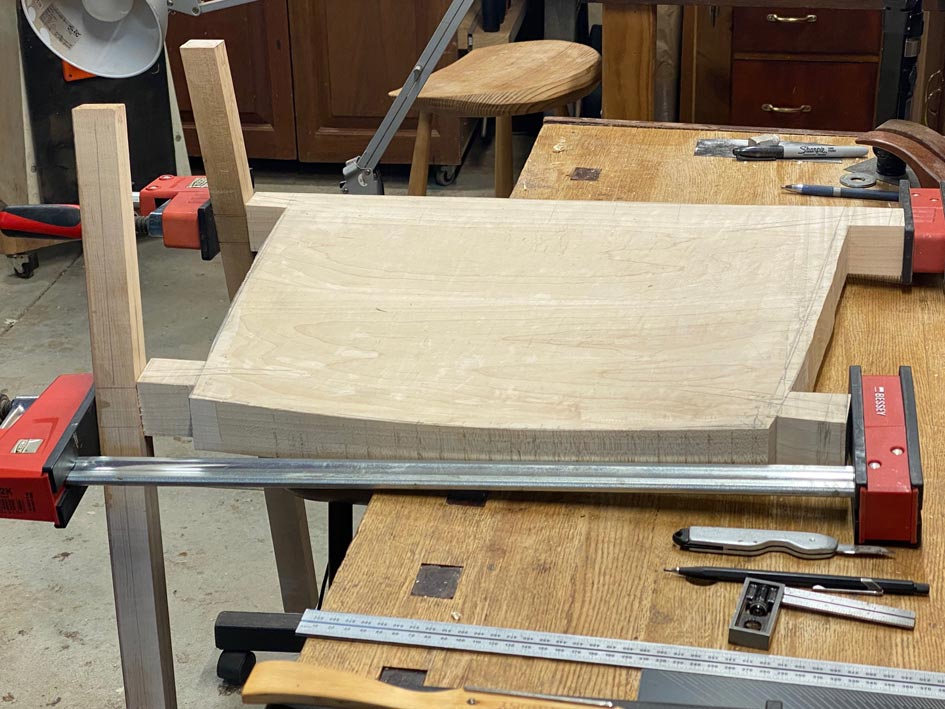
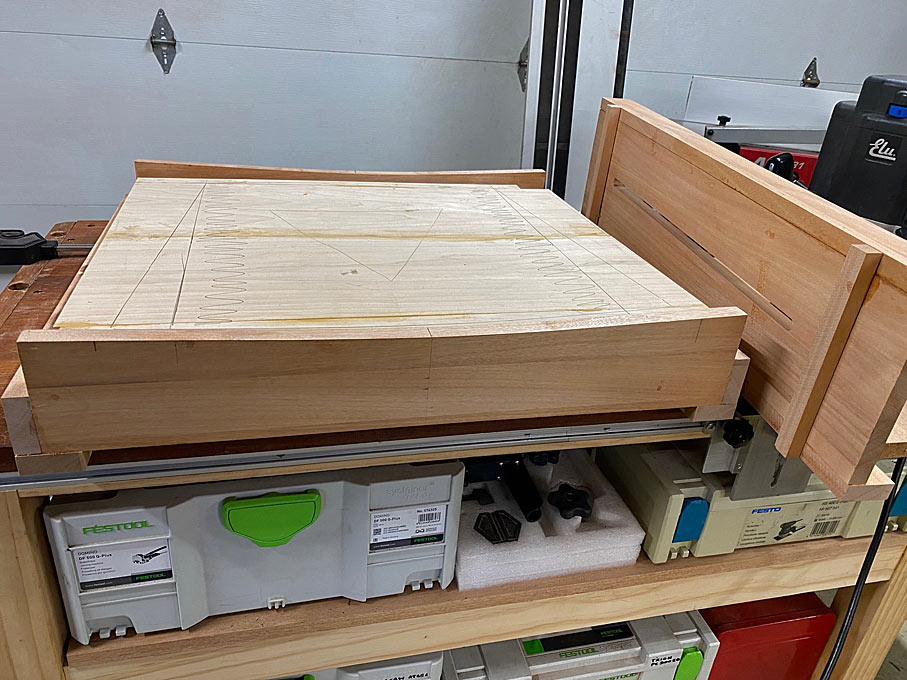
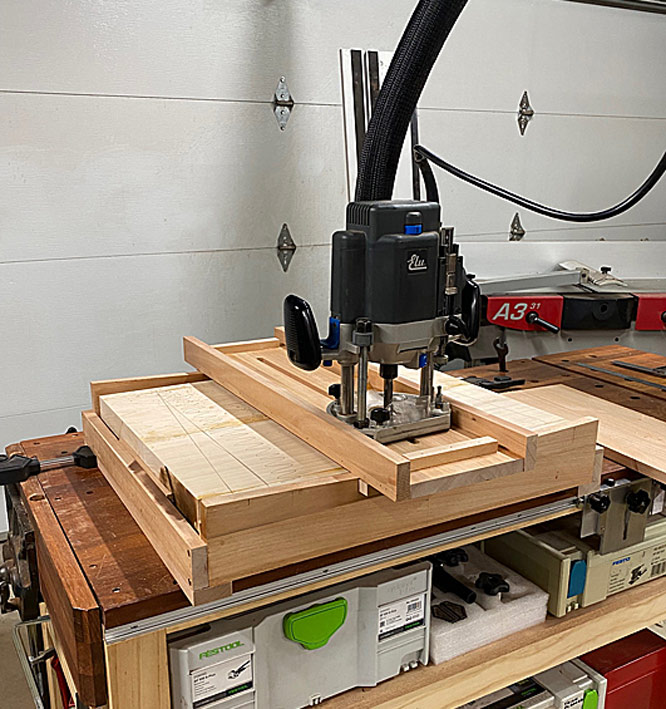
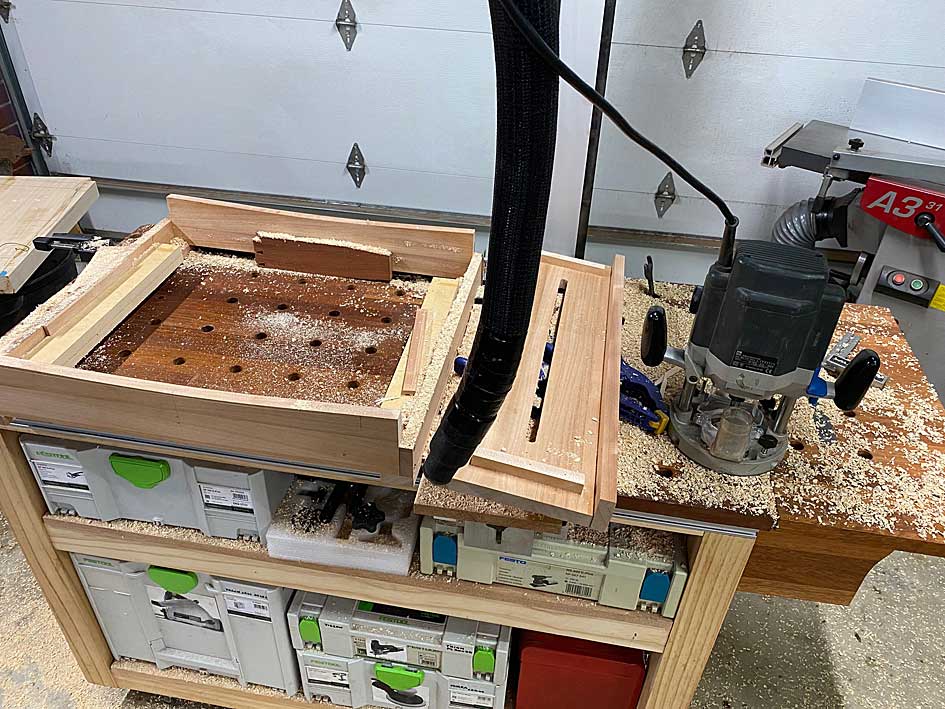
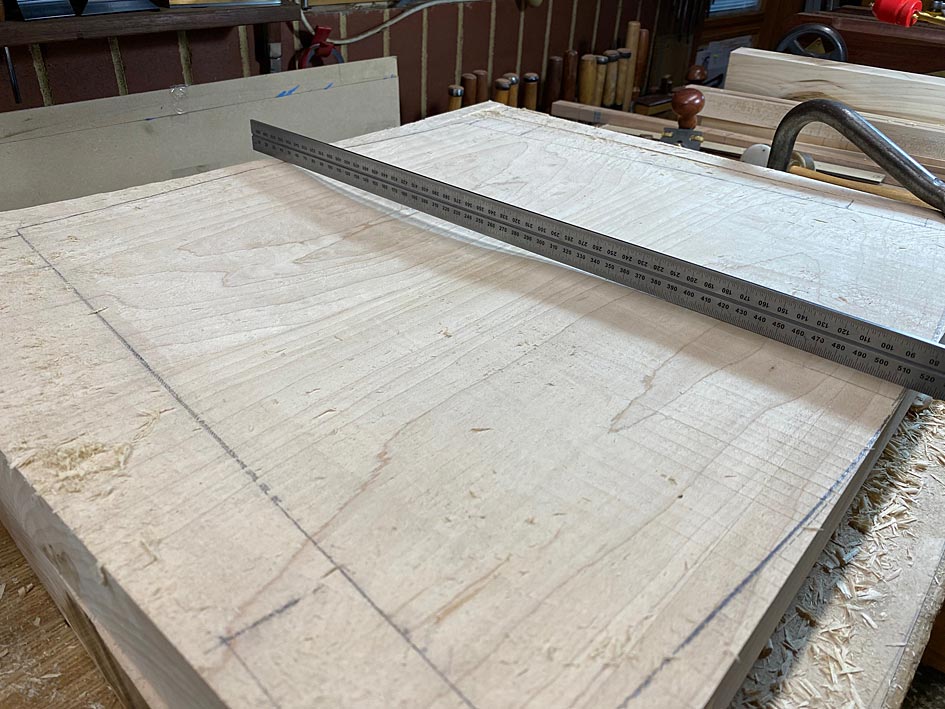
Here is the seat at the end of the last post ...
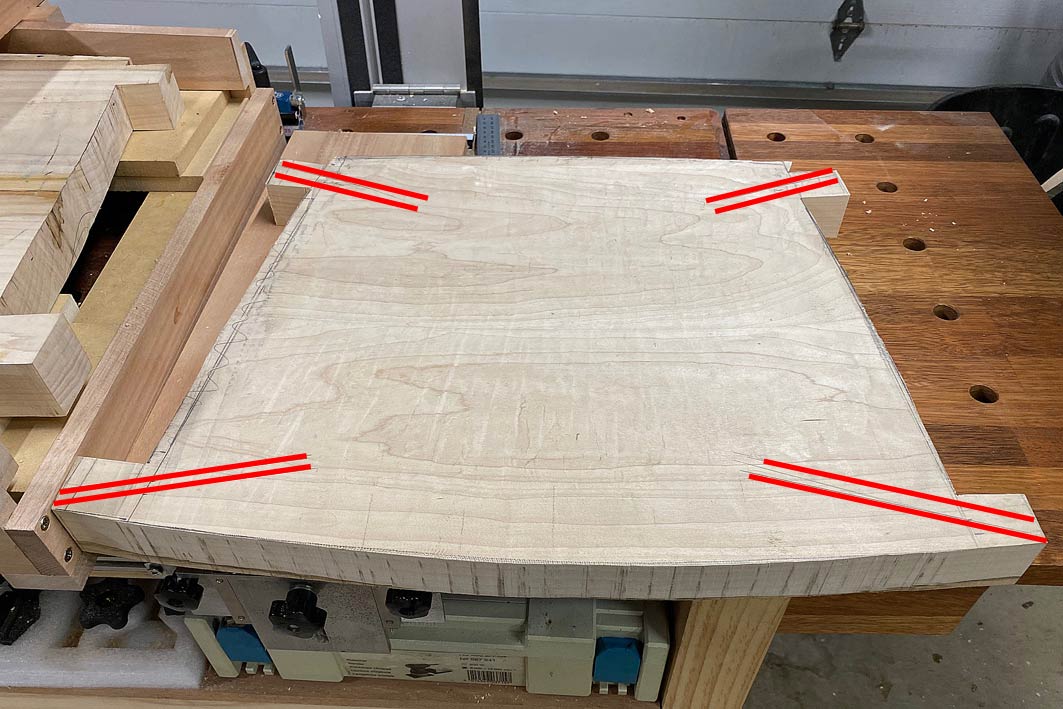
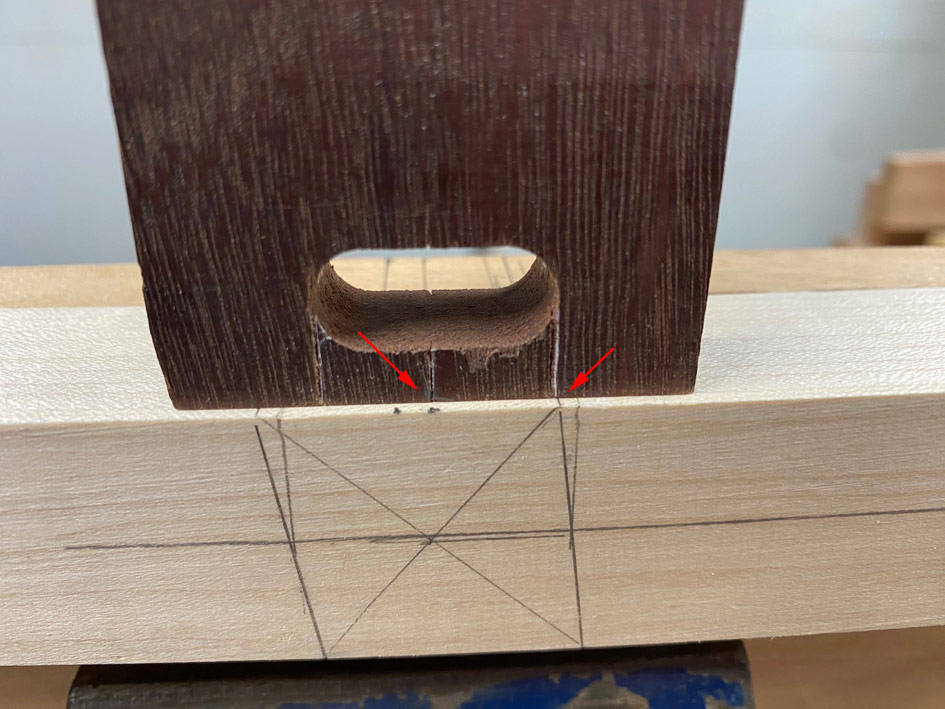
The underside is flat at this stage (being the reference sides), as are the sections where the tenons will project. But ...
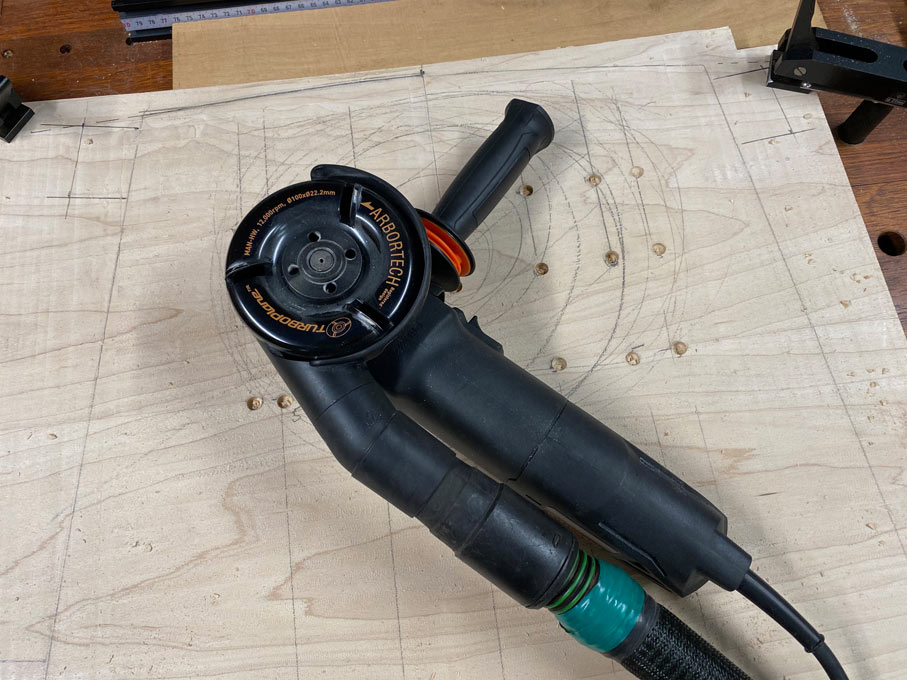
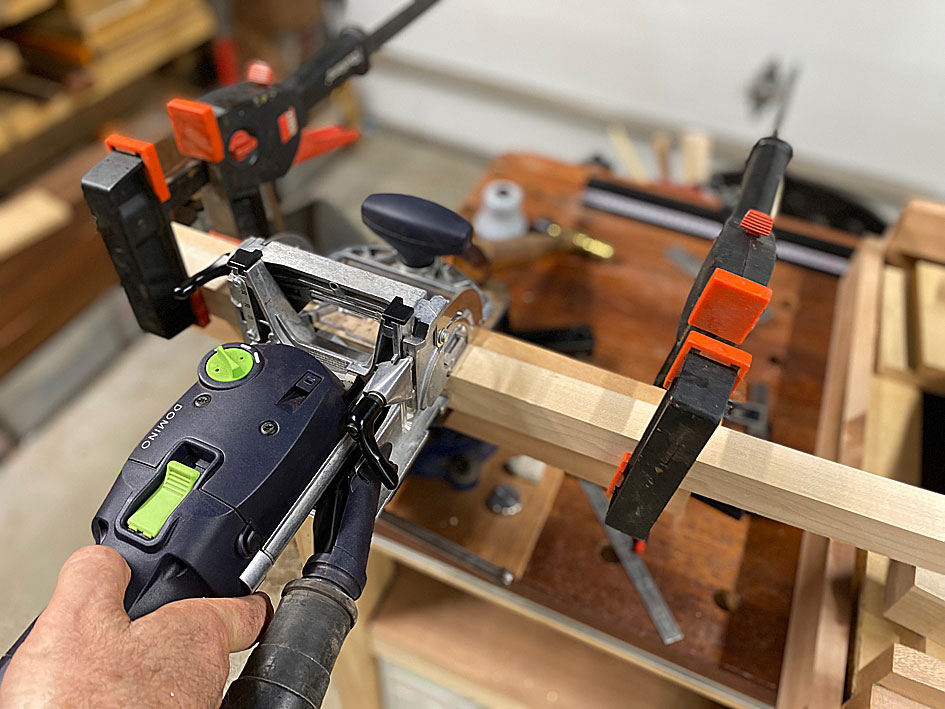
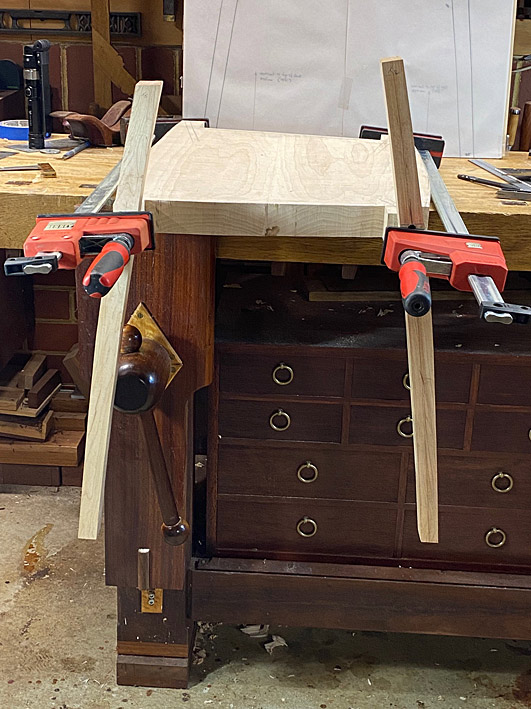
While I am confident about the angle of the tenons, I want to be sure of this, and this requires that the legs be clamped to the ends of the seat at the angle predicted. The legs have been left flat - not yet rounded - as it is easier to add a mortice at this time.
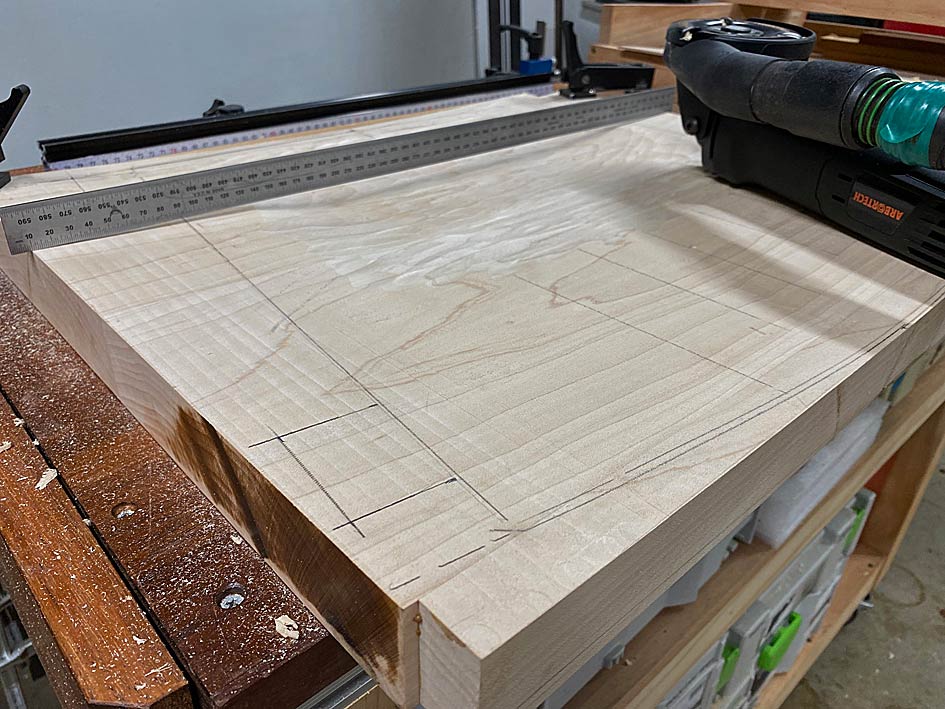
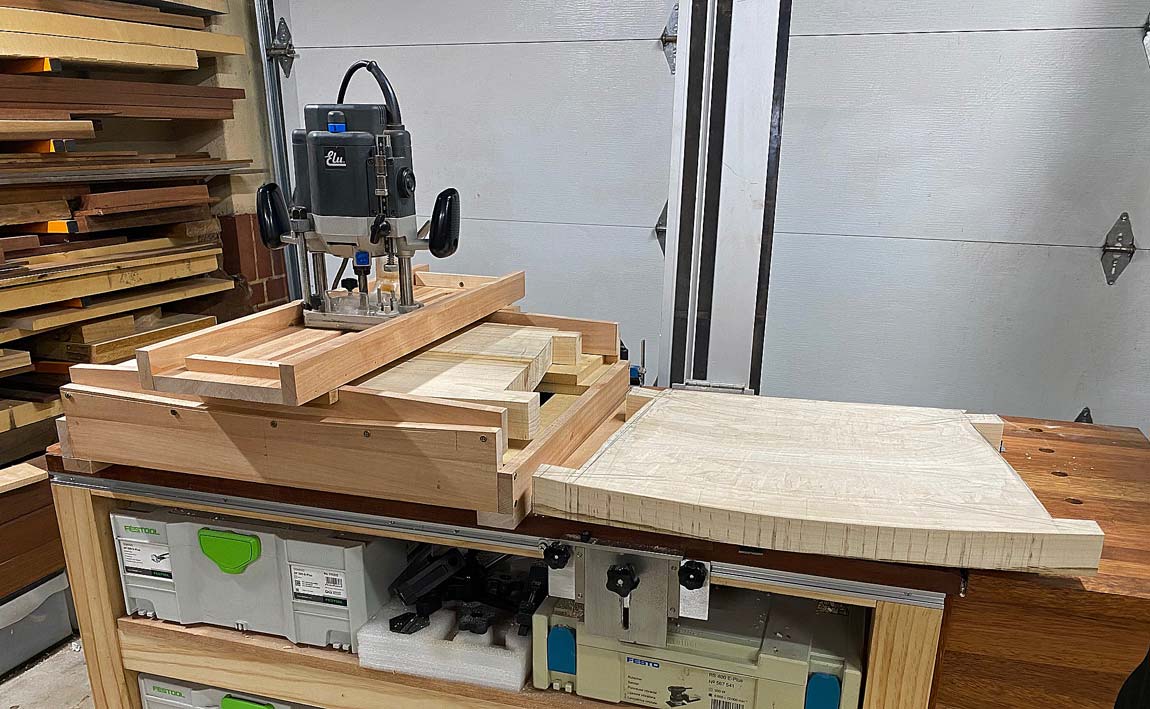
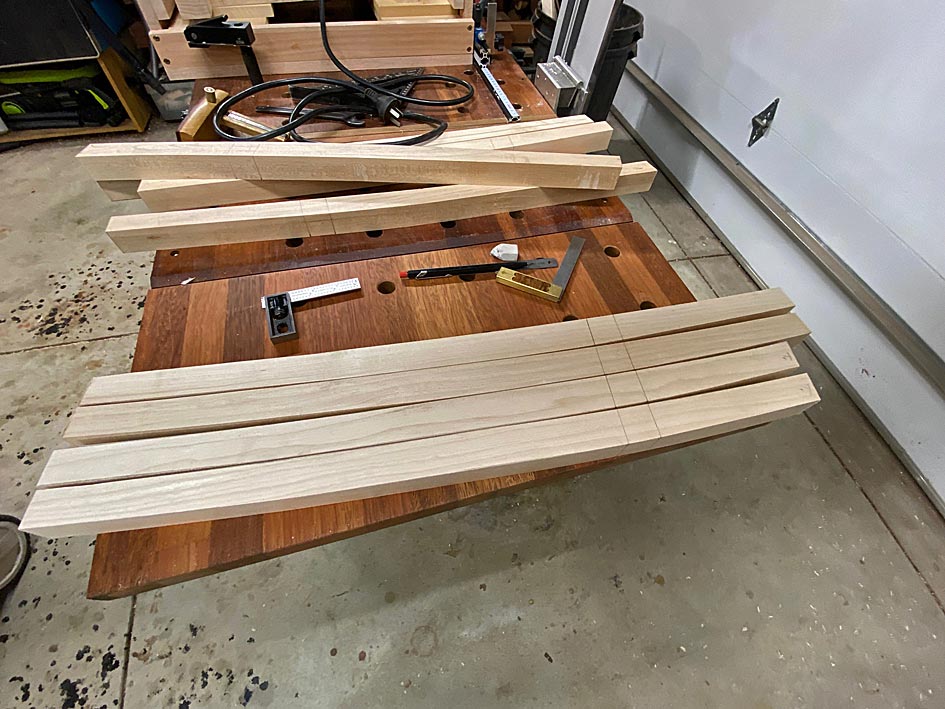
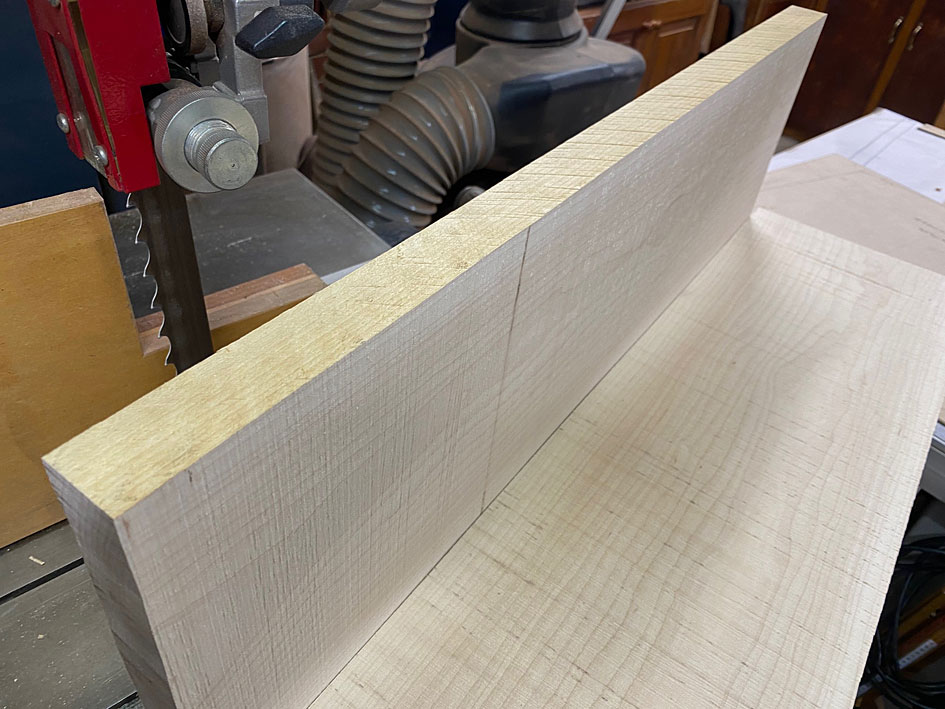
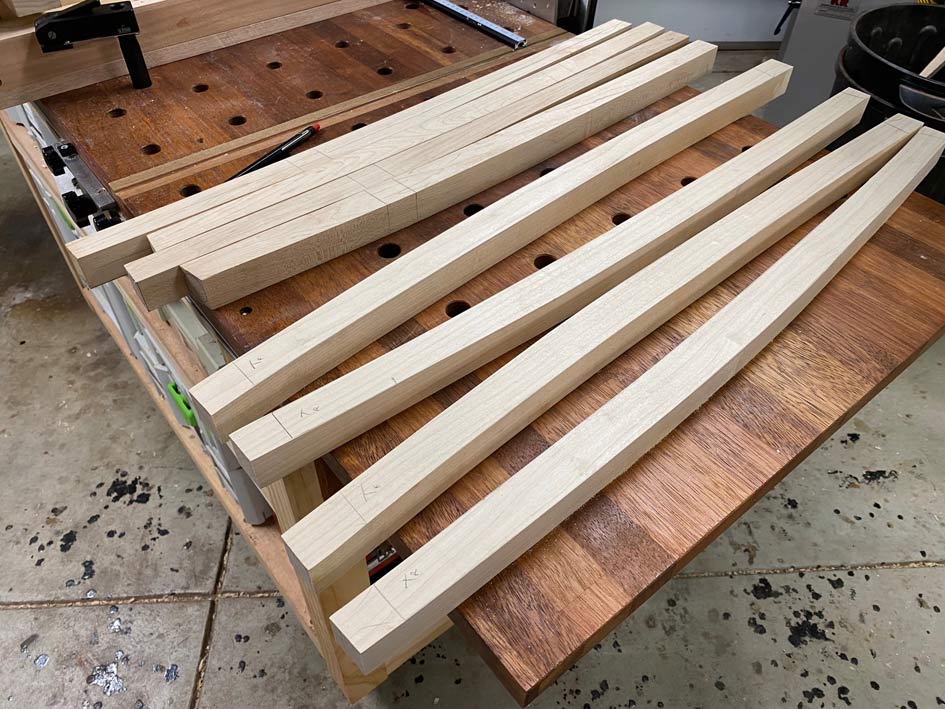
So the next stage is to do just this, but I only have legs for one chair. As a result, work stopped to complete the other four legs. First, a section was cut off one of the 3m long (x 250mm wide x 50mm thick) Rock Maple boards (my wife helped me load this!).
Easier to crosscut on a MFT with a tracksaw than a tablesaw. Mine is a 20 year old Festool I purchased about a year ago in as-new condition.
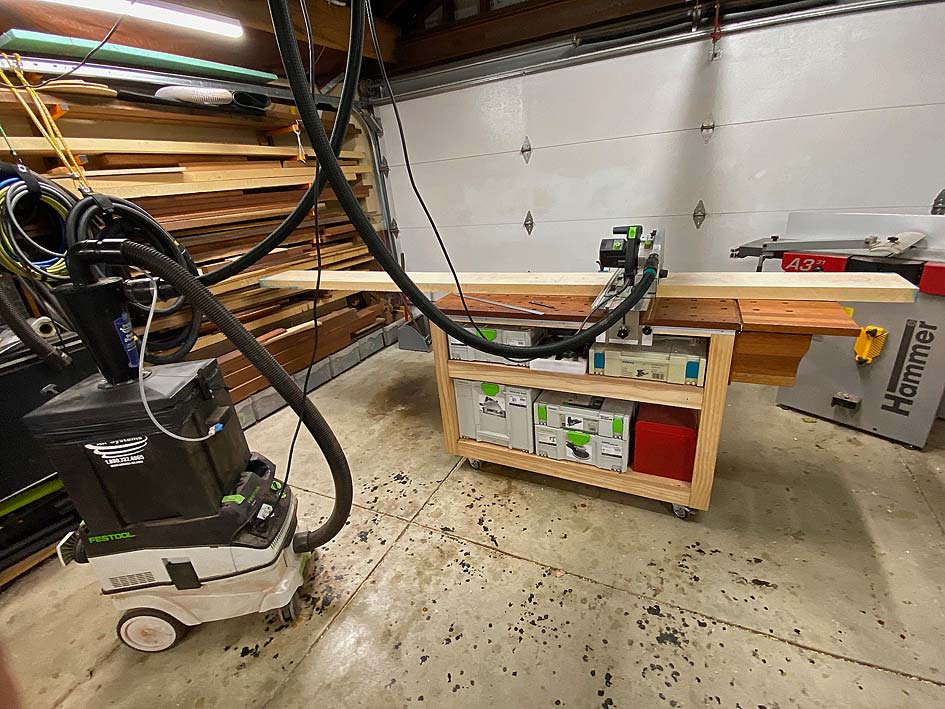
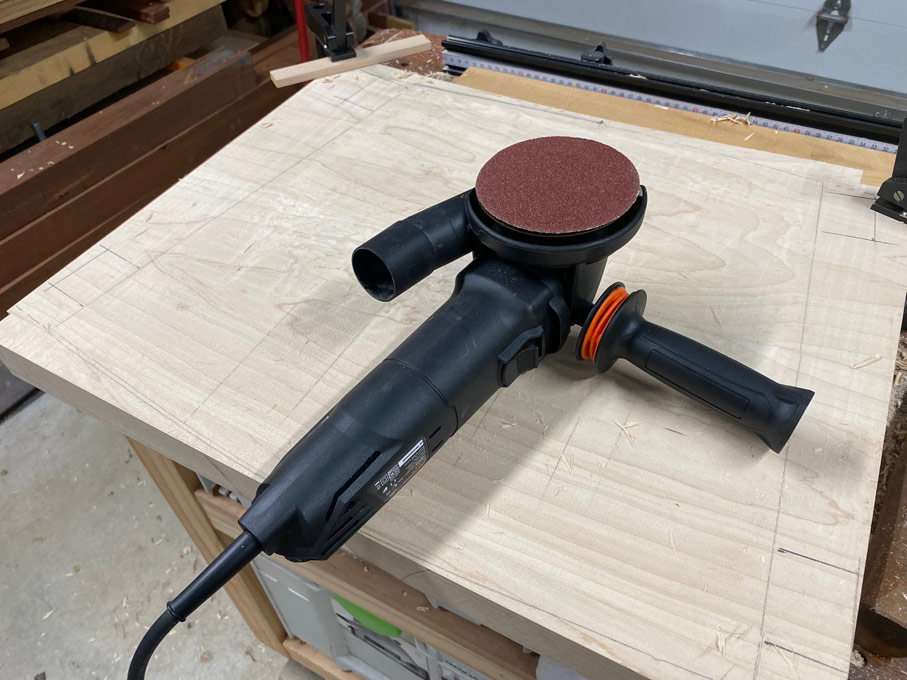
The section was re-sawn to 32mm and then planed to 30mm. Great tracking by the combination of a Hammer N4400 (which I have had for about 15 years) and a 1" Lenox Woodmaster CT blade ...
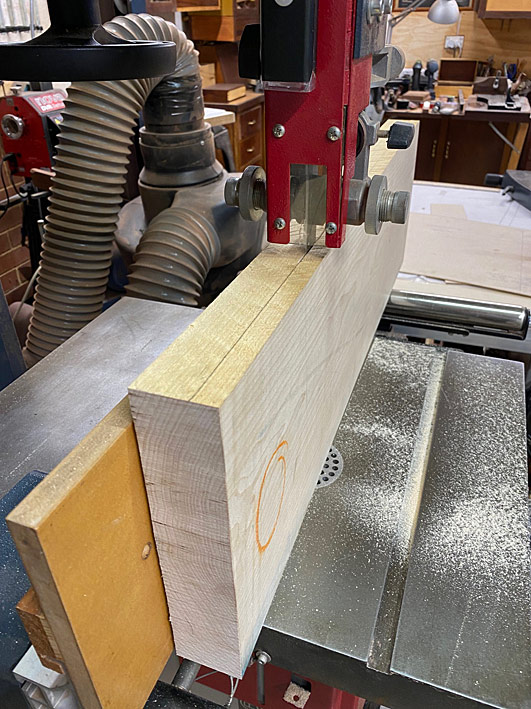
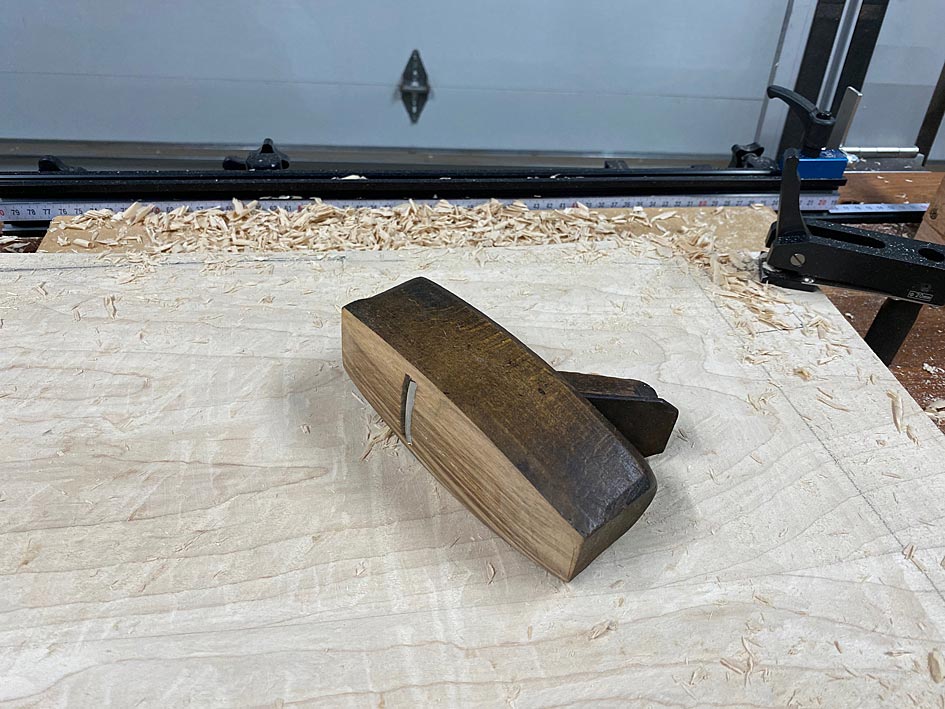
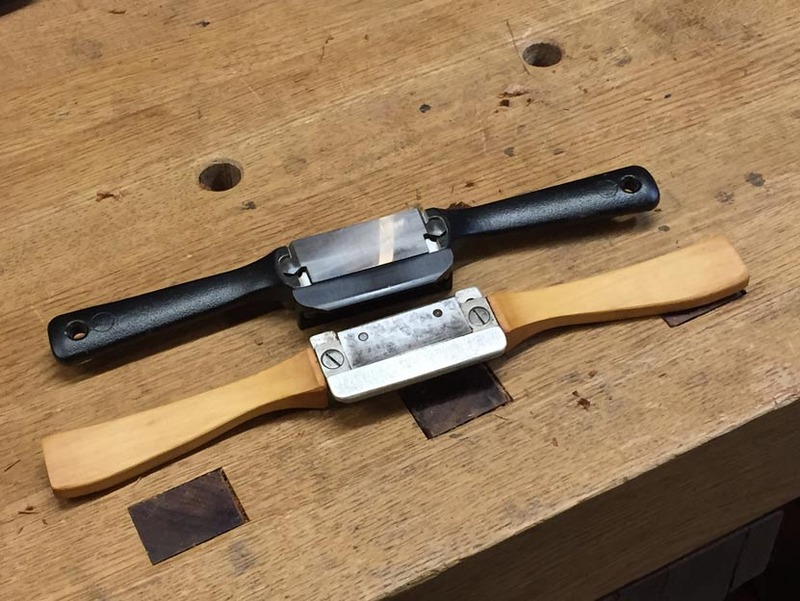
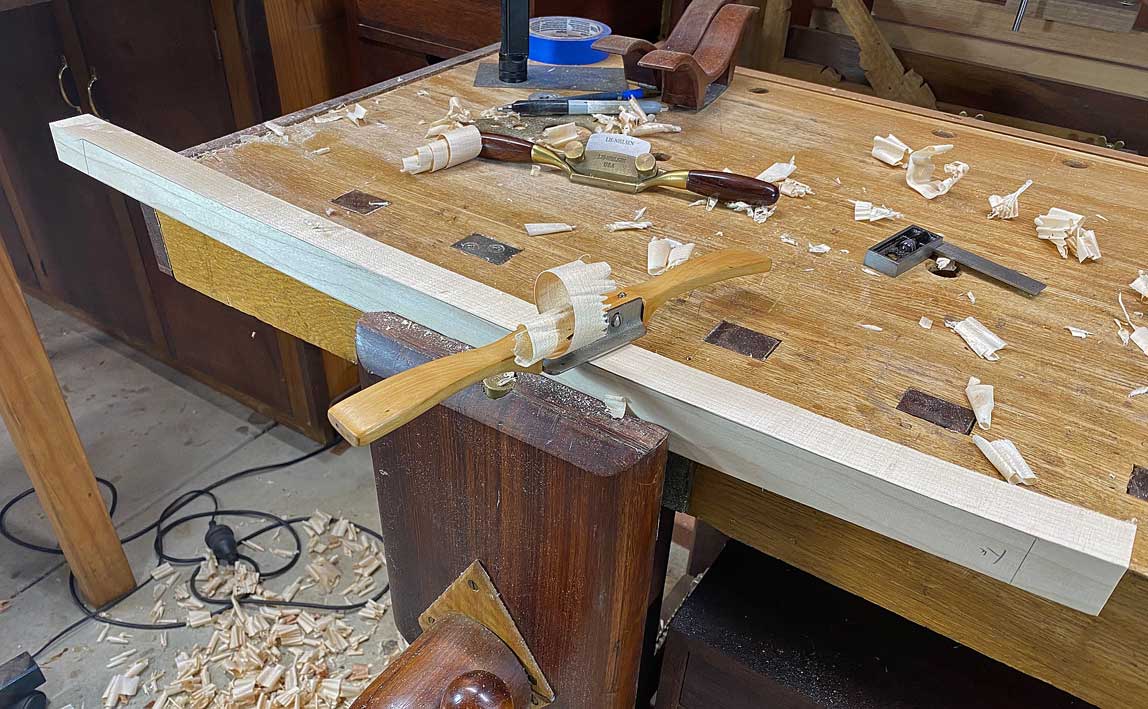
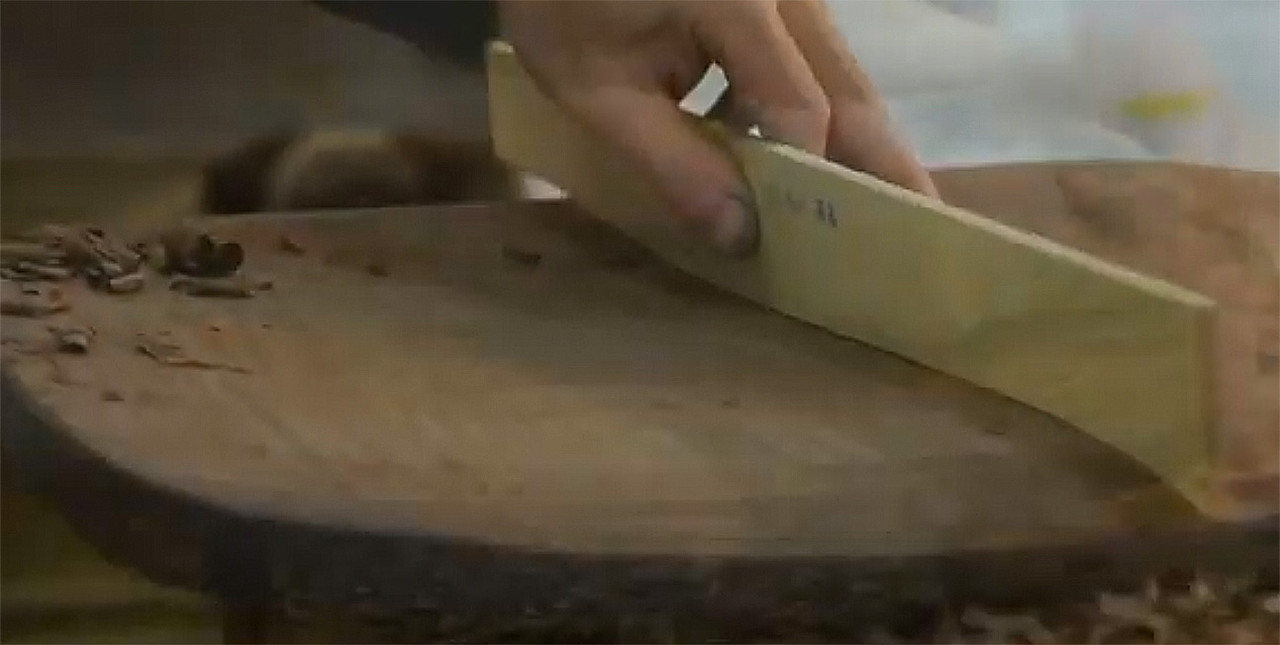
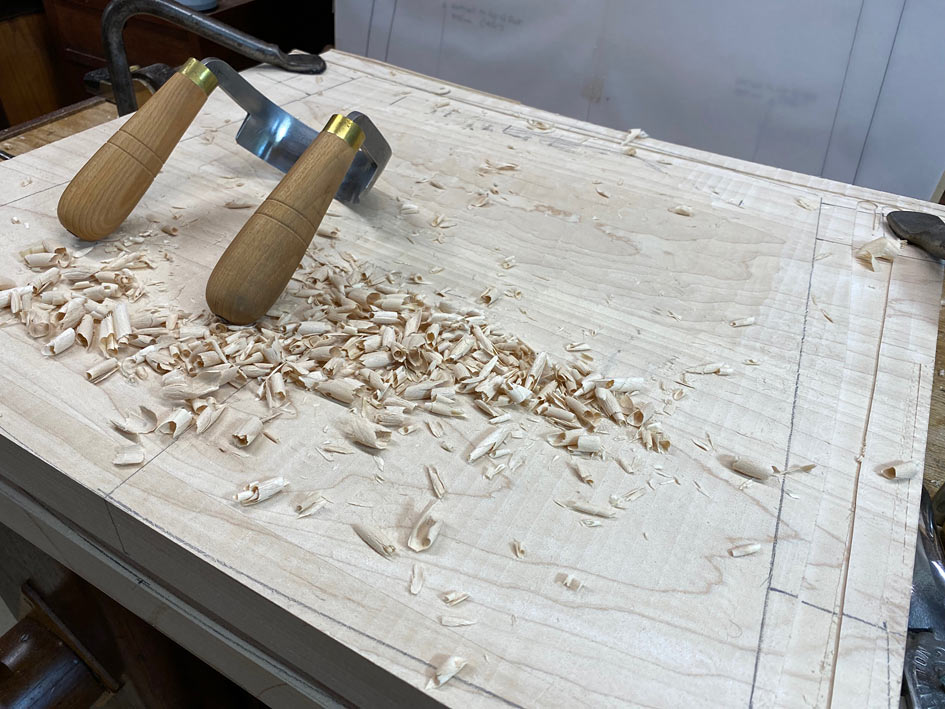
As I mentioned in an earlier post, it is less stressful to mark the legs with a template, bandsaw to the lines, and then use spokeshaves to clean up. Here are some of the spokeshaves I use ...
A Stanley #84 boxwood spokeshave excels in taking thick shavings. This is where I begin ...
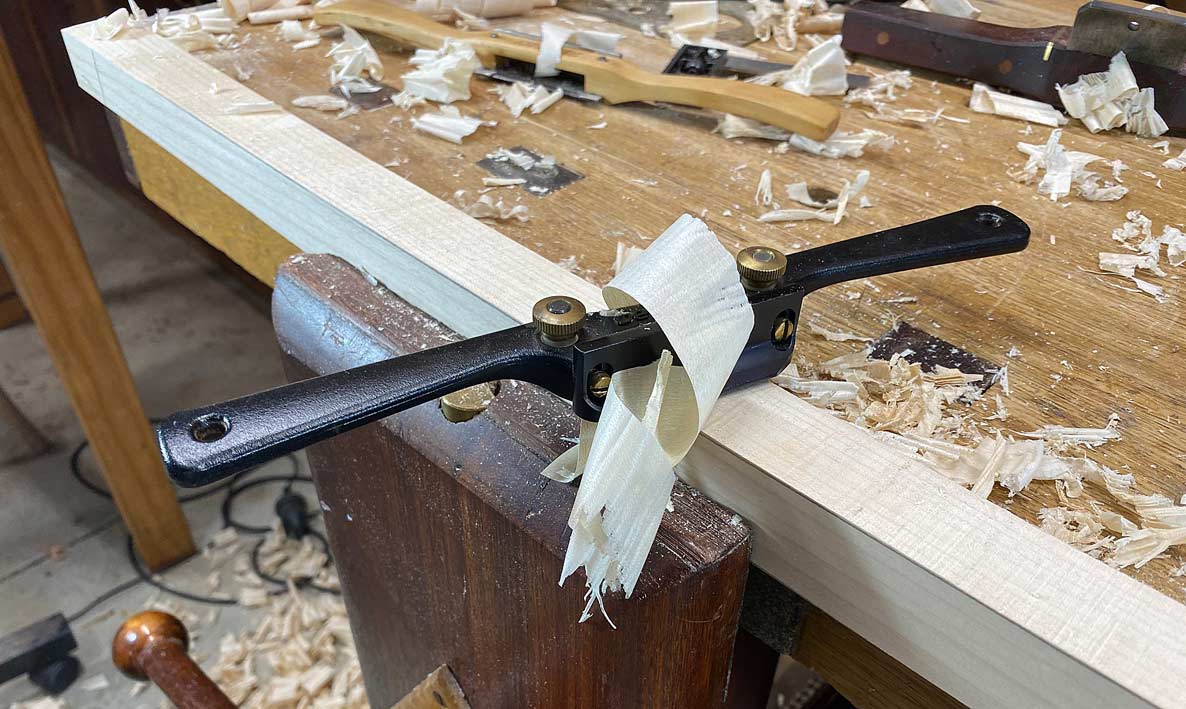
Veritas make a copy of this in the form of their LA Spokeshave, and it is very good (I use one or the other, not both) ...
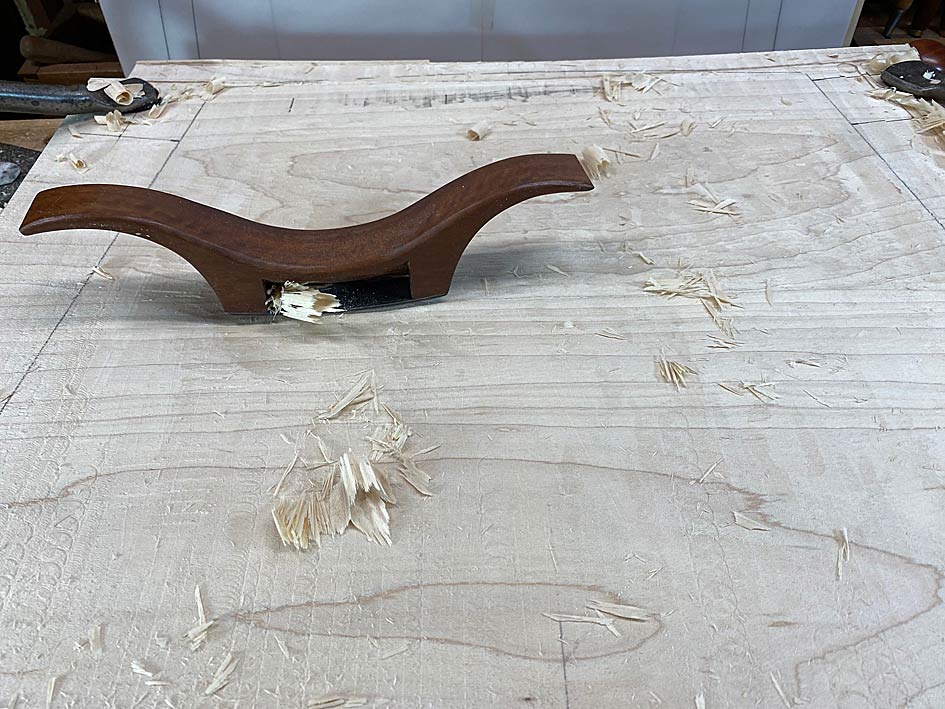
Many years ago I was gifted a flat and round spokeshave by Terry Gordon (HNT Gordon tools). It is a Malaysian/Asian design with a high cutting angle. This is my go-to if there is any reversing grain ...

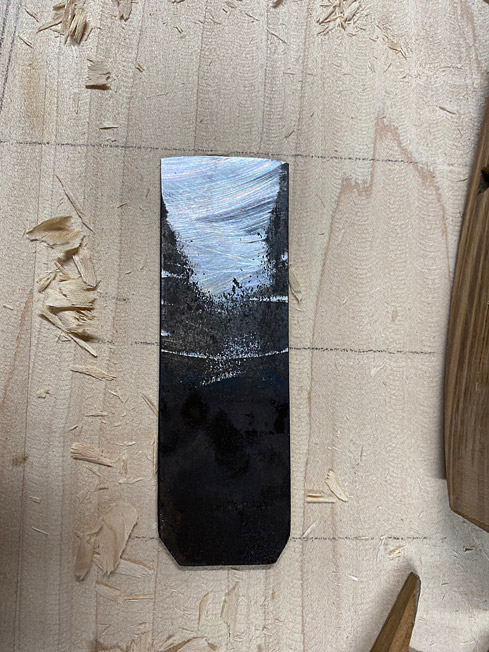
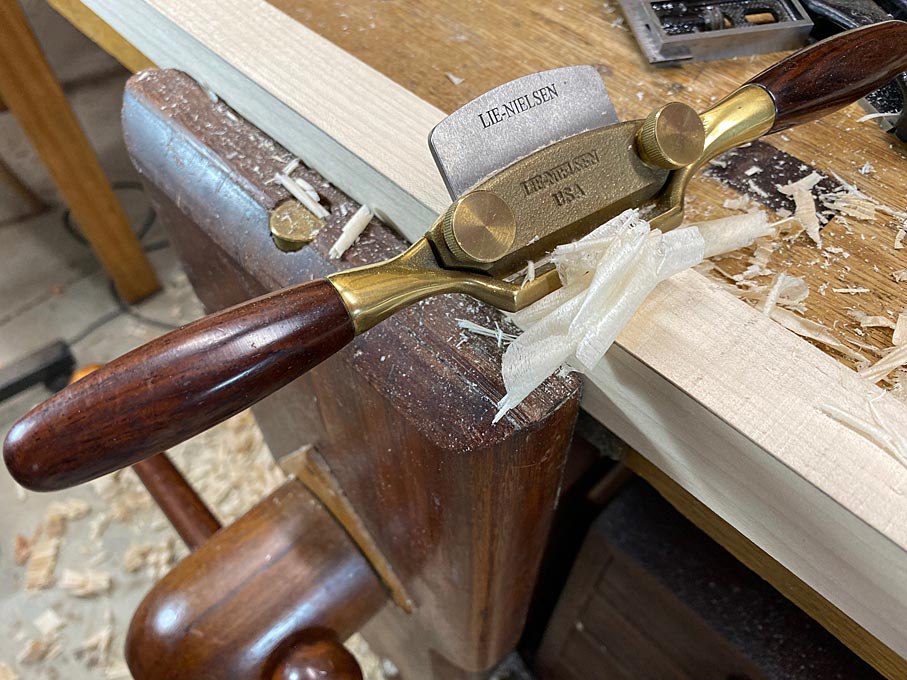
Lastly, the LN Boggs spokeshave takes very fine shavings and is used like a smoother to finish the surface ...
Here are the completed leg blanks ..
Tomorrow I will mark out the tenons.
Regards from Perth
Derek


 Reply With Quote