


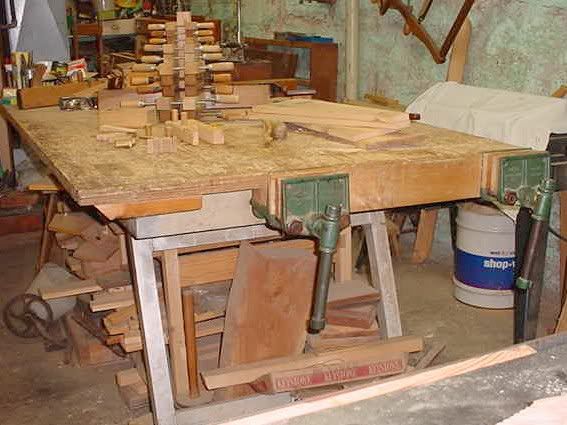
I admire those of you who have shown your nice more or less traditional shop work benches with the nice tops, drawers and undercarriages. I decided to show my not traditional bench in my basement shop, nothing fancy just usable.
I came about my basement work bench purely by accident. A rather tight customer came into my blacksmith shop with some 5 by 2 and 2 by 2 aluminum tubing in pieces from a salvage yard many years ago. He gave me a dimension sheet to piece together the aluminum tubing complete with folding 2 inch square legs so that he could put a sheet of plywood on top and have a portable butchering table to work on.
After the aluminum tubing was cleaned up and welded together then cut to dimensions and welded into the proper dimensions, he really thru a fit about the cost we had agreed on. I think he thought he was gonna get it at much lower cost by complaining, but he got fooled. We came to an agreement and I paid him for the aluminum and took the frame home to my woodshop. I screwed on a 4 by 8 sheet of 3/4 plywood to the frame and then glued and screwed another piece on top of the first one to use as a wood working bench.
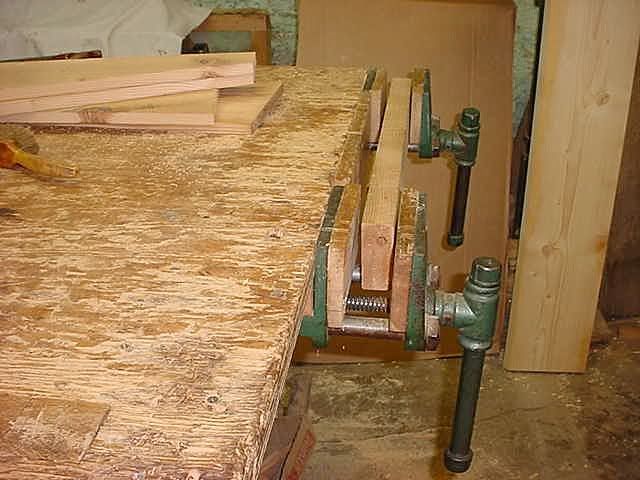
A friend found out about the bench and told me had gone to a school surplus auction and had purchased 2 wood vises and a bench vise and he had no use for them so I paid him the $10 apiece he had paid for them and drug them home and installed the two wood vises on the end of my new workbench. I put a mini apron between them and when I need a face vise I just use a short piece of 2 by 4 across both of them.
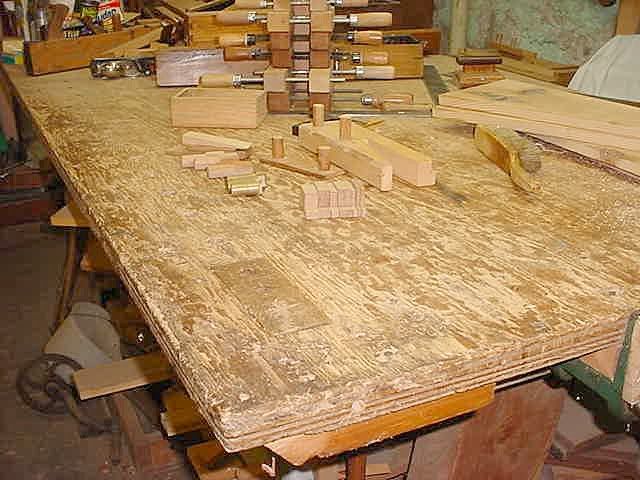
I was unable to mount my patternmakers vise on the bench because of the tubing frame, so I came up with another way of using bench dog holes and a means of securing a long board for working on it.
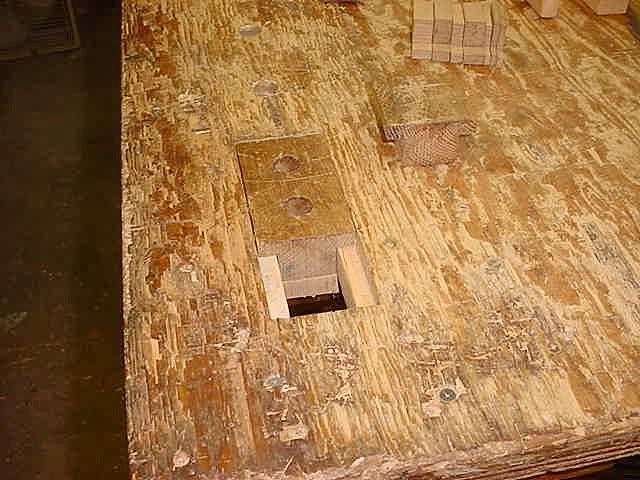
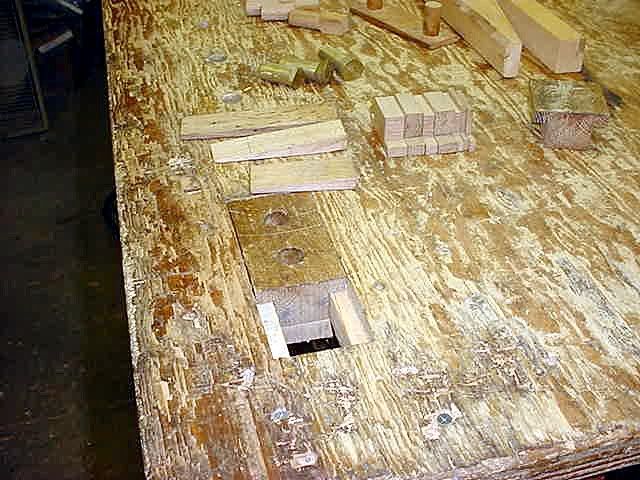
I cut a long rectangular slot clear thru both pieces of the plywood top and then rebated the sides for a lip for the sliding block with 2 bench dog holes in it and fastened a retaining piece on the bottom of the block.
I then made a dummy plug to fill the extra gap and different sized spacers and wedges to use to put holding pressure on the workpiece I wanted to hold. 3 turned brass bench dogs of different heights finished the rather different holding system.
This is a picture of how it works.
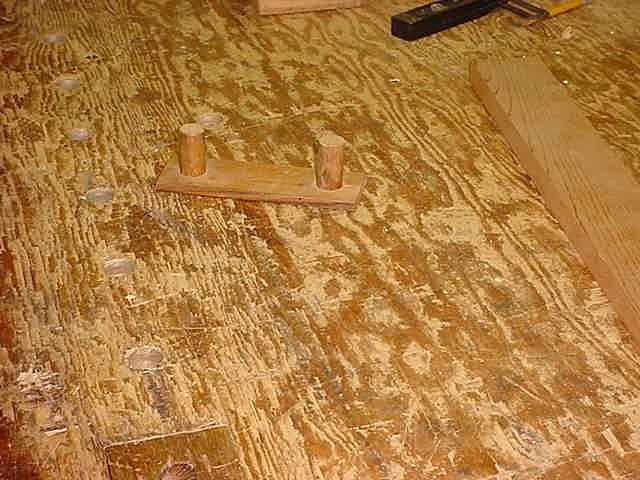
This is another handy gizmo I use with the bench dog holes for edge planing.
This is what it looks like in use. Instead of a normal V, I went with an offset V notch as it has a tendency to hold the work from flopping around better and I occassionally put a wood bench dog in one of the holes and use a wedge to secure it a little more. If I used it a lot I wood drill another hole even with the left side so the wedge and dog would make it more secure with a two sided grip.
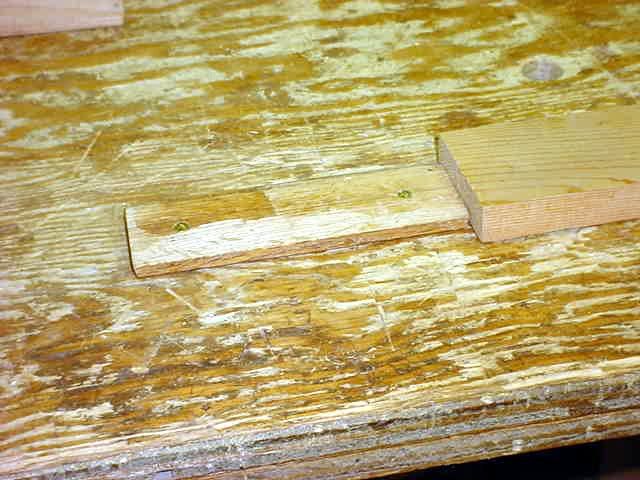
This is another little gizmo I use for a quick stop when planing occasionally.
This pictures shows it in use. Its a quick drop in stop and as it is made of oak and has the ends beveled a little, it doesn't leave marks in the end of the piece you are planing.
I don't use holdfasts with this bench as the top is only 1.5 inches thick, so I just remove the sliding end of a 1/2 in pipe clamp, drop it down thru a hole and slip the end back on, its a quick and positive clamping system.
Most of you will probably frown at this more or less crude bench, but it has served me well over the years and its due for replacement with a smaller more traditional one someday. But it will bring a chuckle from you Good Wood Workers. LOL


 Jr.
Jr. 

 Reply With Quote