Hello. First post here on SWC. What a great resource! I was hoping someone out there would like to give me some input on my first built-in project. I've attached a zipped Skethchup file down below.
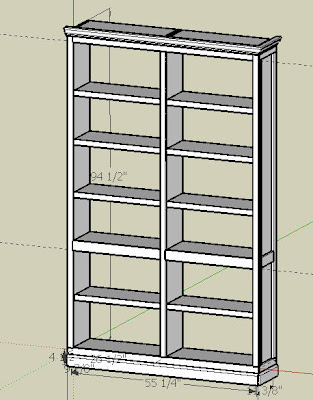
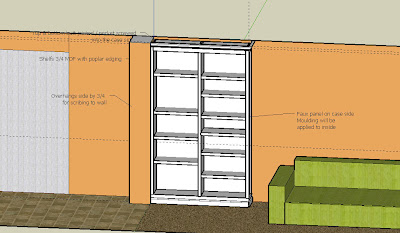
My plan is to build the carcass from 3/4" MDF with butt joints and pocket screws. The face frame will be poplar, and the shelves will be 3/4" mdf with poplar edging. I'm going to do sort of a faux panel on the exposed side and I plan on applying a shopmade pencil bead molding (aka this months FWW mag) to the inside of the face frame. I'm going to paint the whole thing white.
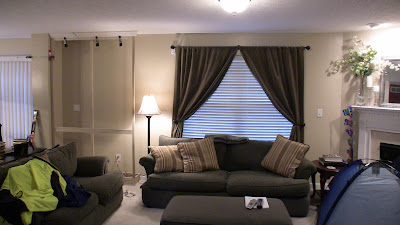
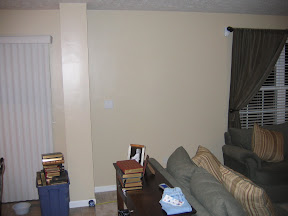
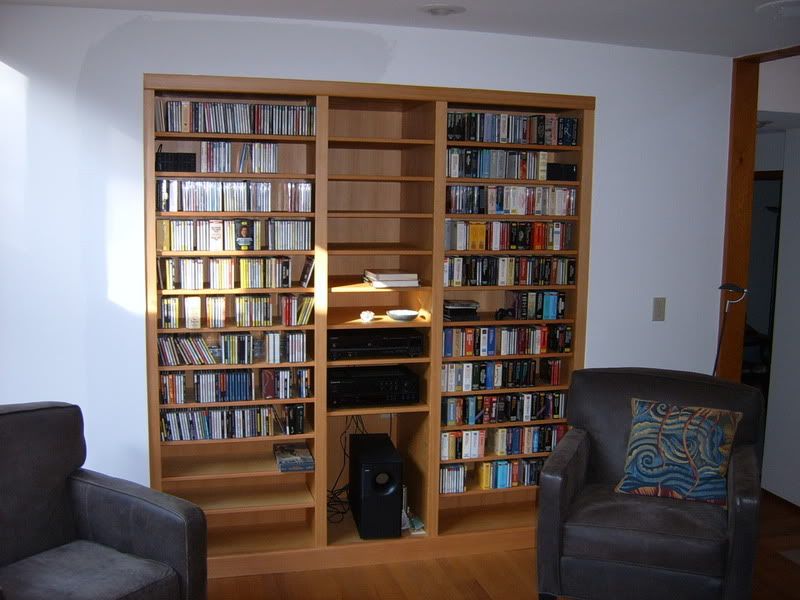
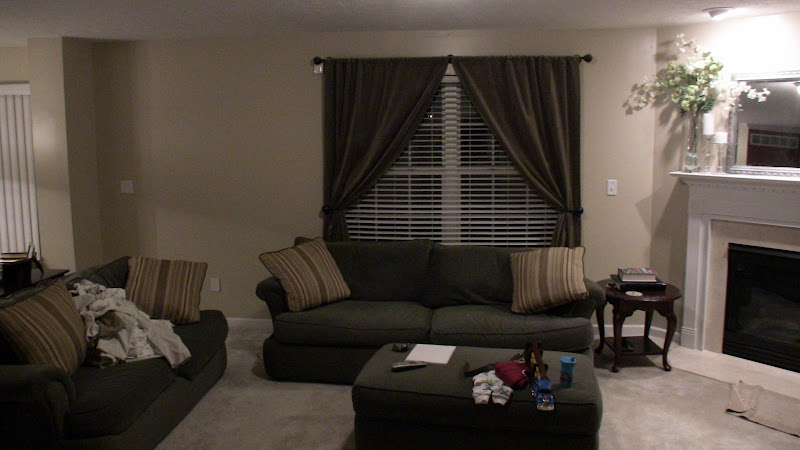
This is my first "predominantly displayed" project and I really want to make sure that I get the proportions and design right the first time. I've attached the drawing as well as a couple of photos of the spot where I'd like it to go. I'd be very grateful for any and all feedback that you have, but I do have a couple of specific questions:Here are some photos:
- Do the overall proportions look right? I'm not really locked into a specific width on the case. I probably have a range of a couple of feet to play around with. The ceiling is 8'.
- Are the widths of the face frame components proportioned correctly?
- I'd like to add a fixed shelf and horizontal face frame rail so that I have the option of adding doors to the lower portion of the case later. Where should these be placed in order to get the best looking proportions?
- I'd also like to add a horizontal rail to the side of the case. Where should this go? I'm assuming the answer is related to #3.
Thanks!
Cameron

 Reply With Quote


") I guess
I guess