Can anyone point me to a good design for a shooting board?


 [OP]
Member
[OP]
Member
Can anyone point me to a good design for a shooting board?
 Member

Check this outhttp://www.sawmillcreek.org/showthread.php?t=40383
Charlie Mastro
Mastro Woodworking & Design
Joseph, OR
 In Memoriam
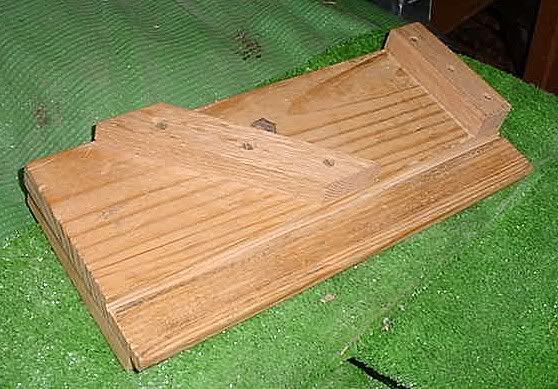
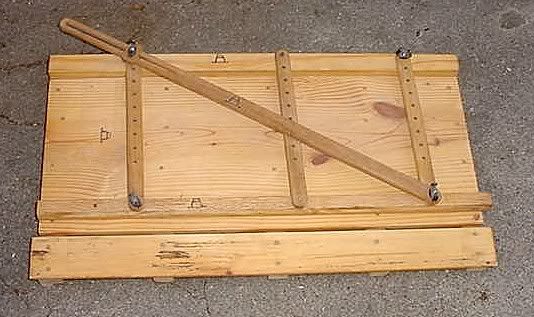
Combo Shooting board.
Adjustable Width Shooting Board.
90 degree and adjustable angle Shooting board.
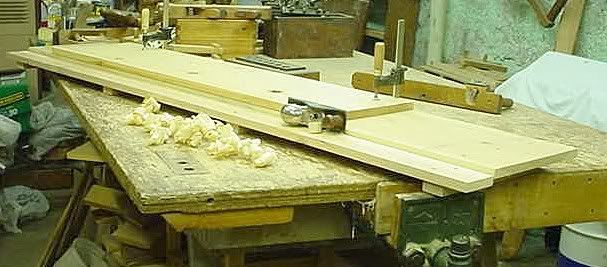
6ft long edge jointing shootboard.
Last edited by harry strasil; 09-15-2008 at 10:19 PM.
Jr.
Hand tools are very modern- they are all cordless
NORMAL is just a setting on the washing machine.
Be who you are and say what you feel... because those that matter... don't mind...and those that mind...don't matter!
By Hammer and Hand All Arts Do Stand
 Contributor
Hi Jeff
I have two articles on my website.
"Setting Up and Using a Shooting Board" - http://www.inthewoodshop.com/ShopMad...%20Board4.html
"Advances in a ramped shooting board" - http://www.inthewoodshop.com/ShopMad...g%20board.html
Show us what you come up with.
Regards from Perth
Derek
[OP]
Member
Thanks Derek for some excellent how-to articles. Thanks also to you other folks who provided some very helpful info.
I have a shop full of dream power tools and machinery, but after having attended a Kelly Mehler class a few weeks ago, I find myself attracted more-and-more to the world of quiet woodworking. I have a brand new D4R Leigh dovetail jig sitting in the box unused; now that I have learned to make handcut dovetails, it may never get out of the box.
 In Memoriam
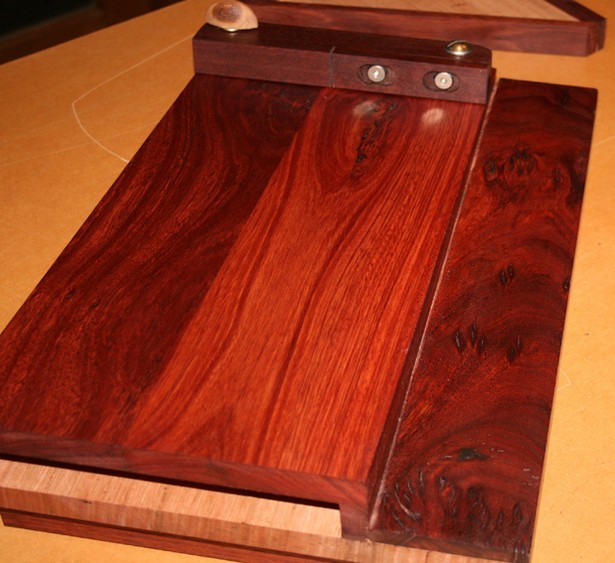
I found this one recently that's pretty slick.
http://www.sydnassloot.com/bbuckner/MitrePlane.htm
 Member
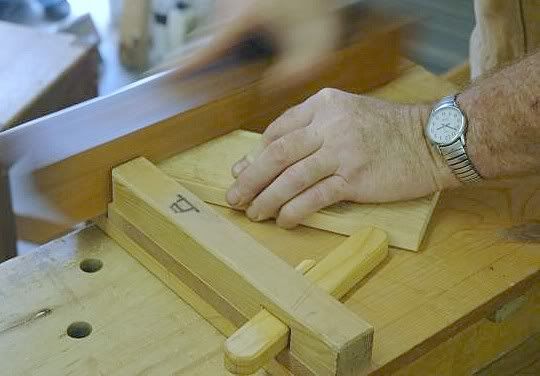
I use a bench hook with a piece of thin plywood underneath. I've used it to square up boards as wide as 8". I tend to shoot a bit different than others, as I pull the plane towards me.
David Charlesworth has a nice DVD on using shooting boards. My bench hook is just a bit off 90 deg, so I use his technique of placing some card stock right near the cutting edge to make sure the wood is exactly 90 deg to the plane.
Member
Ah, now that looks very handy. Might be time to step up from my swamp yankee 'run what ya brung' version.Originally Posted by Doug Shepard

In Memoriam
Incidently, I emailed Brian Buckner as there were a couple things I couldn't figure out just from the pics on that webpage. The miters on the end of the fences especially had me scratching my head until I got his reply.
Each face piece can be adjusted to slide back and forth (closer to or away from the cutting edge). In use I will set the angle on the quadrant and then loosen the two knobs and slide the fence in towards the cutter until the end of the fence just "kisses" the sole of the plane. This gives the work piece being trimmed the maximum amount of backing to eliminate any "blowout" on the backside of the workpiece.
The opposite ends of the fences are mitered so you can flip the fences end for end and have them set up such that the two miters of the fence faces meet. I will use this when I have the quadrant set to trim at 45 degrees. It saves you from having to readjust each fence when trimming non-symmetrical molding (where each side of the finished miter is trimmed on each side of the quadrant). Even with flat molding that could be trimmed from one side using both sides insures that any error is canceled in the resultant trimmed pieces.
 Posting Permissions

 Reply With Quote