Page 1 of 3 123 LastLast
Results 1 to 15 of 33

Thread: Mission Entertainment Center Complete [PICS]

  1. #1
    Join Date
    Sep 2005
    Location
    Sacramento California
    Posts
    332

    Mission Entertainment Center Complete [PICS]

    I finally got the large TV I've always wanted earlier this year so it was time to build something for it to sit on. After 5 months (never said I work fast) it's finally done and in the house before the holidays. It is my own design and probably violates true mission style design in a number of ways. It is made from Quartersawn White Oak and finished to match some other pieces already in the room. The interior is all bookmatched veneers which really turned out nice (although they look blotchy in the first photo, they are actually not), but it kills me that you don't really see them in the finished piece (oh well). The legs were built to show Quartersawn Oak on all 4 sides. I used a Leigh FMT to cut the M&T and it was a very nice tool to have for a piece like this as I used M&T's everywhere including the joints on the face frames (I counted almost 70 M&T total). The thing I wrestled with in the design was how to integrate the slats on the side with the shelves, and ended up deciding on the effect of floating shelves, when viewed from the side.

    My wife likes it so I'll call it a success. We will be changing out the drawer pulls as we're not wild about the ones on it now. There are 2 things I'm not happy about in the finished piece. The first is the wood on the drawer fronts ,which doesn't quite blend as well as I'd like with the frame around it, it really bothers me because I spent so much time trying to pick pieces of QSWO that would blend. The second is the design of the bottom of the sides which is more shaker style, as it causes too much cross direction grain in a small area which can be distracting to the eye. Here are some pics

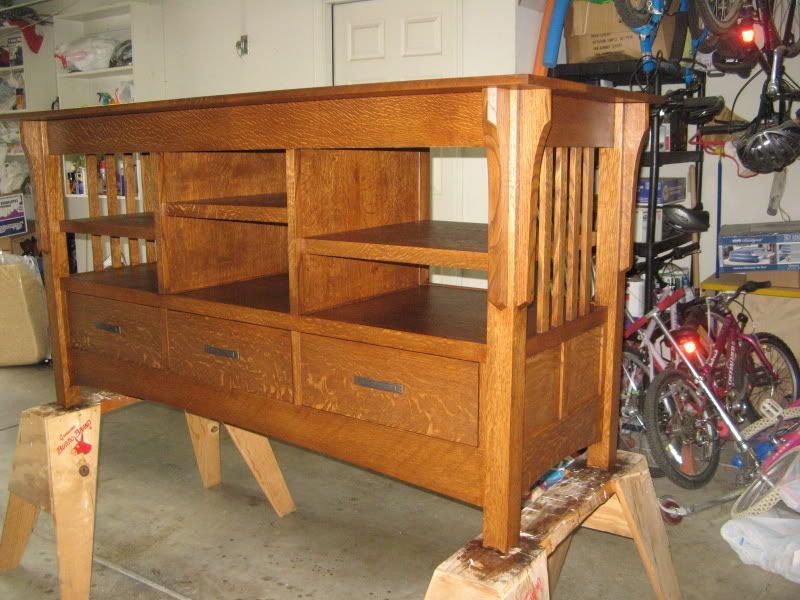
    A pic in the finish room before the top was permanently attached.


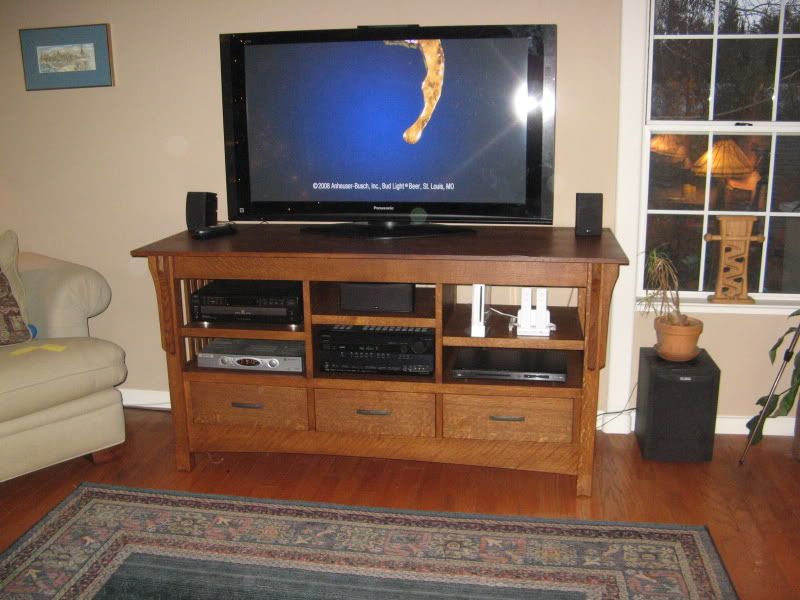
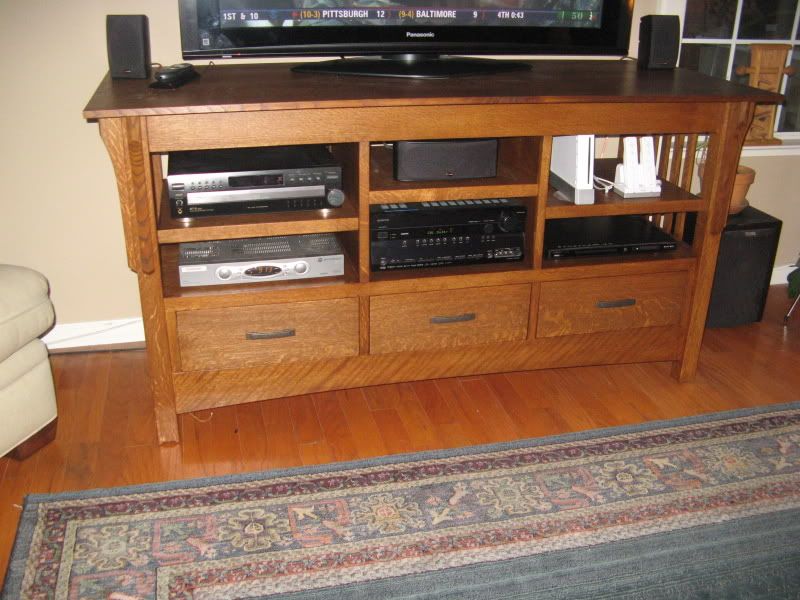
    A full view of the installed piece


    And a closer view


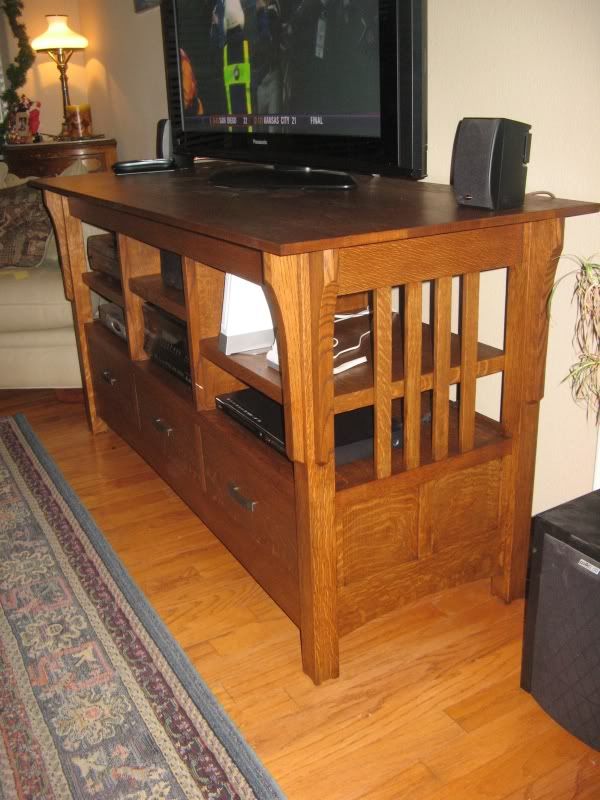
    A view of the side, showing the floating shelves. I borrowed the design of the corbels/finials (whatever their called), and the treatment at the bottom of the legs from a recent Settee in Fine Woodworking magazine that I really liked


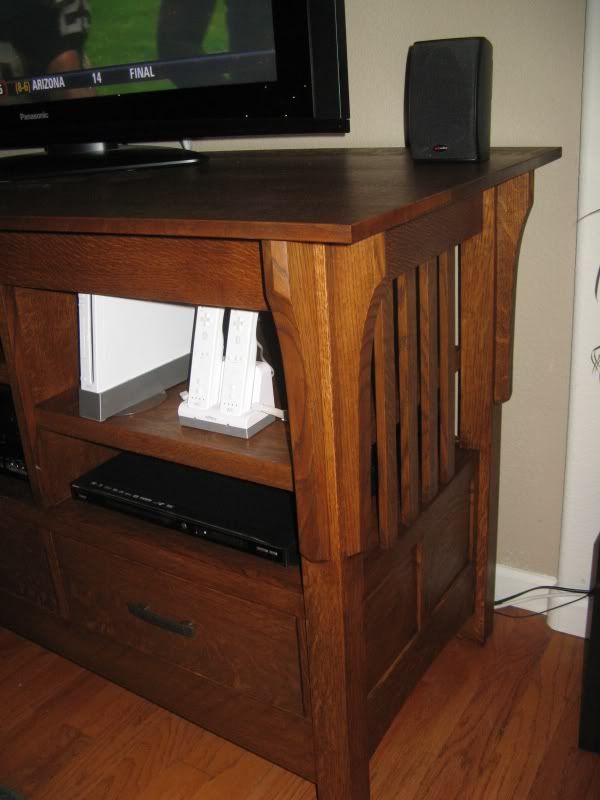
    A closer look at the sides, showing the legs.


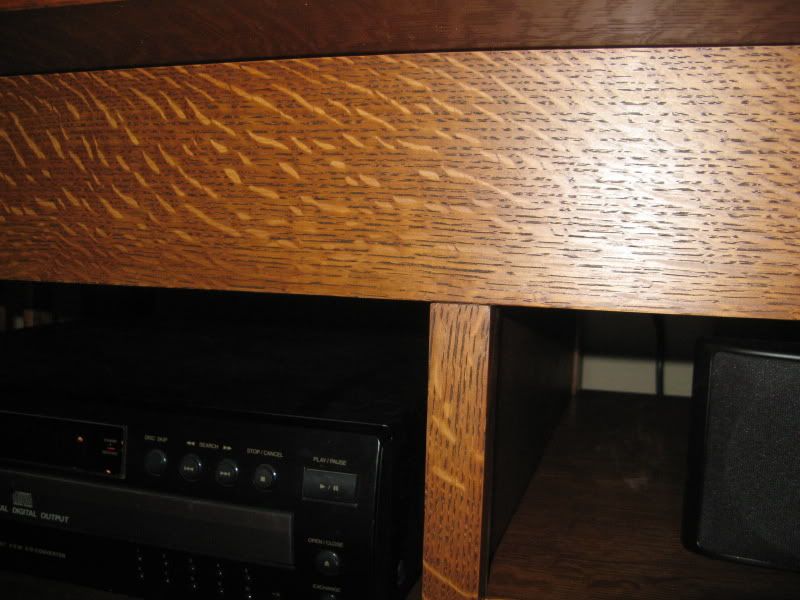
    A closer view of the grain and the finish


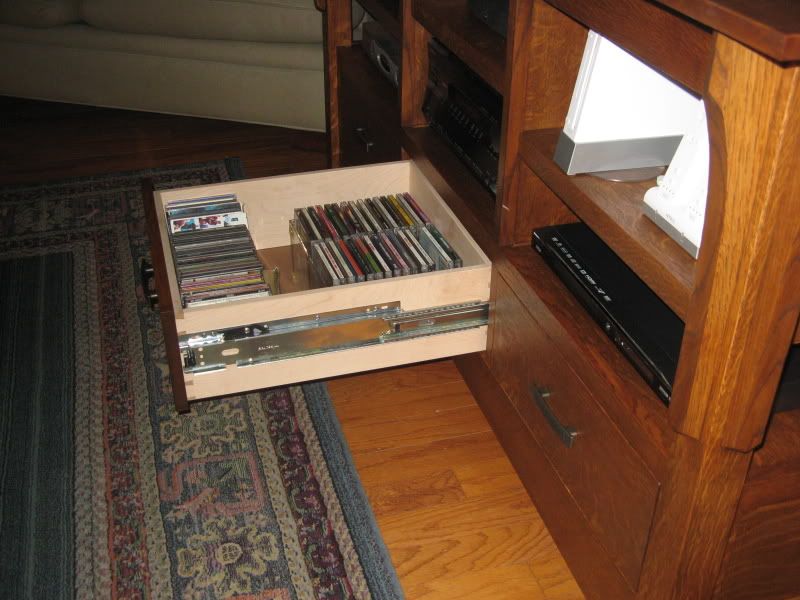
    And finally a shot of the drawers. I used full extension slides so we would have access to the back of the drawers. I got a really good deal on the side mounts, so I used them, but I would have preferred to use undermounts as I think they look better with dovetailed drawers.


    Please let me know what you think, Good or bad, all input is welcome.

  2. #2

    Im with your wife

    I would definately call that a success. Very nice use of the grain
    William
    http://woodworkers.us
    I never lost money on a job I didn't get

  3. #3
    that is pretty magnificent!! I actually like the drawers and how they "pop" a little fwiw

    What finish did you use?

  4. #4
    Join Date
    May 2004
    Location
    Oklahoma City, OK
    Posts
    476
    It's beautiful, John. Great job!!

  5. #5
    Join Date
    Feb 2003
    Location
    Conway, Arkansas
    Posts
    13,182
    Nicely done and the overall design application looks very good. Success it is for sure. Beautiful piece.
    Thanks & Happy Wood Chips,
    Dennis -
    Get the Benefits of Being an SMC Contributor..!
    ....DEBT is nothing more than yesterday's spending taken from tomorrow's income.

  6. #6
    Great job. Can I ask about your finishing schedule? Clifford

  7. #7
    Very, very nice. What is your finish?

    Bob
    bob m

  8. #8
    Very nice. I do agree on what you said about your drawer fronts, however it is still a beautiful piece. You should be proud of it, especially if the wife approves.

  9. #9
    Join Date
    Feb 2008
    Location
    Buffalo, NY
    Posts
    1,733
    That is a great looking piece of fine furniture. No wonder your wife approves
    It’s only work if somebody makes you do it.
    A day can really slip by when you're deliberately avoiding what you're supposed to do.
    Duct tape is like the force. It has a light side, a dark side and it binds the universe together.

  10. #10
    Join Date
    Oct 2007
    Location
    Bay Area - Northern California
    Posts
    84
    Well done!

  11. #11
    Excellent .... great use of the quarter saw oak.
    I know it was here a minute ago ???

  12. #12
    Join Date
    Dec 2006
    Location
    Toronto Ontario
    Posts
    11,284
    Hi john, an excellent job, very well done.

    I don't normally provide design comments since I'm hardly a world famous designer, infamous would more accurately describe my design skills........However........

    - the colour and gloss of your very nice, not as dark as traditional A&C stuff, more to my liking in fact

    - the number of slats on your gables is an even number, something I always find unbalanced, I like to use an odd number.

    - it's your design and looks great, however I wouldn't have used a corbel on the front of the legs

    - it's difficult to tell from a photo, however I use 1 or 1 1/4" thick tops on A&C pieces, just because I like the look.

    - the curvature of your front bottom stretcher is nicely proportioned, well done.

    In closing, very nice work, you should be proud of that piece.

    regards, Rod.

  13. #13
    Join Date
    Apr 2006
    Location
    Tucson, Arizona
    Posts
    855
    John, that is a great looking piece of furniture. I love the AC/Mission syle. I also love your use of the QS oak. The drawers
    came out great, but I agree that the undermounts would have been better.
    As a few have already asked, I too would be interested in your finish schedule and also the overall dimensions of the piece.
    Thanks for sharing.
    Lori K

  14. #14
    Join Date
    Nov 2003
    Location
    Nixa, Missouri
    Posts
    364
    That is a fine looking piece of furniture! Good job.
    I want to create love in my woodworking with a love for woodworking.

  15. #15
    Join Date
    Sep 2005
    Location
    Sacramento California
    Posts
    332
    Bob and Cliff for the finish I used the Jeff Jewitt schedule, (see http://www.homesteadfinishing.com/pd..._rev4-2008.pdf). Basically some dye (in my case a mix of Transtint vintage Maple, Red and Dark Mission Oak), Followed by a 1# cut of dewaxed shellac, followed by a coat of Bartleys Dark Walnut Gel Stain, and finally 1 coat of Original Waterlox (3 coats on the horizontal surfaces) followed by 1 coat of Waterlox Satin. The last coat was applied with 4 0000 steel wool to rub it out. I think i must have made 50 various samples before I found one that my wife and I both liked. I would have liked to try the fuming method but as I mentioned earlier I was trying to match some existing pieces we have in the room.


    Quote Originally Posted by Rod Sheridan View Post
    - the number of slats on your gables is an even number, something I always find unbalanced, I like to use an odd number.

    - it's difficult to tell from a photo, however I use 1 or 1 1/4" thick tops on A&C pieces, just because I like the look.
    Rod, Thanks that's some great input, as far as the number of slats I went back and forth on that. The piece is not deep and I tried several variations and found in the sketches that I liked 4 slats the best, but I usually agree with you that I prefer an odd number, just didn't work in this piece.

    AHHH the top, I really agree with you there. I really had a nightmare doing the top. I started with a couple of beautiful 8/4 boards so I could resaw a bookmatch, but when I resawed them in half they released some nasty tension and were unusable (lesson learned there), not to mention that one board was full of knots on the inside even though there was nothing visible on the outside, cant say I've ever seen anything like that before. So I went with some 5/4, as I couldn't find any 6/4, but because it was so long, by the time it was milled flat it was thinner than I would have liked (5/8"). I would have liked something thicker in the 3/4 - 1" range, but that's how it goes sometimes. I ended up adding a spline to the joints for alignment and strength.
    Last edited by John Hedges; 12-15-2008 at 12:47 PM.

Similar Threads

  1. Replies: 9
    Last Post: 08-30-2008, 1:42 AM
  2. Entertainment center design help
    By Gordy Anderson in forum General Woodworking and Power Tools
    Replies: 5
    Last Post: 07-09-2008, 9:15 PM
  3. mission bedroom just about complete
    By gary Zimmel in forum General Woodworking and Power Tools
    Replies: 22
    Last Post: 05-01-2007, 10:37 PM
  4. Completed Entertainment Center w/pics
    By Jason Tuinstra in forum General Woodworking and Power Tools
    Replies: 24
    Last Post: 03-27-2004, 10:46 PM
  5. Entertainment Center is complete
    By Joe Breid in forum General Woodworking and Power Tools
    Replies: 11
    Last Post: 10-06-2003, 7:37 AM

Posting Permissions

  • You may not post new threads
  • You may not post replies
  • You may not post attachments
  • You may not edit your posts
  •