Page 1 of 2 12 LastLast
Results 1 to 15 of 253

Thread: Maple Thinline Telecaster

Hybrid View

Previous Post Previous Post   Next Post Next Post
  1. #1

    More Pics...

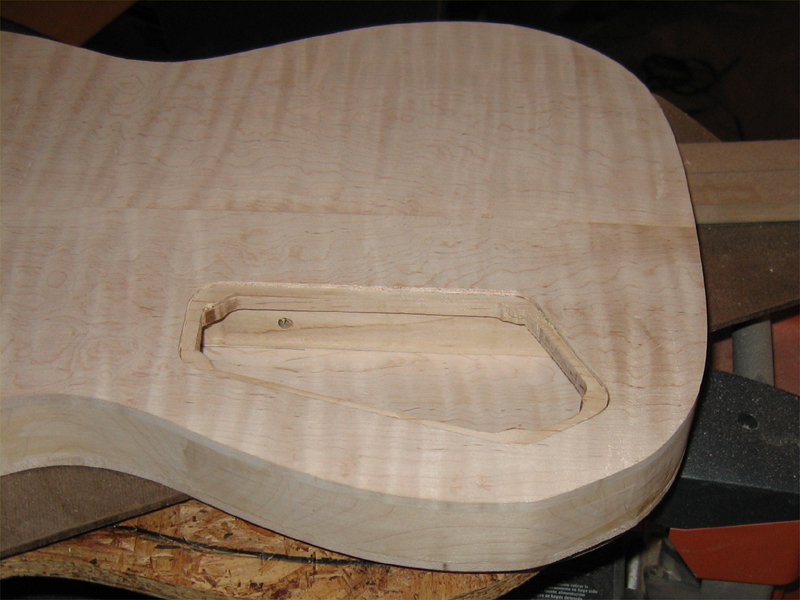
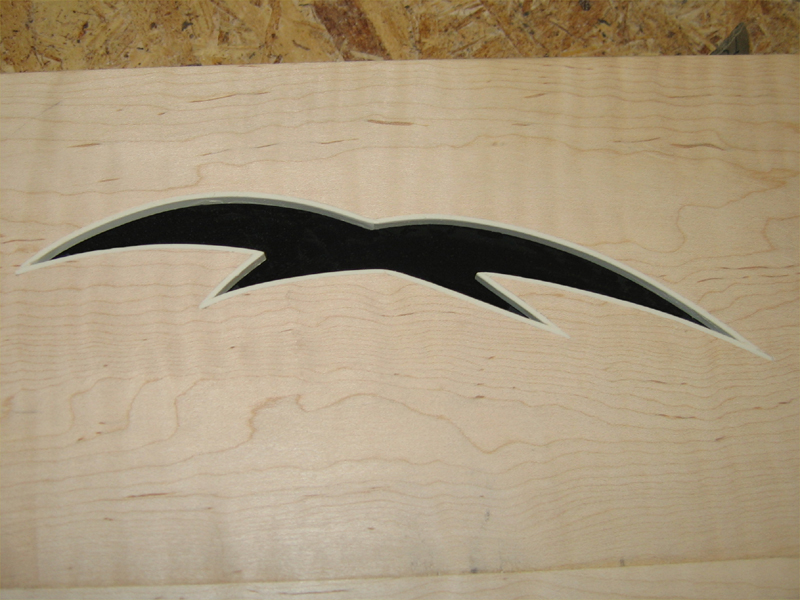
    I didn't take any pics during the binding process, I had my hands full on this one. I used Weldon cement, StewMac binding tape and a utility knife for trimming. Being my first attempt at inside corners, I'm happy with the results. It was a huge help having the top loose as I could turn it any way I needed to get downward pressure on the binding tape as I applied it.


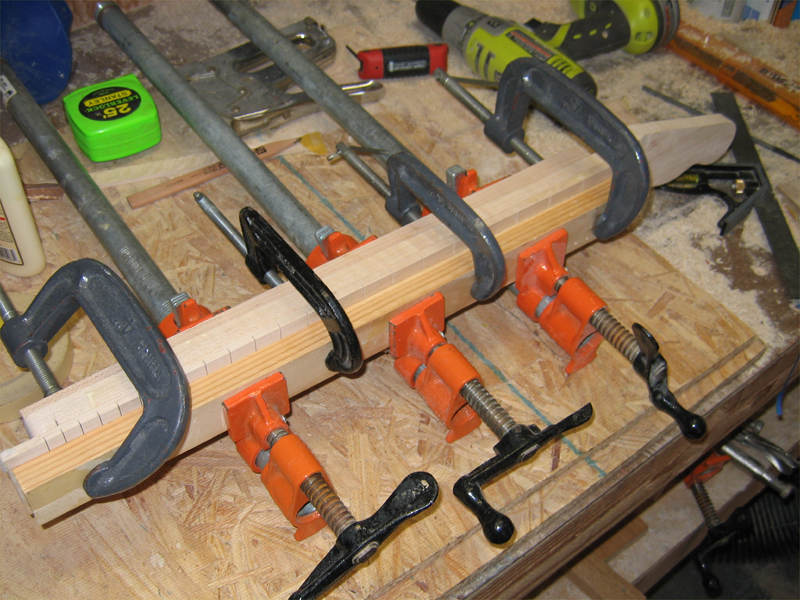
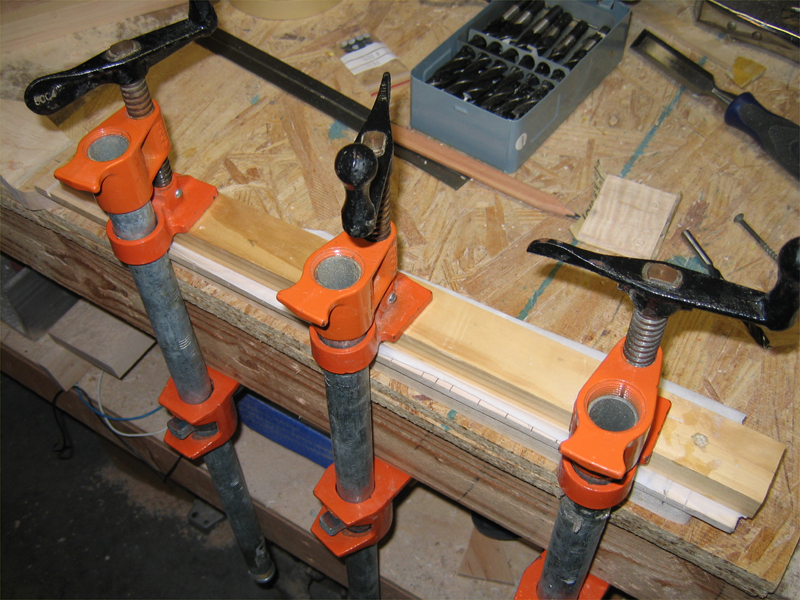
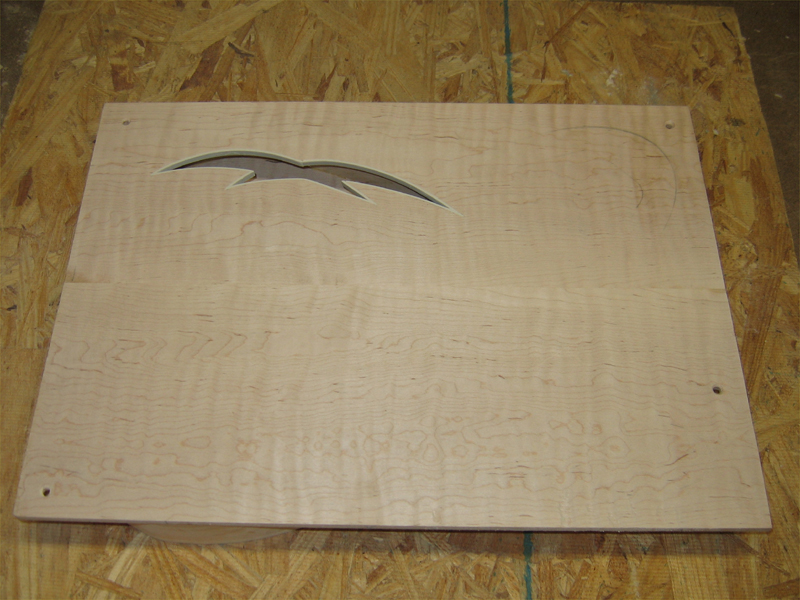
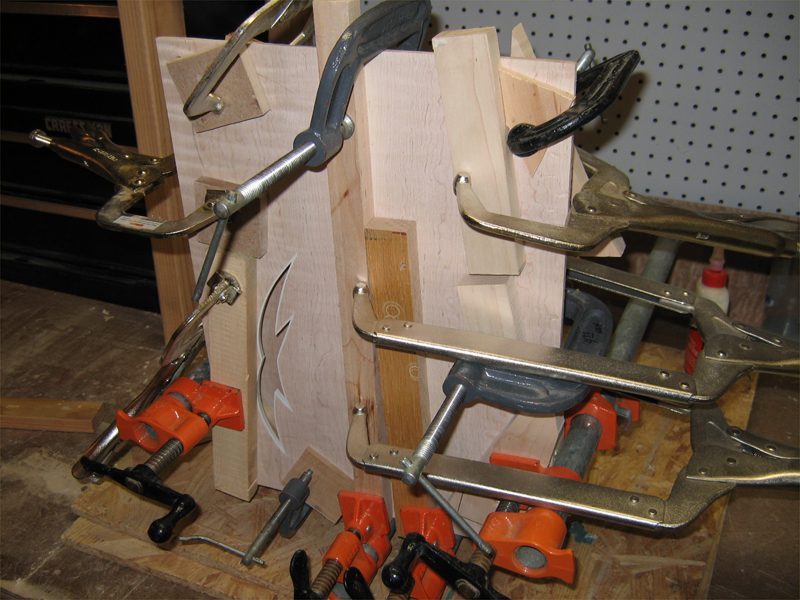
    Ready for gluing up the top.


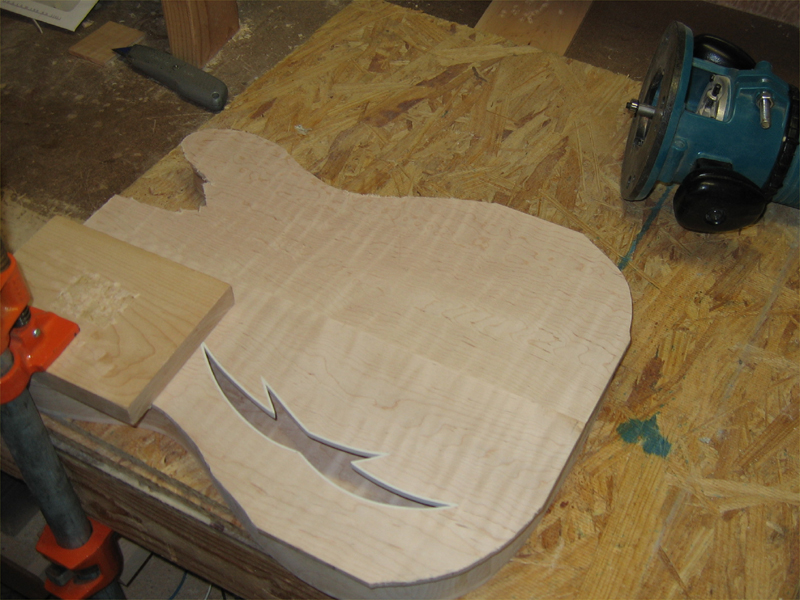
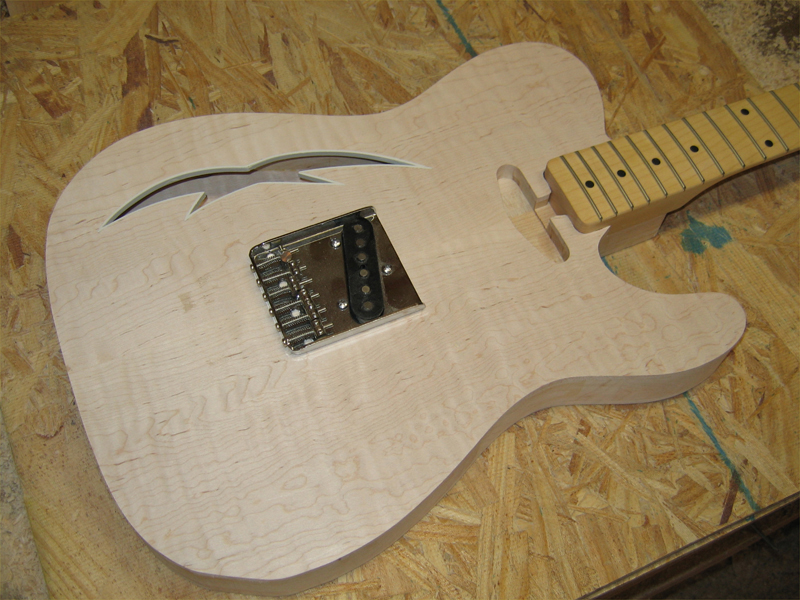
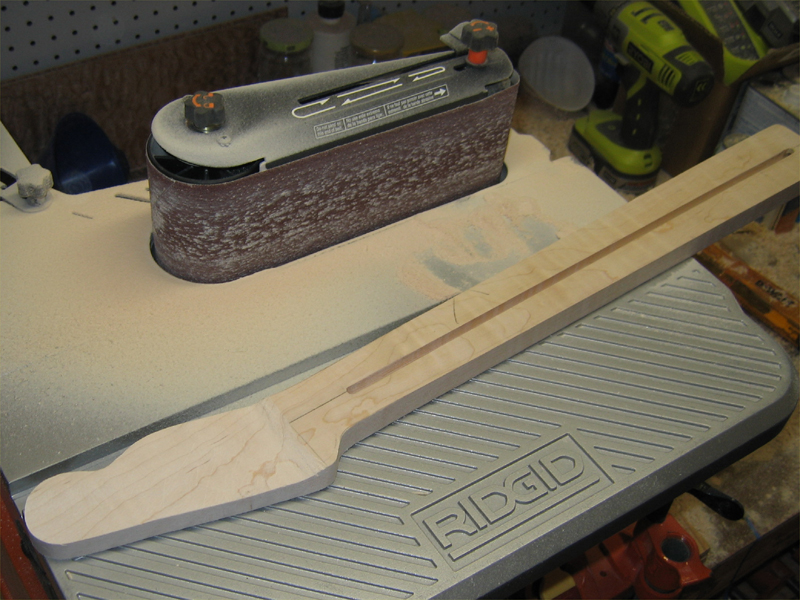
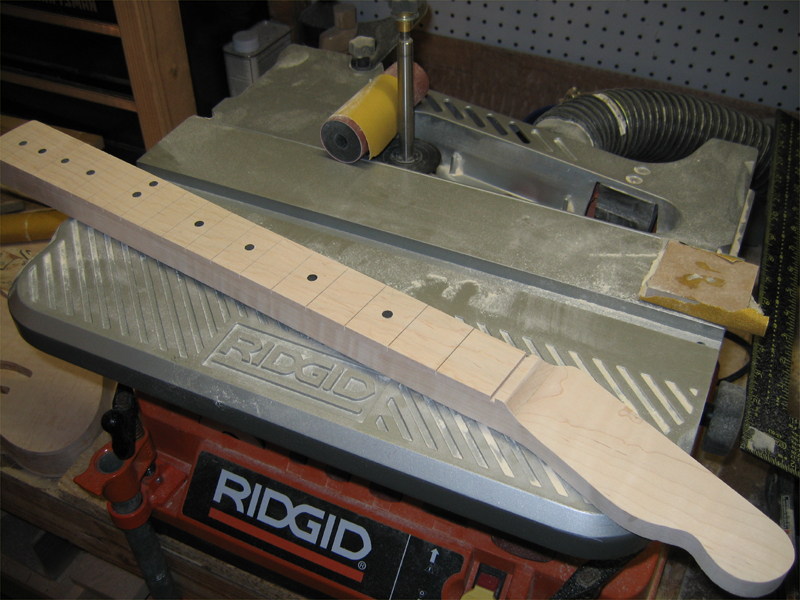
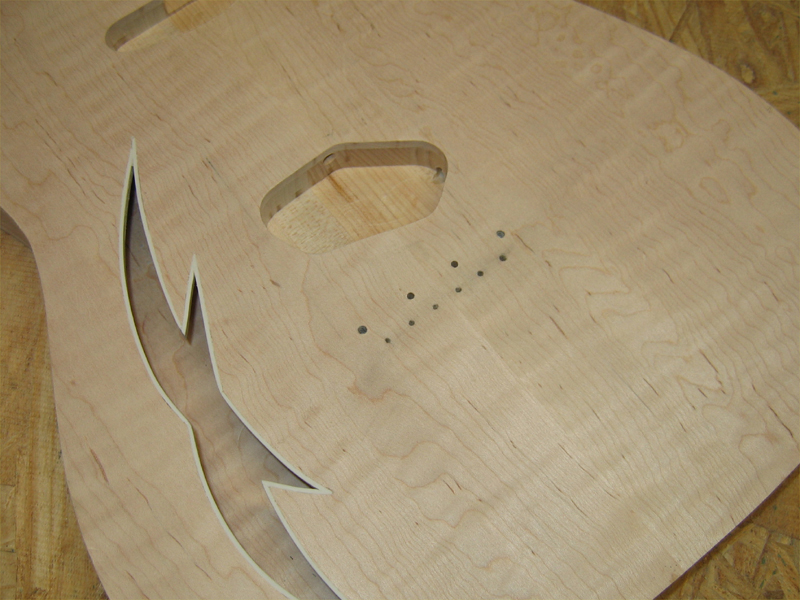
    Out of the clamps and ready for profiling. There's still a bit of planer snipe to deal with but I'll block it out after I finish the profile.


  2. #2

    More Pics...

    Some shots of the body at various stages during profiling and cavity routing.

    I rough cut it on the band saw and used a flush trim bit using the body core as my pattern.


    I blocked out the top seam and planer snipe before routing the cavities and neck pocket.


    I laid a neck and bridge in place just to get a feel for how it will look.


  3. #3

    More Pics...

    I drilled the wiring channels this morning. One from the bridge pickup to the control cavity.


    And from the back of the neck pickup to the bridge pickup. I know this means the bridge has to come off to change the neck pickup but I wanted a single entry/exit point for wiring in the control cavity.


    There's just too much open space back there to have wires coming from different directions...I think it's cleaner this way.


  4. #4

    More Pics...

    I have set the body aside for now to work on the neck. I want the neck profiled, fitted and mounted before I set the final position of the bridge.
    I roughed out the headstock on the belt sander.


    Set up to glue the fretboard. The inset shows the staples I put in the neck to lock the fretboard in place during clamping...nothing new here, just pointing it out.


    Lots of even pressure across the entire fretboard to give it a good seat...the long cauls are really helpful here. Not only for applying even pressure, but they're easier to work with than a bunch of small blocks.


    I layed out all the position markers...trying something different at the 12th fret...not sure I like it.


    A little wax paper, and some light clamping pressure, again using long cauls, to hold the markers in place while the Weldon cement sets up.

    Last edited by Mark Crenshaw; 11-24-2009 at 8:48 PM.

  5. #5

    More Pics...

    I did the final profile on the neck/fretboard and leveled the fret markers...I'm liking the 12th fret treatment a bit more all the time.


    Time to set the bridge. I clamped the neck in place and ran a straight edge down each side of the neck and transfered that line. I centered the bridge, checked the distance from the 12th fret to the saddles...12.75"...


    ...marked and drilled the holes. I don't have pics of this, but my clamping caul left room for me to run an old string down from the nut to the E and e saddles to check alignment down the edge of the fretboard. Looked good to me.


    That's it for now...

    Peace,
    Mark
    Last edited by Mark Crenshaw; 11-24-2009 at 8:49 PM.

  6. #6
    Join Date
    Feb 2003
    Location
    Yorktown, VA
    Posts
    2,756
    Mark,
    What a great project... and super photo coverage of the process!! Thanks for sharing and am looking forward to the next post.

  7. #7
    Join Date
    Sep 2008
    Location
    Rochester, NY
    Posts
    681
    Cool, Mark. I like these "unusual" project threads. Thanks for spending the time to document this.

    Mike

  8. Ok... That just made my "freakin awesome" list... Nice work.. I'll be following this thread for sure to see how it turns out..

    #15 detail was my first choice for sure, looking down the thread.

    Makes me want to try my hand at guitar building again...

  9. #9
    Join Date
    Feb 2003
    Location
    Pasadena CA
    Posts
    713
    KEEP THEM PICS A COMIN' !!!

    Amazing !!
    MARK

  10. #10
    Mark, lots of work there - both in the guitar project and in the build thread. Thanks, for taking the time to share it with us. Never had an inclination to build a guitar, but you have sure done a great job of breaking down the process.

    Though I play a little, I do not have a detailed understanding of the math behind the positioning of the fretboard and bridge. I do understand that positioning is critical, but just how critical is it. Seems that the distance from the last fret to the bridge is "everything." If that is off any at all, would the harmonics of the instrument be compromised?

    Sorry for the dumb question, but just trying to understand the complexities here.

  11. #11
    Join Date
    Jan 2005
    Location
    Waterford, MI
    Posts
    4,673
    I'm holding my flaming lighter overhead yelling
    MORE MORE MORE
    Use the fence Luke

  12. #12
    Quote Originally Posted by John Keeton View Post
    Mark, lots of work there - both in the guitar project and in the build thread. Thanks, for taking the time to share it with us. Never had an inclination to build a guitar, but you have sure done a great job of breaking down the process.
    Thanks John. I enjoy keeping a record of my projects and I'm happy to share.

    Though I play a little, I do not have a detailed understanding of the math behind the positioning of the fretboard and bridge. I do understand that positioning is critical, but just how critical is it. Seems that the distance from the last fret to the bridge is "everything." If that is off any at all, would the harmonics of the instrument be compromised?
    Not so short explaination: Fretting a vibrating string at exactly half it's distance doubles it's frequency, creating an octave. The scale length of a guitar is the distance from the bearing edge of the nut (tuner end) to the 12th fret x2. This means the critical measurement you referenced is the distance from the 12th fret to the bridge saddle...it must be half the scale length or the guitar will not intonate properly. Fender Teles' and Strats' scale being 25.5", the distance either side of the 12th fret is 12.75". This is the reason the bridges on guitars are either compensated or adjustable. Compensated saddles are fixed and positioned for a certain guage of strings. Adjustable bridges can be set for various heights or string guages and still intonate properly.

    The fret position math is fairly simple. Using "The Rule of 18", the scale length is divided by 18, minus the previous offset. (modern calculations are done at 17.817") On the same Fender scale, 25.5/18 places the first fret 1.416" from the nut. Then subtract that amount from 25.5" and divide the difference by 18 and so on for the number of frets you're using.

    It's early. I hope this makes sense.

    Peace,
    Mark
    Last edited by Mark Crenshaw; 11-25-2009 at 8:35 AM.

  13. #13
    Ted, Michael,

    Thanks! I'm happy to share and I hope others will try building a guitar. It's amazing to sit and play an instrument that you built yourself. This is my 4th and it's exciting every step of the way.

    Peace,
    Mark

  14. #14
    Quote Originally Posted by Scott Hildenbrand View Post
    Ok... That just made my "freakin awesome" list... Nice work.. I'll be following this thread for sure to see how it turns out..

    #15 detail was my first choice for sure, looking down the thread.

    Makes me want to try my hand at guitar building again...
    Hi Scott. Thanks! I hope you'll give it another shot..

    Peace,
    Mark

  15. #15
    Ben, Mark, Doug,

    Thanks for the encouragement! I'm off work until Monday, so I plan to get alot more done. I'll update as I make progress.

    Peace,
    Mark

Posting Permissions

  • You may not post new threads
  • You may not post replies
  • You may not post attachments
  • You may not edit your posts
  •