Results 1 to 4 of 4

Thread: Router Lift - Above the table

  1. #1
    Join Date
    May 2006
    Location
    Poland
    Posts
    637

    Router Lift - Above the table

    Good day

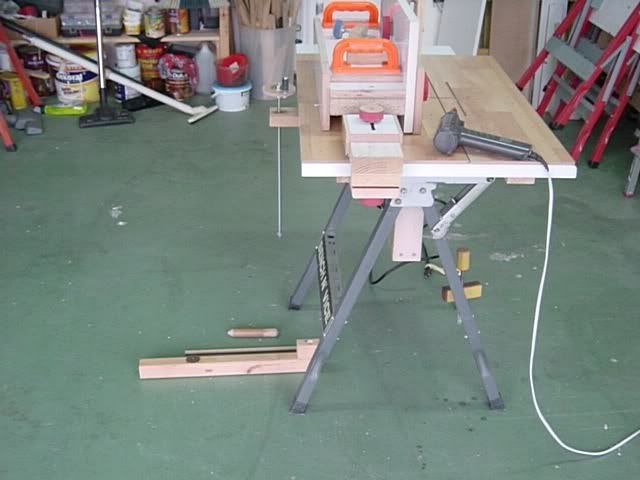
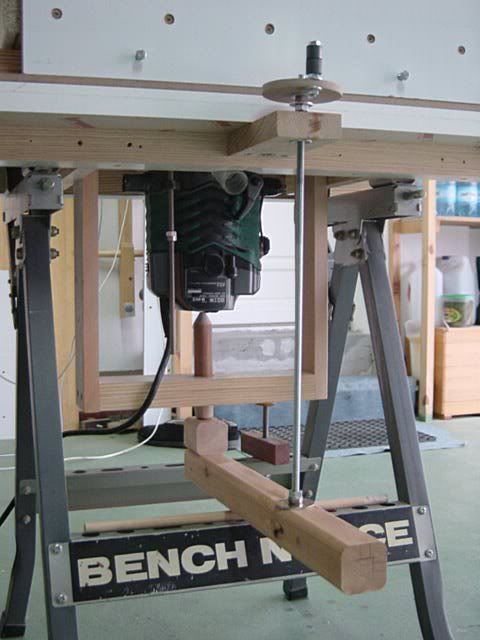
    After I made the Mortising jig for the router table, I thought that to bent under the bench every pass to lift the bit, is too much for my old back so I made a simple lift.

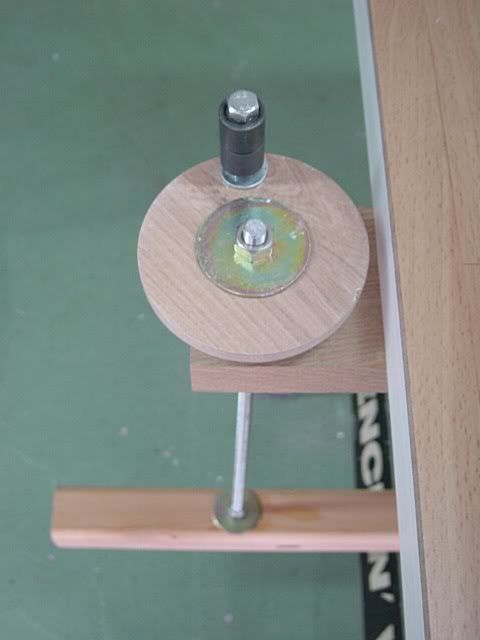
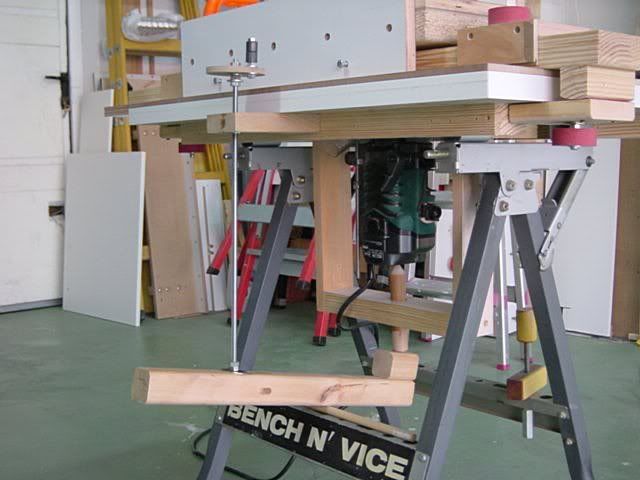
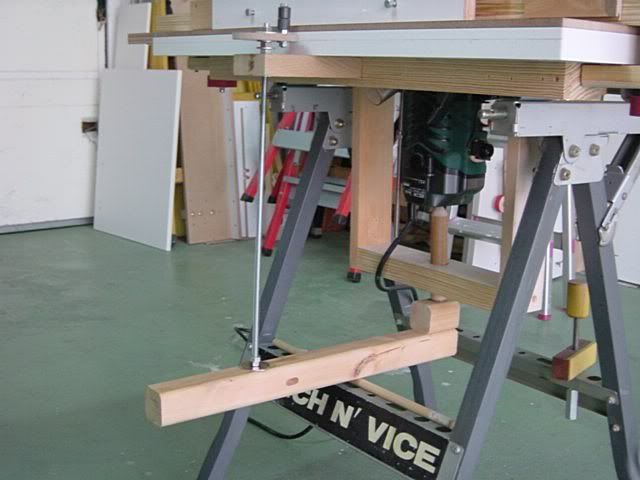
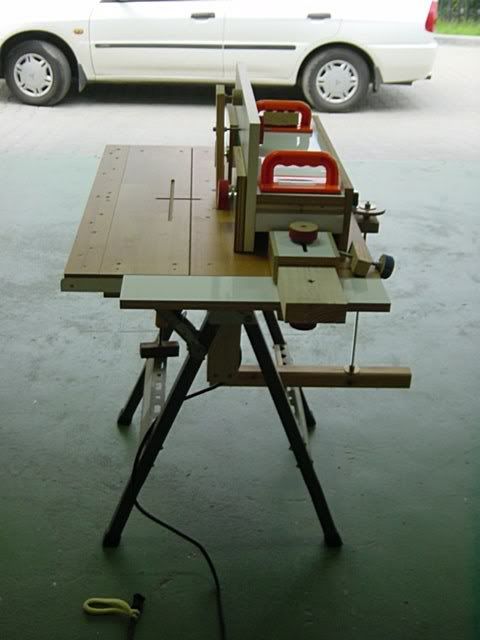
    The lifting mechanism is located on the right side (behind the fence) so it will not interfere with any operation.

    It takes some 30 seconds to install it and I'll probably improve a few things with time and experience.

    It works very smooth (after a drop of oil in the T-nut) and takes some 30 turns from "bit level with the table" to "bit 1½" above the table".

    Regards
    niki


    Last edited by Nissim Avrahami; 07-14-2007 at 11:43 AM.

  2. #2
    Join Date
    Jan 2007
    Location
    Ottawa, ON Canada
    Posts
    1,476

    Thumbs up

    Ingenious, as always.
    Grant
    Ottawa ON

  3. #3
    Join Date
    Feb 2003
    Location
    In the foothills of the NM Sandia Mountains
    Posts
    16,671
    Quote Originally Posted by Grant Wilkinson View Post
    Ingenious, as always.
    Exactly what I was thinking.

    I assume that you have a fender washer (or something) to spread the load between the pencil point and the router top. A jam up could be disastrous for your router.
    Please help support the Creek.


    "The older I get, the better I used to be."
    Lee Trevino


  4. #4
    Join Date
    May 2006
    Location
    Poland
    Posts
    637
    Thank you so much Grant and Bruce

    Bruce
    No, I did not put any washer, I just drilled a very small dimple on the router base and the pencil point is getting into the dimple. That's because of the "new line" of routers (that looks like sports shoes)... the base is not flat.
    On my old router, I glue a small metal piece at the bottom and it works like that for the last 10 years (see pic)

    If you will look closely, under the lever (the one between the threaded rod and the plunger), on the workmate rail, you will see kind of long dowel. this is the fulcrum.

    This dowel is free to roll on the rail and it is rolling during the cranking and lets the lever to change it length from the fulcrum to the plunger so the plunger always moves smoothly up or down.

    If I would not put this dowel as fulcrum, the plunger could jam in the hole because of the circle motion of the lever.

    Thanks
    niki

    Last edited by Nissim Avrahami; 07-15-2007 at 5:11 PM.

Similar Threads

  1. Above the table Router lift for poor amateurs
    By Nissim Avrahami in forum General Woodworking and Power Tools
    Replies: 3
    Last Post: 03-20-2007, 8:25 AM
  2. A Disposable Router Table
    By Art Mulder in forum General Woodworking and Power Tools
    Replies: 10
    Last Post: 03-12-2007, 12:56 PM
  3. Router Table Height?
    By Mike Goetzke in forum General Woodworking and Power Tools
    Replies: 6
    Last Post: 02-07-2006, 1:50 PM
  4. Cherry Lumber GLOAT...and Router Table Progress
    By Andy Haney in forum General Woodworking and Power Tools
    Replies: 2
    Last Post: 07-20-2004, 12:48 PM
  5. router table and table question to build or not to build
    By aurelio alarcon in forum General Woodworking and Power Tools
    Replies: 8
    Last Post: 11-08-2003, 9:31 PM

Posting Permissions

  • You may not post new threads
  • You may not post replies
  • You may not post attachments
  • You may not edit your posts
  •