Page 3 of 3 FirstFirst 123
Results 31 to 40 of 40

Thread: Shaker spider leg table

  1. #31
    Join Date
    Apr 2006
    Location
    Central NY State
    Posts
    899
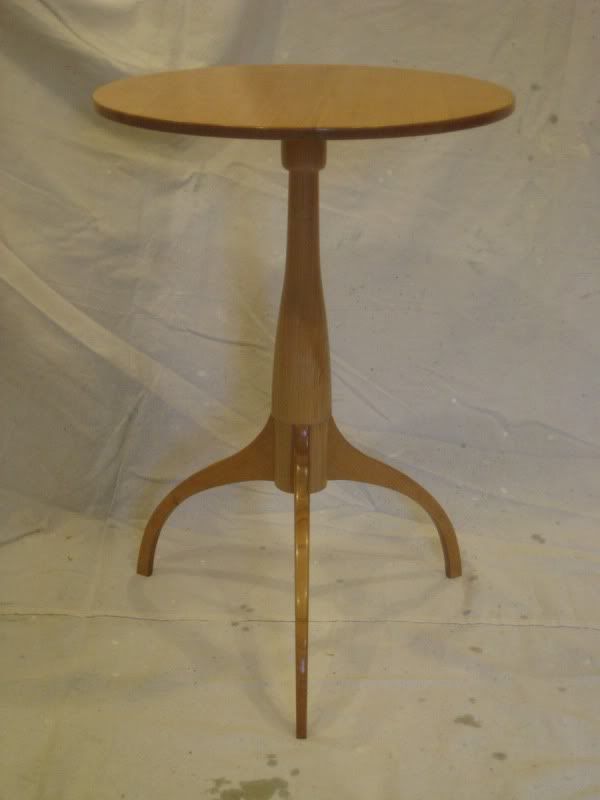
    Hey John, thanks. The photographer was somebody called Self. Self Timer I think is his full name. Actually, Ben is a really good photographer and if he were here, he'd be ruthlessly critiquing my photos. Well, I'll keep working and taking pictures until I git er dun. Here are a few more images.


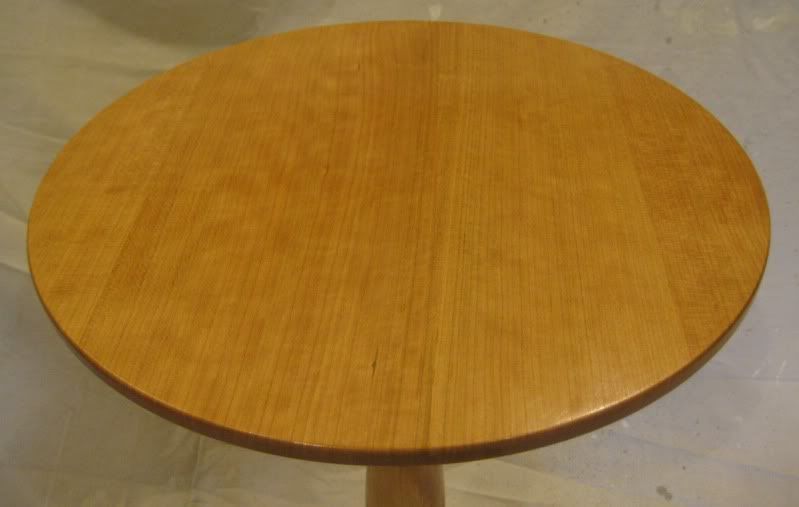
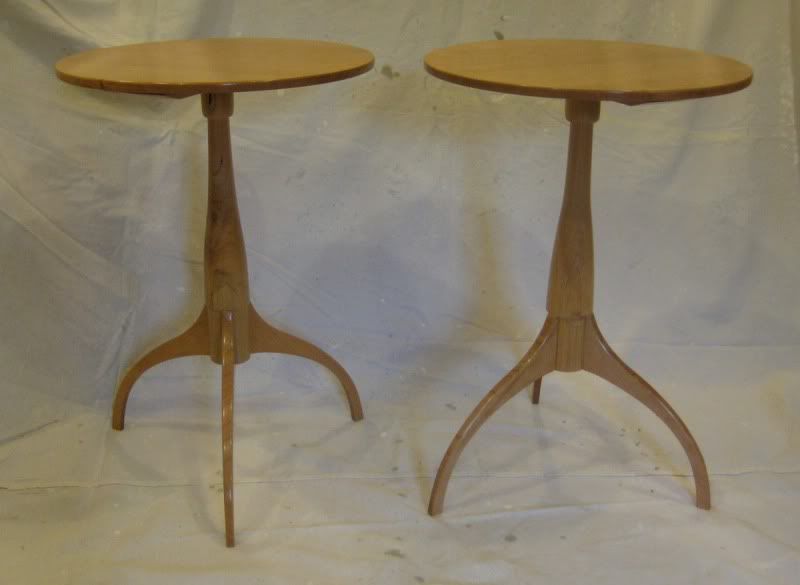
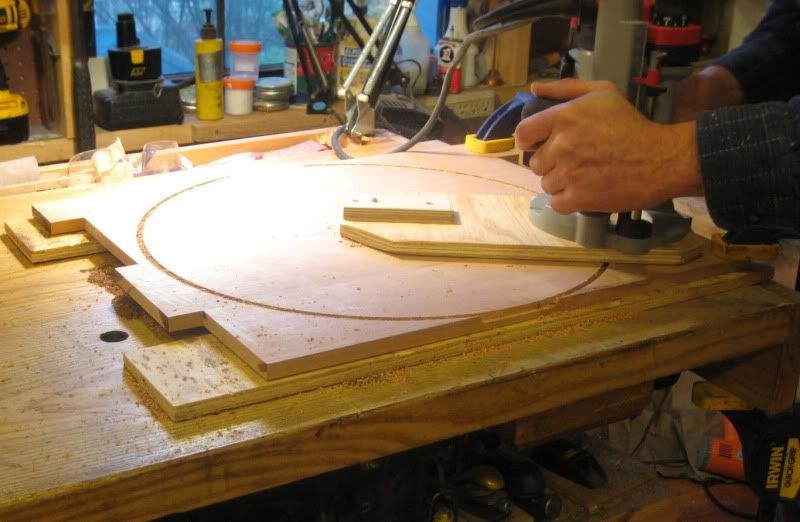
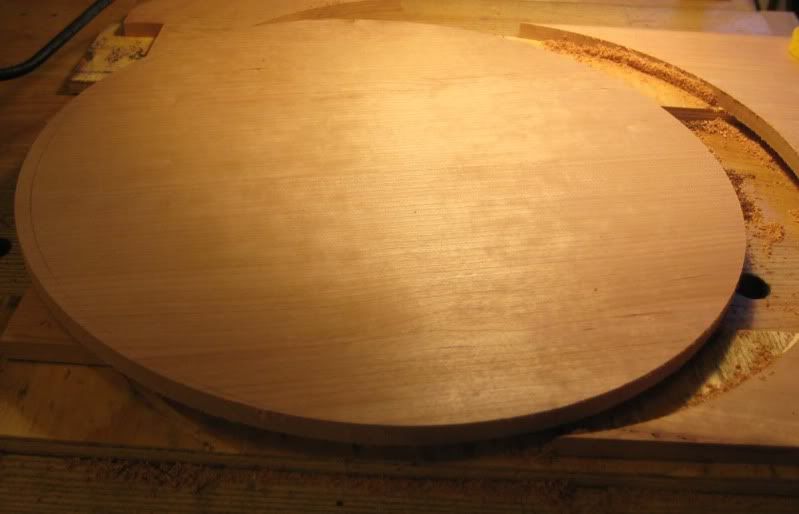
    And here are the tops, planed, and with the circles marked to approximate where they will be trimmed.


  2. #32
    Join Date
    Apr 2006
    Location
    Central NY State
    Posts
    899

    made some good progress today

    So, I began the day by making a jig to cut the circular tops out. I decided to use my plunge router with a 1/4" spiral bit. I made a fixed jig, rather than one which is adjustable. If I want to alter the size, I can drill a new hole though for the alignment pin. The pin is a piece of 3/16" rod.


    The hole for the pin is carefully drilled by hand, in the bottom of the table top. It's only 1/2" thick, don't want to go too far in. Alright Ken, make sure the top is upside down.


    And the jig doing its job:


    In retrospect, I should have made all the cuts going downhill, instead of following the circle around. In the end, it'll be fine, but there was more roughness than had to be. This is what the top looked like off the router.


    A great use for my old Stanley 113 - cleaning up the edges left by the spiral bit:


    Then I worked on the cleats, which will hold the wedged tenon at the top of the pedestal. The arc on the ends is concentric with the arc of the table. [Same radius but inset 1" from the edge] and it's chamfered all around. Did it with bandsaw, table saw and hand planes. The tearout from the forstner bit will be covered by the pedestal.


    More work to do, but we can now get an idea of the finished product. The cleats are in place, and the tops are just sitting on top of them.


  3. #33
    Ken, the tables are looking good. I think you nailed the shape of the pedestal - not to bulbous - just right! Overall, a very light look. I think the underbevel on the tops will be a nice finishing touch.

  4. #34
    Join Date
    Mar 2005
    Location
    Pickering, Ontario.
    Posts
    339
    Ken, the undercut on the top certainly adds a touch of finesse and refinement to the simple table. Last spring I made several variations of table for a local museum display, one very much like yours in which case I simply used a large thumb nail bit for the undercut and a round-over for the top side which yielded quite a satisfactory result http://www.leevalley.com:80/wood/pag...168,62157&ap=1. An alternative I used on a somewhat heavier table (in walnut) has a wider undercut. The center portion of the table is actually @ 1/2" thicker than at the outer rim. The taper was easily done with a hand plane.
    In both cases, the undercut improved the appearance of the table considerably.
    Attached Images Attached Images

  5. #35
    Join Date
    Mar 2003
    Location
    SE PA - Central Bucks County
    Posts
    66,124
    The planer jigs were a very creative way to get those tapers...which are very important to the look of this project. Nice job! (I, um...used a stationary belt sander to do the tapers for both of the candle stands I've built to-date)

    Your set looks GREAT!
    --

    The most expensive tool is the one you buy "cheaply" and often...

  6. #36
    Join Date
    Apr 2006
    Location
    Central NY State
    Posts
    899
    Hi John & Rick - not sure yet about an underbevel. The tops are only 1/2" thick, but I'll see how it feels as I go. Might make a mock-up and stare at it a bit.

    Jim, I can't take the credit for designing the tapering jigs. Way back in an early post I mentioned that I got some ideas for building methods from Mario Rodriguez and CH Becksvoort, in a couple of their articles in FWW. Actually, Becksvoort suggested tapering the legs by setting the jointer for a 1/8" cut and making 1 careful pass on each side. That was way too scary for me.

    Ken

  7. #37
    Join Date
    Mar 2005
    Location
    Pickering, Ontario.
    Posts
    339
    Quote Originally Posted by Ken Werner View Post
    Hi John & Rick - not sure yet about an underbevel. The tops are only 1/2" thick, but I'll see how it feels as I go. Might make a mock-up and stare at it a bit.

    Jim, I can't take the credit for designing the tapering jigs. Way back in an early post I mentioned that I got some ideas for building methods from Mario Rodriguez and CH Becksvoort, in a couple of their articles in FWW. Actually, Becksvoort suggested tapering the legs by setting the jointer for a 1/8" cut and making 1 careful pass on each side. That was way too scary for me.

    Ken
    The idea of making a sample top to experiment with sounds like a good one to me. If the top is at 1/2" now, there may not be enough meat left for any meaningful undercut. Doing so could make it look too thin. I left mine at 3/4" thickness and brought the edges to @1/2" IIRC. You may also have problems keeping the top flat, but even at 3/4" there's a high probability of this problem too. The wide, long support bracket underneath should help in this regard. If mounted across the width (across the grain), that may be your best bet. You would have to provide for seasonal expansion/contraction... 1/4" maybe? Perhaps elongated pilot screw holes would do it. A good coating of finish on the underside of the top may also help to keep the moisture in check.
    I think you will find this to be a nice little table and yours is turning out very well.
    If you want to try something a bit different and more challenging next, I liked making this one in mahogany and it is a useful one too.
    Attached Images Attached Images

  8. #38
    Join Date
    Mar 2003
    Location
    SE PA - Central Bucks County
    Posts
    66,124
    Quote Originally Posted by Ken Werner View Post
    Jim, I can't take the credit for designing the tapering jigs. Way back in an early post I mentioned that I got some ideas for building methods from Mario Rodriguez and CH Becksvoort, in a couple of their articles in FWW. Actually, Becksvoort suggested tapering the legs by setting the jointer for a 1/8" cut and making 1 careful pass on each side. That was way too scary for me.
    Yea, the jointer tapering idea was too scary for me, too, despite the fact that I routinely face joint a lot of lumber when I do projects. But those narrow pieces just were not going to get done that way in my shop. So I opted for the sander. The first table got done before I had the combo sander so I used an inverted belt sander in the bench vise. 
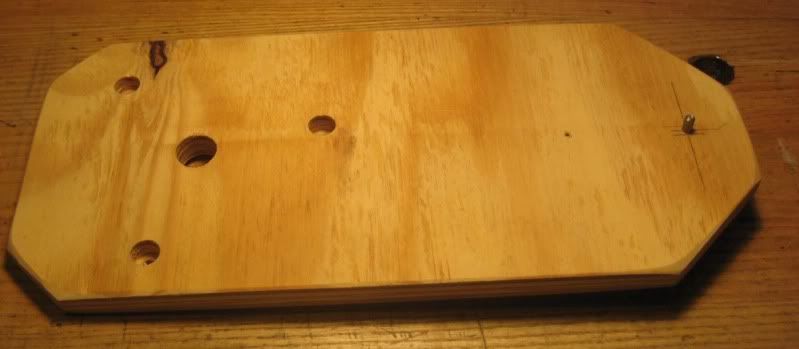
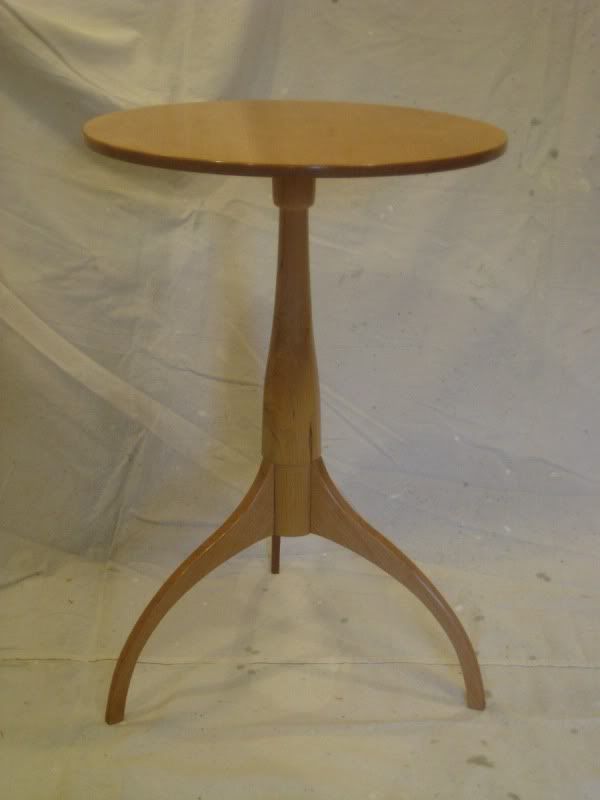
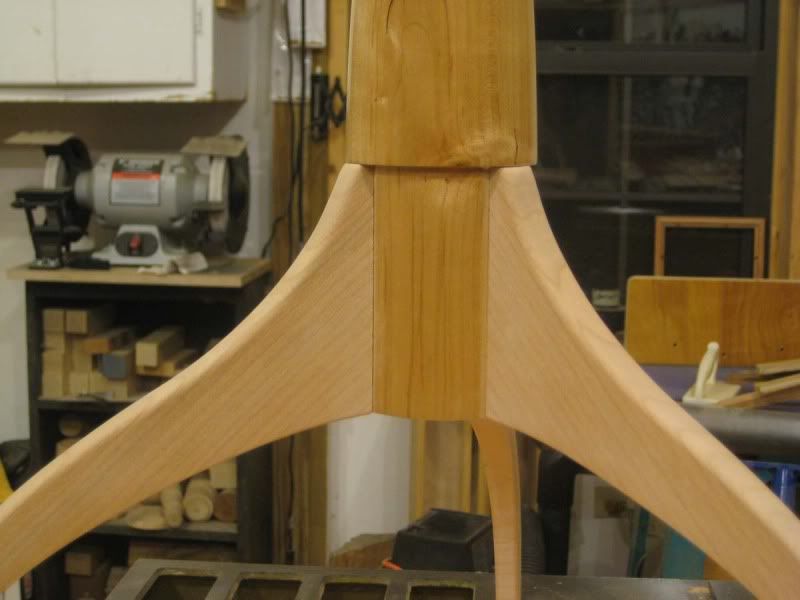
The curly maple table leveraged the combo unit. (That I wished I had bought an edge sander instead of, of course)

    Mario's a kewel guy. I had the pleasure of meeting him at PFW when Alan (Turner) was giving me the tour right about the time when they first were putting the shop together. I'm not surprised that he contributed to the jig idea. I will have to think about doing that for the next candle stand or three I build...I really love this project.

    ------
    Rick, this design with the 1/2" table top uses a hidden cleat across the grain to both fasten the top to the pedestal and keep it flat. The cleat actually has its ends tapered slightly so that it disappears from any normal sight line. I made the cleat 5/8" thick, if I recall. Both of my tables have been very stable.
    Last edited by Jim Becker; 11-15-2009 at 9:18 PM.
    --

    The most expensive tool is the one you buy "cheaply" and often...

  9. #39
    Join Date
    Apr 2006
    Location
    Central NY State
    Posts
    899

    and...the grand finale

    It was hard to find time this week, but I did manage to complete the tables today. I ended up simply rounding over the edges with spokeshave, block plane and scraper. I decided against the up-bevel on the bottom. A 1/2" thick top seemed right, and is more in keeping with the 1850s Hancock Shaker original.

    I put several coats of shellac on this week, first 2# cut dewaxed, then 2# cut waxed, applying first with a brush and then with a rag.

    Once the shellac had hardened I had to smooth it with steel wool. I use a wood block with 1/4" of cork, and good quality 0000 steel wool. This product is better to use than the little pads sold in the hardware store. Apparently, there are fewer impurities [like oil] in the more expensive wool. It lasts a long time too, and is a good value.


    Then a coat of wax, rubbed in with steel wool, allowed to set for about 20 minutes, reapplied, and finally buffed by hand with a flannel cloth.


    After buffing, which is done fairly energetically and with the top still not attached, the cleat is screwed on. The outermost holes are larger, to allow some movement. I didn't slot them, just used a 3/16" pilot. We'll see if this works....The cleat is perpendicular to the grain, and should keep the top flat. I thought of putting a small photo of me making the tables between the cleat and top, so that if someone removes the top years from now, there'd be a nice surprise. I might still go back and do that.


    Paper label is glued on:


    Drum roll please:


    This was a fun build, and I enjoyed walking through the process here. Thanks for all the support along the way.

    Ken
    Last edited by Ken Werner; 11-21-2009 at 12:24 PM.

  10. #40


    Asked and delivered!!!

    Great finale there, Ken!! Shelley should be well pleased with that duo. Looks like you put the elbow grease into that finish job, and the grain match up on the tops is great!

    Job well done!

Posting Permissions

  • You may not post new threads
  • You may not post replies
  • You may not post attachments
  • You may not edit your posts
  •