


Okay, I got my new bandsaw, got a couple of blades and my Carter stabilizer... now what to build?
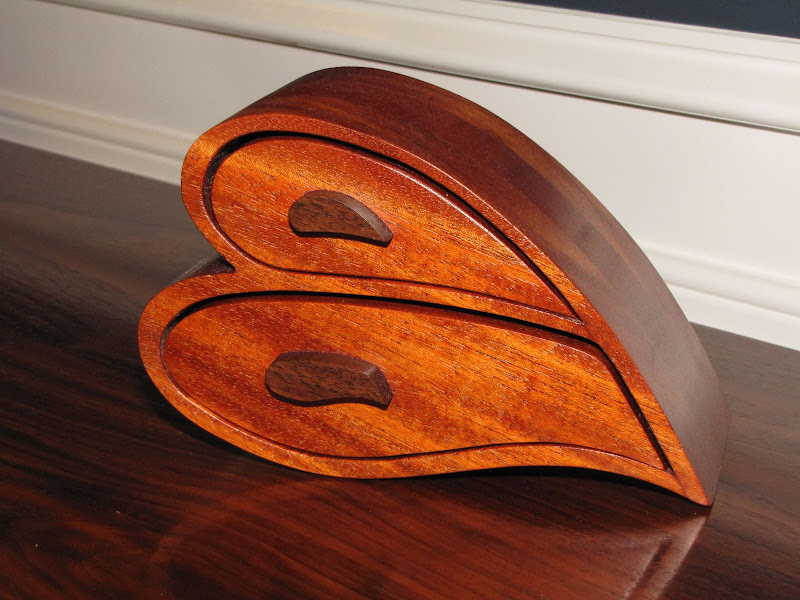
We just had our first girl to add to a family of all boys, so I decided I would deviate from my usual big, square furniture with straight lines and do something a little more curvy and 'girly'. I decided I would make a bandsaw box for the new arrival.
I would appreciate tips and tricks, this is a work in progress, and I always get gunshy posting when I look around at the other projects here. Please be gentle. This is my first attempt.
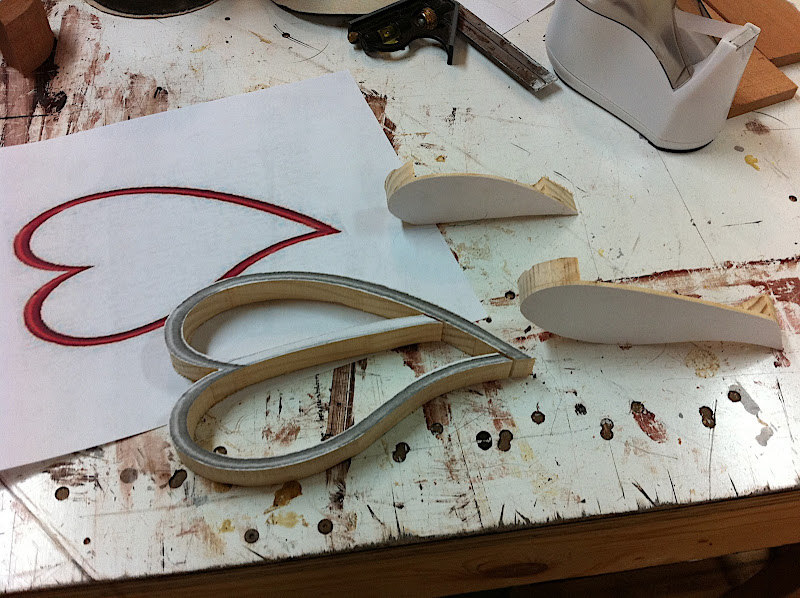
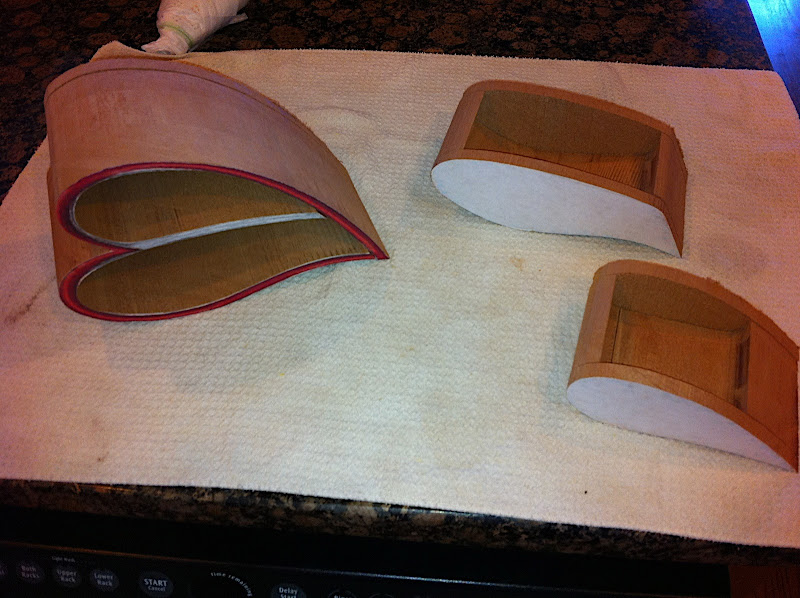
Test cuts: I decided to try on some scrap casing I had left over from our recent basement remodel. I went with a heart shape that had a little flare at the end which would give it two points to rest flat on. I had to stretch it out in photoshop and then lay out the drawers. I didn't do a back on the test piece as it was so thin.
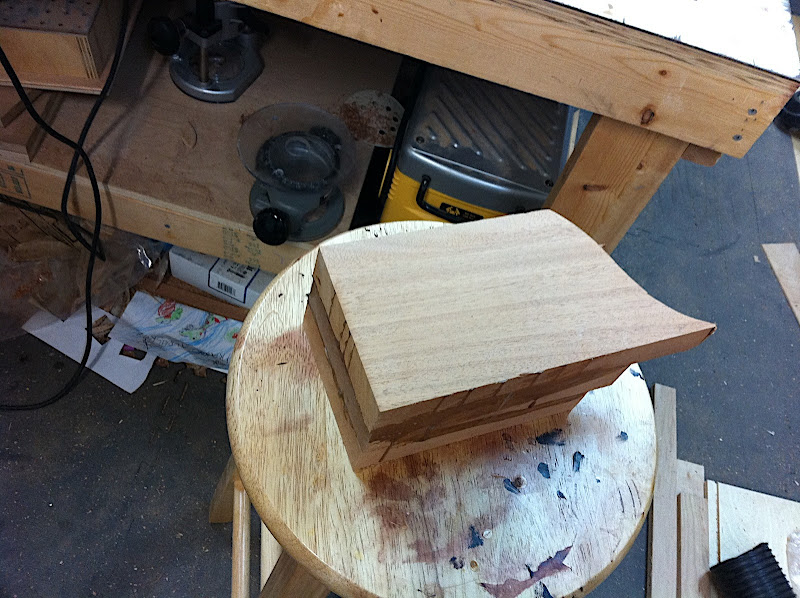
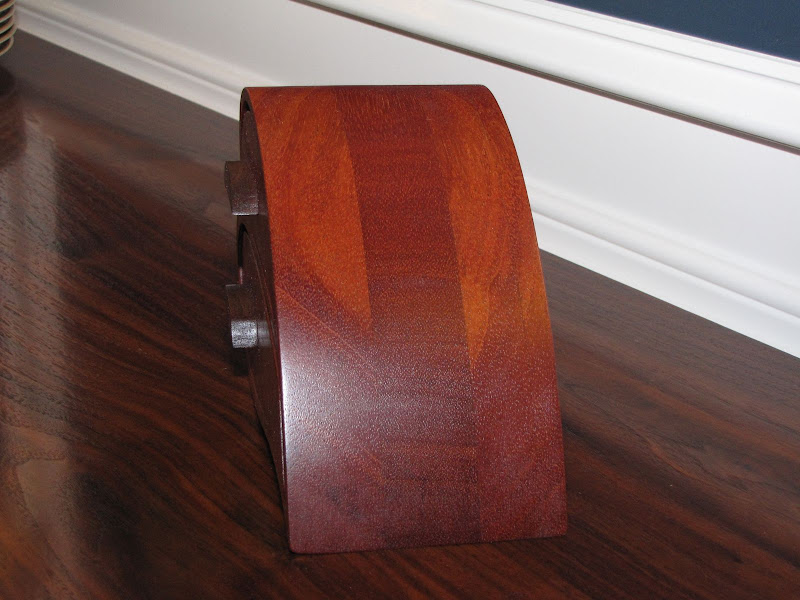
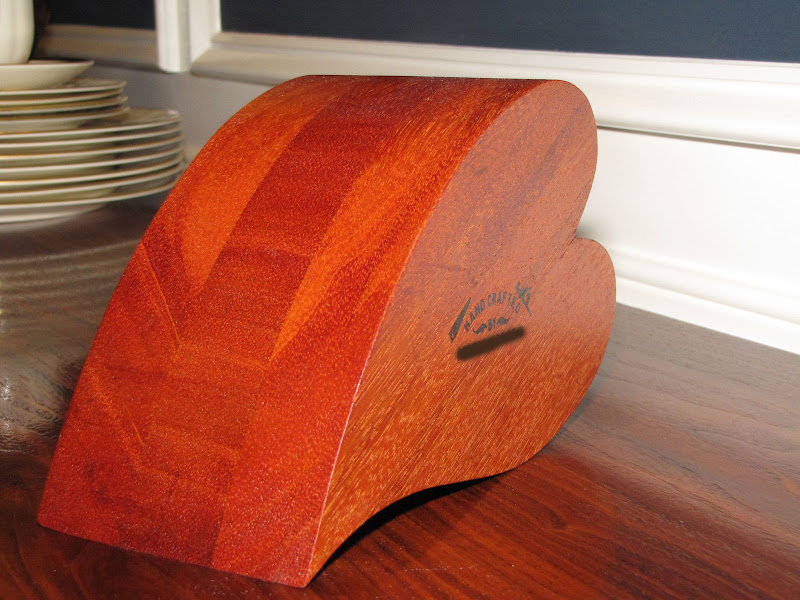
here's the hunk of mahogany. I had to make some corbels to support a granite countertop in our basement kitchen. I used 1 1/4 thick mahogany. These are the cutoff scraps, I glued three together.
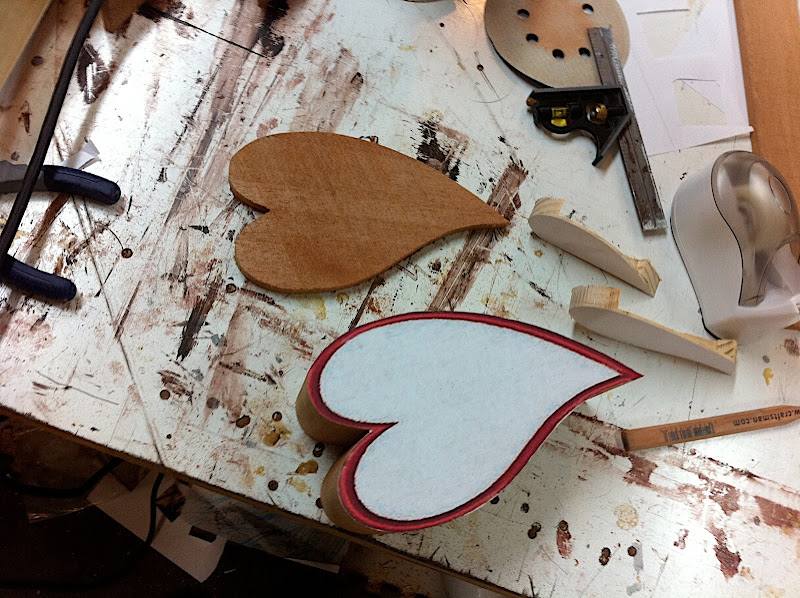
Cut out the main box and the back. I just used the same 6TPI 1/4 blade for the entire project. I really didn't want to switch over to my 1/2 3TPI resaw blade and then back and forth the whole time. How do you guys do it?
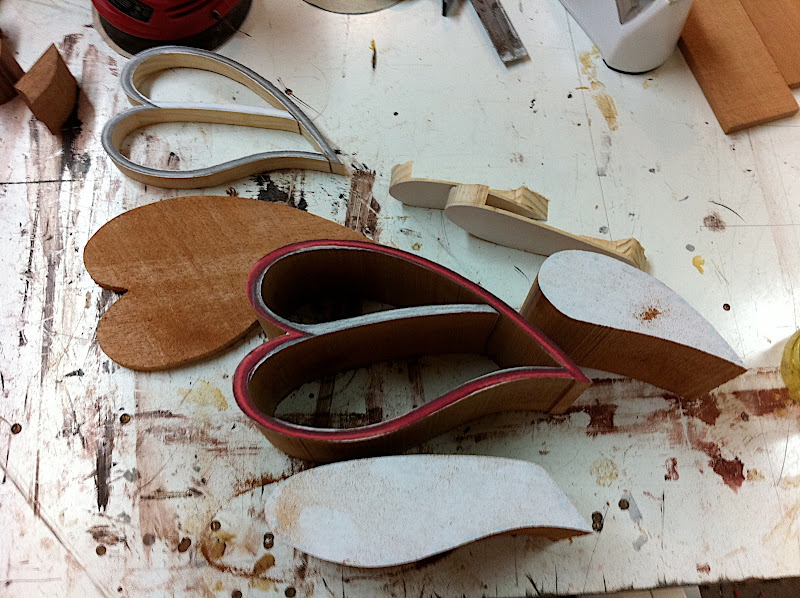
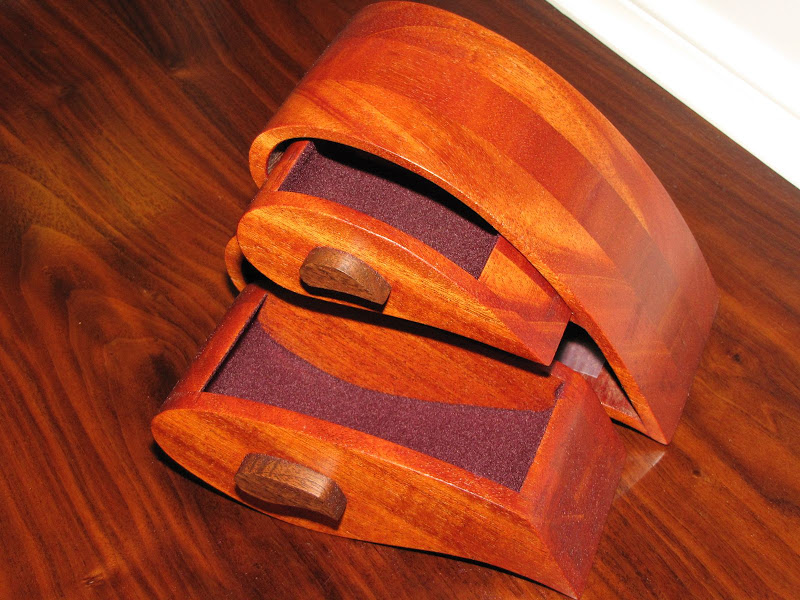
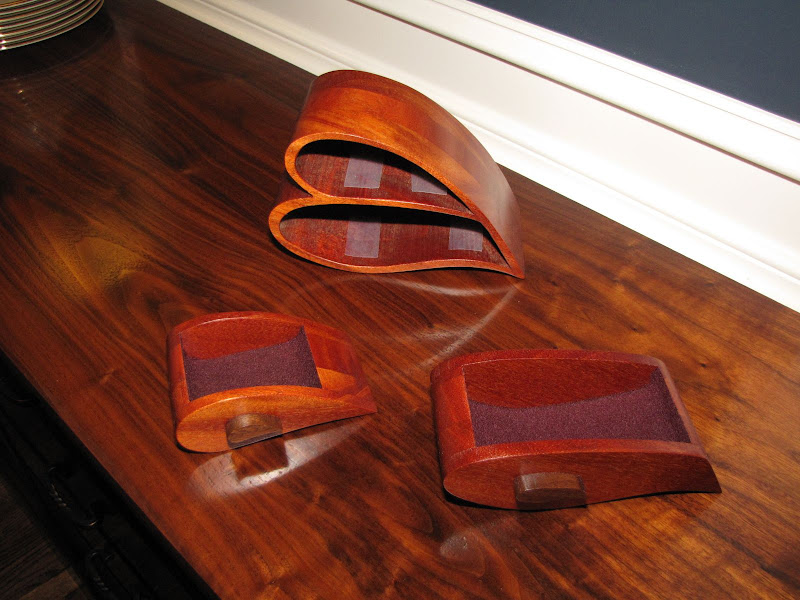
Drawers cut out:
So now it's lots of sanding, gluing, more sanding, cutting some knobs, and finishing. Like I said, we just had a new baby, so progress may be slow. But getting this much progress in a day was nice compared to all the big furniture projects I've been doing lately. Also nice to try something with curved cuts and not just straight lines.
I'm thinking that I may get a 1/4 blade with fewer TPI for these boxes. The blade did seem to bog down a bit at times cutting out the main box. I'd be interested to hear what you guys use. Thanks for looking.

 Reply With Quote


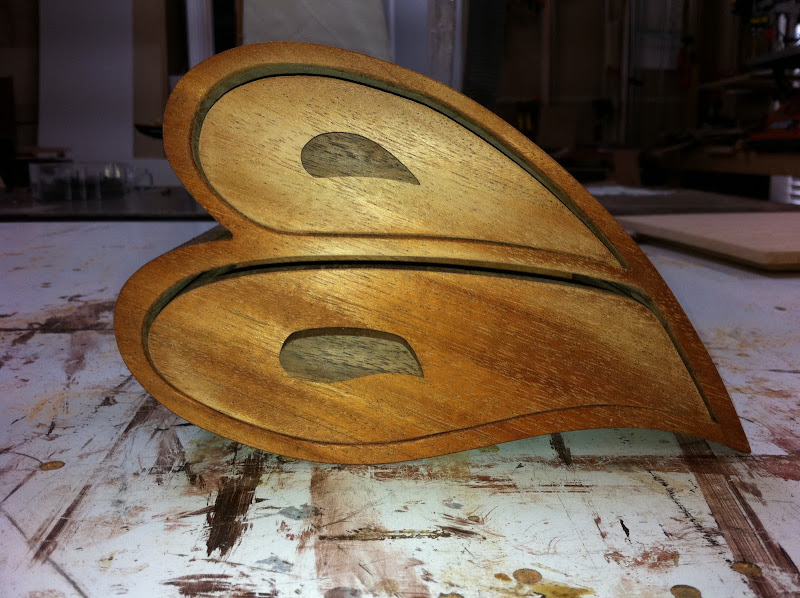
 ). I still have some sanding to do here and there, but we're getting close. I'm getting some UHMW Tape to help center the drawers in the holes as well.
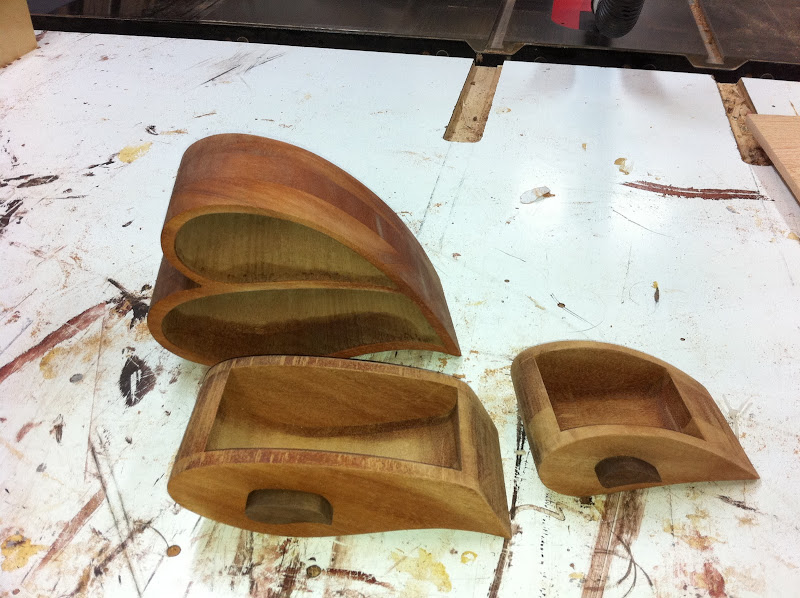

")
