


I finally finished assembling my vacuum chuck system, but was disappointed to find that it only pulls just under 22" HG. I partially disassembled it an connected the gauge directly to the the input hose, and it didn't change. It's the familiar Gast 0523 from Surplus. It did suffer a fall of about two feet when it got knocked off of it's perch quite some time ago, doesn't rattle or anything, but bent one of the mounting feet a bit. Does anyone here know what is involved in a rebuild? I haven't tried it yet, don't know how much vac is really needed for our purposes, but I'd like to use it for veneering too.
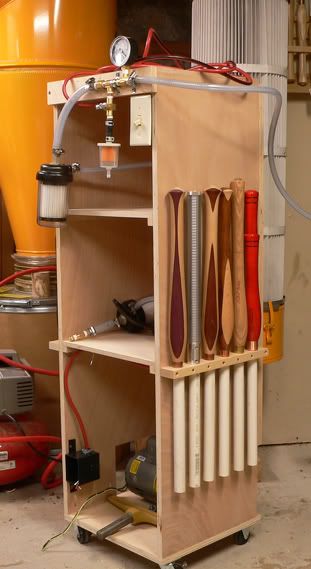
Anyway, here are some pics of the system. I borrowed both from Steve and from Christopher Hartley. I decided to make a cabinet that would give me some additional storage space, and figured I might as well make full use of it by hanging tools on the outside.
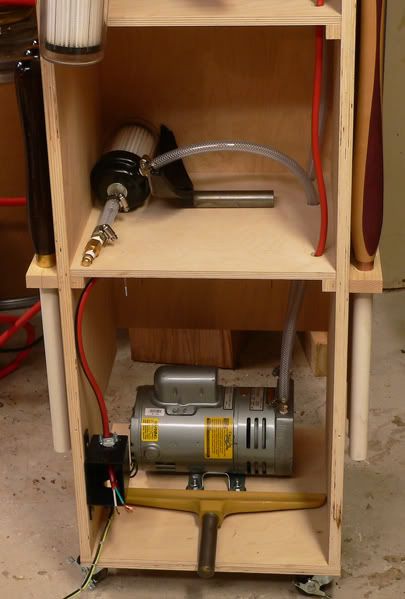
The back doesn't go down all the way to the bottom, ends a little above the pump, and there is a cutout on the left side as well, to aid in air circulation, and allow access for blowing out the motor now and then to clear sawdust.
I came up with a cheap and easy way to make the racks, using a 1 1/16" Forstner bit, which left a very slight gap around the 1 3/64 od pvc pipe. I was afraid that if I used screws to fasten the tubes in place, sooner or later I would hit one with a tool and damage an edge. So to deal with the slight amount of slack, I took the drilled pice to the bandsaw, and sliced it in half lengthwise. The dabbed a bit of epoxy in each of the depressions, laid the pipes in, and screwed the pieces back together. They now fit tight, and I don't think they will go anywhere. Each rack is held on the cart by three screws, and the whole arrangement seems quite solid. Most of the tools stored in the rack are easily identified by their handles, so not being able to see the business end is not a problem. The center cut is pretty ragged, probably should have changed bandsaw blades before making the cut, but I was thinking more of utility than beauty for these.
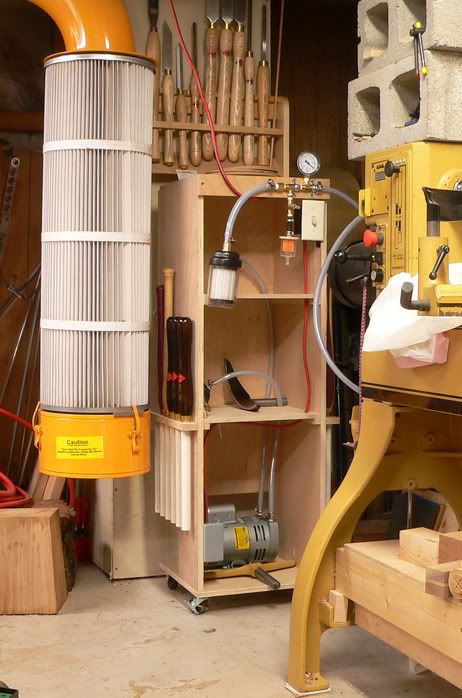
And here it is in place, with the final electrical connections made. I haven't filled up the shelves yet, still deciding what will go where. The cabinet shouldn't get hit with too many shavings in this position.
Dan


 Reply With Quote


 Laugh at least once daily, even if at yourself!


