


I was chatting to Terry Gordon at the recent Perth Woodshow. He was demonstrating how he used a dado plane along with a Snipe Bill to create a female sliding dovetail. This looked very slow going to me.
Some years ago I built a plane to cut the male side of the joint.
The female side was sawn, a chisel used to roughly remove the waste, and a router plane cleaned up the remainder. There is a pictorial here:
http://www.inthewoodshop.com/Furnitu...lsbyhand1.html
The conversation with Terry re-kindled my interest in a plane to shape the female joint. I came away from the show with a purchase of a 1/2" dado plane (a review will come in a few months).
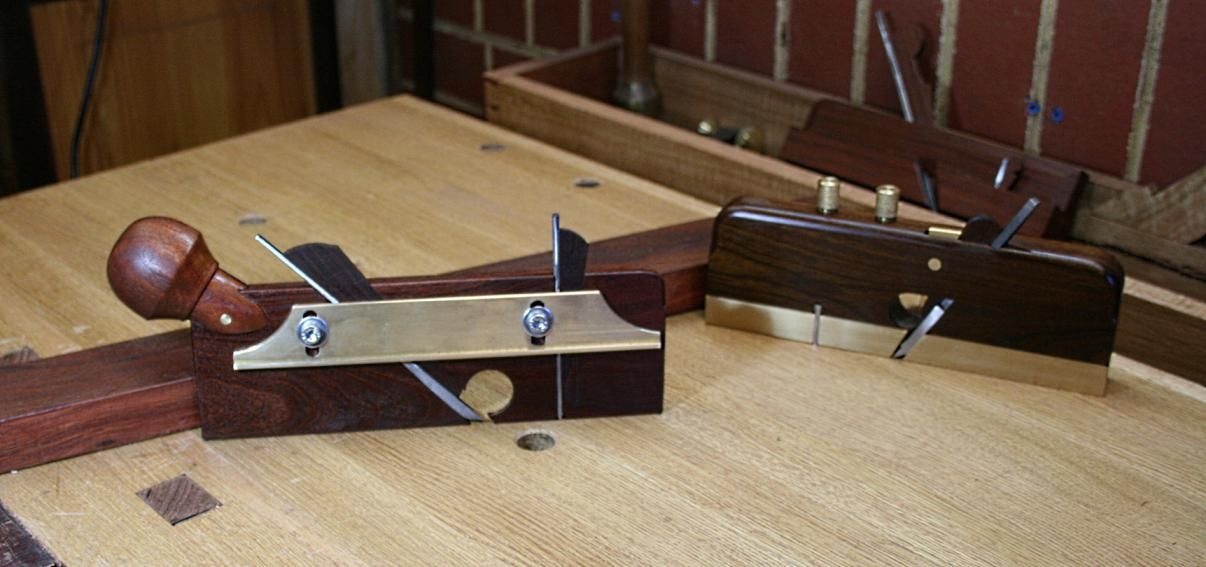
A week or so after the show, Giuliano (http://woodworkingbyhand2.blogspot.i...ail-plane.html) posted his plane. This was a simple and excellent design, basically a dado plane. So rather than attempting to re-invent the wheel, I decided to make a version of this, which I gather is a design that goes back many years. Of course, I did want to stamp my own mark on the result, and decided that it also must fit in with the HNT Gordon dado plane.
This was completed today ...
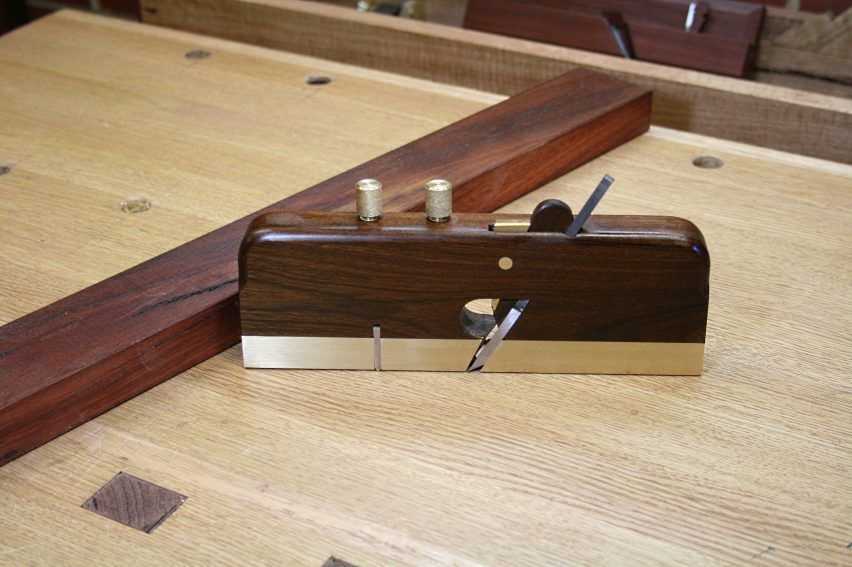
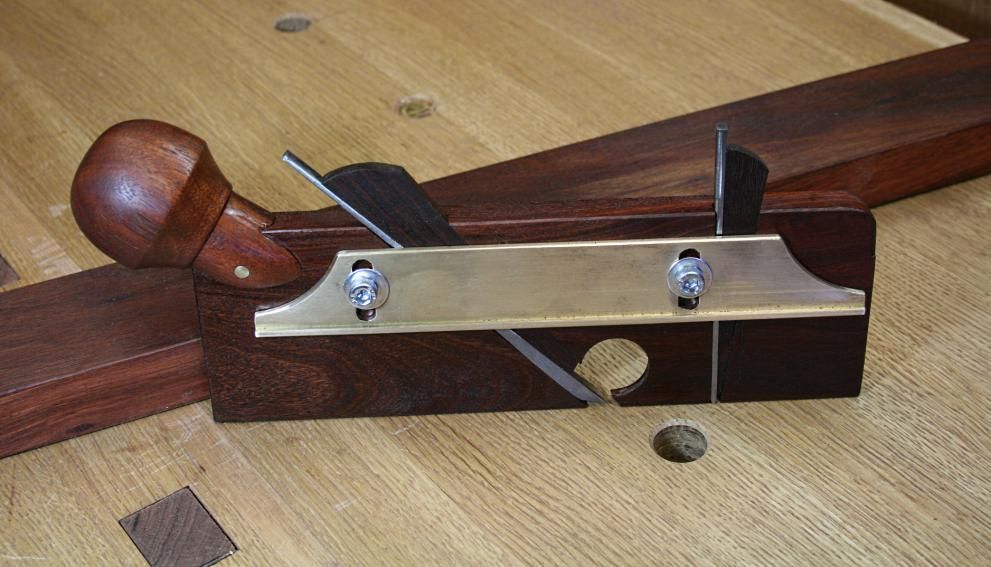
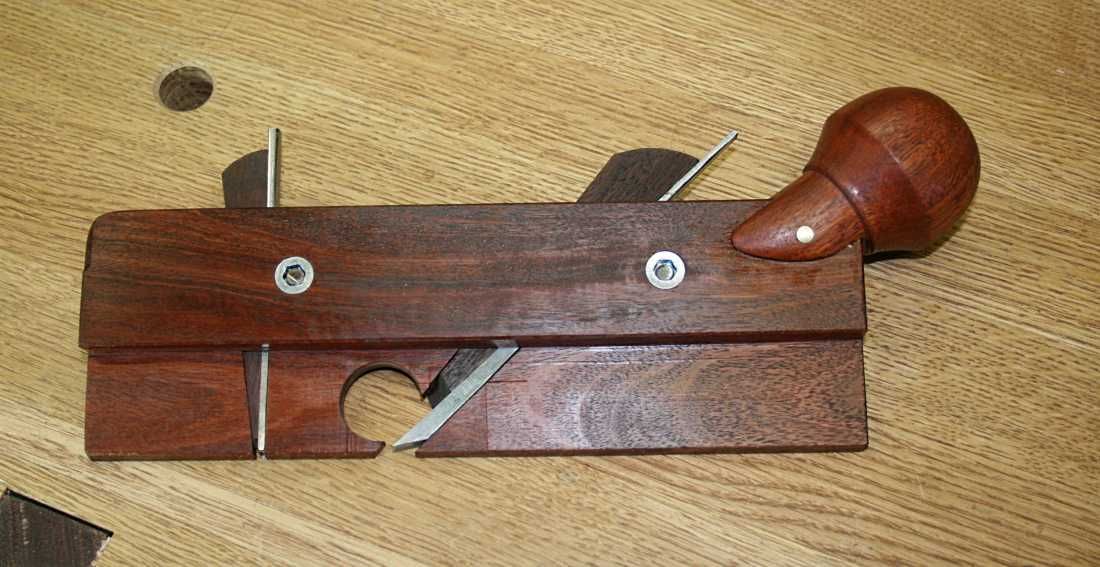
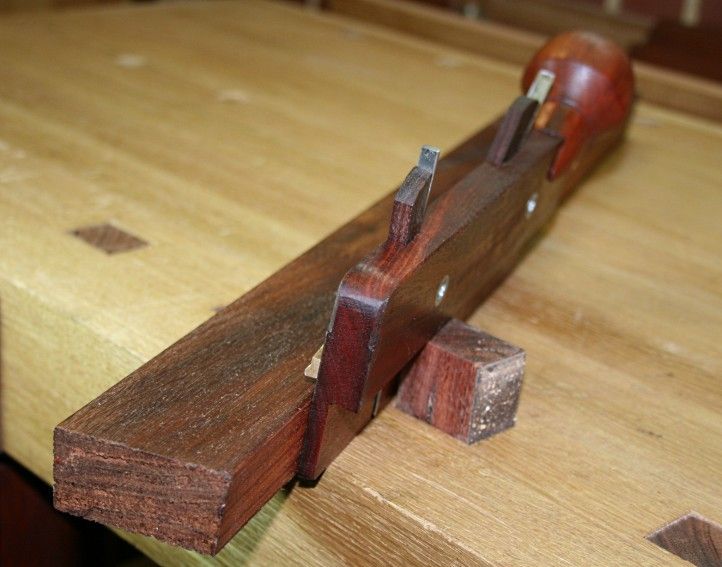
The plane is 9 1/4" long and 3" high. It s 1/2" thick at the wide (upper) section, and a touch under 1/4" wide at the lower section. The reason for the ball handle is that the thin body is too uncomfortable to grip as is. The added handle makes it very comfortable to push.
The rear side ..
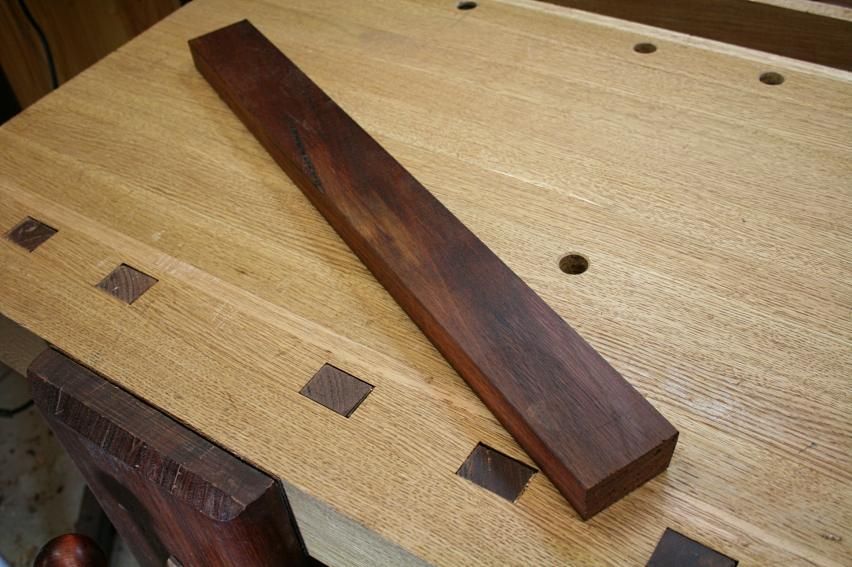
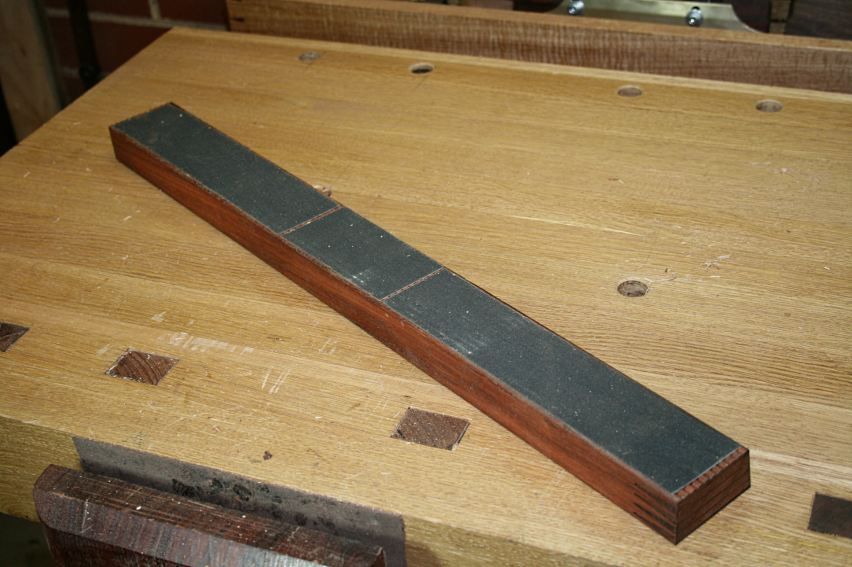
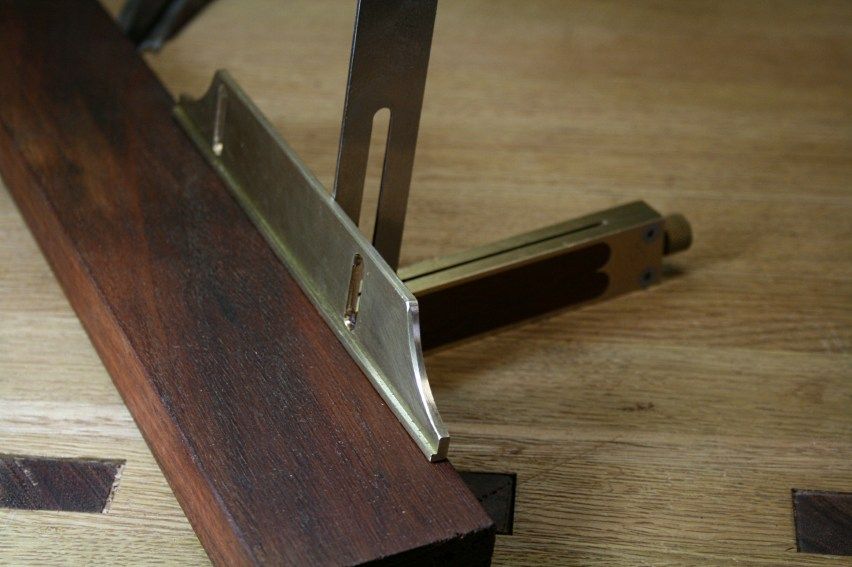
An integral part of the plane is the Jarrah guide. This is 24" long.
The underside has 240 grit sandpaper attached as non-slip.
One side is 90 degrees (for the dado plane) and the other has a 1:6 slope (for the dovetail plane).
The dovetail plane runs along the guide and planes at an angle. However, unlike a dado plane, the blade on the dovetail plane is angled so that the lower edge cuts parallel to the surface.
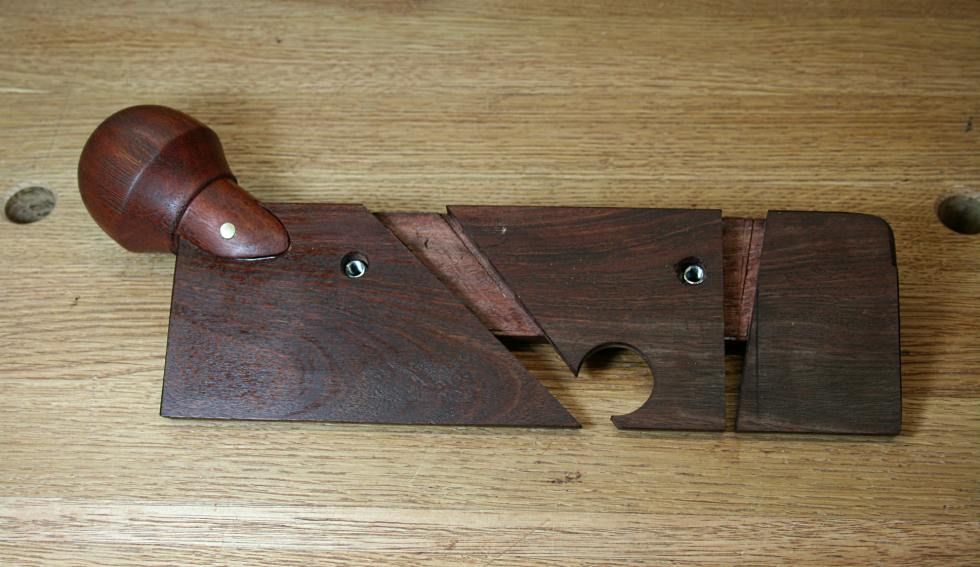
Here are a few construction details:
The body ...
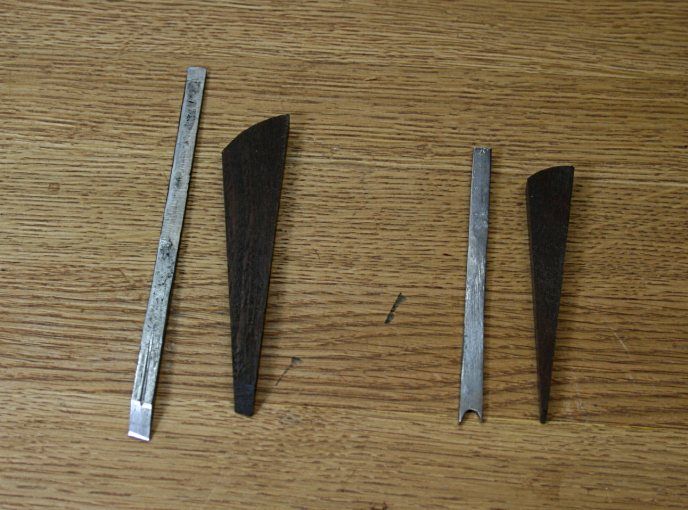
This is the main blade (on the left) with a double-sided nicker (on the right). Both are angled to fit the angled (1:6) sole.
The lower edge of the depth stop is angled to run along the top of the guide.
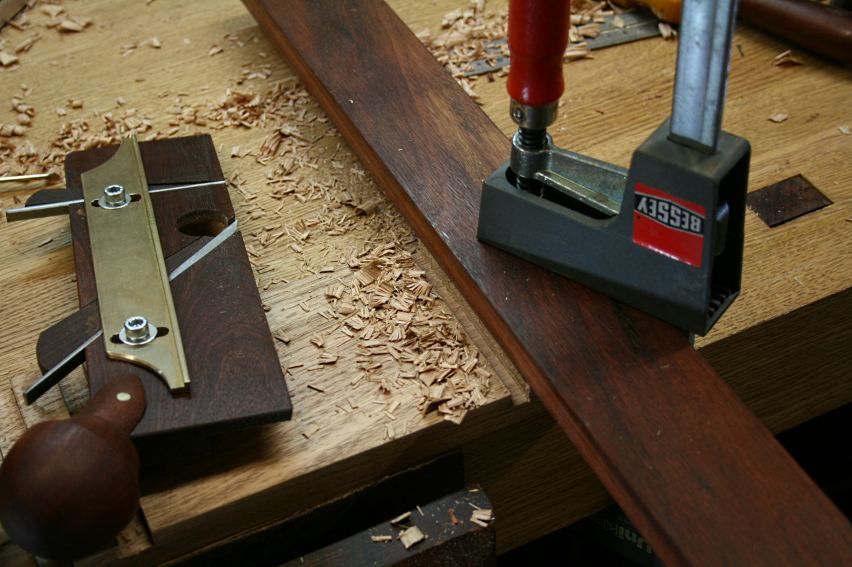
The basic method is shown here ..
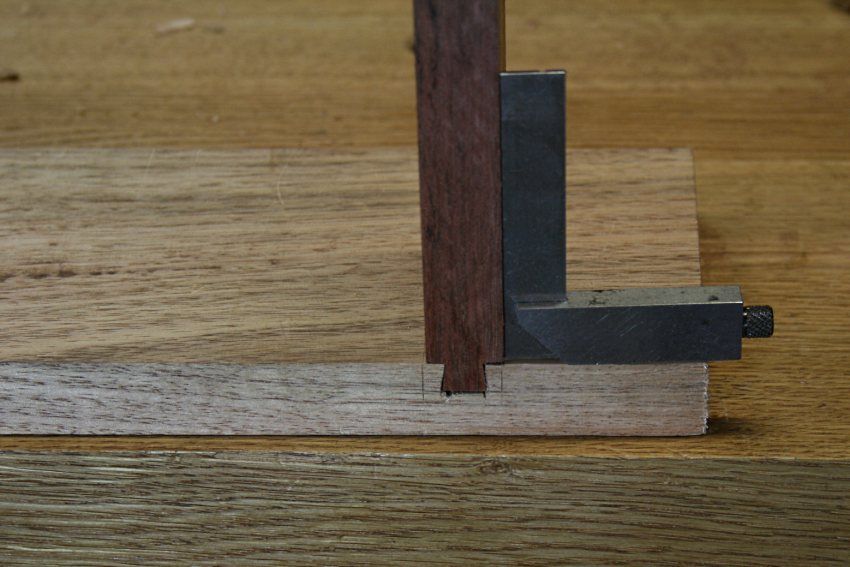
I attempted two types of sliding dovetails for practice. The first was a half-dovetail. This has a taper on one side and is square on the other. It was made using the dovetail plane first, and then the dado plane.
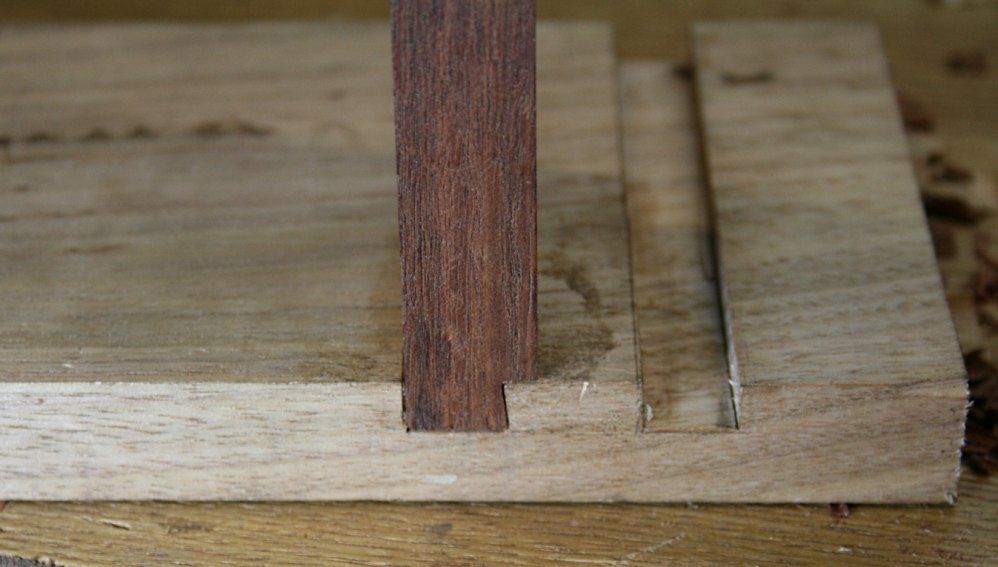
The other was a basic parallel double sided dovetail - a tapered version is made the same way. Here I was checking for accuracy. This was the result of the first effort ..
What do I think of the plane? Frankly, I am not sure whether I still prefer sawing/chiseling/routing. It's a new process and the set up is new. Time will tell.
Regards from Perth
Derek


 Reply With Quote


