Great stuff, enjoy your mountain trek in New Zealand.
jtk


 Contributor
Great stuff, enjoy your mountain trek in New Zealand.
jtk
"A pessimist sees the difficulty in every opportunity; an optimist sees the opportunity in every difficulty."
- Sir Winston Churchill (1874-1965)
 [OP]
Contributor
[OP]
Contributor
Mark, do you have a link for this?Originally Posted by Mark Gibney

Regards from Auckland
Derek
Contributor
Here's the link
https://losangeles.craigslist.org/la...728917313.html
Contributor
Derek
Has been very interesting following along with this chair build. I have no desire to build one, however I have seen some things done that interest me and I hope to try sometime after I get to get back in the shop
Thanks
Ron
[OP]
Contributor
Thanks Mark
I have seen chairs like these before. They are copies of the DC 09 design, but with many shortcuts. These include a separate seat attached to rails, and the rails attached to the legs with blind (not through-) mortices.
The legs are rectangle, rather than oval.
And the shaping and attachment of the arms and back are simplified.
I suspect that this was either DIY or made cheaply for production at a low price point. This is not to knock the chairs, because they highlight (by exclusion) the areas that are difficult or demanding (ie time consuming) to build.
Regards from Perth
Derek
[OP]
Contributor
Thank Ron. Feel free to mention what catches your eye. This thread is intended for discussion as much as demonstration (including how not to do things!)
Regards from Perth ... still in Auckland, about to travel South.
Derek
[OP]
Contributor
One point I have not drawn attention to, but was important for me, is the grain direction throughout this build.
If you look at the arms and legs, the grain has all been oriented so that the blanks are quarter sawn. For example, the arms will show the long side grain when looking at them fron the side, as will the legs. The figured sides face the top, are carved away, and therefore the figure is minimised. The aim is to present a clear, uncluttered grain, and this should emphasise the shape/silhouette. This was not possible with the seat, and the figure was positioned as best as possible.
Regards from Perth
Derek
Last edited by Derek Cohen; 04-06-2024 at 7:14 PM.
Contributor
Many years ago a columnist for one of the San Francisco newspapers wrote of the plight of a couple trying to get information at the San Francisco International Airport about a flight to Auckland. The airport is across SF Bay from Oakland, California. With their accents the person at the airport couldn't understand why they didn't want to take a taxi or public transit.still in Auckland, about to travel South.
jtk
"A pessimist sees the difficulty in every opportunity; an optimist sees the opportunity in every difficulty."
- Sir Winston Churchill (1874-1965)
[OP]
Contributor
Back on the job after 3 weeks hiking mountain trails in the South Islands of New Zealand, then returning home with Bronchitis (although I was wearing a mask on the plane, passengers preferred to sit with the crying babies than listen to me cough and wheeze!). A few more weeks to recover. First day in the workshop this weekend.
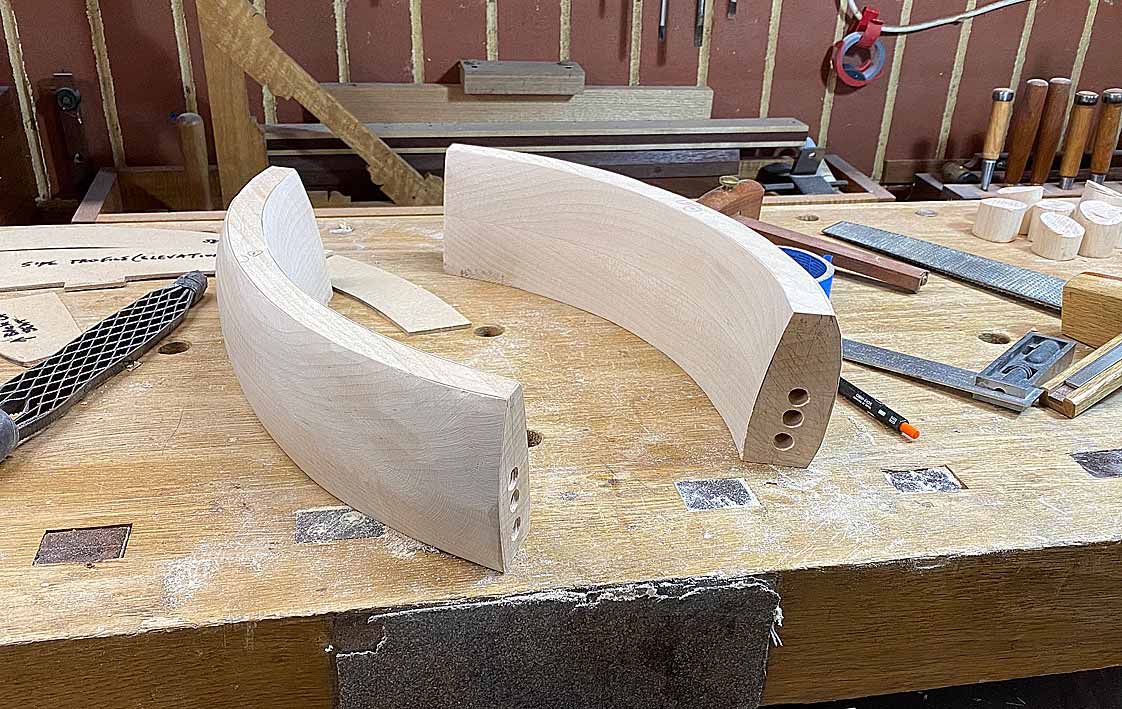
First task was to glue the arms sections together. You will recall that they are reinforced with dowels.
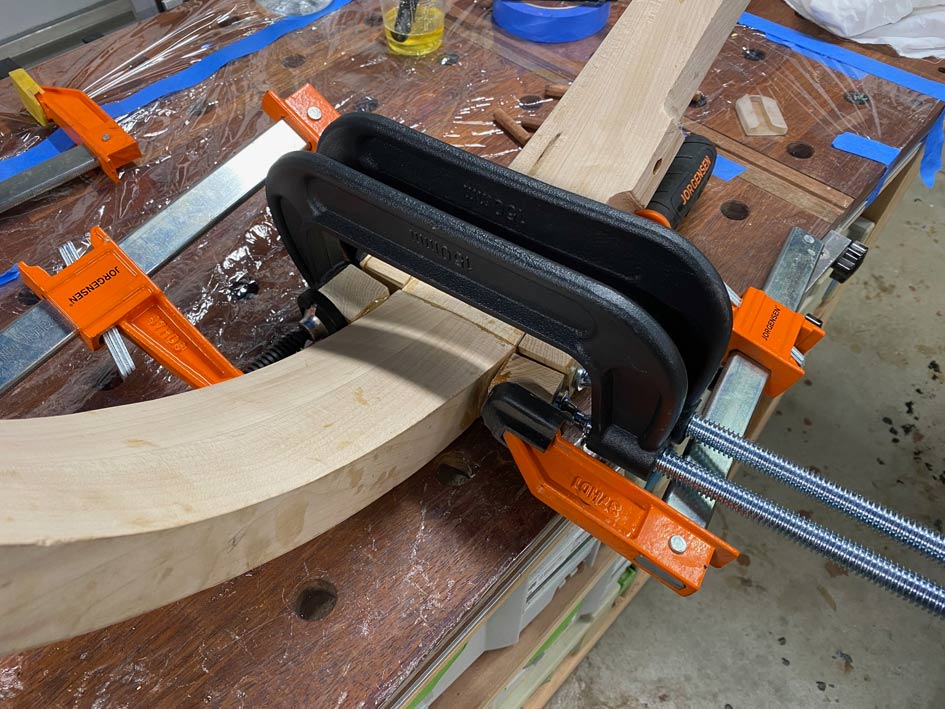
In a similar build, where the sections needed to be clamped together, it was possible to leave "ears" as the blanks were wider/thicker. I could not do that here, and so decided to epoxy these ears on ...
Well, it wasn't particularly successful, even allowing for 24 hours cure time. The ears broke off.
All I could do was clamp the ear on, and pray this would hold.
Later I realised that the problem was that the dowels I used were too tight, and the force needed to drive them home was unexpected. Lesson learned for all - if using epoxy, which is gap filling, the dowels has be a slip fit rather than a force fit. Of course, it would have been easier if I had known this beforehand!
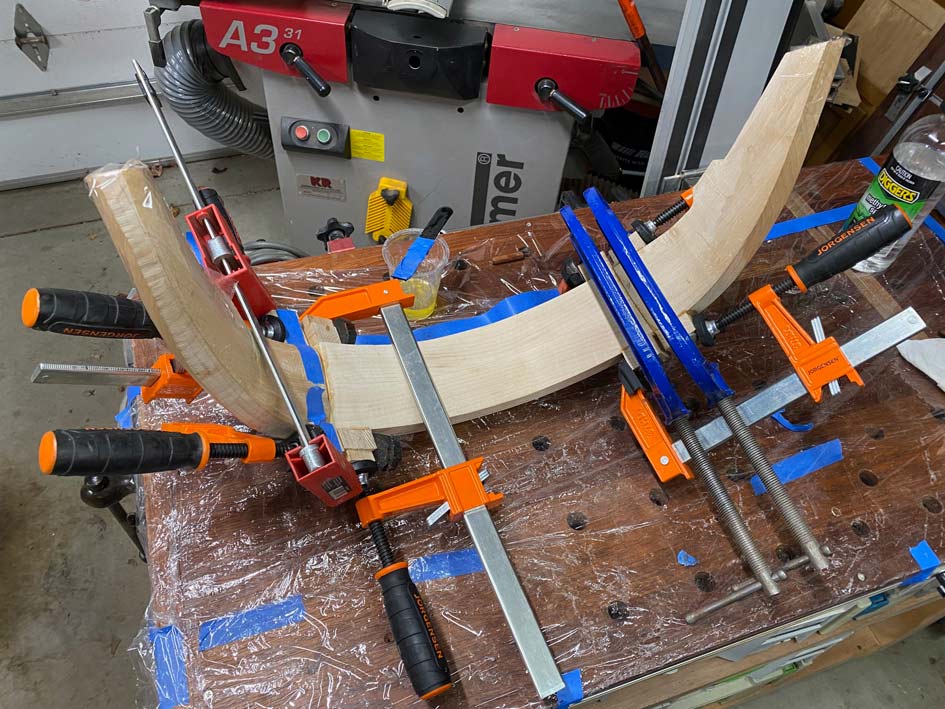
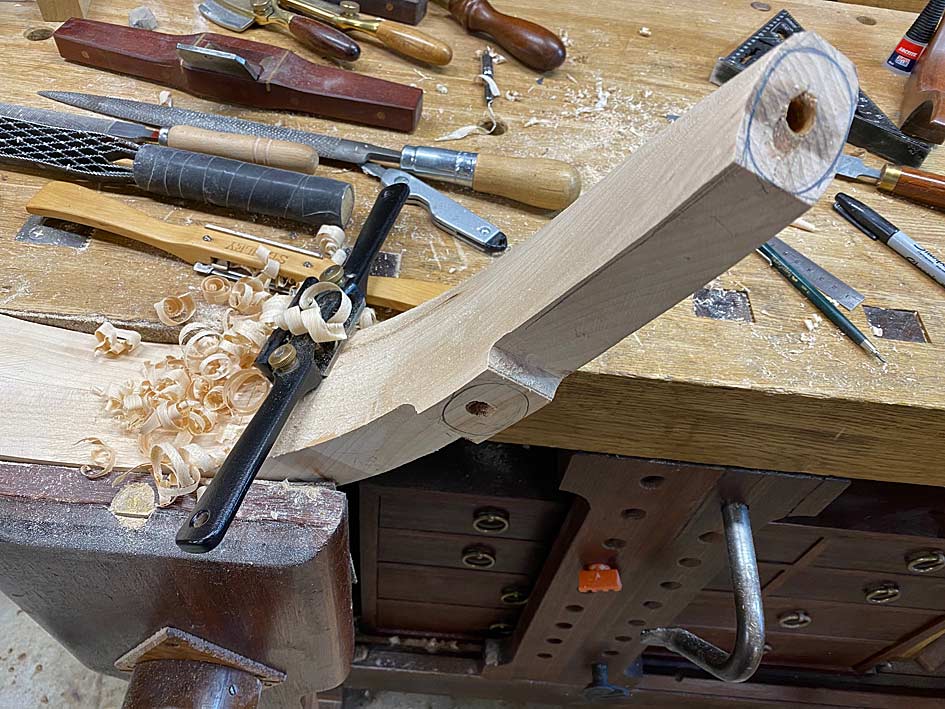
Once all was together, now in one piece (or two pieces if you count two chairs), the rasping and spokeshaving began ...
The aim now was to get the arms closer. This is all slow work, a bit here and a bit there, return to check the symmetry and shaping, and a bit more off. Work stopped to redrill the dowel holes that hold the arms to the legs. There had been a little movement while I was away, or I have measured inaccurately the at the start. It is important that the arms-legs join with as little stress to the joint as possible.
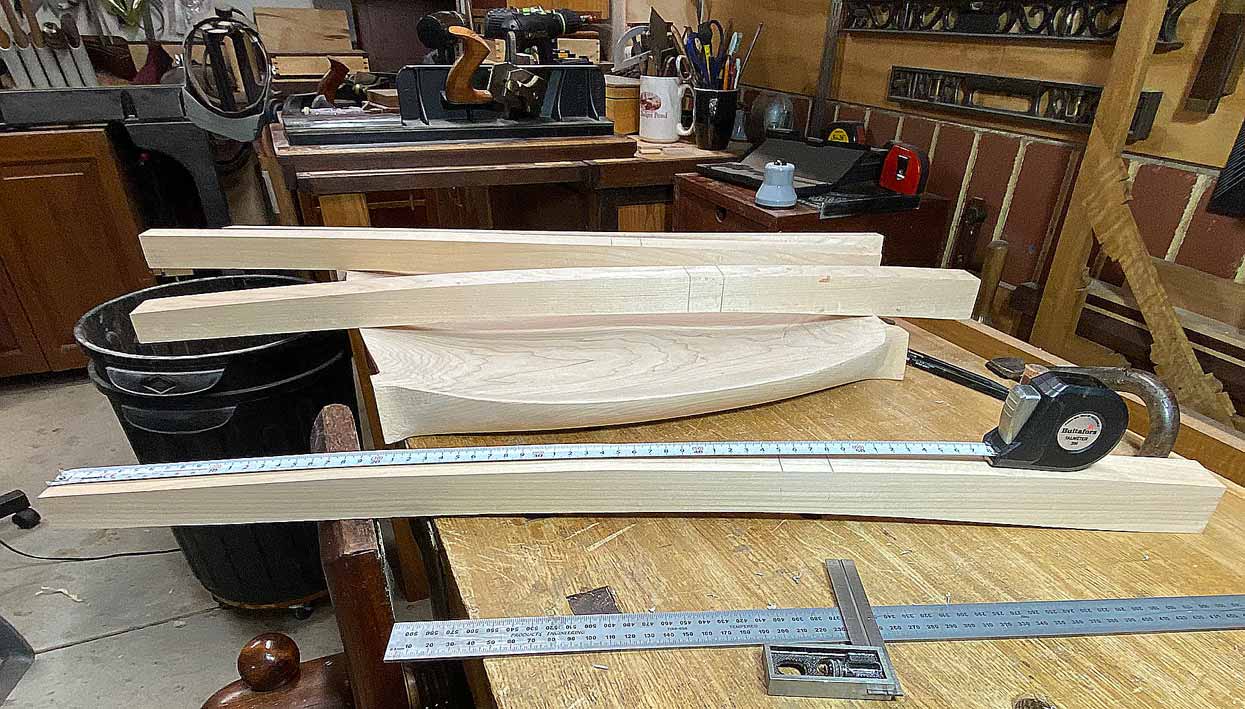
A couple of progress shots of shaping thus far - lots still to come, but its getting to look like the original chair now.
Regards from Perth
Derek
Contributor
You got there in the end Derek, the lessons you learn the hard way are the ones you don’t forget.
Hope you feel better soon.
Jim
Ancora Yacht Service
Contributor
I'm sure this will be remembered in your future endeavors. For others, your experience will hopefully help them avoid the difficulties of making such joinery.Later I realised that the problem was that the dowels I used were too tight, and the force needed to drive them home was unexpected. Lesson learned for all - if using epoxy, which is gap filling, the dowels has be a slip fit rather than a force fit. Of course, it would have been easier if I had known this beforehand!
Looking good.
jtk
"A pessimist sees the difficulty in every opportunity; an optimist sees the opportunity in every difficulty."
- Sir Winston Churchill (1874-1965)
[OP]
Contributor
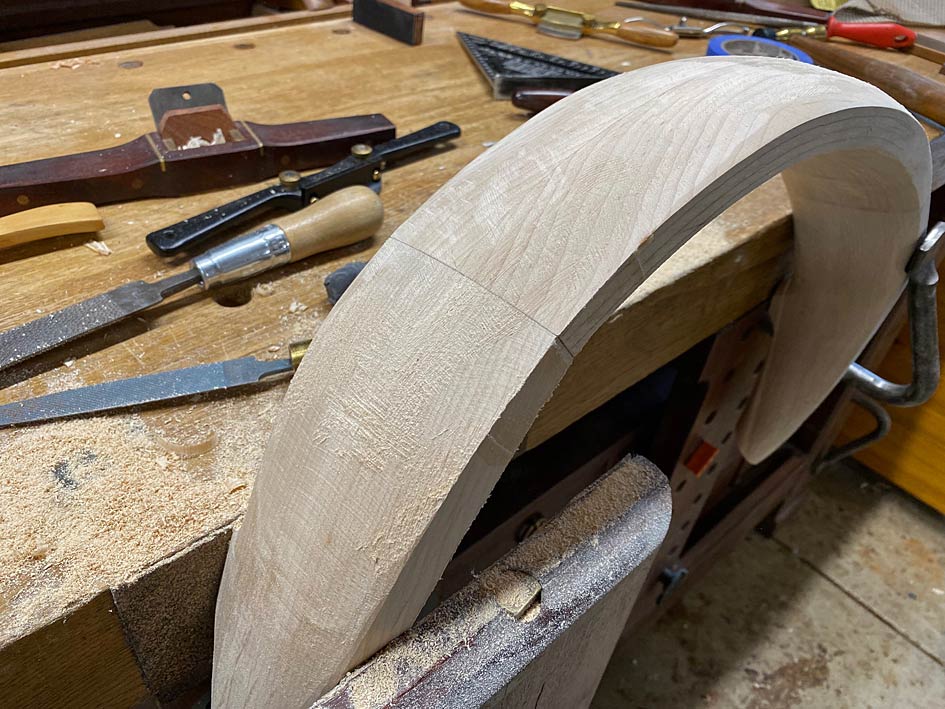
I have found that the shaping of the chair arms and back to be a complicated process, with a step forward, then sideways, and then another step forwards. It is not plain sailing. There are many small corrections to make as I proceed, and I dare not attempt to leave these until a later date. I thought that some here will find the corrections ... repairs ... interesting, and hopefully useful if you find yourself in the same situation.
In the following photo, where the inside back is being shaped, you can see two joins where the arms and back connect ...
Outside example ..
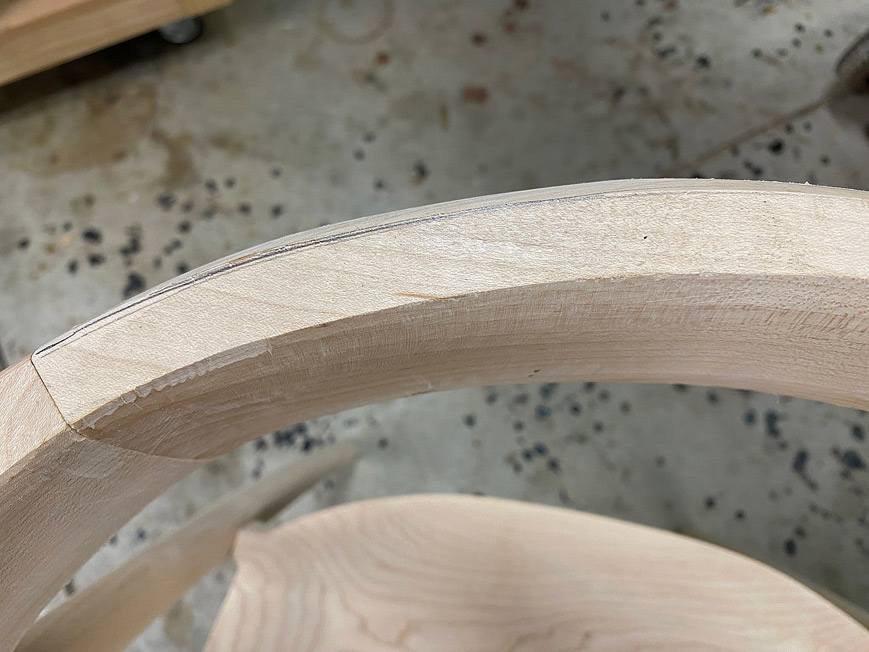
These joins are clean and tight. In all there were 8 such joins, 2 chairs with each 2 inside and 2 outside joins. Of these 8 joins, 7 were perfect. One was a disaster!
What happened was, in clamping the two parts, there was movement and an outside section moved slightly. This left a gap. To make it worse - as bad as it could get - the corner of one piece was crushed by a clamp, and cracked! I pushed it back into position, secured it, but it must have moved a little. Try not to cry ...
Well, you just have to repair it. And not with filler or a wedge.
I decided to peen the wood and move it into the gap. I have used this technique for dovetails, which is edge grain, but never for end grain. In fact, I have not seen anyone do this before.
Using a couple of different size drift punches, I began tapping the wood into the gap ...
It looks like hell, but it did the job ...
I'll save the outcome for the end of the build. [wink]
In the following photo you can see areas marked in pencil. These are where waste is to be removed ...
A little is removed, and then the arms are returned to the base, where more is marked for removal ...
The shaping of the arms is completely by eye. There are no templates to guide the work done. The photos are my reference: "does it look right ... no ... take more off there ....".
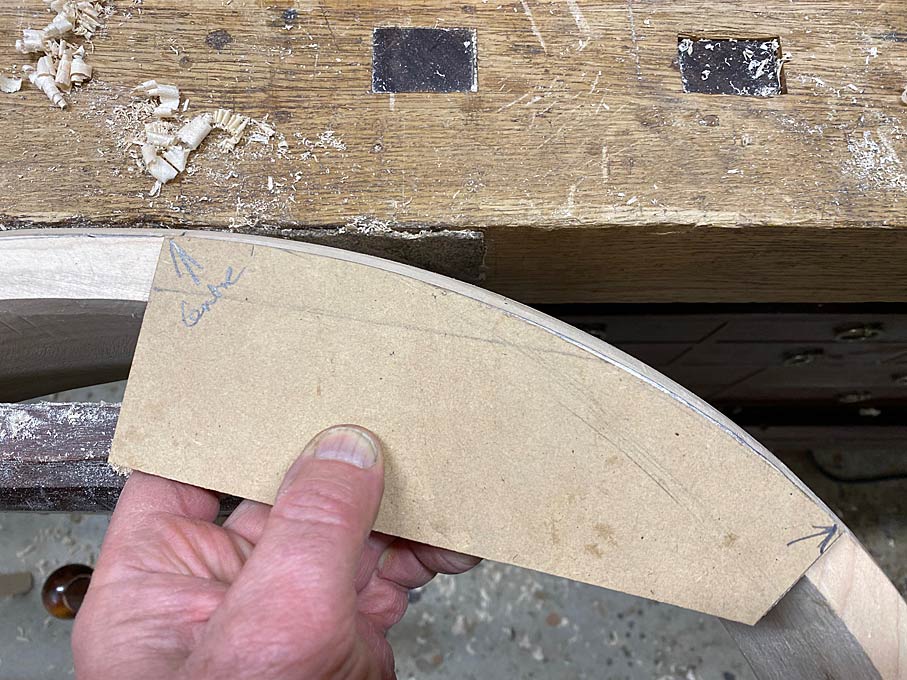
I finally get to a point where I need to check whether the curve at the rear is fair. It needs to be symmetrical and fair, and the same for both chairs. Now I trace the curve of one half of the rear centre section ...
Flipping the template, this is taken to the other side of the back ..
It is just a smidgeon off ...
And the template is used on the other chair, and this proves to be identical o chair #1 ... just a smidgeon off the left side to spokeshave away ...
I am amazed that the shaping has remained within my tolerances all this time!
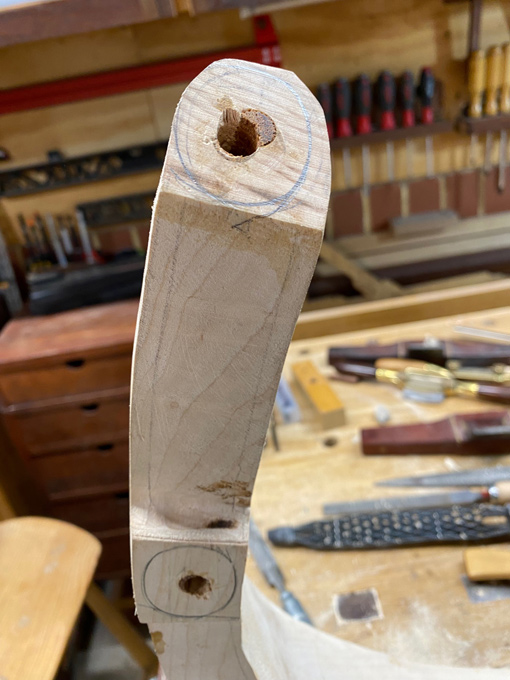
Lastly, I have been keeping an eye on the leg-arm joins. A couple were not meeting flush, and this needed to be corrected. For example, here you can see the gap. The blue tape marks where it keeps to be corrected ...
The top is covered in pencil to help see where the rasp is working, and the section that must not be touched ...
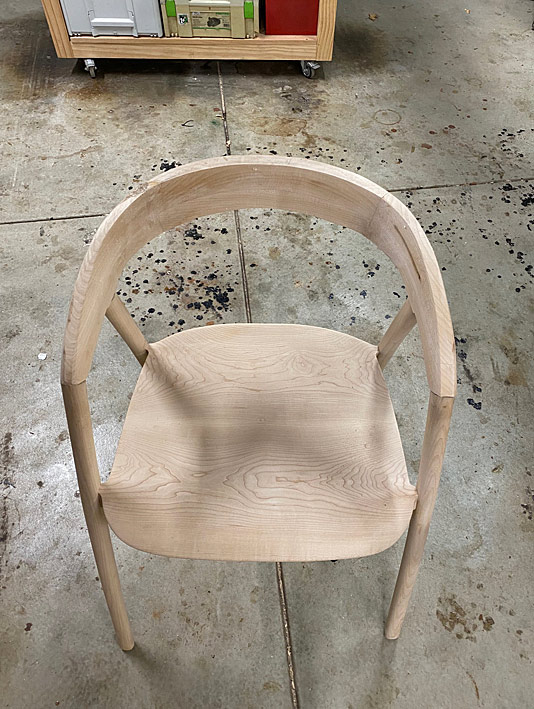
The result ...
The end of the day. A lot of work has been done over a period of 1 1/2 days in the workshop. This may go unnoticed by all but you and I ...
Lots more to do.
Regards from Perth
Derek
Last edited by Derek Cohen; Yesterday at 10:08 AM.
Contributor
That is a lot of work.
Thanks for sharing the build.
jtk
"A pessimist sees the difficulty in every opportunity; an optimist sees the opportunity in every difficulty."
- Sir Winston Churchill (1874-1965)
Contributor
They are gorgeous!
Appreciate all the effort you took to document and post the progression of steps, too.
smt
PS, still getting used to navigating sawmillcreek and discovered there was a lot more content and responses here.
I kind of agree with William Fretwell but of course wish you all best luck with your solution. Your analysis is certainly sound from the perspective you wanted to address.
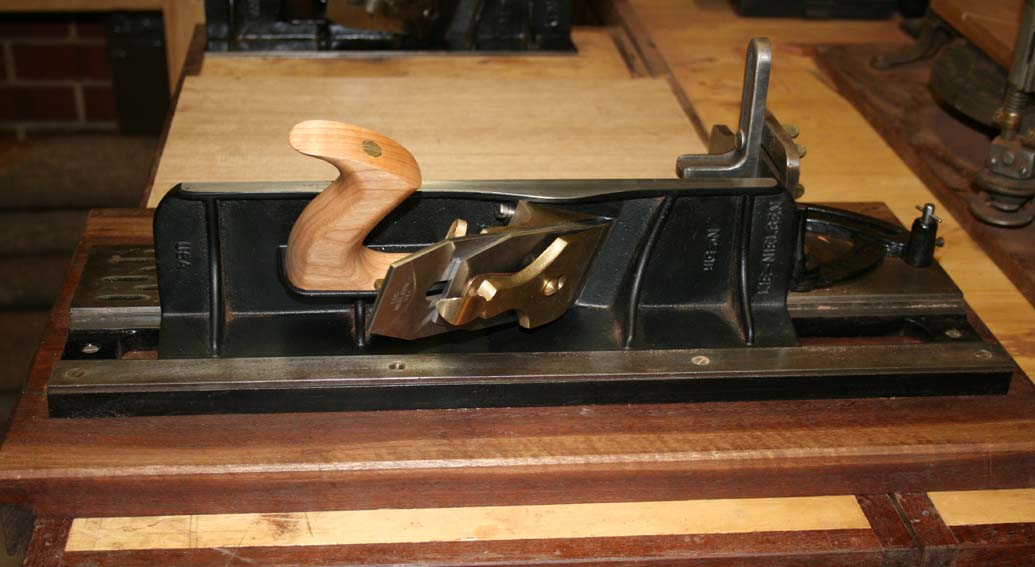
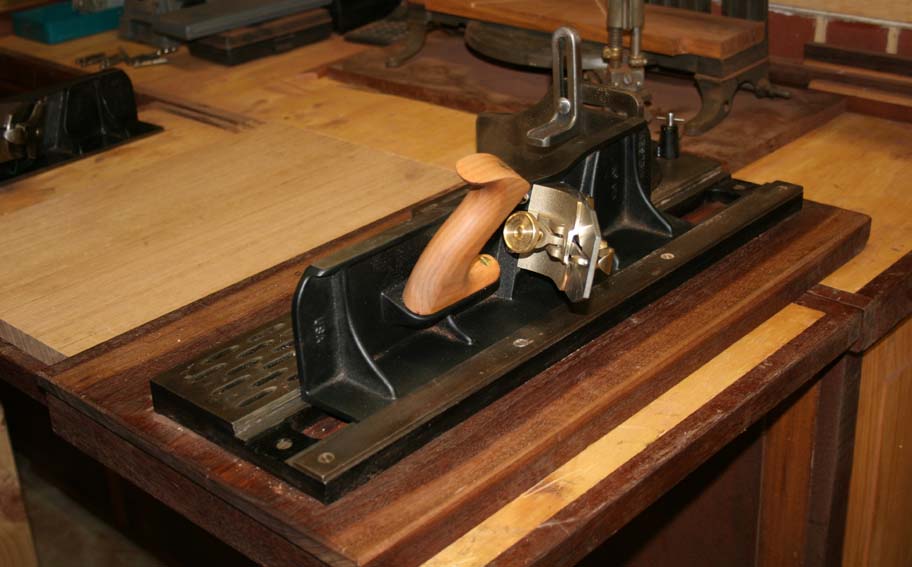
The chuteboard plane is interesting, too - for some reason it does not look "Stanley"? Who made it and do you enjoy using it?
Last edited by stephen thomas; Yesterday at 3:32 PM.
[OP]
Contributor
Stephen, are you referring to this photo?
If so, it is a LN #51 on a Stanley #52 chute board (I also have the original Stanley #51 to go with it).
Regards from Perth
Derek
 Posting Permissions

 Reply With Quote